•As noted above, you need to first Enable Customization in order to access the Customize Layout function.
oRemember, only certain Users should have the Security Permissions required to customize EventPro's layout.
oAlways be cautious when customizing EventPro's interface, particularly if you are hiding or re-naming elements, as this can potentially cause confusion later.
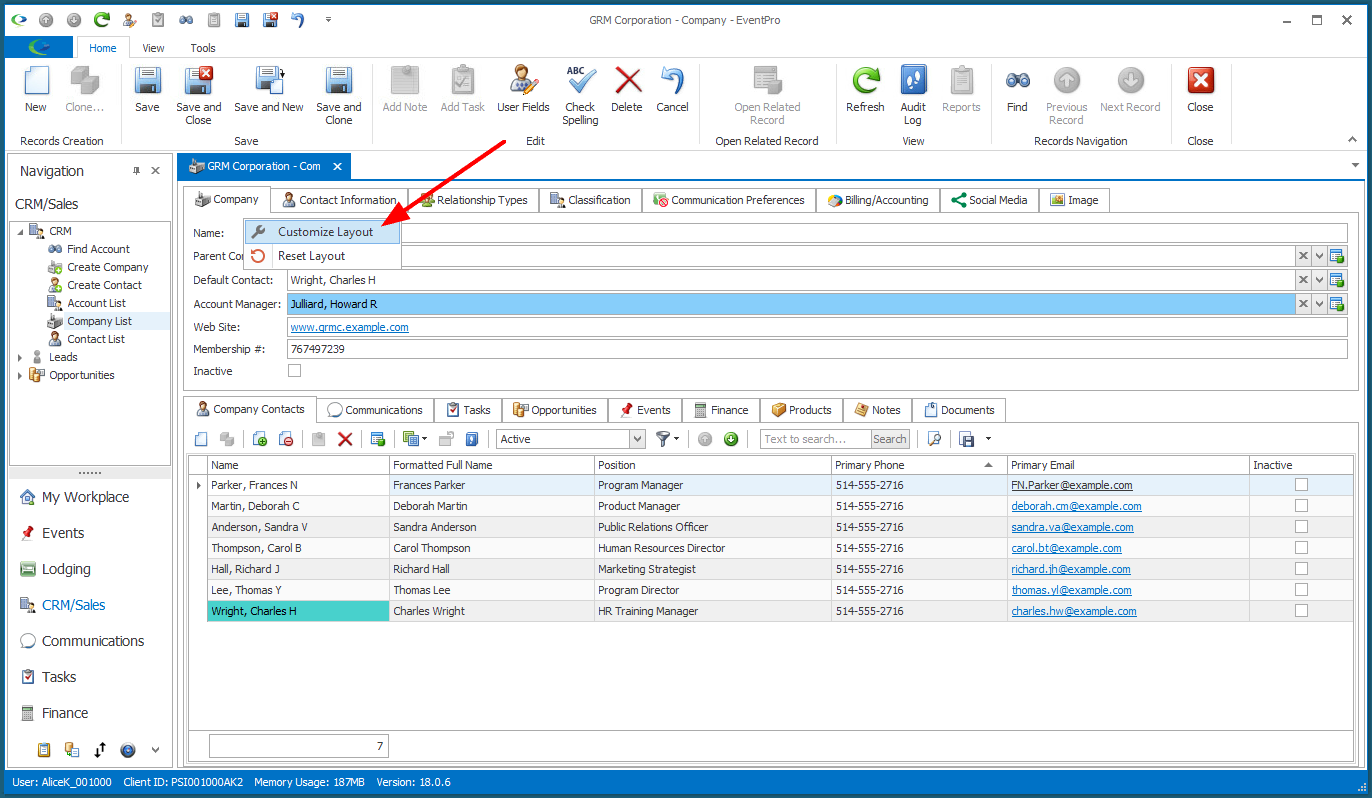
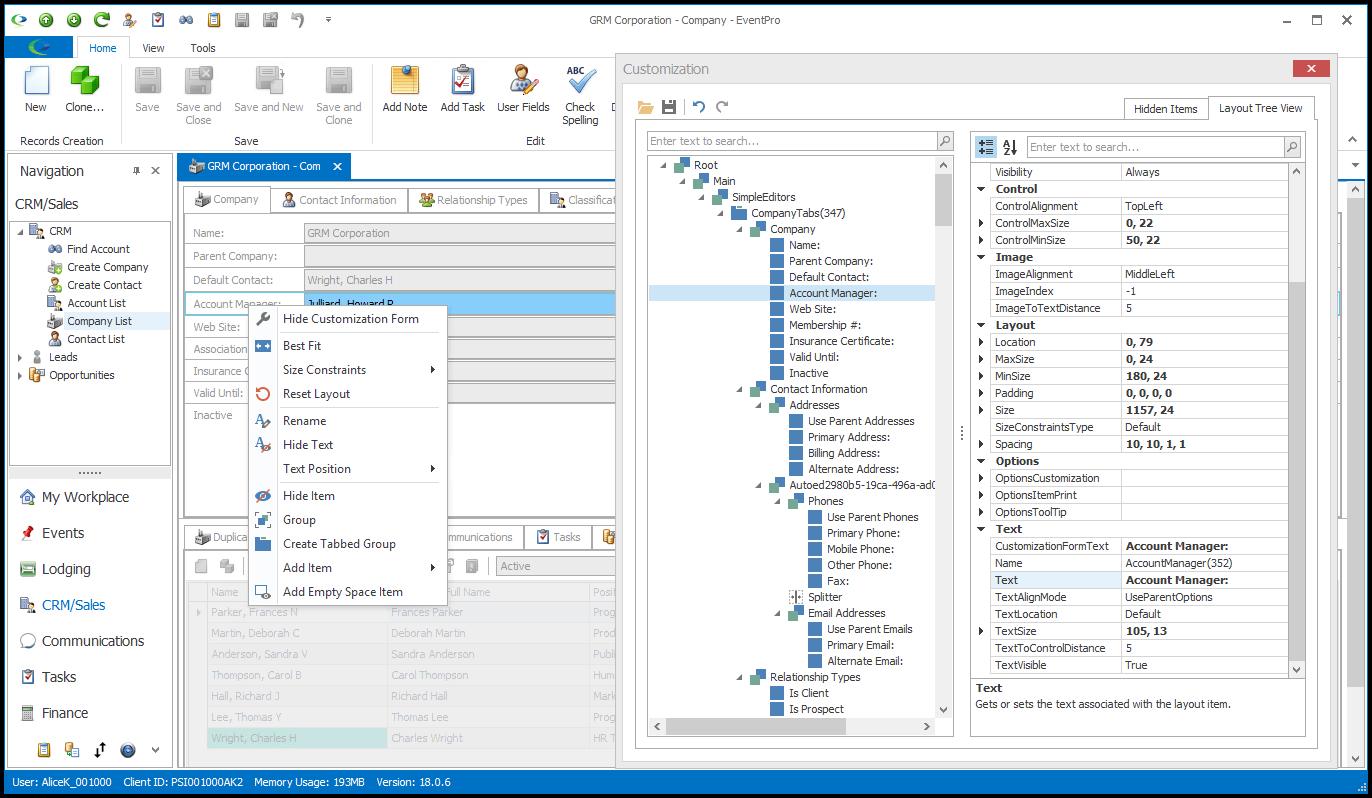
•Right-click in the edit form you want to modify. The Customize Layout speed menu appears.
•Click Customize Layout.
•The Customization form appears.
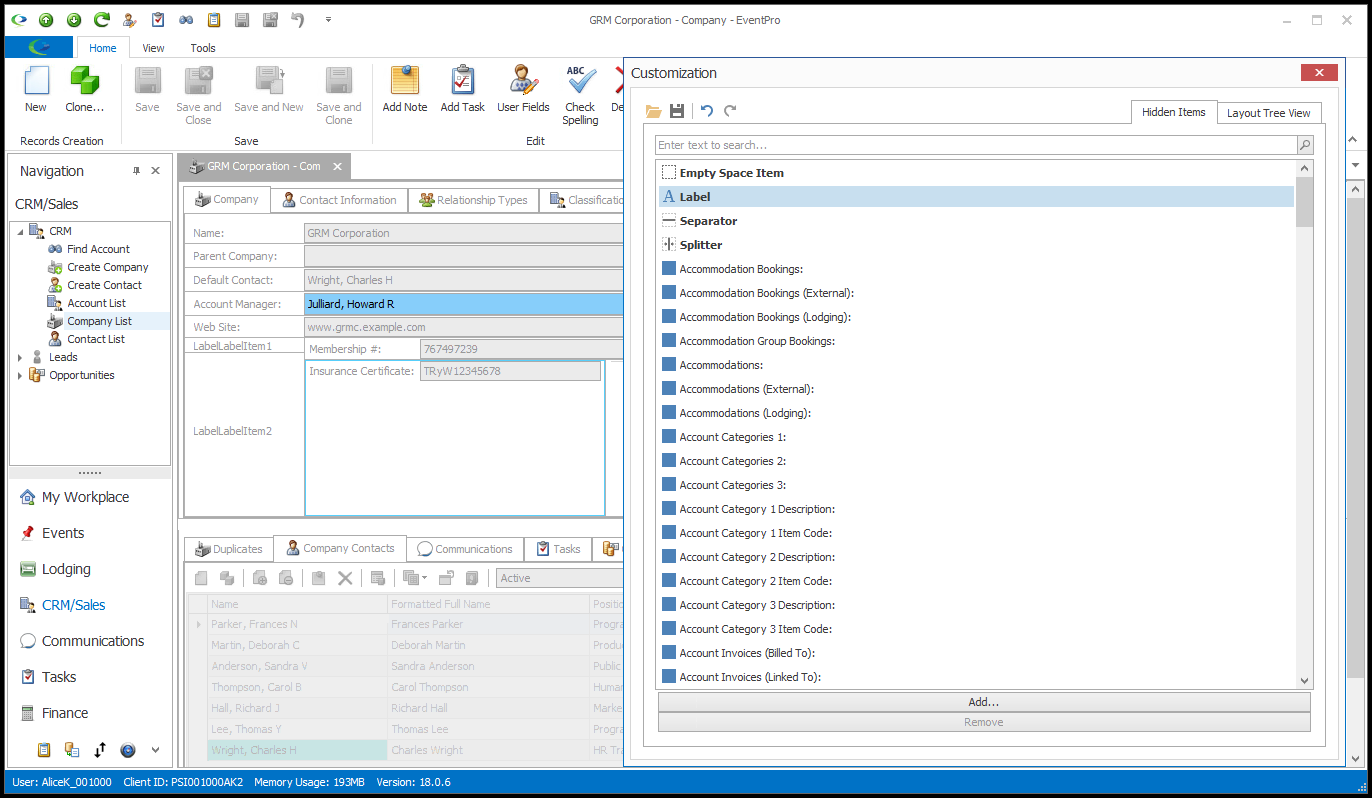
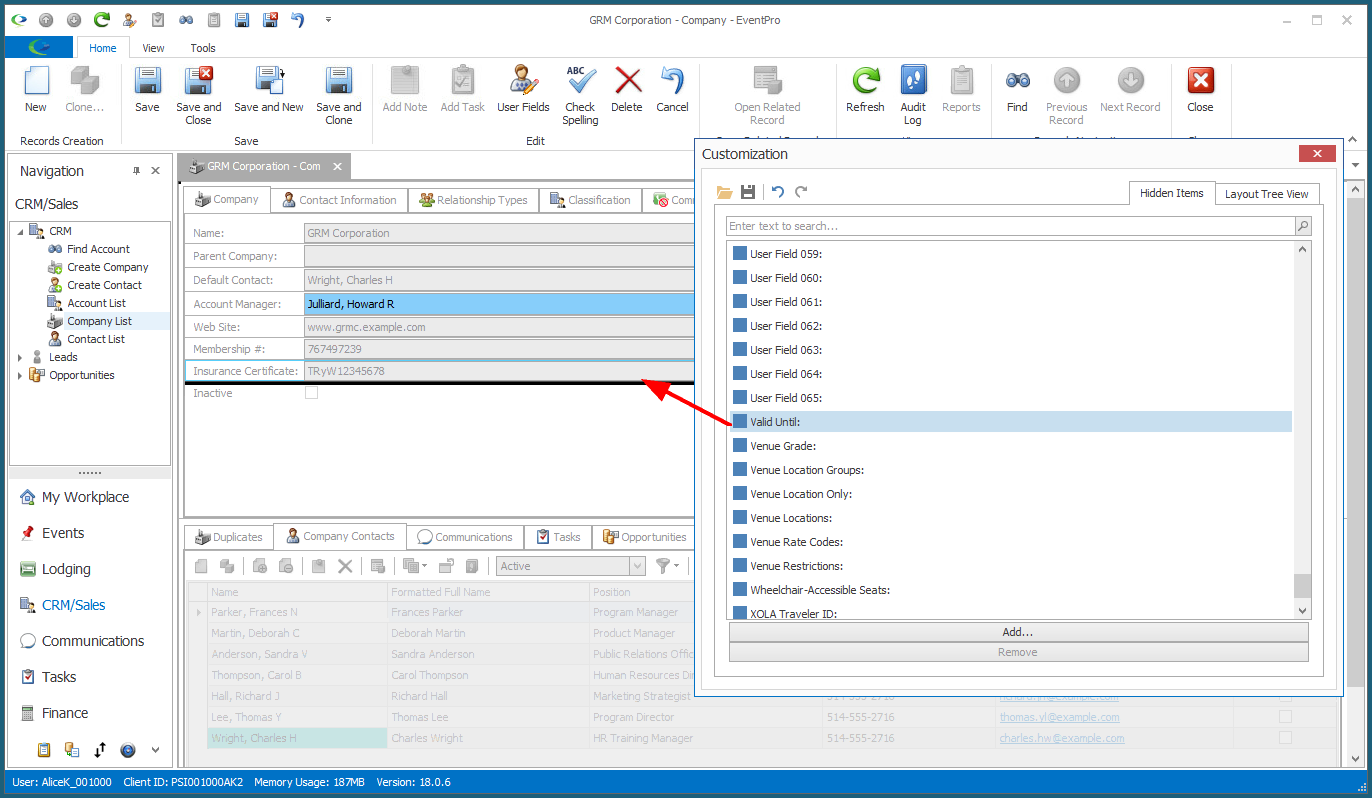
•From the Hidden Items tab of the Customization window, you can drag-and-drop fields or other elements (Empty Space Item, Label, Separator, Splitter) into the edit form.
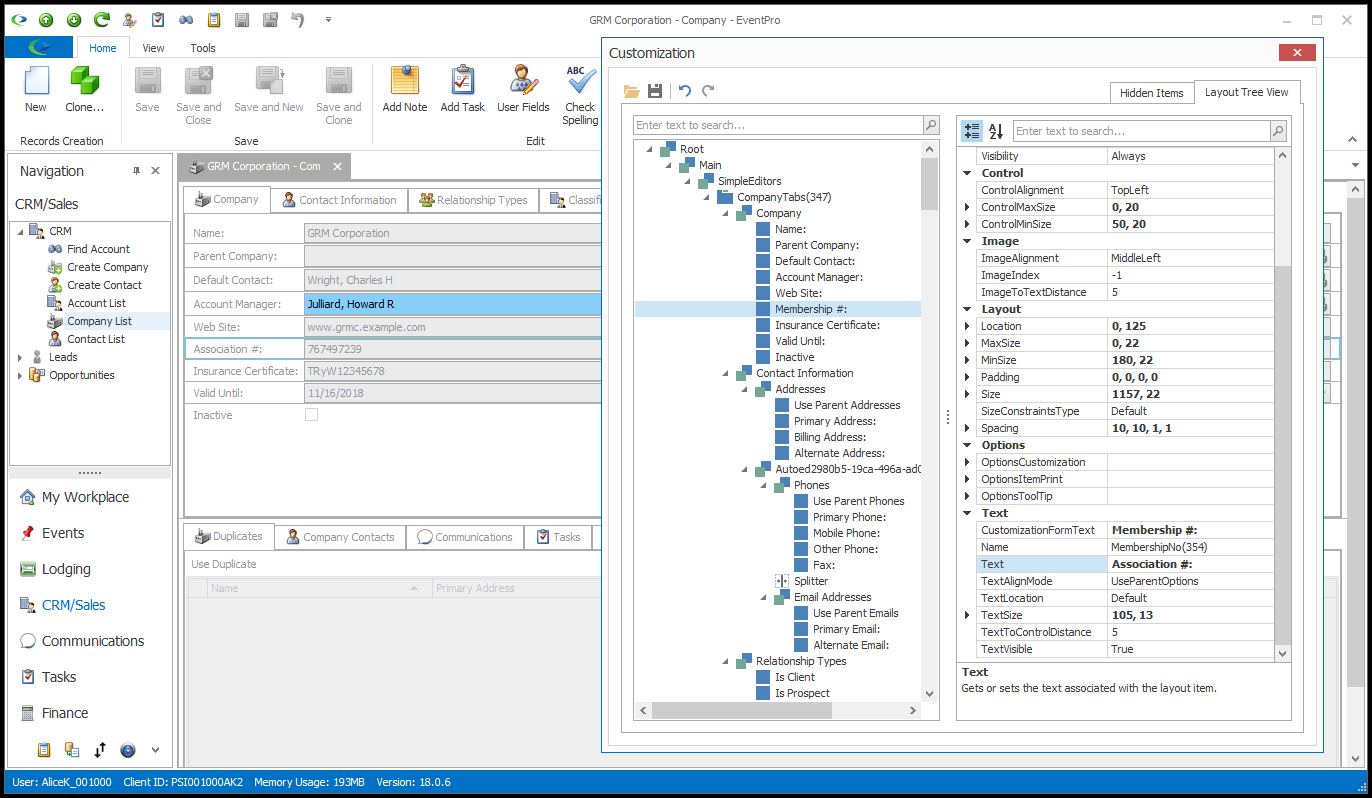
•Switch to the Layout Tree View to view and edit the properties of the selected field or item.
For example, this is where you can change the text of a label in the edit form.
•While in the customization mode, right-click on an element in the edit form.
A speed menu of customization options will appear. You can use these commands to add items, hide items, adjust sizes, etc.
For example, you could right-click on a tab, select Rename, and enter new text for that tab label.
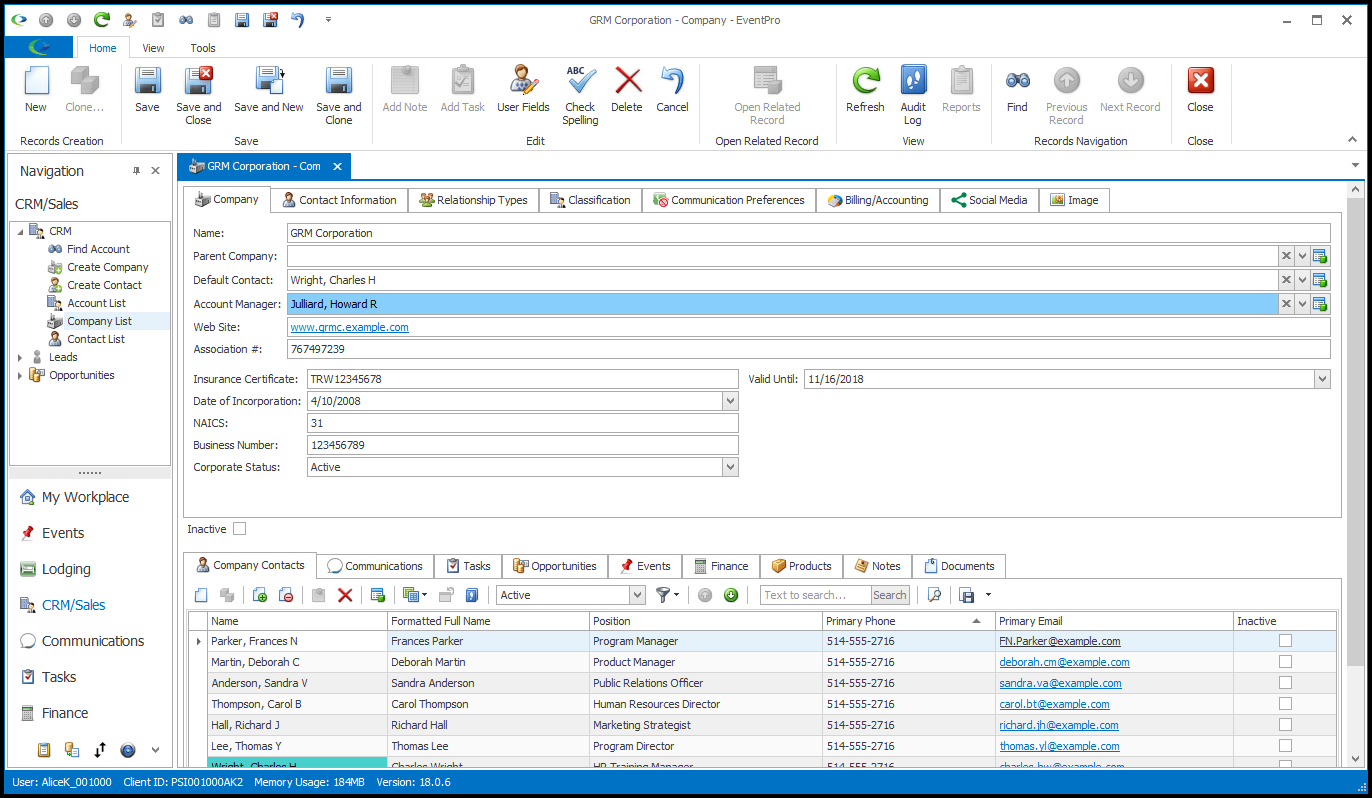
•When you are done adjusting the edit form layout, close the Customization window.
The EventPro screen will return to its regular mode. You now need to save the customizations.
•IMPORTANT: SAVE CUSTOMIZATIONS
oIn order to save your layout customizations to the model, you need to close the window or tab within which you made changes.
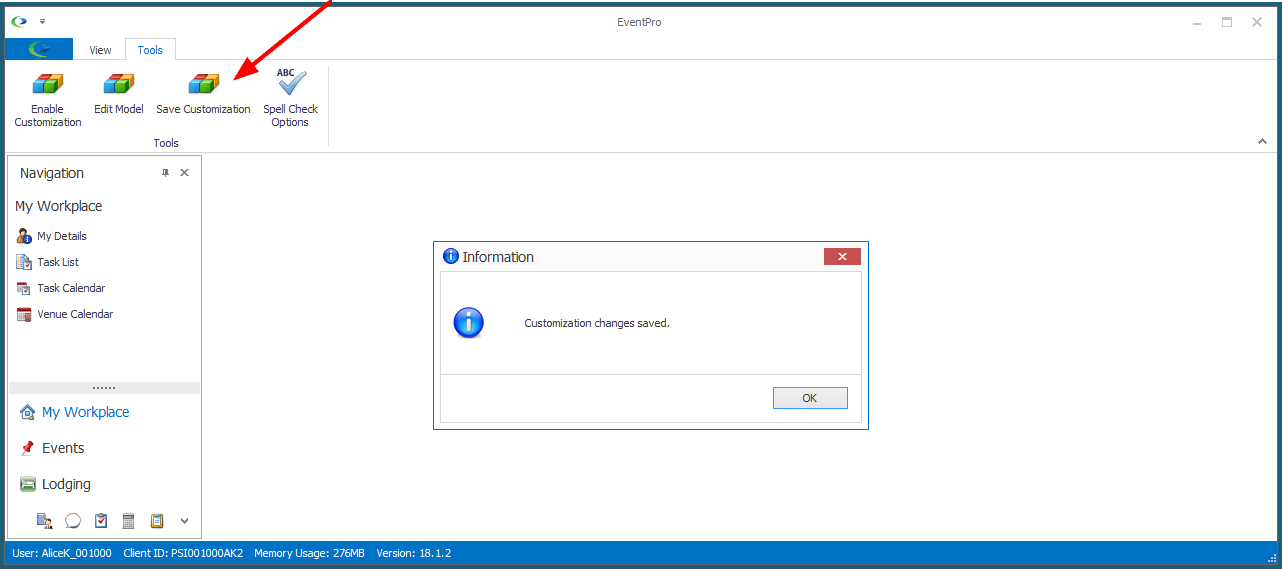
oThen, to save the customizations to the database, go to EventPro's Tools ribbon and click Save Customization. In the information dialog, click OK.
•To undo your customizations and return the edit form to its original layout, you can right-click in the edit form and select Reset Layout.