•When you run EventPro, its Application Model provides information that determines visibility, location, captions, and other settings for user interface elements.
•An EventPro User with the necessary Security Permissions can customize the Application Model’s data using one of two approaches:
oDirectly, via the Model Editor.
oIndirectly, for example, by modifying the layout using the Customization Form.
•An EventPro User's customizations to the Application Model are stored in a specialized record called a Model Difference, which will be explained in Model Management below.
•As noted above, a User's Security Permissions determines whether they can customize the Application Model. When setting up Users in EventPro, you obviously want to limit the number of Users who can make widespread, sweeping interface customizations in the EventPro program.
•If you have the Security Permissions to access customizations, you first need to enable customization in EventPro with the 2-step Key Code/Activation Code system, which provides access to EventPro customization for an entire day, even when logging out of and back into EventPro.
1.Step 1: Key Code
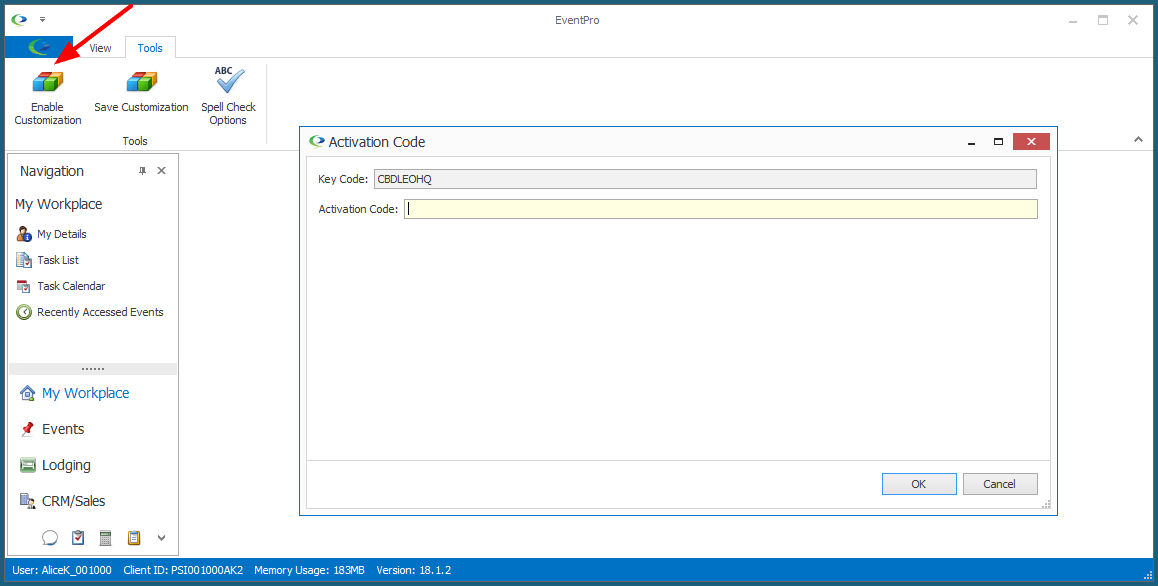
a.Under the Tools tab of EventPro, click Enable Customization.
b.The Activation Code window appears.
c.Copy the Key Code and provide it to your EventPro Support Specialist or Trainer.
2.Step 2: Activation Code
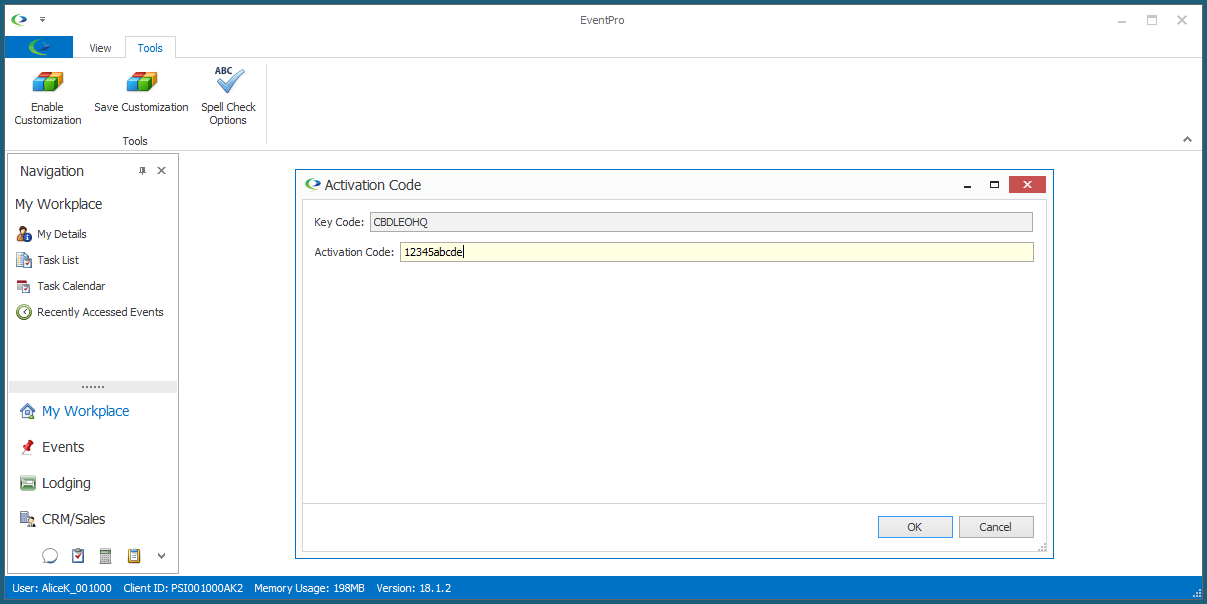
a.The EventPro Support or Training Specialist will provide you with an Activation Code.
b.Enter the Activation Code in EventPro's Activation Code window, and click OK.
(The Activation Code will be valid for the day, so keep note of it somewhere. If later that day, you log out of EventPro and log back in, you will need to enable customization again, but you can use that same Activation Code.)
3.Once you have enabled customization, you can customize EventPro's user interface using the approaches described above:
a.Make changes in the Model Editor.
b.Modify the layout in the Customization Form.