To begin, we will assume the navigation panel is the default position, docked along the left side of the application window.
If it is not there, you may have already moved the navigation panel. Scroll down to learn more about moving and using the navigation panel.
Show, Hide, Auto Hide, Float & Dock Navigation Panel
You can choose whether you want the navigation panel to be visible always, sometimes, or never.
When the navigation panel is visible, you can choose where on the screen it will appear.
These are some of the options you can choose for the navigation panel:
•Dock: The navigation panel is attached in a fixed position to an edge of the application window.
By default, the navigation panel initially appears docked along the left side of the application window.
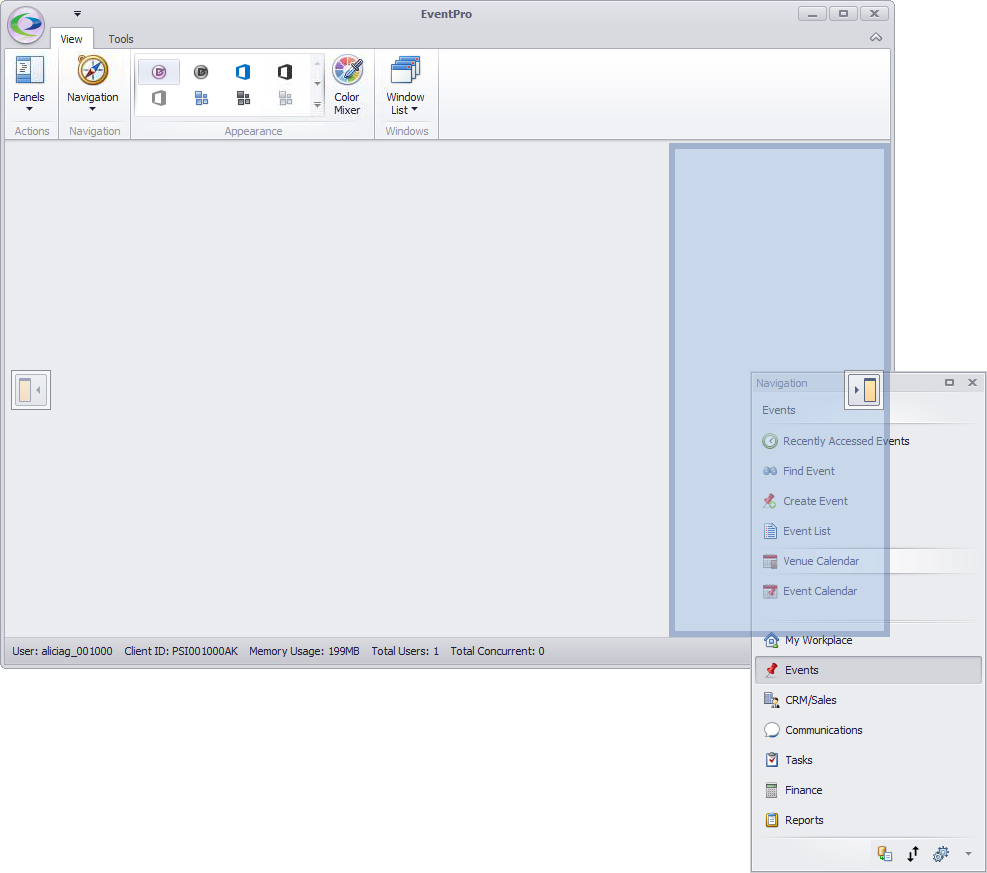
•Float: The navigation panel is a free-floating window that can be placed anywhere inside or outside the application window.
•Visible: The navigation is visible on the screen, either floating or docked.
•Hide or Close: The navigation panel is not visible.
•Auto-Hide: The navigation panel appears when you hover your mouse over the side Navigation tab, but slides back out of view when you aren't using it. This option only applies when the navigation panel is docked.
There are several different ways to change the visibility and positioning of the navigation panel, with some of the commands appearing in more than one place.
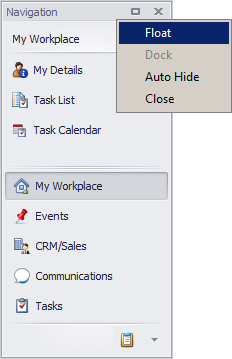
•Right-click Title Bar: Right-click the navigation panel title bar for the speed menu, where you can choose to Float/Dock, Auto Hide or Close the navigation panel.
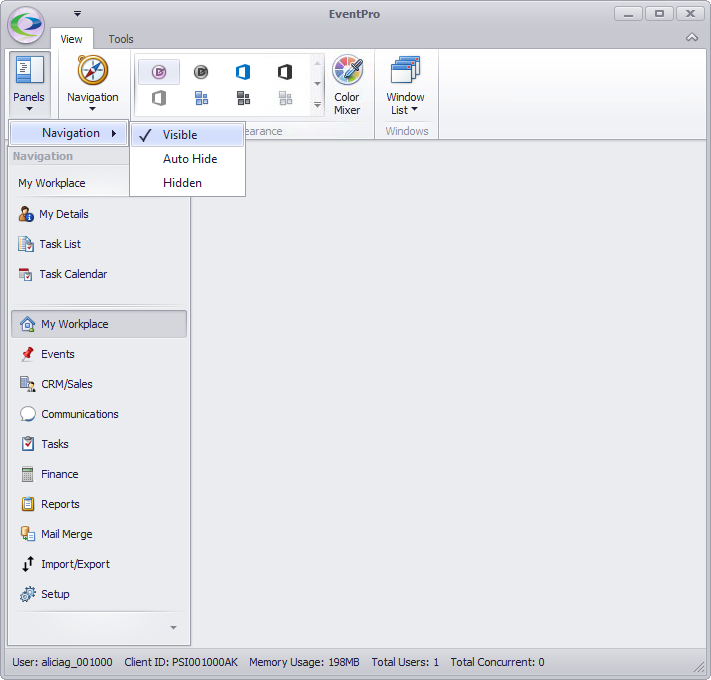
•Panels menu: From the Panels menu under the View tab in the top navigation ribbon, you can choose whether you want the navigation panel to be Visible, Auto Hide, or Hidden.
•Auto Hide & Dock toggle: Click the pin icon on the right side of the navigation panel title bar to toggle between Auto Hide and Dock.

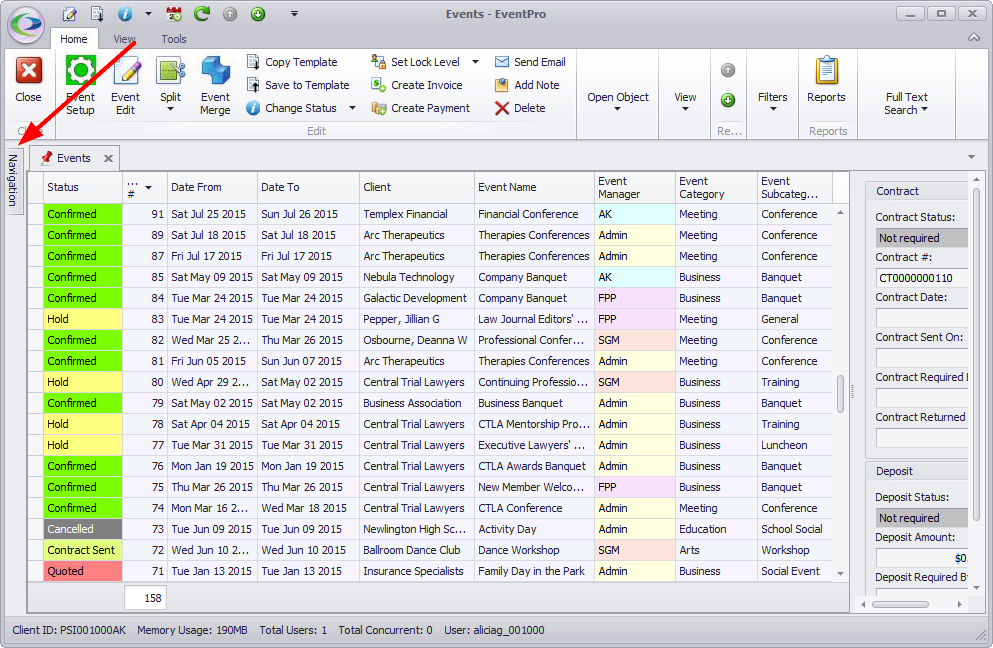
•Close X: Click the X in the upper right corner of the navigation panel to close/hide the panel.
•Click-and-Drag Float: To unpin or Float the navigation panel, click-and-hold or grab the panel's title bar, and drag it out to its own separate window.
You can now resize and move the navigation panel around as a separate window.
•Drag-and-Drop Dock: To re-dock the floating navigation panel, click-and-drag the panel back over the main window, which displays indicators where the panel can be docked.
When you hover your mouse pointer over an indicator, a blue highlighted section appears; release the mouse button to dock the panel in that spot.
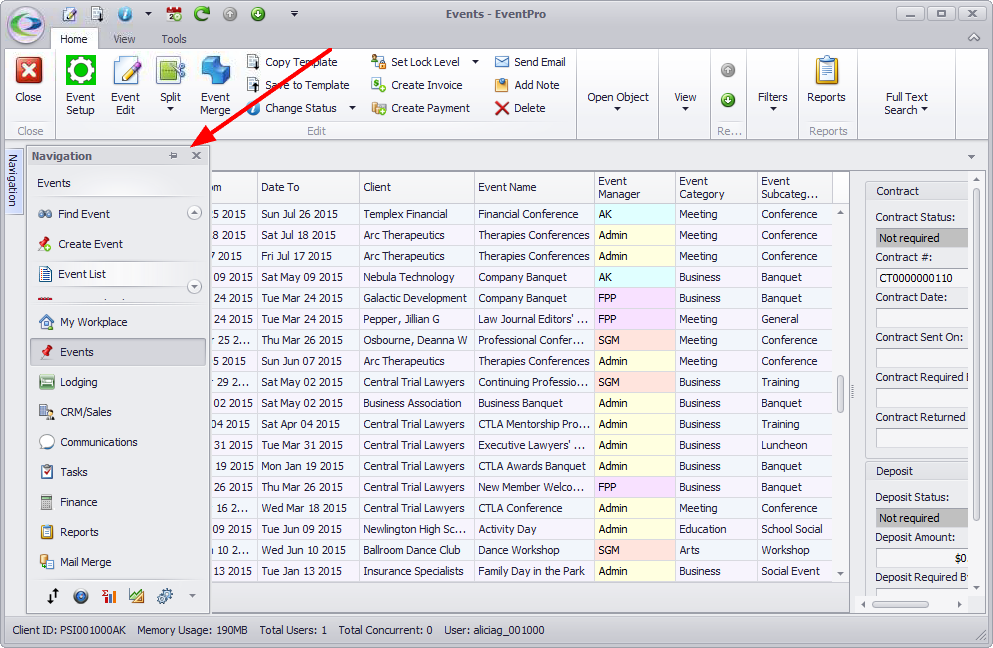
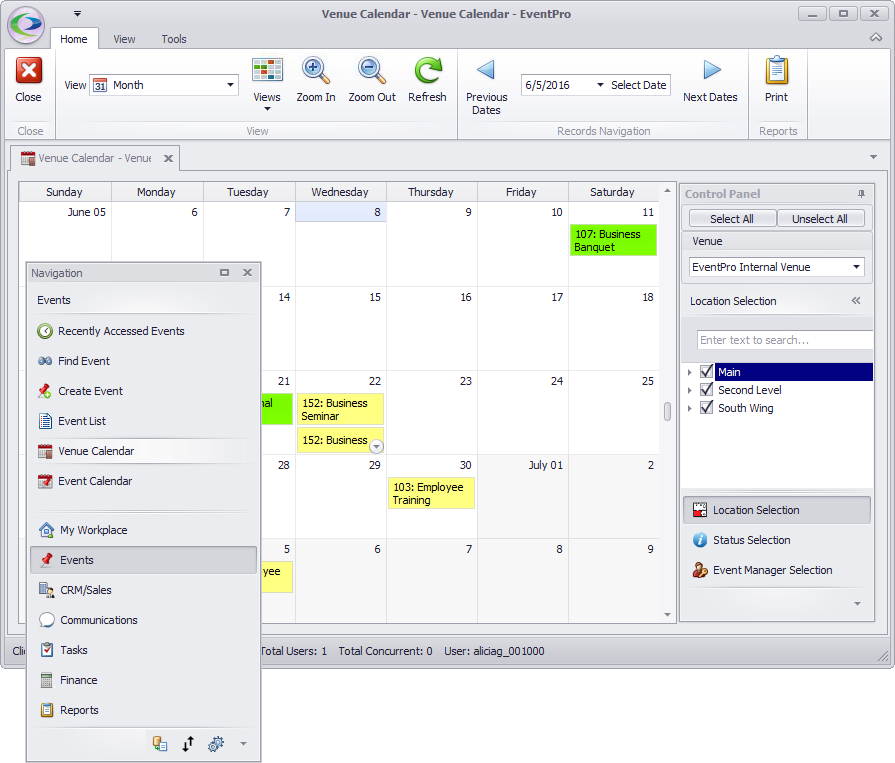
Once you have the navigation panel displayed the way you want, you can use it to navigate between the different areas of EventPro.
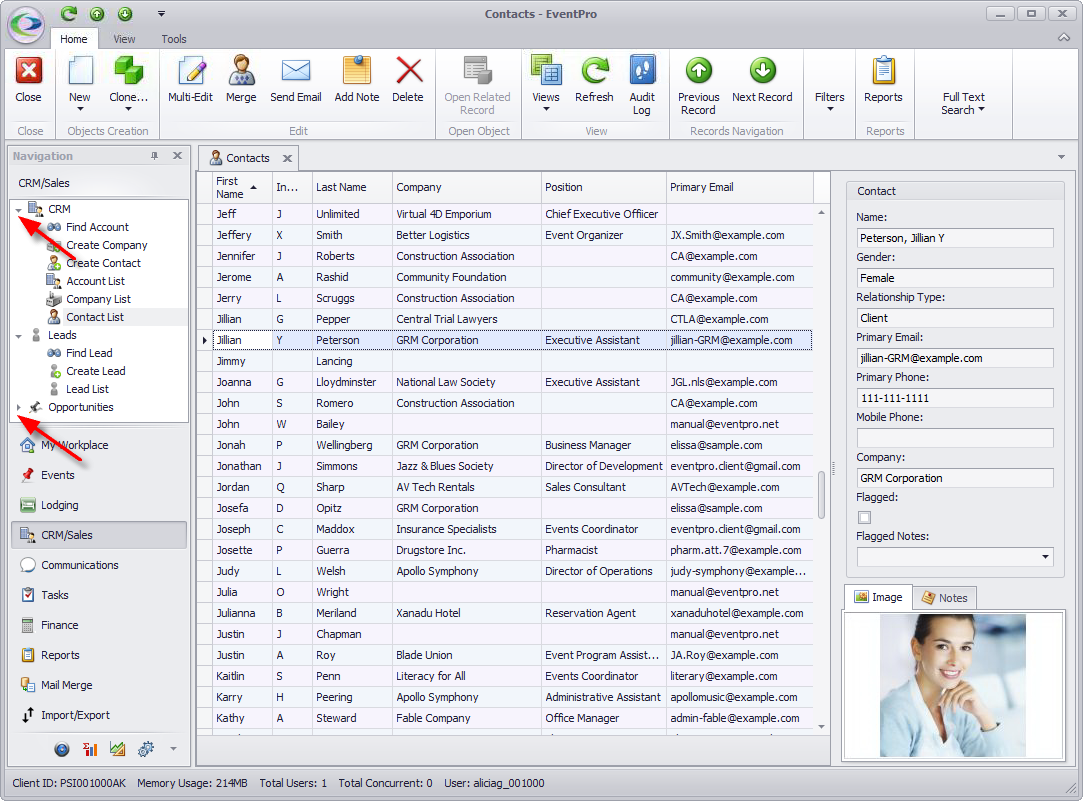
Navigate to EventPro Areas from Panel
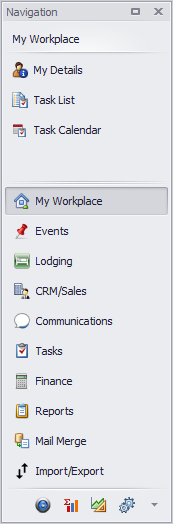
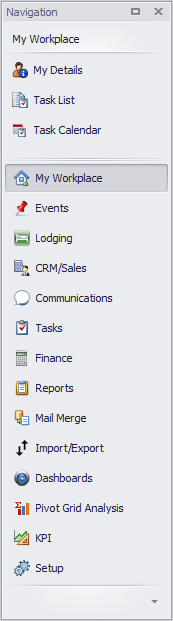
•The top section of the navigation panel expands to display the items contained within the group you have selected below.
In this example, the "My Workplace" group button is selected, displaying its options in the expanded top section above.
•If you click one of the menu items from the "My Workplace" group - e.g. "My Details" - the related window or tab will open.
•To view the contents of another navigation panel group, click the relevant group button and select a menu item.
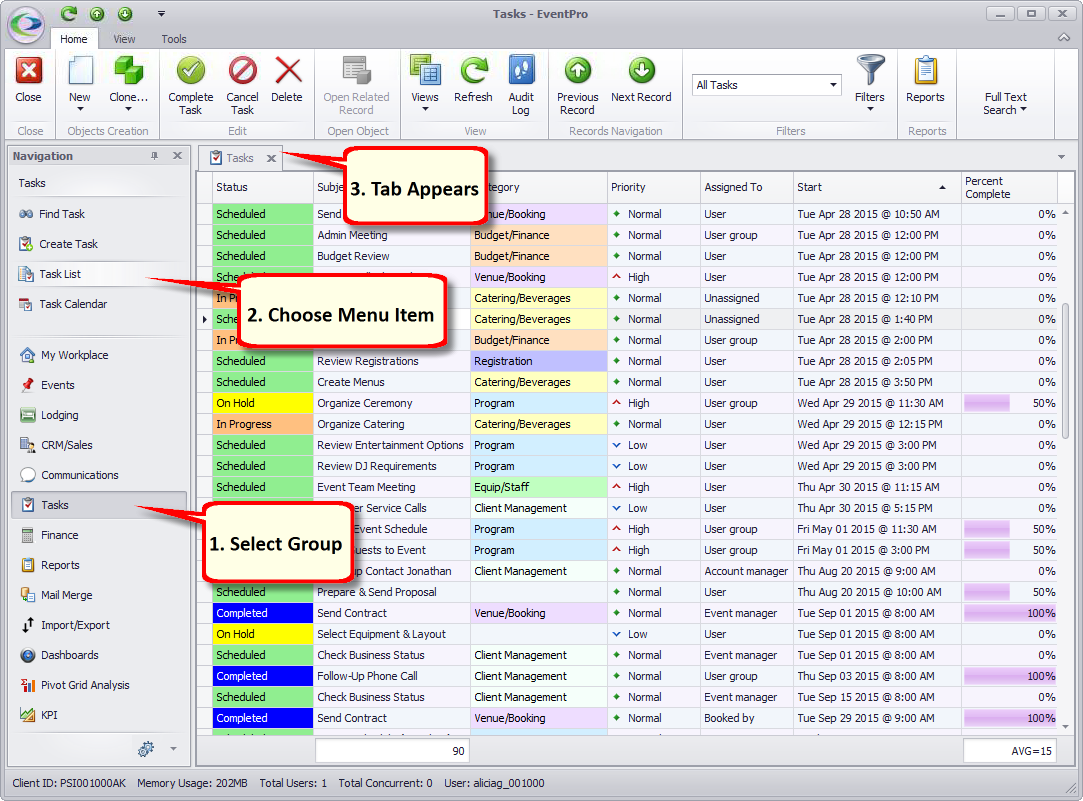
•As you select different menu items in the navigation panel, the related tabs will continue opening to the right and on top of previously opened tabs. You can have multiple tabs open simultaneously in EventPro.
•For some of the navigation panel groups, you will see that the contents appear in a menu tree.
oClick the arrow or plus sign to expand the tree and see all the options in the sub-menus.
oYou can choose to have the menu tree automatically expanded upon opening the menu with the Auto Expand Navigation setting in your User Settings.
As you resize the navigation panel - whether docked with the application or floating as a separate window - the group buttons will be automatically displayed and hidden as space permits.
You can also manually set which buttons are visible, hidden or removed.
Note that even if buttons are hidden or removed, you can still access the related commands in the Navigation Menu.
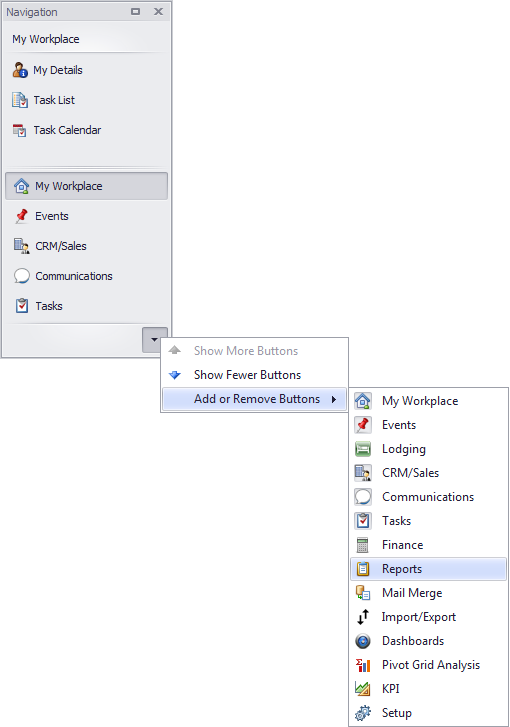
Show, Hide, Add or Remove Buttons
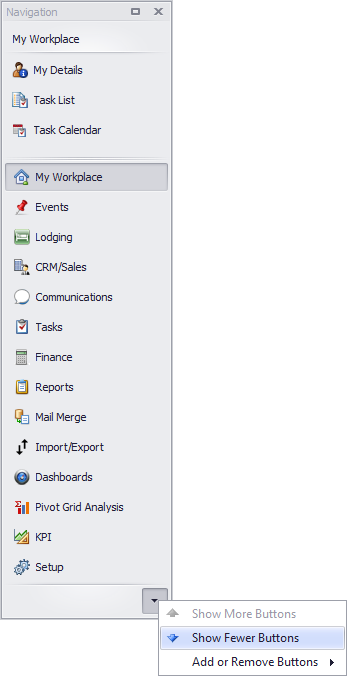
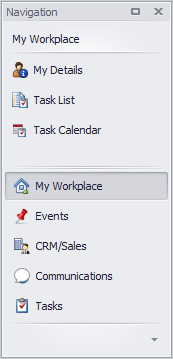
•When the navigation panel is shortened, the buttons that don't fit will be moved to icons along the bottom of the panel.
•If the navigation panel is lengthened again, the buttons will be moved back up.
•Click the arrow in the bottom right corner of the navigation panel to Show More Buttons or Show Fewer Buttons.
•You can also remove buttons from the navigation panel altogether, which allows you to simplify its appearance.
Remember that commands related to removed buttons are still available in the navigation menu.
•To add or remove buttons, click the arrow in the bottom right corner of the navigation panel, click Add or Remove Buttons, and select the buttons you want to add or remove. If a button is already visible, clicking it under Add or Remove Buttons will remove it; if a button has already been removed, clicking it under Add or Remove Buttons will make it visible again.