•The Export To function allows you to save the report in a format of your choice to your computer or network.
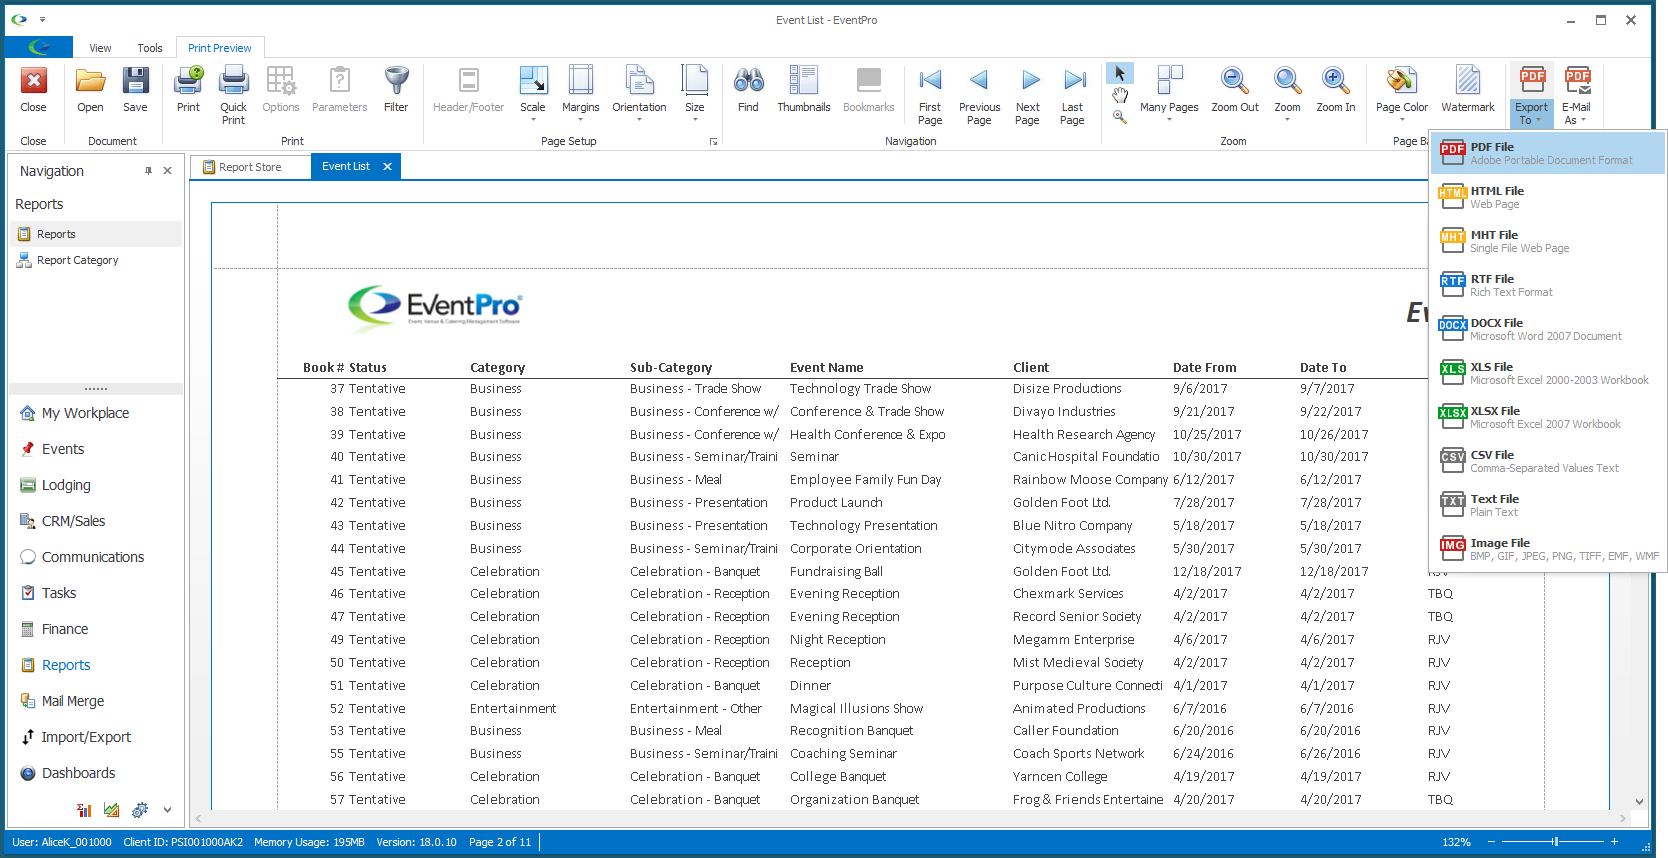
•The Export To button will be set to one of the file formats. If you want to use that format, you can click the Export To button directly.
Otherwise, click the drop-down arrow in the bottom section of the button, and select the format you want to use: PDF, HTML, MHT, RTF, DOCX, XLS, XLSX, CSV, Text, or Image.
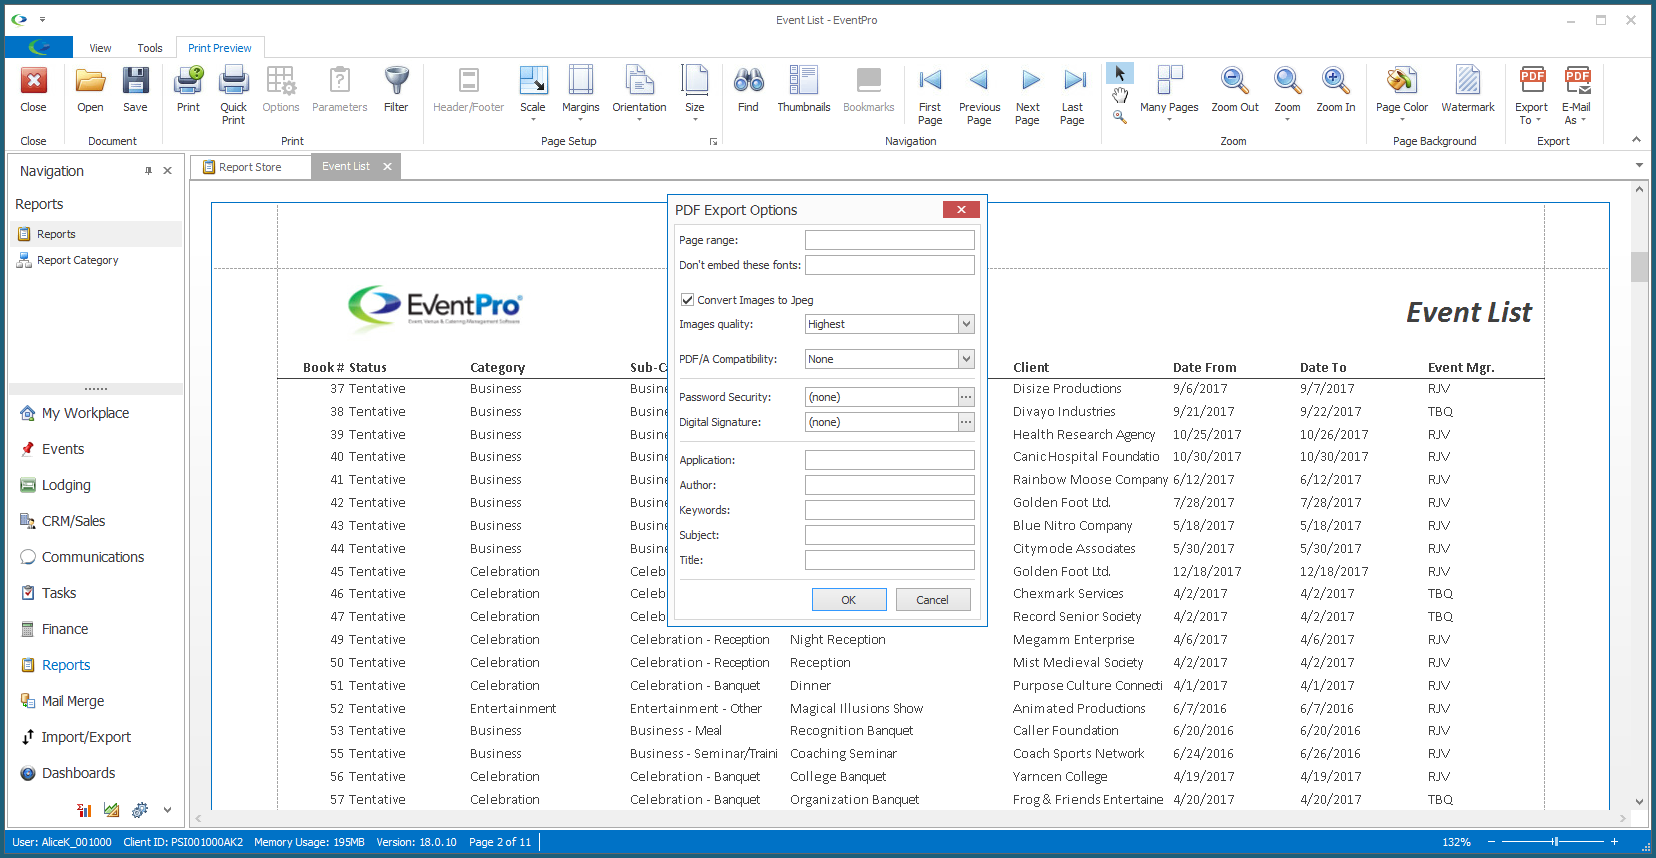
•The Export Options dialog appears.
(If you get the Export Report to Documents Confirmation dialog, see Save to Documents.)
The options in this dialog will vary, depending on the file format you selected.
Select the options you want to use, and click OK.
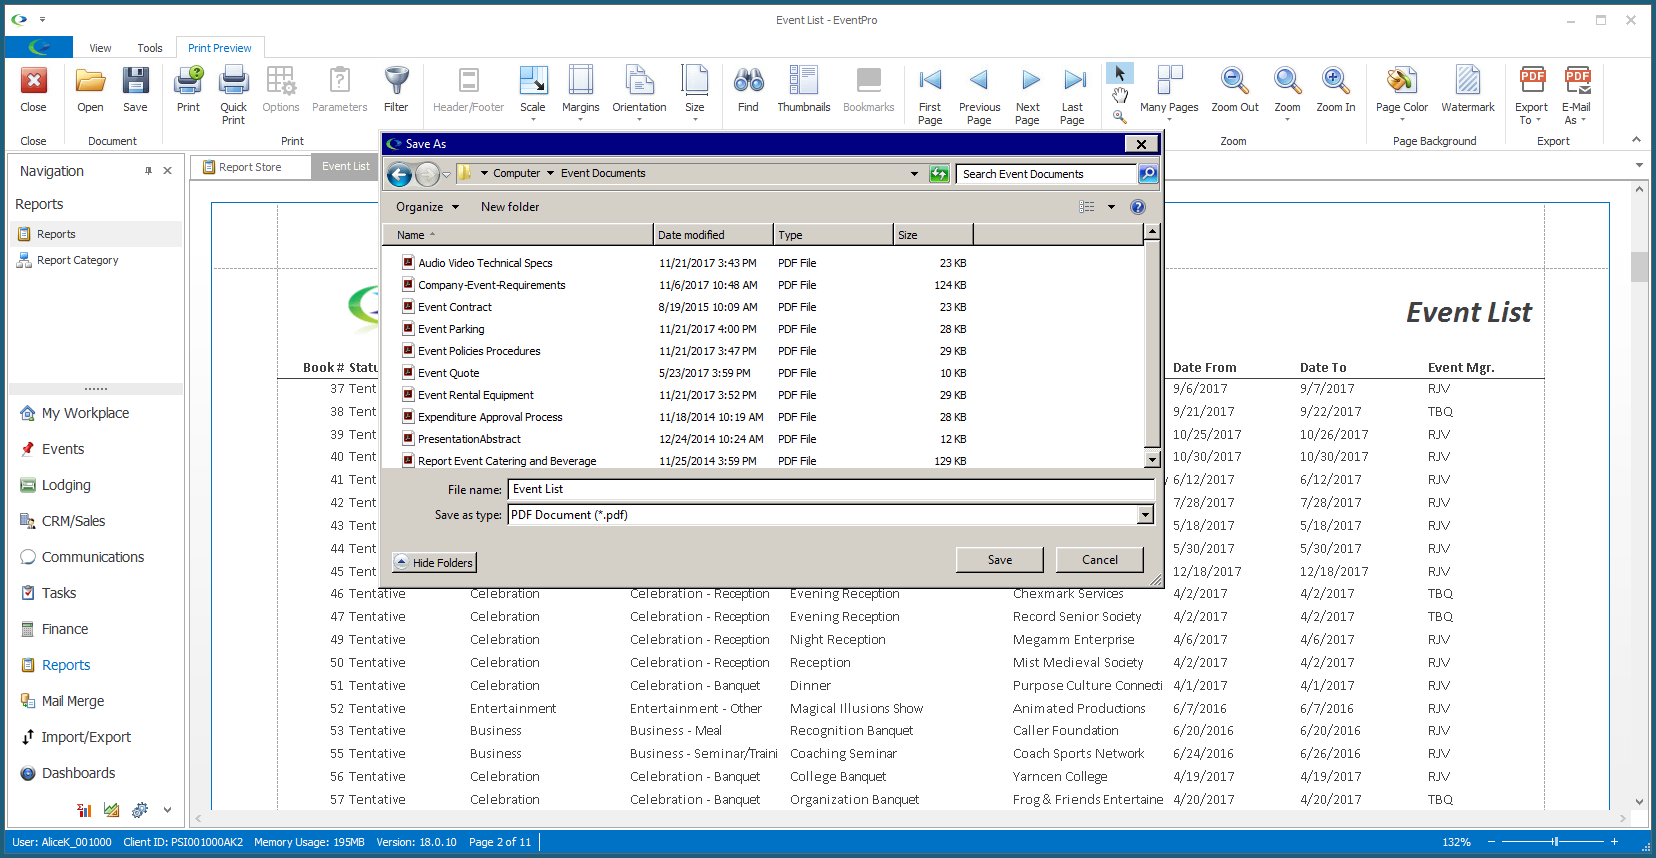
•The Save As window appears.
Navigate to the folder in which you want to save the report. You can edit the File Name of the report if you wish to save it under a more descriptive name.
Click Save.
•The report will be exported. A dialog will ask if you want to open the file. Click Yes or No, as you prefer.
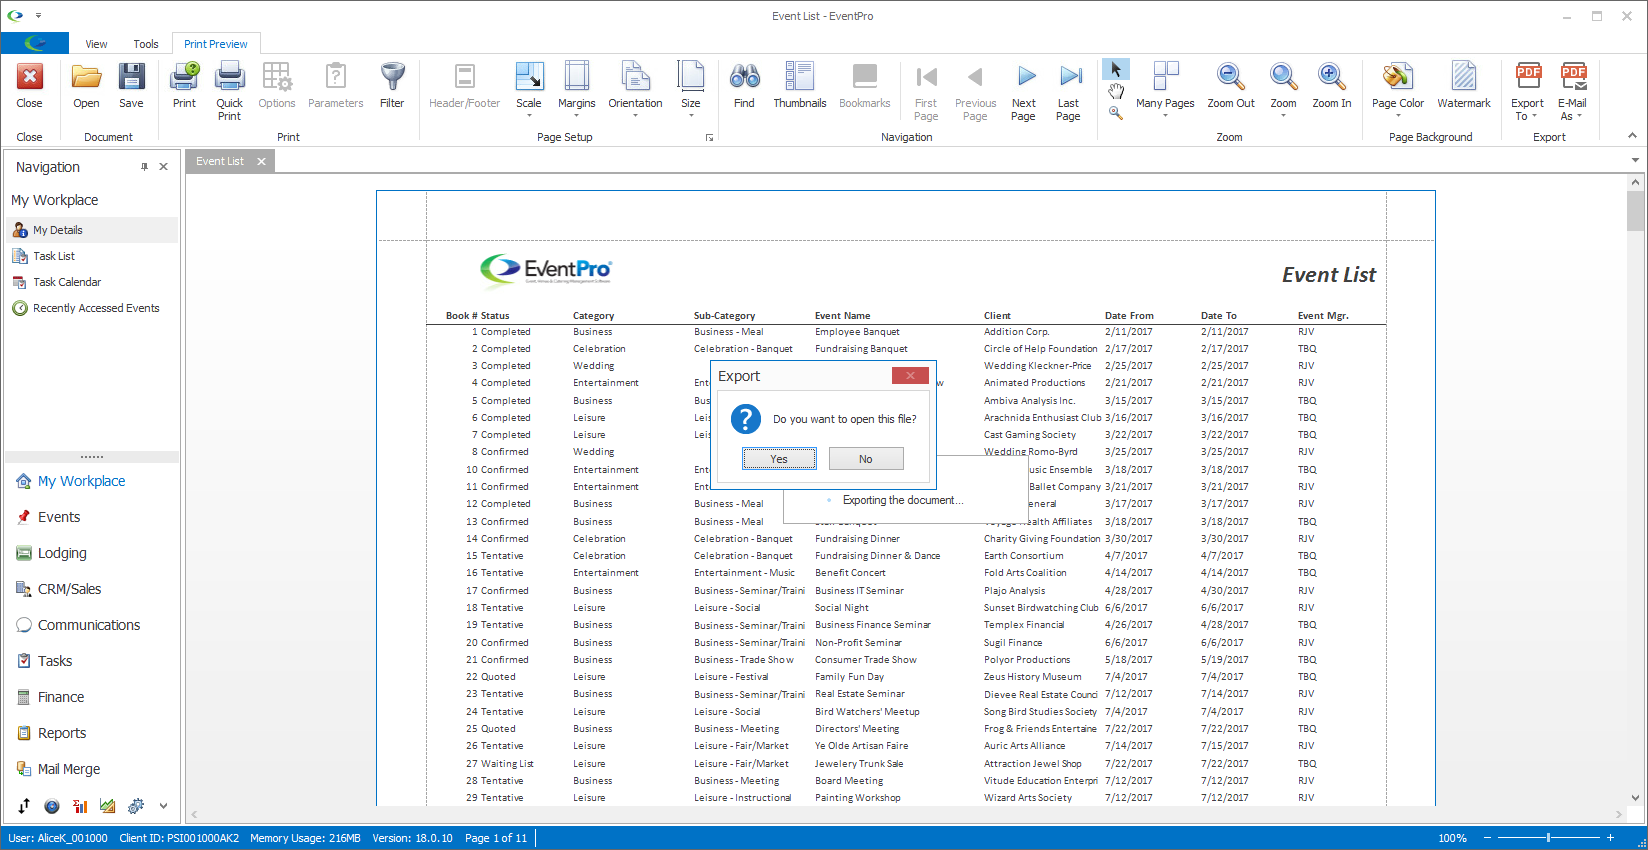
•You can continue working in the Preview screen. When you are done with the report, close the Preview window.