NOTE: These instructions will demonstration how to run reports from the main Report Store area. You can, however, run Reports from many different areas in EventPro. The process of running reports elsewhere in EventPro will be very similar, with a few minor differences in the availability of reports and the filtering of certain reports. To learn more, see Reports Around EventPro.
1.To run a report in the Report Store, simply double-click the report in the selection grid, or select the report and click Execute Report in the top ribbon.
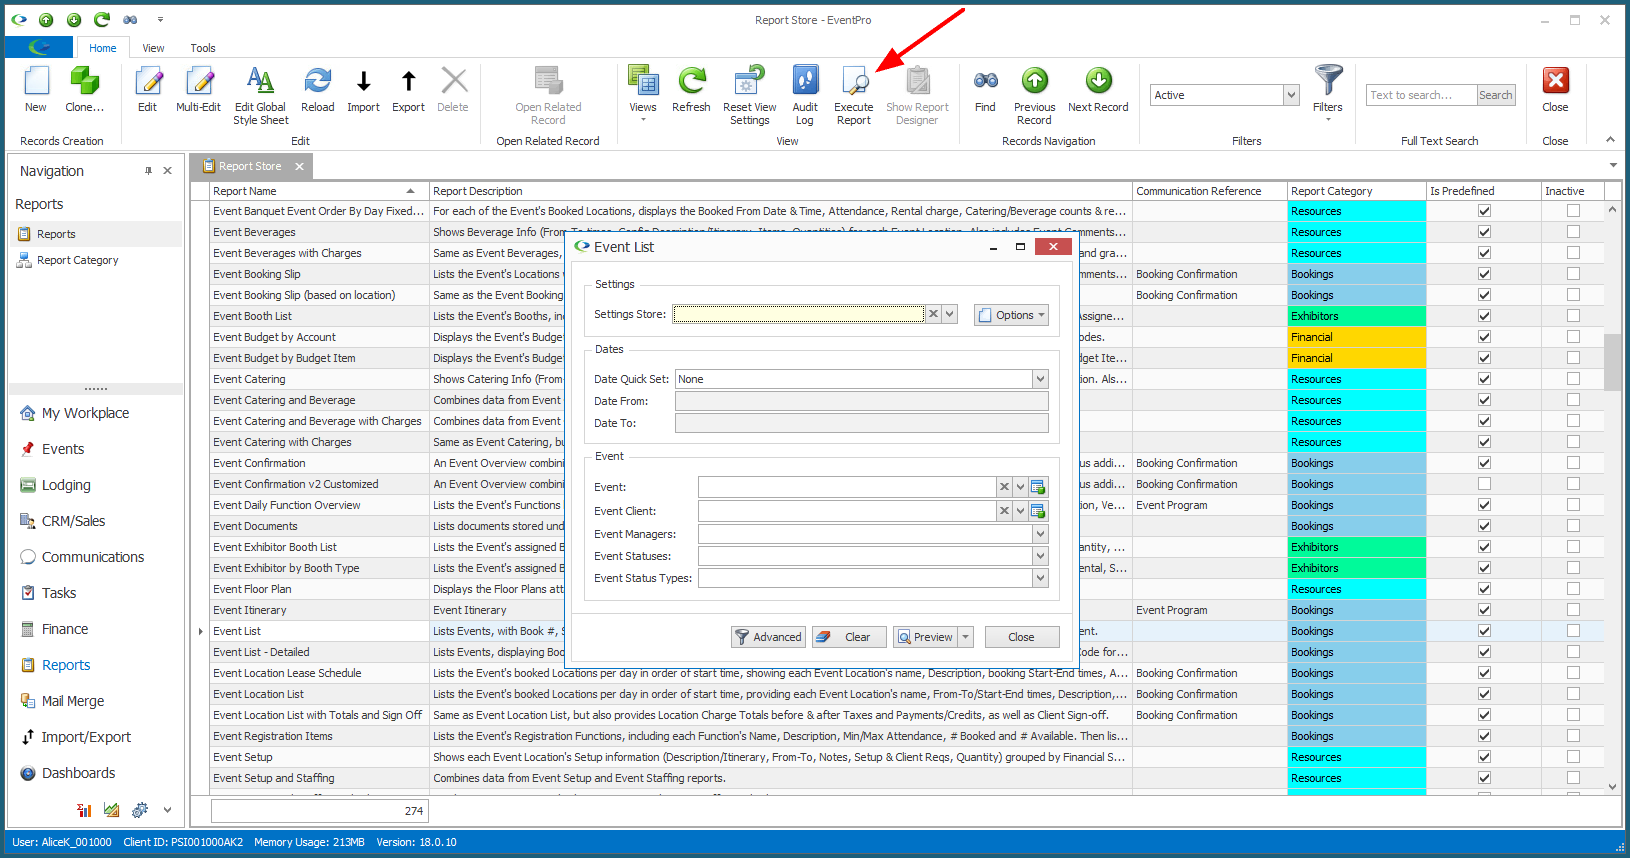
2.The Filter Settings window for the selected report will appear.
a.You can select a pre-defined Filter from the Settings Store. If you set a default filter for this report, it will already be selected in the Settings Store field.
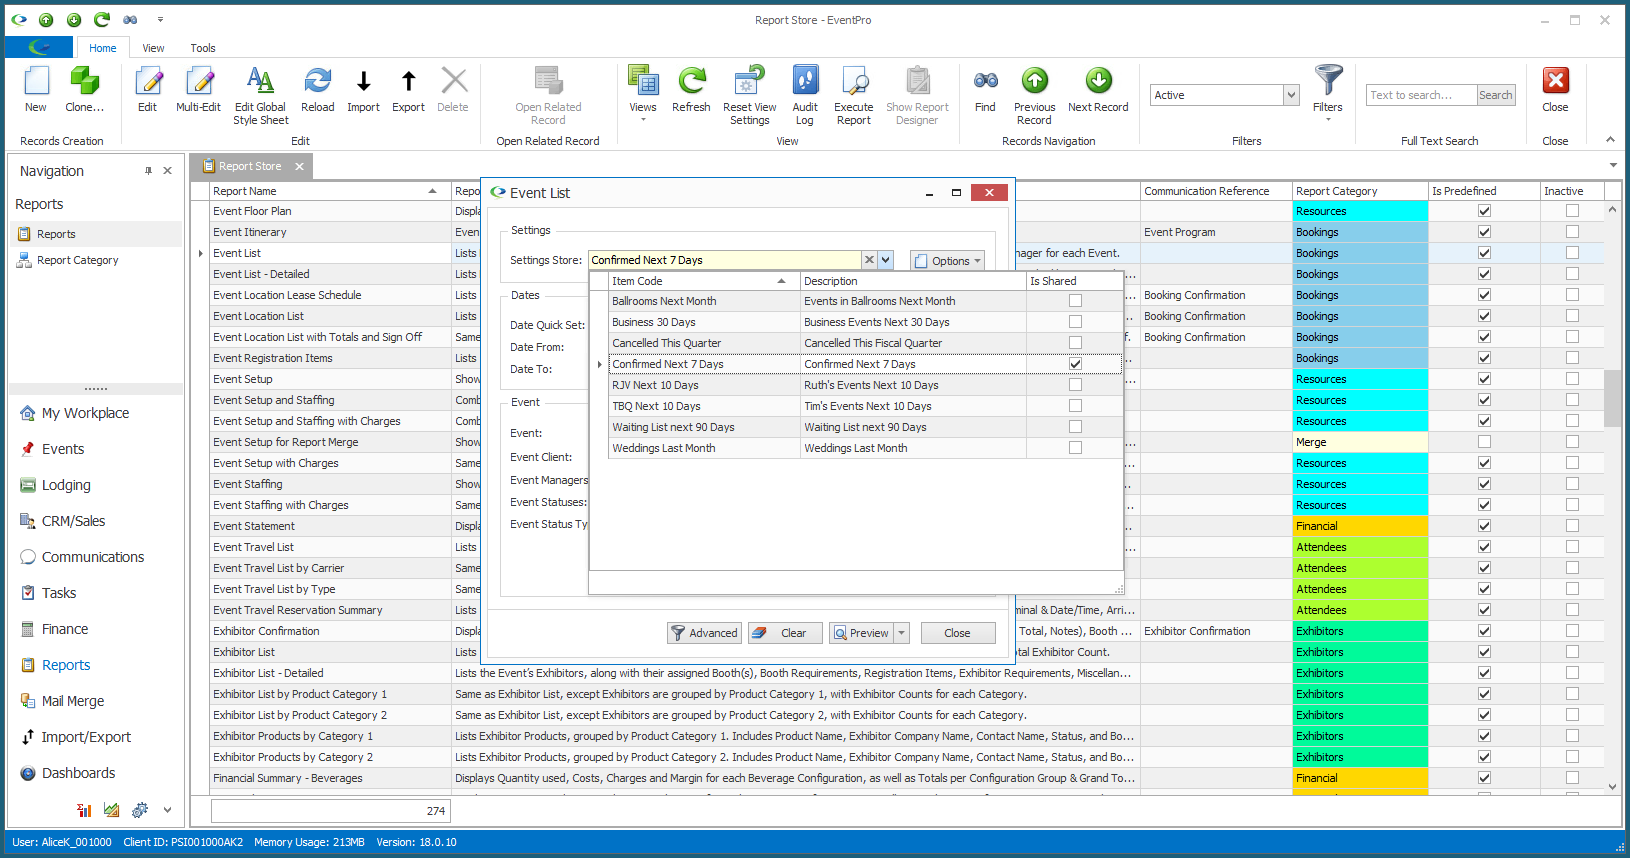
b.If there are no saved filters in the Settings Store, you can create and save your own custom filters. See Create Report Filters.
c.You can also select filter criteria on the fly, with or without using a pre-defined filter. The available criteria will vary widely, depending on the Report you are running.
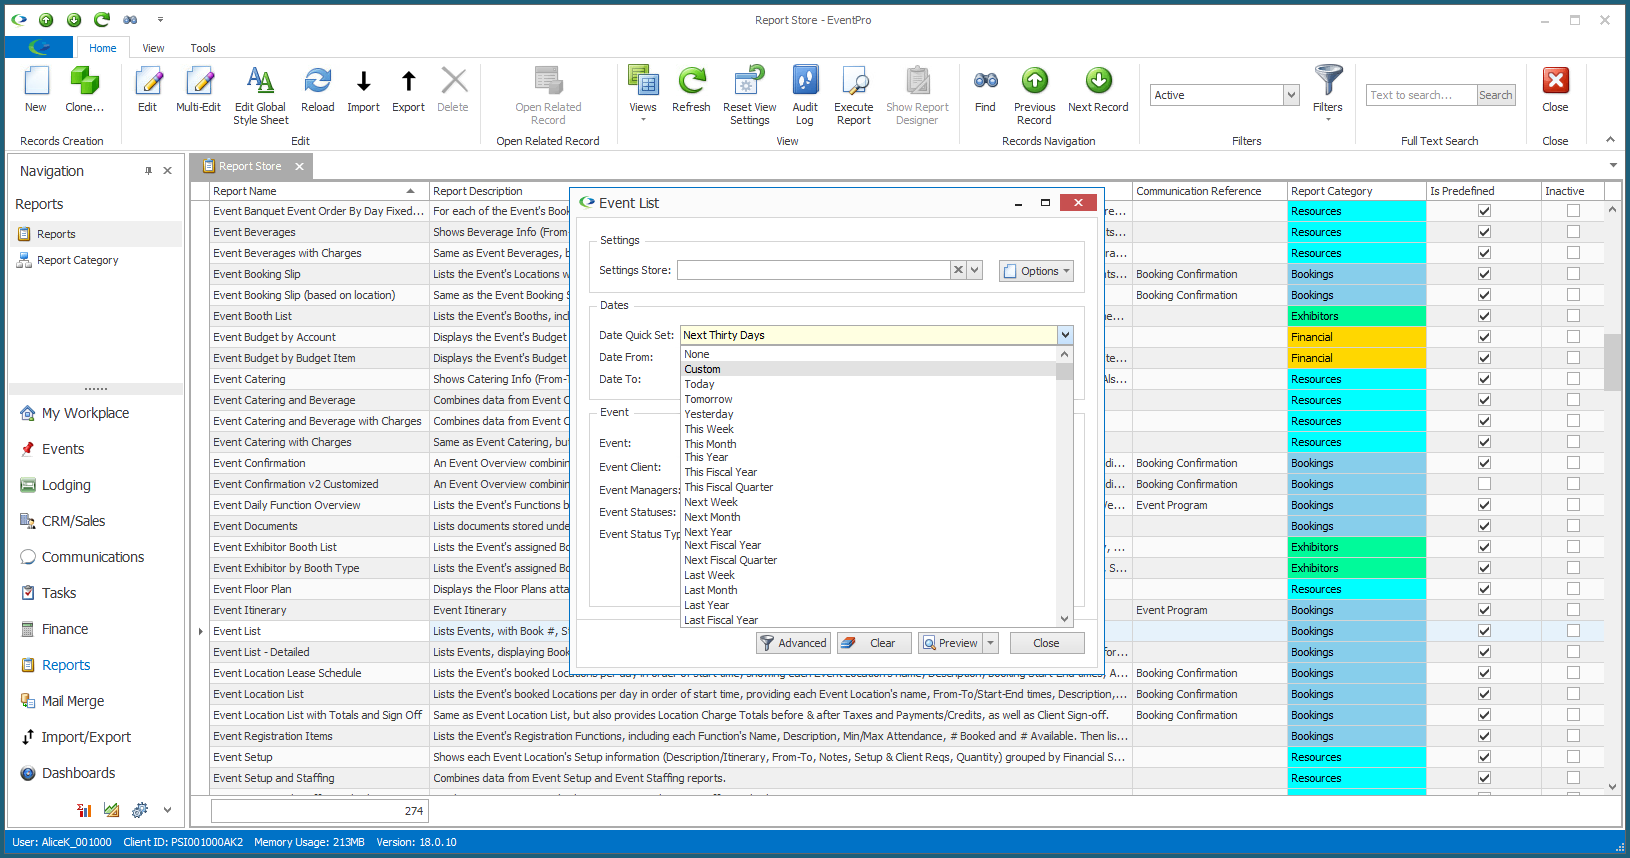
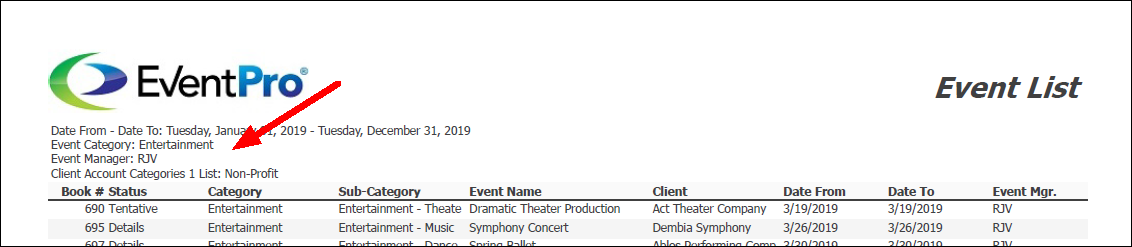
When you print the report, your filter selections will be listed under the header of the report.

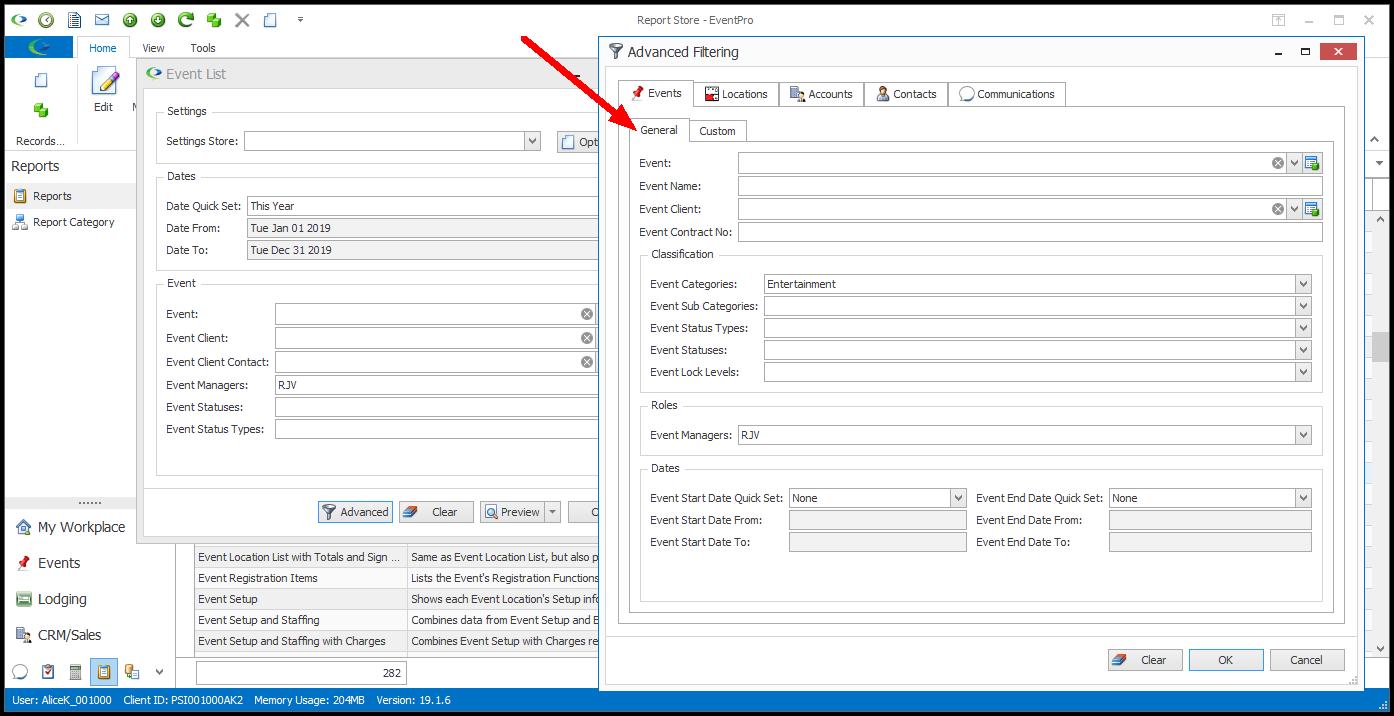
d.For additional filtering options, click the Advanced button to open the Advanced Filtering window.
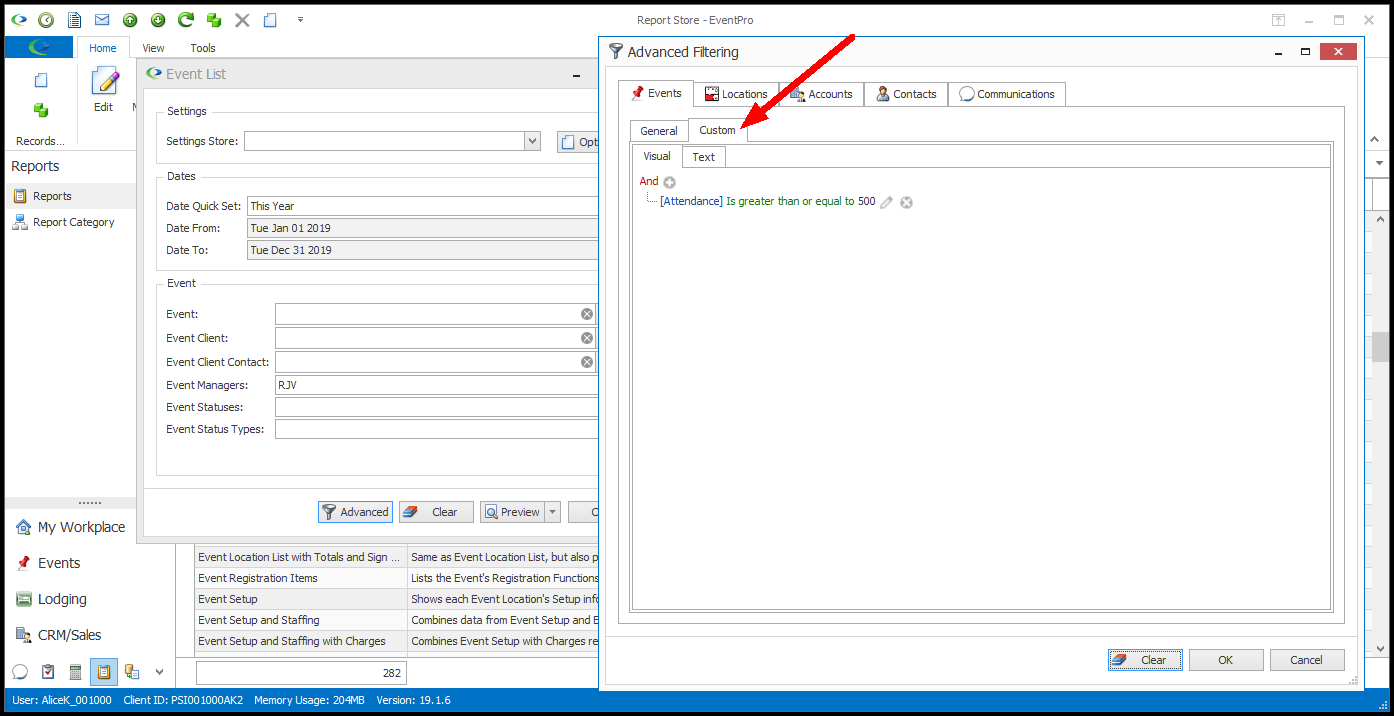
There will be various tabs in the Advanced Filtering window, depending on the report you are running. For example, the Event List report's Advanced Filtering window will have tabs for Events, Locations, Accounts, Contacts, and Communications, while the Opportunity List report's Advanced Filtering window will have tabs for Opportunities, Accounts, Contacts, Leads, and Communications.
Each tab in the Advanced Filtering window will have two sub-tabs: General and Custom.
i.The General tab contains pre-set selections.
When you print the report, your Advanced Filtering > General selections will be listed along with your other filter selections under the report's header.
ii.Under the Custom tab, you can construct your own custom filter. For additional instructions about constructing filter conditions, see Common Procedures | Construct Filters.
NOTE: When you print the report, the Custom filter text will only appear along with the other filtering selections under the report's header if the Add Custom Filter Text to Reports setting is turned on under General System Settings.

iii.When you are done setting criteria in the Advanced Filtering window, click OK to return to the Filter Settings window.
e.If you want to completely clear all filter selections and start over, click the Clear button at the bottom of the Filter Settings window. This will completely clear the filter.
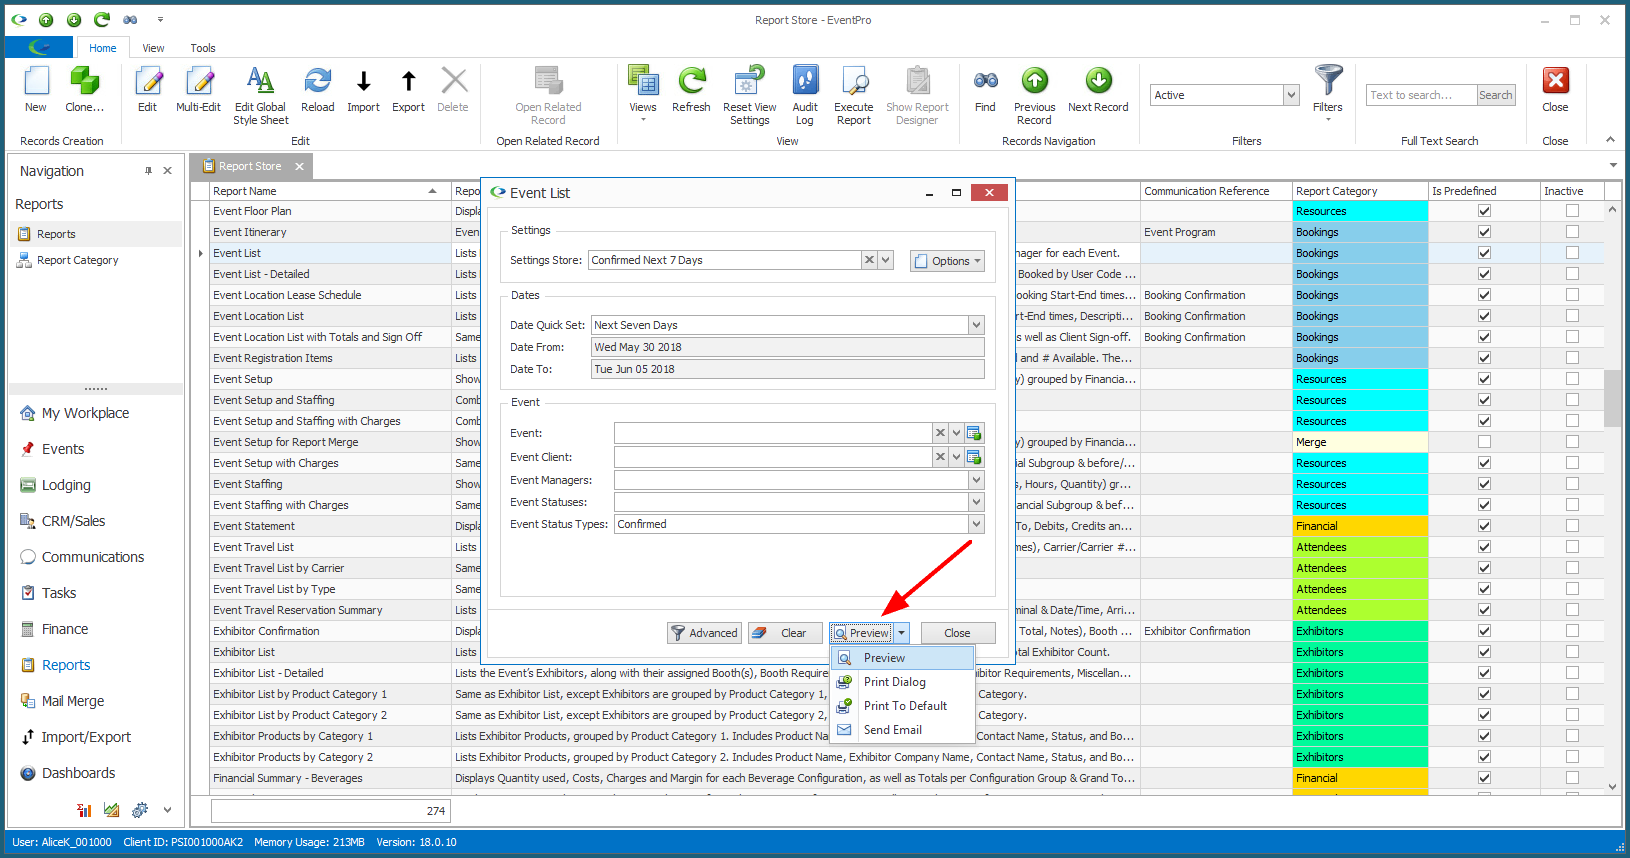
3.After you have selected your filter criteria, if any, you can choose the print destination for the Report: Preview, Print Dialog, Print to Default, or Send Email.
a.The Print button will be set to the default selected for your Security User. Check the "Default Print Destination" under Security Setup > Users > Create New User > Options.
b.However, you can also use the drop-down arrow to manually select the print destination you want to use.
c.Follow the links below to continue with each kind of print destination:
i.Preview
ii.Print Dialog or Print to Default
iii.Send Email