•You can save the Report directly to a Documents tab, but this option will only appear if the report data is for one record - e.g. one Event, one Attendee, etc. - and that record supports documents, i.e. has a Documents tab. (If, for example, you run an Event Confirmation Report for all the events in your database, you will not get the option to save the report to Documents.)
1.Click the Export To button for the export format you want to use.
2.If this is an eligible report (i.e. you have filtered the report to one record that supports Documents), you will get a Confirmation dialog that asks if you want to export the report to Documents.
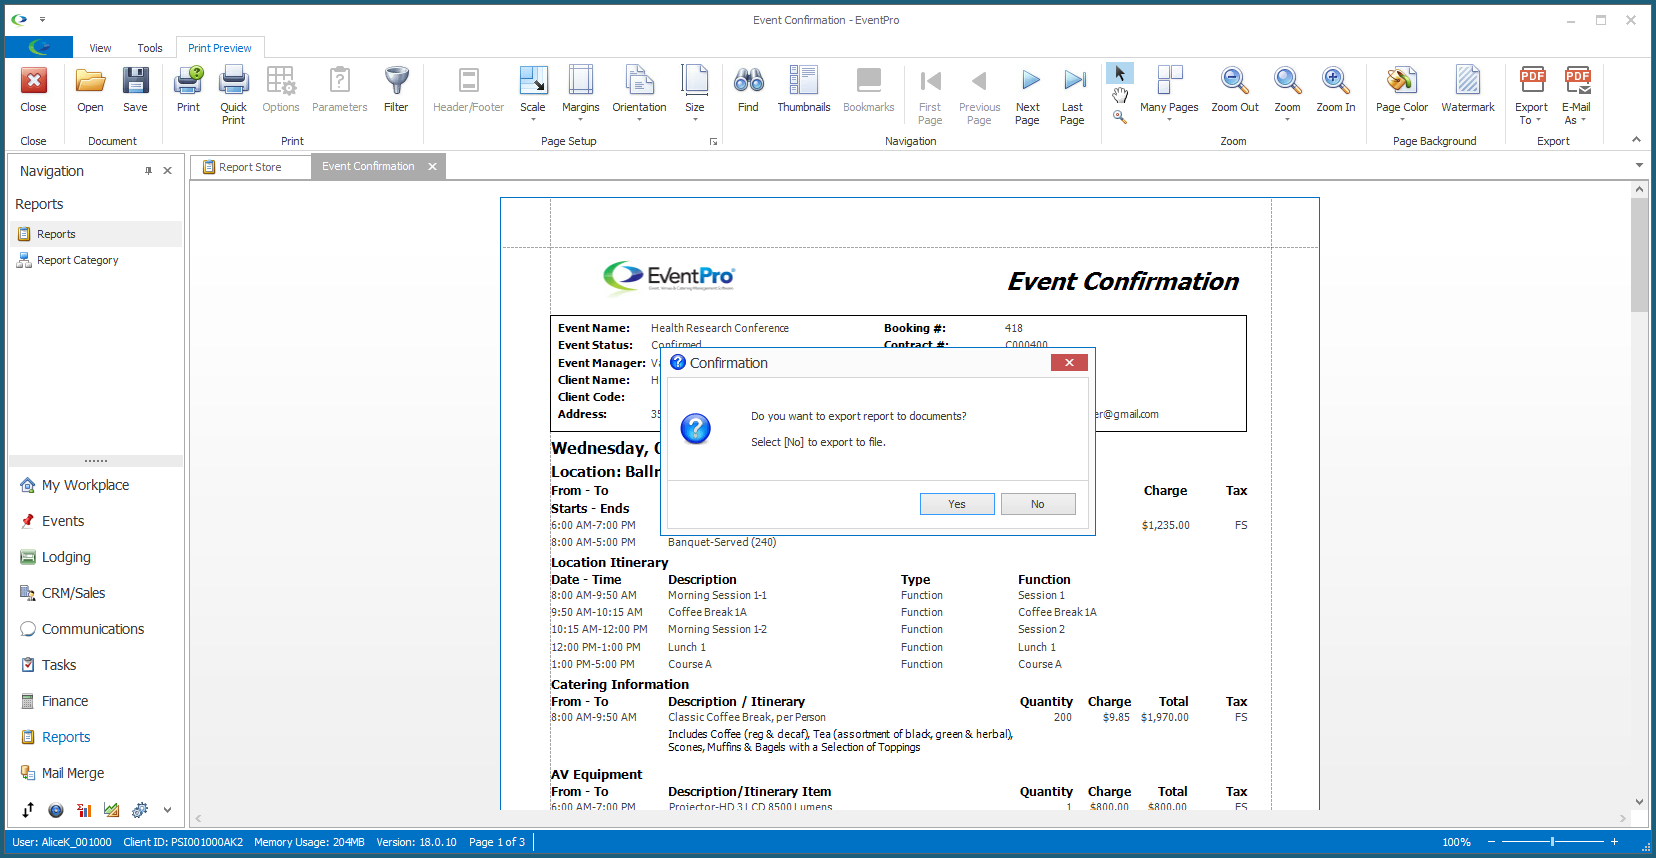
3.Click Yes. (If you click No, the regular Export Options dialog will appear.)
4.The Save Report to Documents form appears.
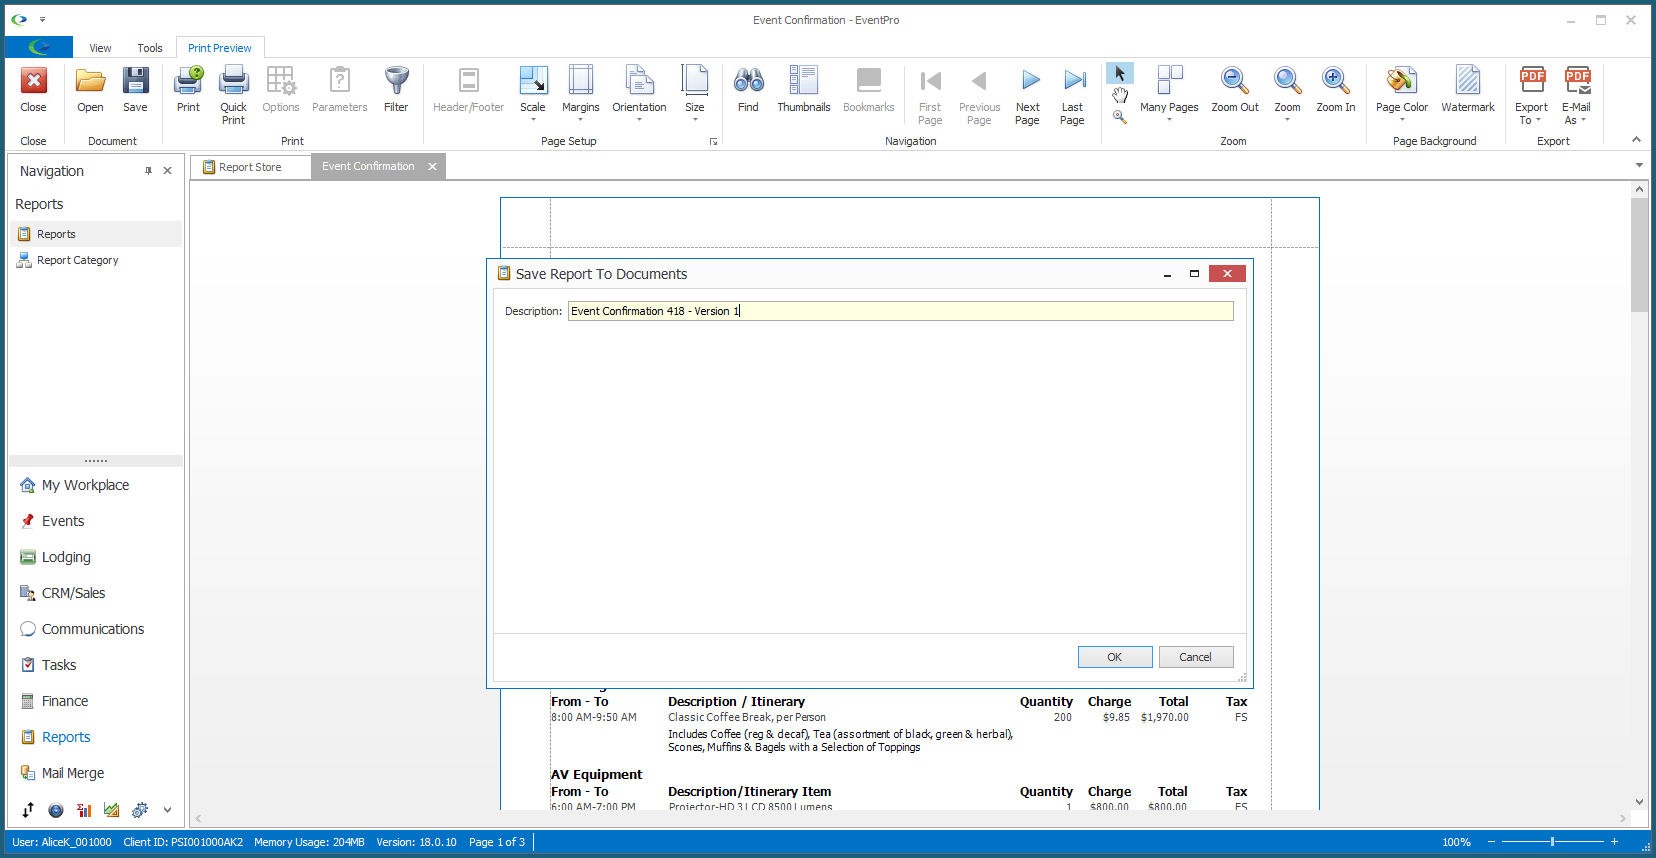
5.The Description of the saved document will default to the report name, but you can edit the Description as required, particularly if you will be saving multiple versions of the same report.
6.Click OK.
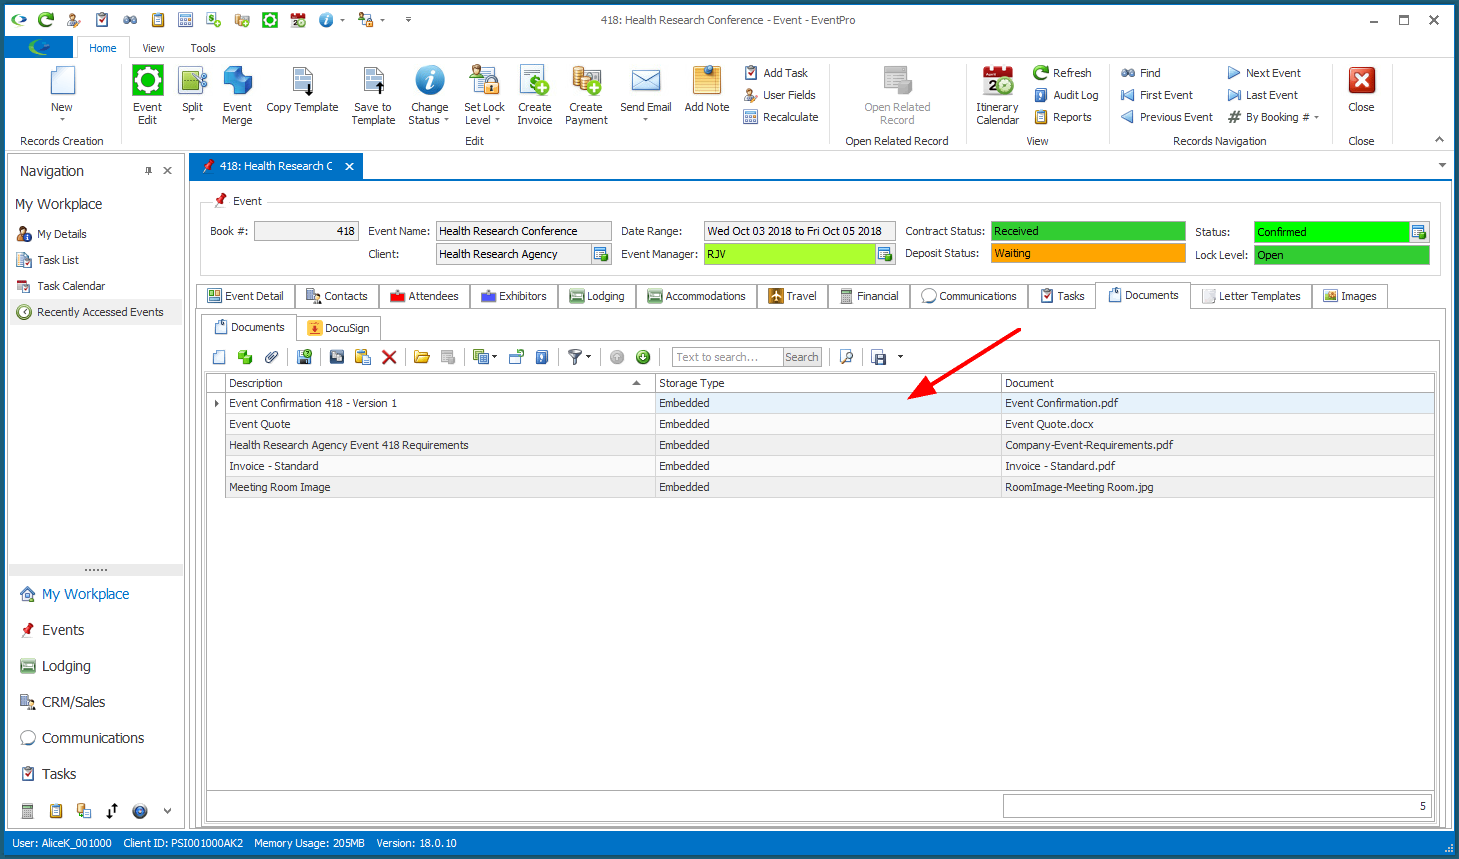
7.You will remain in the Report Preview screen, but if you navigate to the Documents tab of the relevant record (e.g. Event, Attendee, etc.), you will see that the report has been saved there.