•Remember that you need to stop the Virtual Assistant Service in order to add and edit Assistants.
•Click the Stop button next to the Status field.
1.Using the drop-down arrow next to the New button, select the type of new Calendar Event Assistant Item you want to create. You can also right-click in the Assistants grid, and select New > Event Calendar Assistant from the speed menu. Ensure that you are selecting the correct type of Calendar Assistant: Google, Exchange, or Outlook.
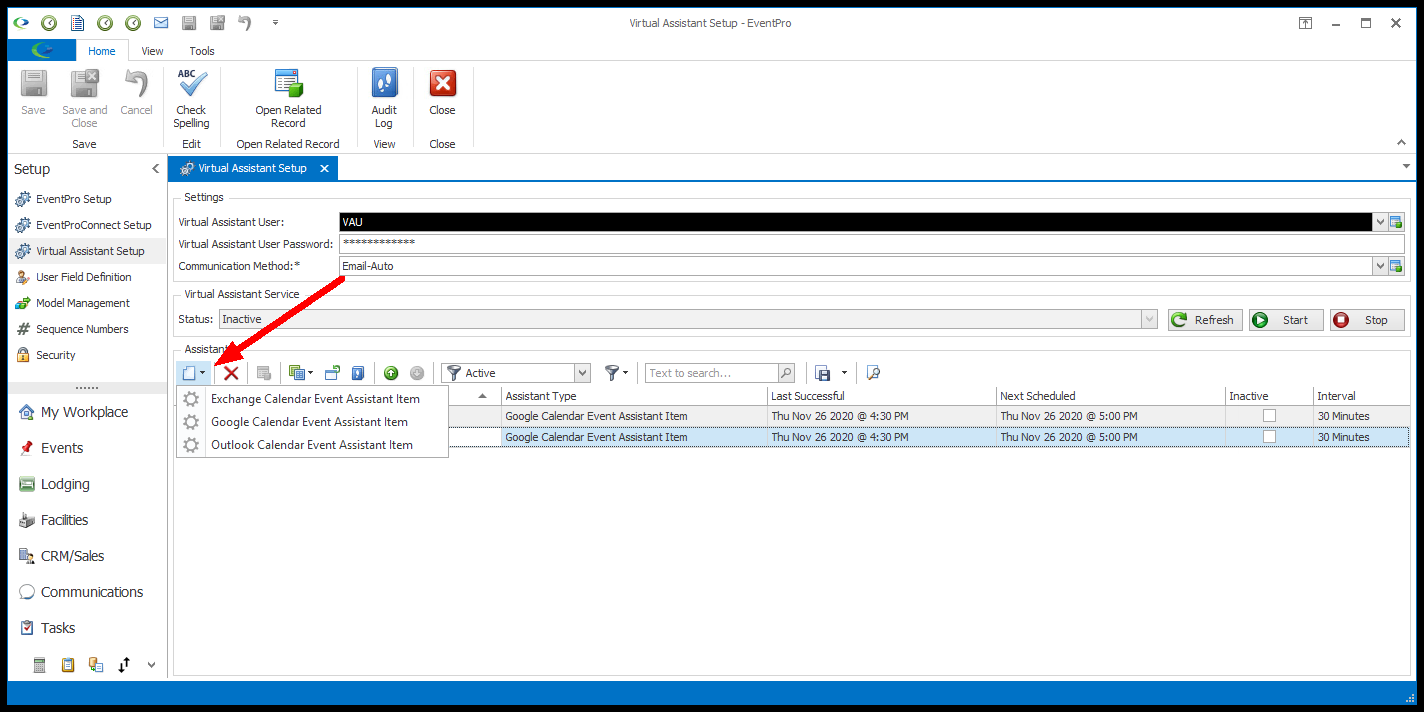
2.The Calendar Event Assistant Item edit form will open. These instructions will use the Google Calendar Event Assistant Item edit form as an example, but you can view the Exchange and Outlook edit forms by clicking the headings below.


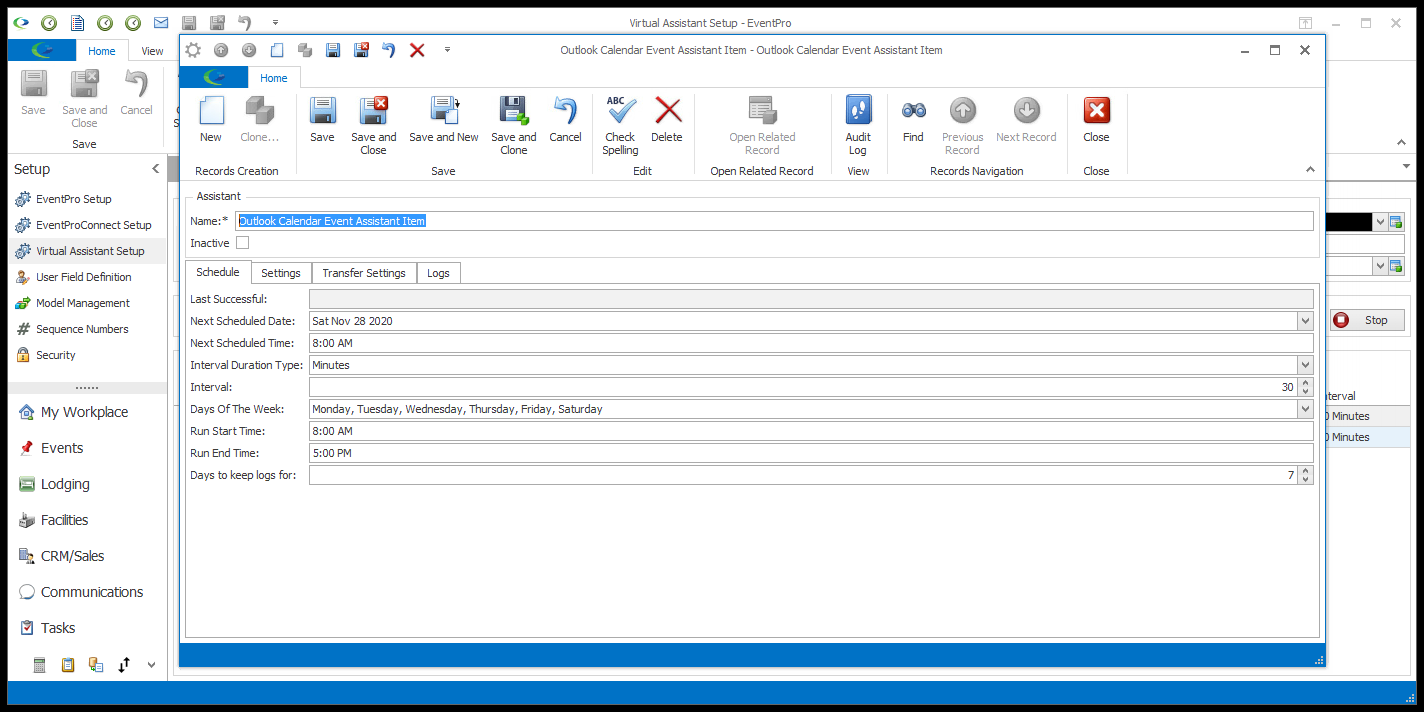
3.Whether you selected Google, Exchange, or Outlook, the edit form will be very similar, except for:
a.The tab of settings specific to the calendar type (Google Settings, Exchange Settings, Transfer Settings for Outlook).
b.The Set Location as Resource and Two-Way Sync settings, which are currently only available for Google and Exchange Calendars.
c.The Clear EventPro Events button, which is only available for Google and Exchange.
4.Name: The Name will default to "Calendar Event Assistant Item", but you can change it to anything you prefer. If you plan on creating multiple Event Calendar Assistants in one type of calendar (Google, Exchange, Outlook), you probably want to name the Assistants something that reflects the different criteria/purposes they each have.
5.Clear EventPro Events (Google or Exchange only): Clicking this button will clear all EventPro events from the connected Google/Exchange Calendar.
a.This option can be handy if you want to start fresh with the Google/Exchange Calendar and re-populate it with updated EventPro event data on the next run.
b.However, note that this does not clear any events you would have manually added to the Google/Exchange Calendar; it only clears the events from EventPro.
6.Inactive: The Assistant will be set to active by default, assuming that you want it to be active upon saving it; however, you can select the Inactive checkbox if you want the Assistant to be inactive for now.
Next: Schedule tab