Any time you want to add or edit Assistants, you need to first Stop the Virtual Assistant Service.
Edit Existing: If you want to edit an existing Assistant, double-click the relevant Assistant record in the selection grid.
Create New: Using the drop-down arrow on the right side of the New button, select the type of Assistant you want to create.
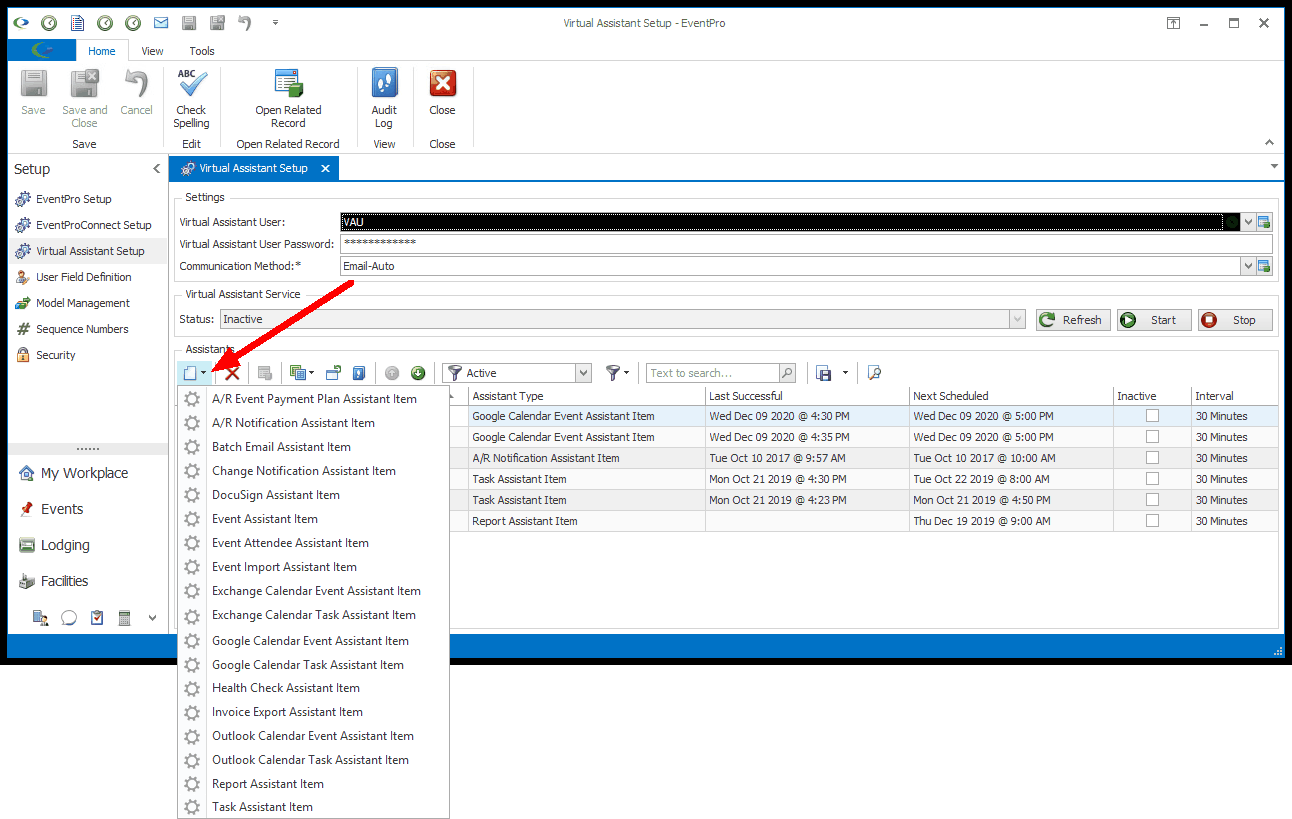
The Assistant Item edit form opens.

Figure 958: Change Notification Assistant
Name
The Assistant Name will default in, but you will probably find it helpful to change the Name to reflect the specific type and purpose of the Assistant, particularly if you plan to create multiple Assistants of the same type.
For example, if you are creating multiple Change Notification Assistants, you should probably distinguish them by giving each Assistant a unique name based on its table, operation, and criteria.
Inactive
The Assistant will be set to active by default, assuming that you want it to be active upon saving it.
However, you can select the Inactive checkbox if you want the Assistant to be inactive for now.