•There are several different locations in EventPro where you can add images to records. While the records are different, the process of adding images will be essentially the same.
•About Image Size:
oIdeally, images should be 100 KB or smaller. Loading large images into EventPro will cause speed, memory, and email issues.
oThe maximum allowed image size is 400 KB.
oIf you attempt to load an image larger than 400 KB, the image will be automatically compressed. If that compressed image is still greater than 400 KB, the loading will fail. The compression algorithm is intended to prevent excessive compression that results in a degraded image.
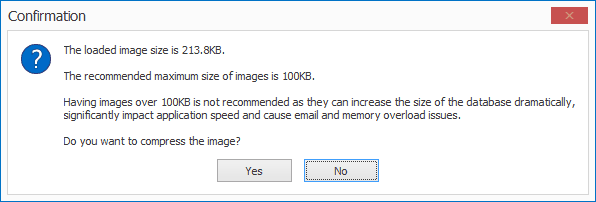
oIf the loaded image size is greater than 100 KB but less than or equal to 400 KB, you will receive a prompt asking if you want to compress the image.
oIf the automatically compressed image is not to your liking, it is recommended that you manipulate the image in an editor of your choice prior to loading.
oTo compress large images that have already been loaded into EventPro, see Compress Image below in this topic.
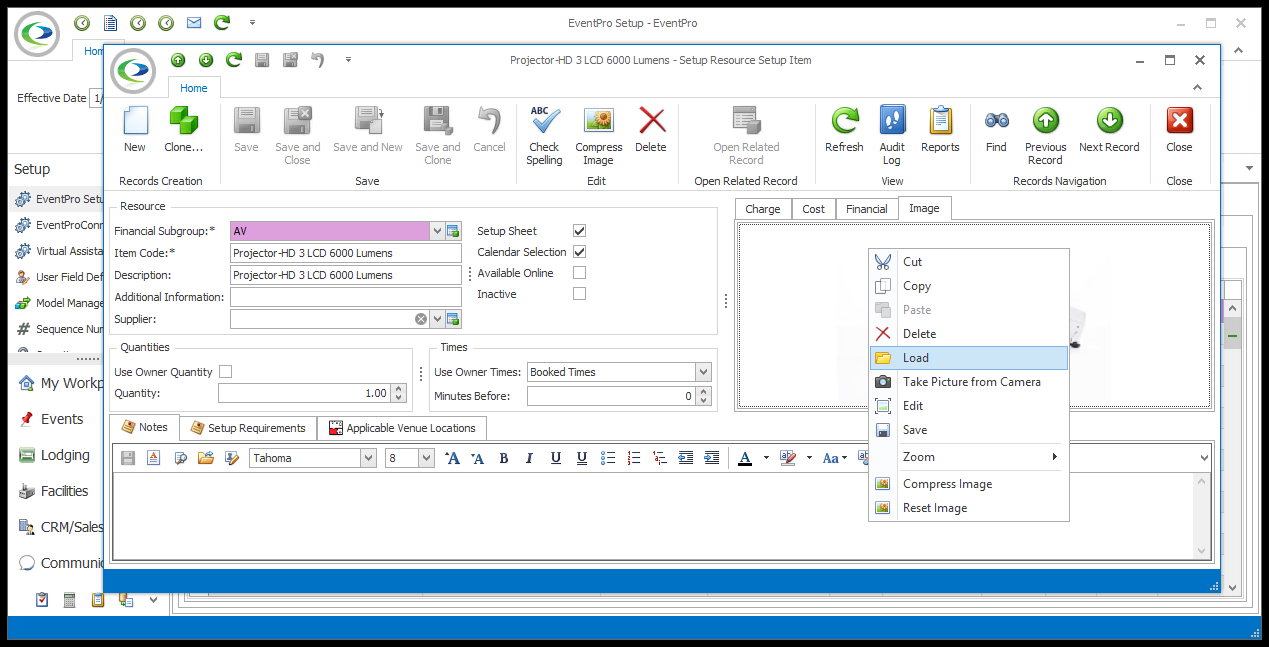
•In the space under the Image tab for the given record, right-click to reveal a speed menu of image-related commands:
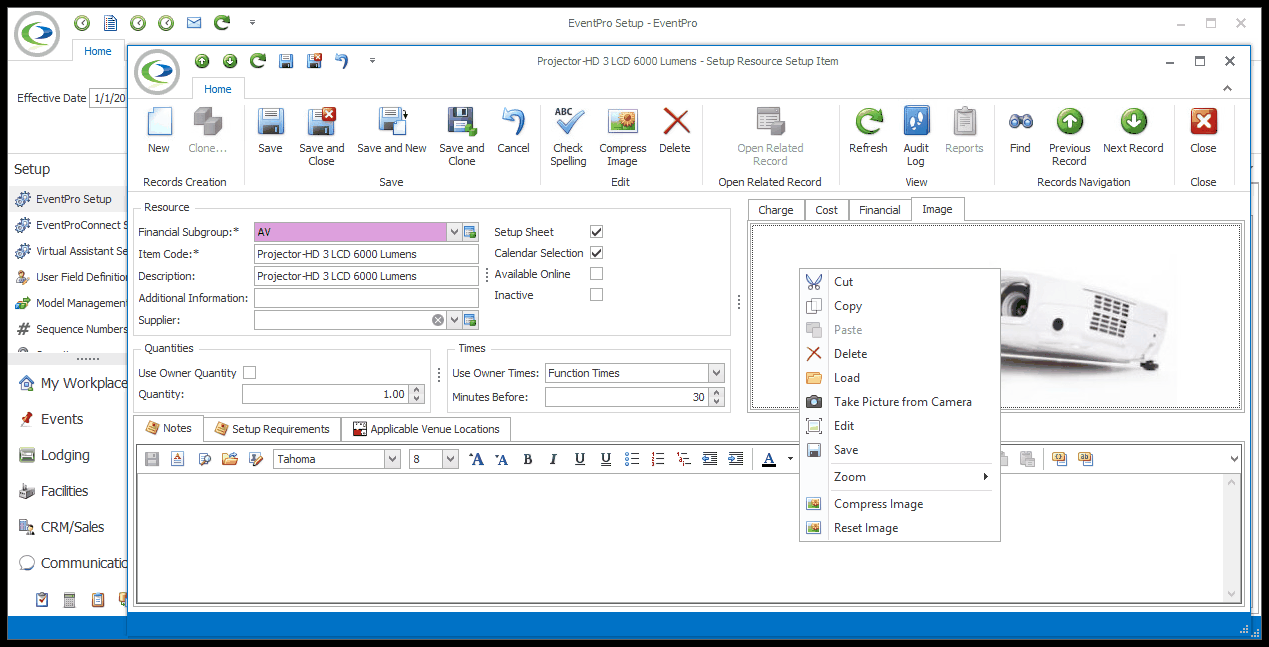
1.Load: Use this command to add an image to the record.
a.After you click Load, the Open window will appear.
b.In the Open window, select the image you want to use and click Open.
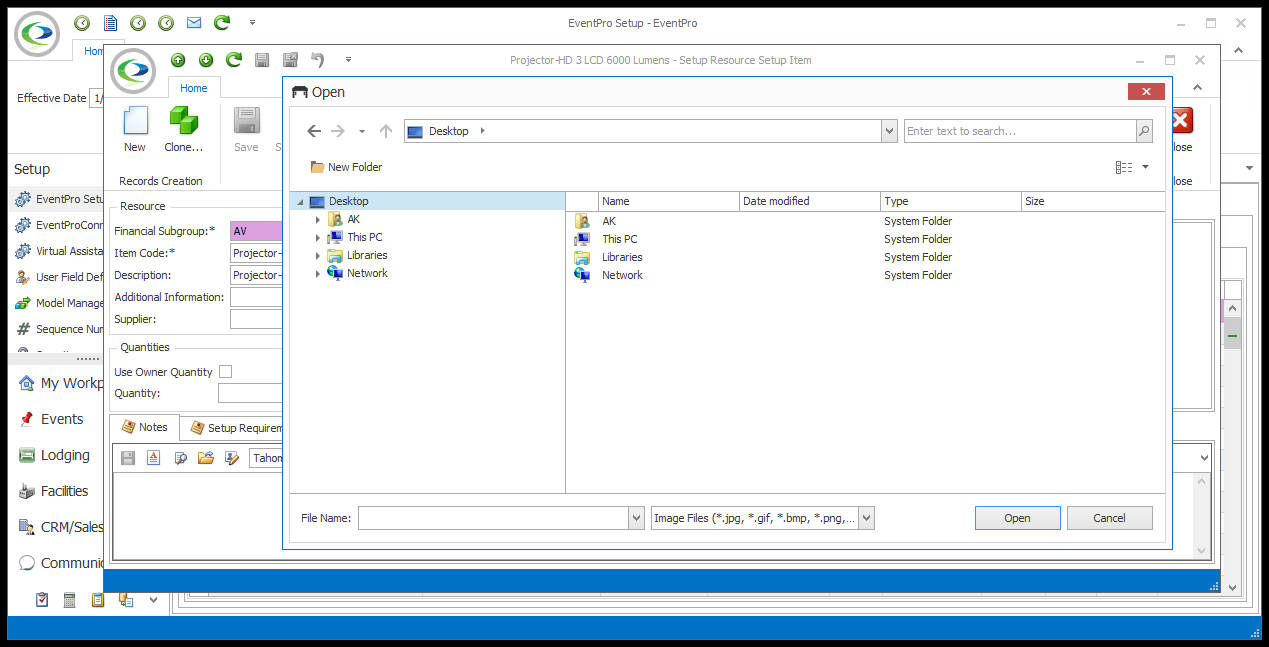
c.The picture will appear in the Image tab.

2.Cut, Copy & Paste: These commands allow you to cut, copy and paste the image within EventPro, or into an outside program.
3.Delete: Clears the image from the Image tab.
4.Take Picture from Camera: This option allows you to take a photo with your computer's webcam, if applicable.
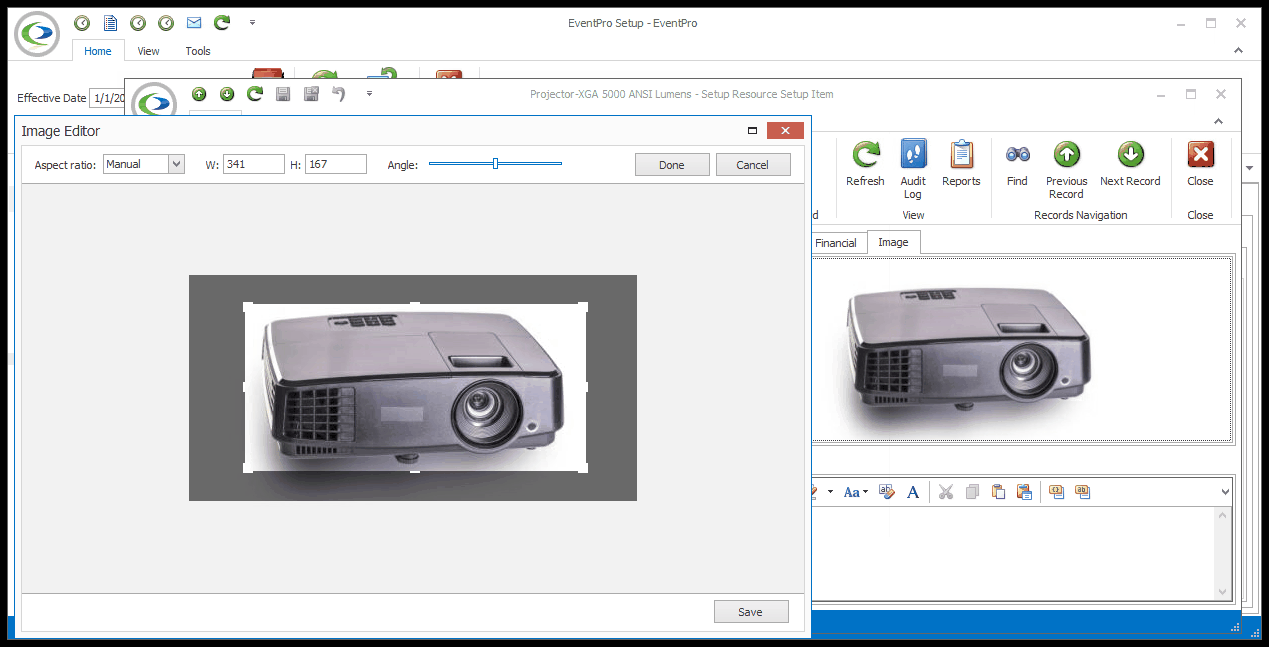
5.Edit: The Image Editor opens, in which you can make changes to the image and click Save.
6.Save: This allows you to save a copy of the image outside of EventPro.
7.Zoom: Choose the image's zoom level and fit under the Image tab - Full Size, Fit Image, Zoom In, or Zoom Out.
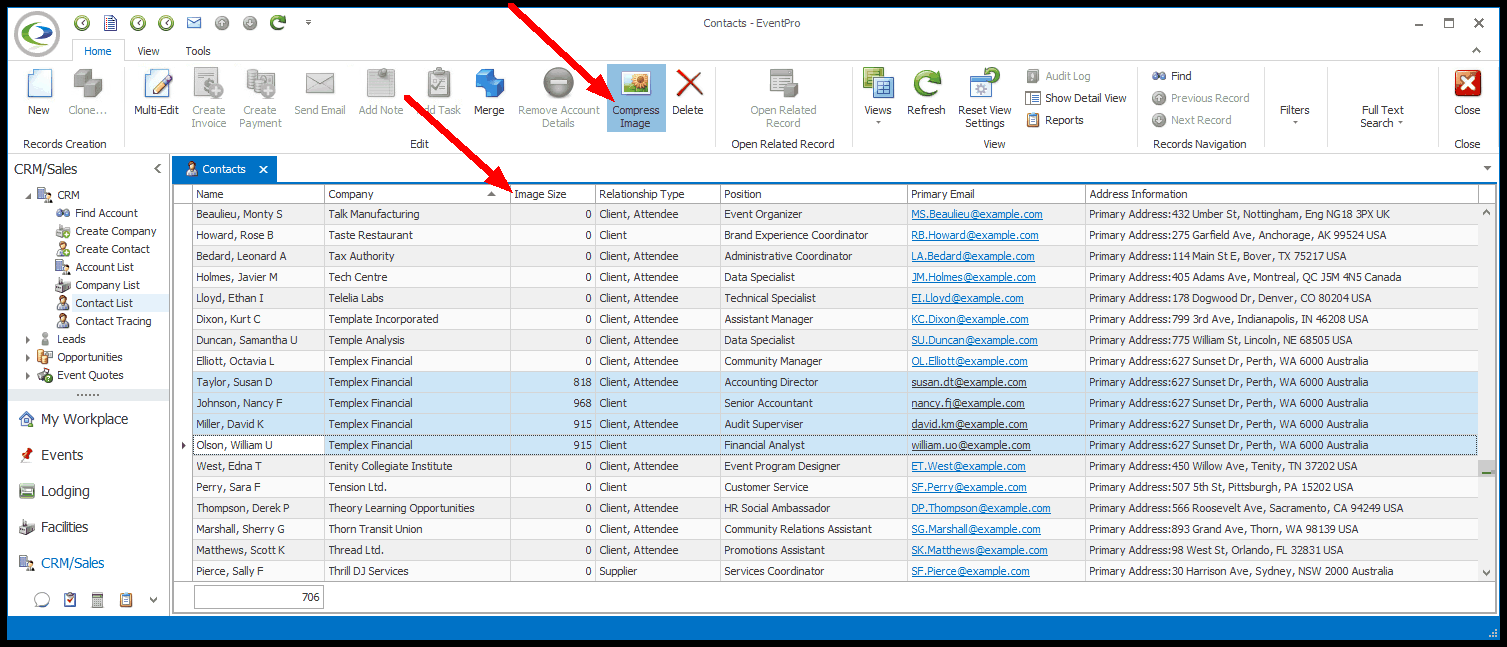
8.Compress Image: For overly large images loaded before EventPro's size restrictions were implemented, you can use the Compress Image command to reduce the image's size.
a.In addition to the right-click speed menu of the image editor, the Compress Image command is also located in the ribbon or toolbar action for any list views/detail views containing objects with an Image property.
b.In a List View, you can select multiple records with images, and use the Compress Image command to compress all of the selected images at once. The dialog will ask if you want to continue with compressing all selected image records; click Yes to continue.
c.You can add the Image Size column to List Views of objects with an Image property, which allows you to filter on that value, and easily identify oversized images for compression.
9.Reset Image: This command is in the right-click speed menu in the Image tab. If you just compressed the image using the right-click speed menu Compress Image command, you can use this Reset Image command to return the image to its pre-compression size.
10.If you are in a record's edit form, ensure that you Save your changes to that record before closing it, in order to save the image with the record.