•The Global Style Sheet allows you to define a set of styles that will be used for all Reports that you run in EventPro.
•When you run reports, they will use your Global Style Sheet by default (unless the Report has been marked to "Ignore Global Style Sheet", which is done in the Report Designer).
1.To define your Global Style Sheet, go to the Report Store, and click Edit Global Style Sheet.
2.The Styles Editor opens.
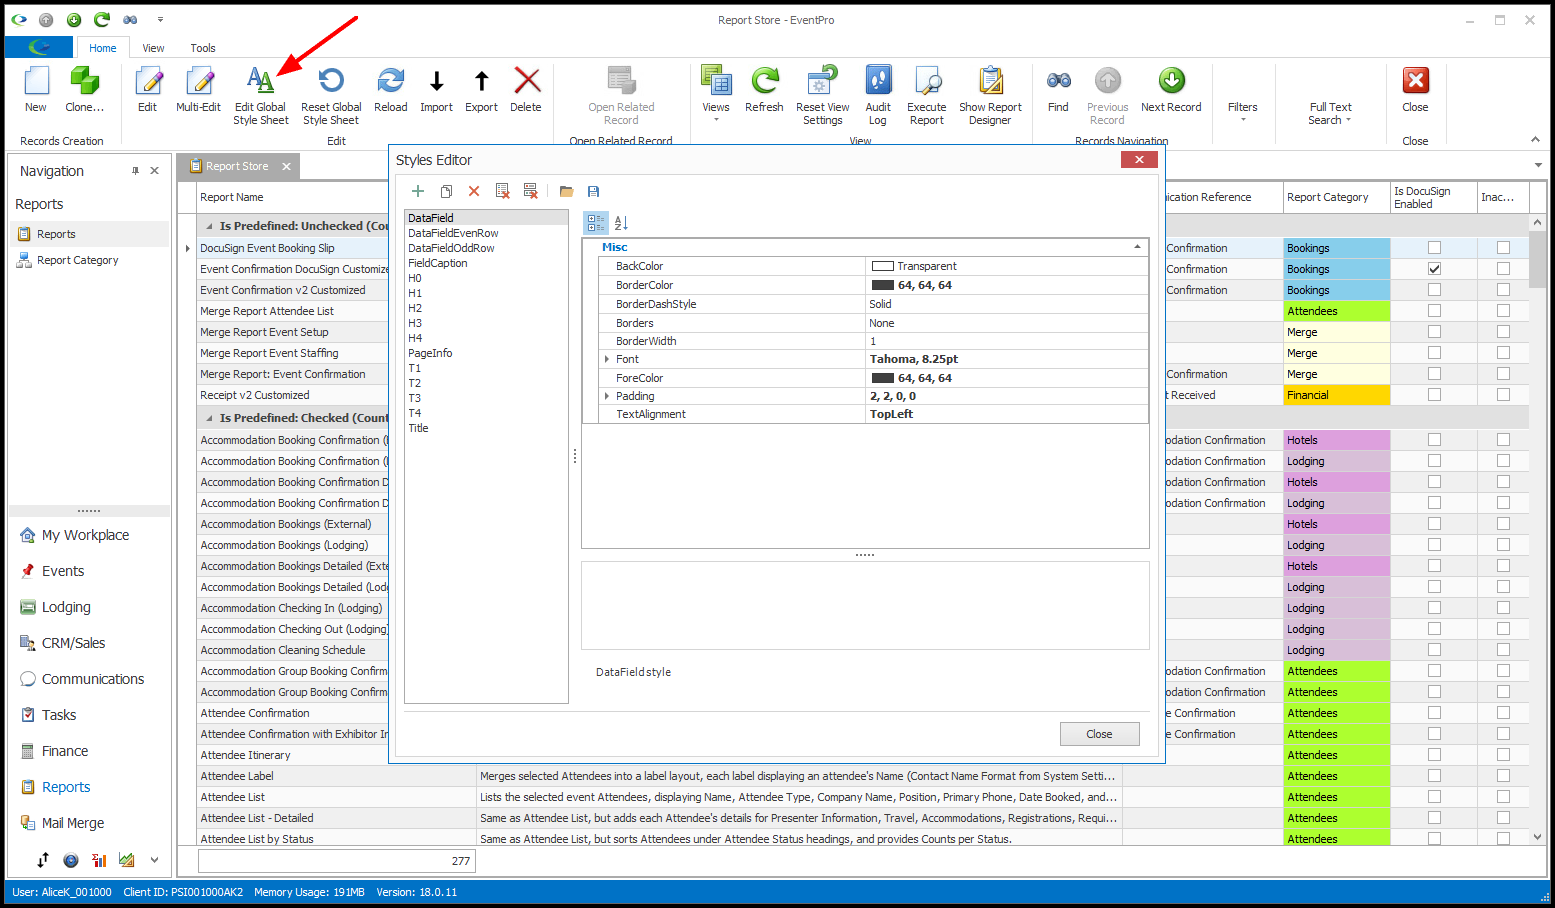
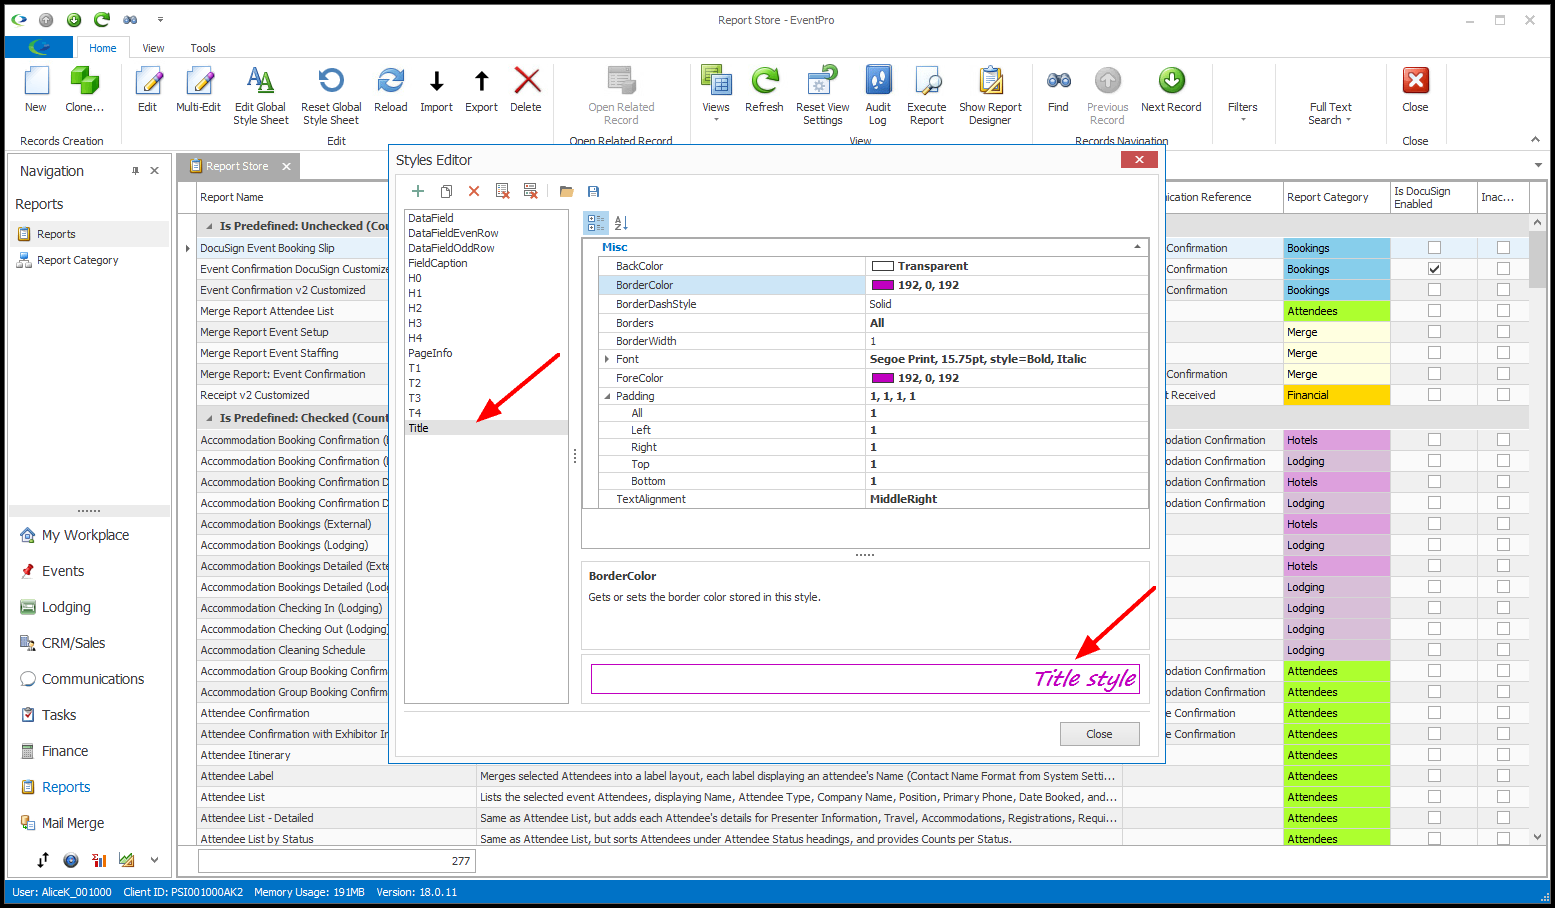
3.View Styles: In the Styles Editor, click on a style (e.g. DataField, H1, PageInfo, Title) in the left panel to view its appearance properties in the upper right section of the window.
A preview of the selected style appears in the bottom right section of the window.
4.Edit Styles: You can make changes to the style's appearance properties as you require.
NOTE: You always have the option to return to the default styles if your style editing doesn't work out.
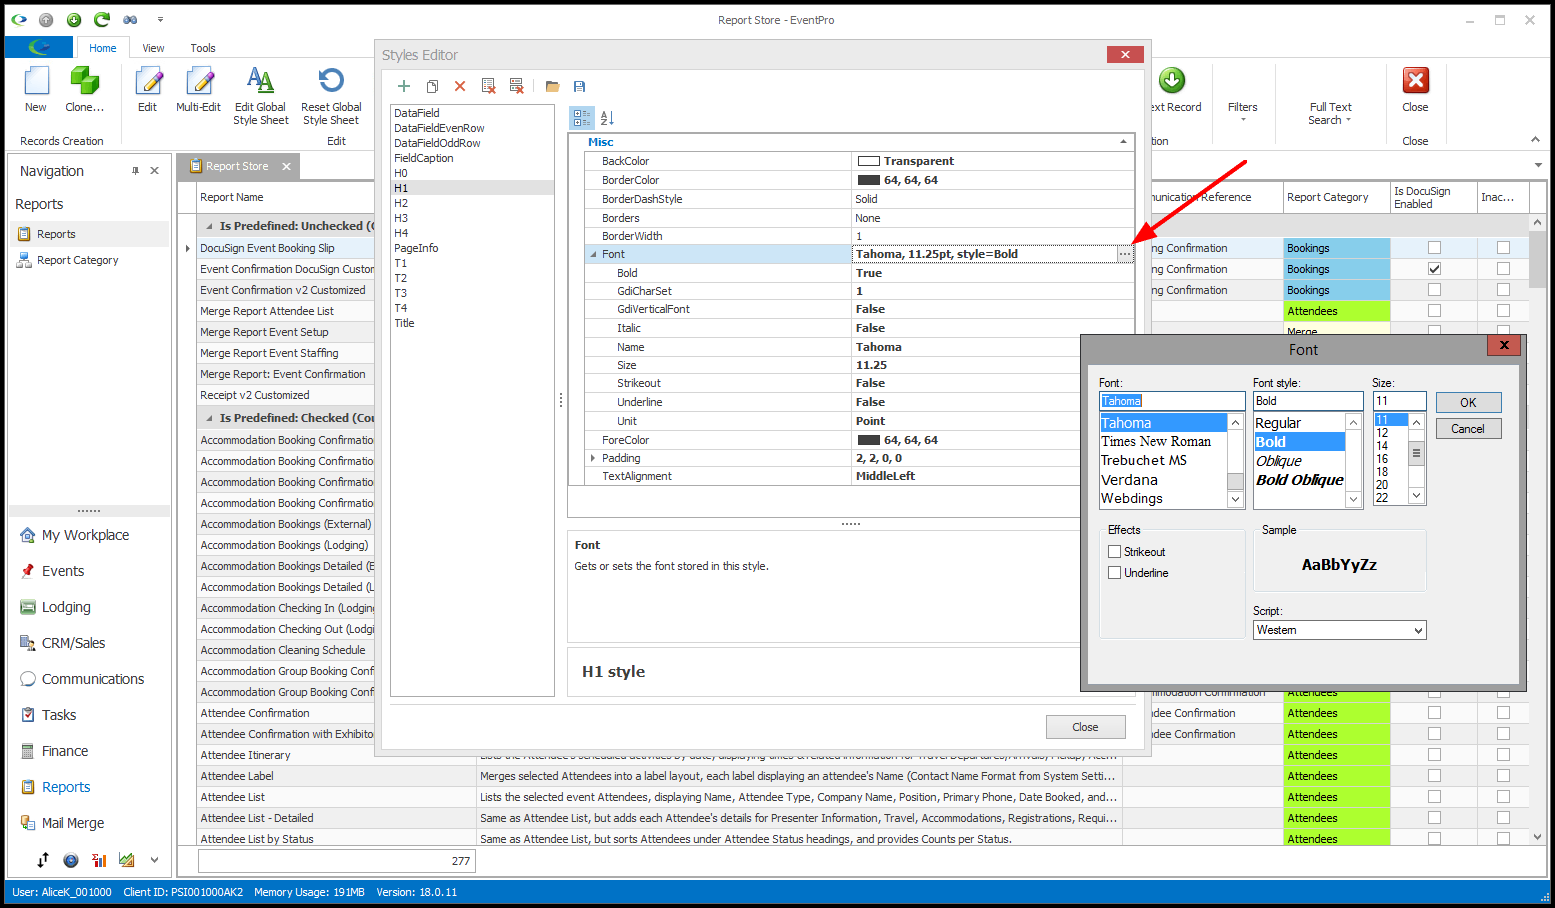
a.Font: To change the Font for the selected style, click the small arrow to the left of the Font field to expand the fields below, or click the ellipsis to the right to open the Font window.
Make your selections in the Font window, and click OK.
When setting the Font size, be careful not to make the font too large, as it may cause some of the report fields to break onto a second line. You may have to run a few preview reports to fine-tune your font selections.
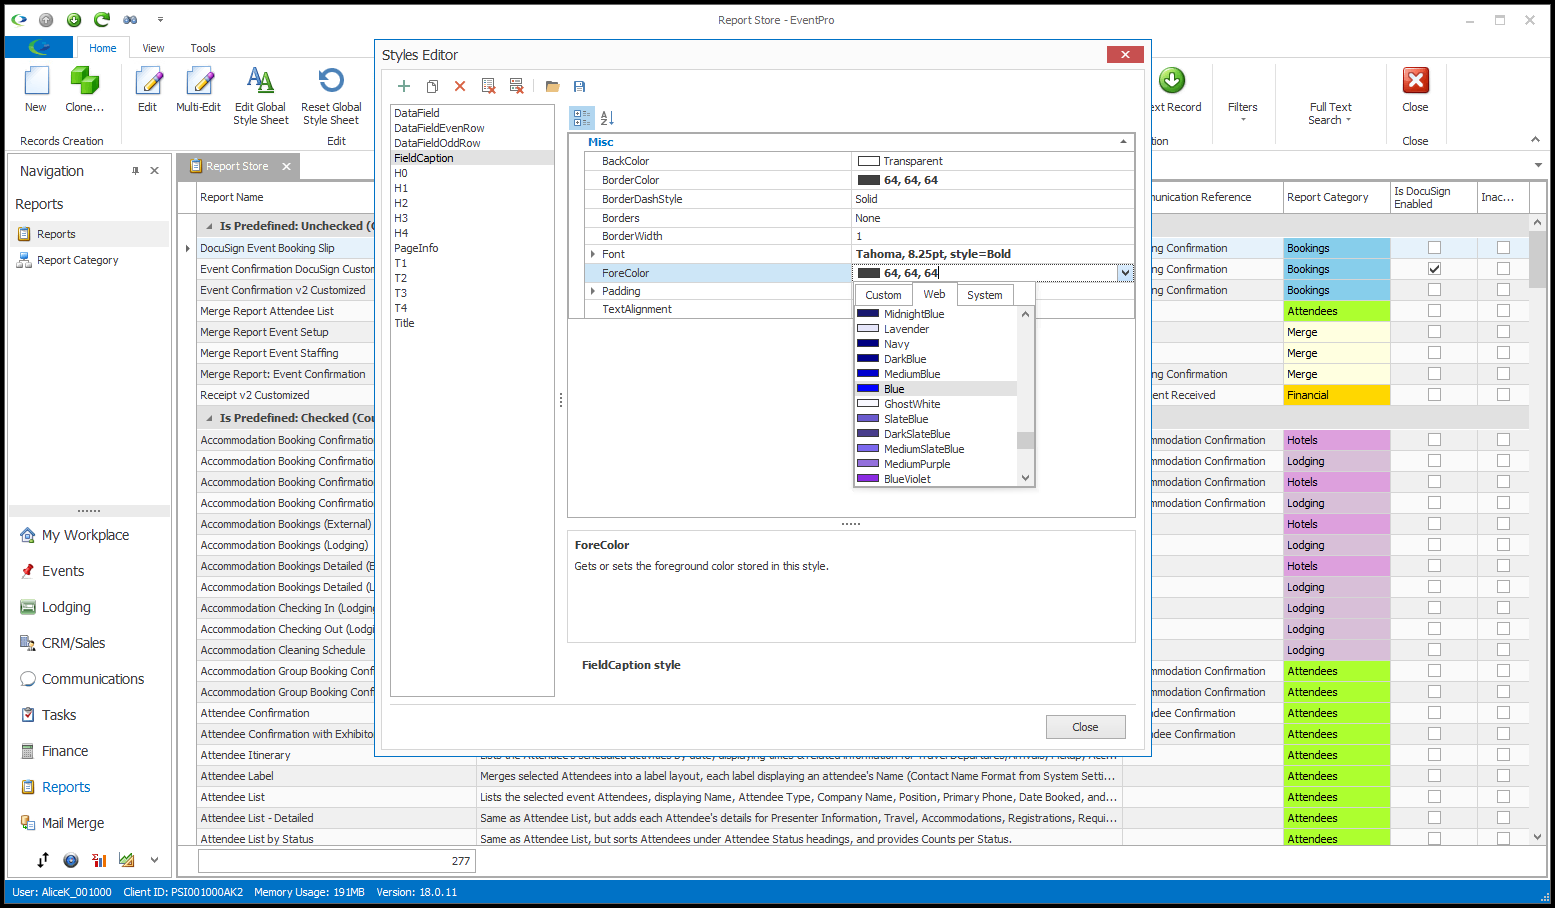
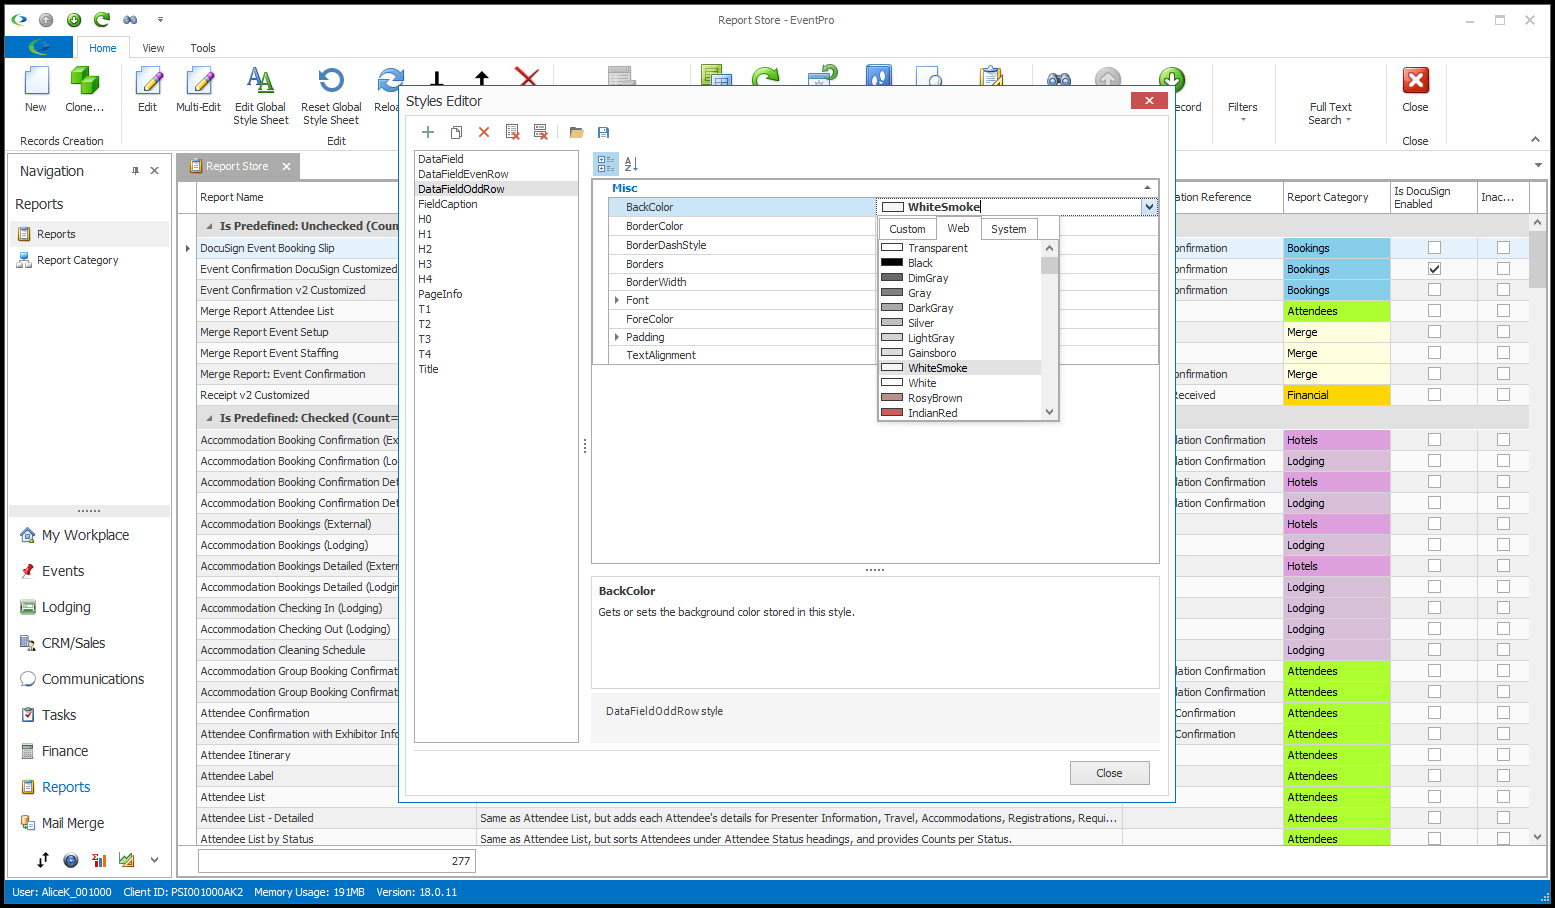
b.ForeColor: You can select a different text color for the selected style from the drop-down.
c.BackColor: You can select a Background Color for the style from the drop-down.
You can set different background colors for even and odd data rows (DataFieldEvenRow, DataFieldOddRow), which can help distinguish records in a long list.
d.Borders: To set borders for a style, choose the Border Color, Border Dash Style, and Border Width. You then select which Borders are visible: Left, Right, Top, Bottom, All, or None.

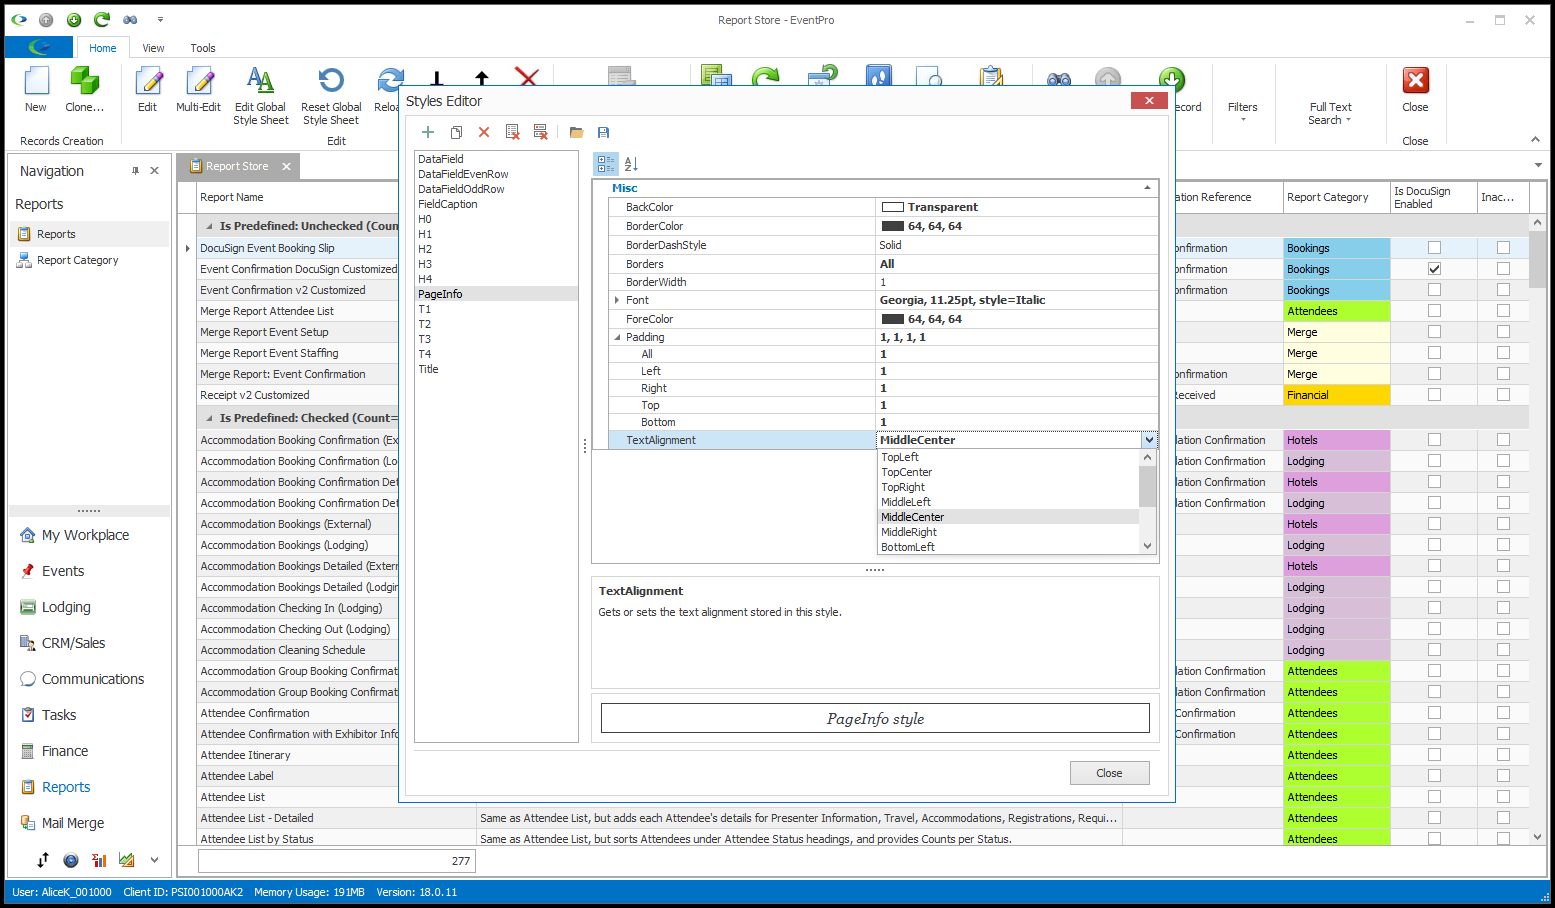
e.The Padding fields allow you to add space between the style's text and the edge of its container at the Top, Bottom, Left, Right, or All edges.
You can also choose the Text Alignment from the drop-down.
5.Save to File: When you have a collection of styles set up the way you like, you may want to save the file.
a.Click the Save button at the top of the Styles Editor window.
b.The Save As window appears. Navigate to the folder in which you want to save the Report StyleSheet file (*.repss). Name the file, and click Save.
c.The file will save all of the current style selections, so ensure that you don't save over a different set of styles you want to keep.

6.Load From File: If you have a set of styles saved in a file, you can Load those styles into the Styles Editor.
Note that the loaded styles will completely overwrite all existing styles. If you have added any new or cloned styles, they will be deleted.
a.Ensure that you have a Report Style Sheet file saved in a location you can access.
b.First, you need to delete all of the styles from the Styles Editor.
Click the Clear Styles button.
The dialog asks if you want to proceed with removing all styles; if you are certain you want to remove the styles, click Yes.
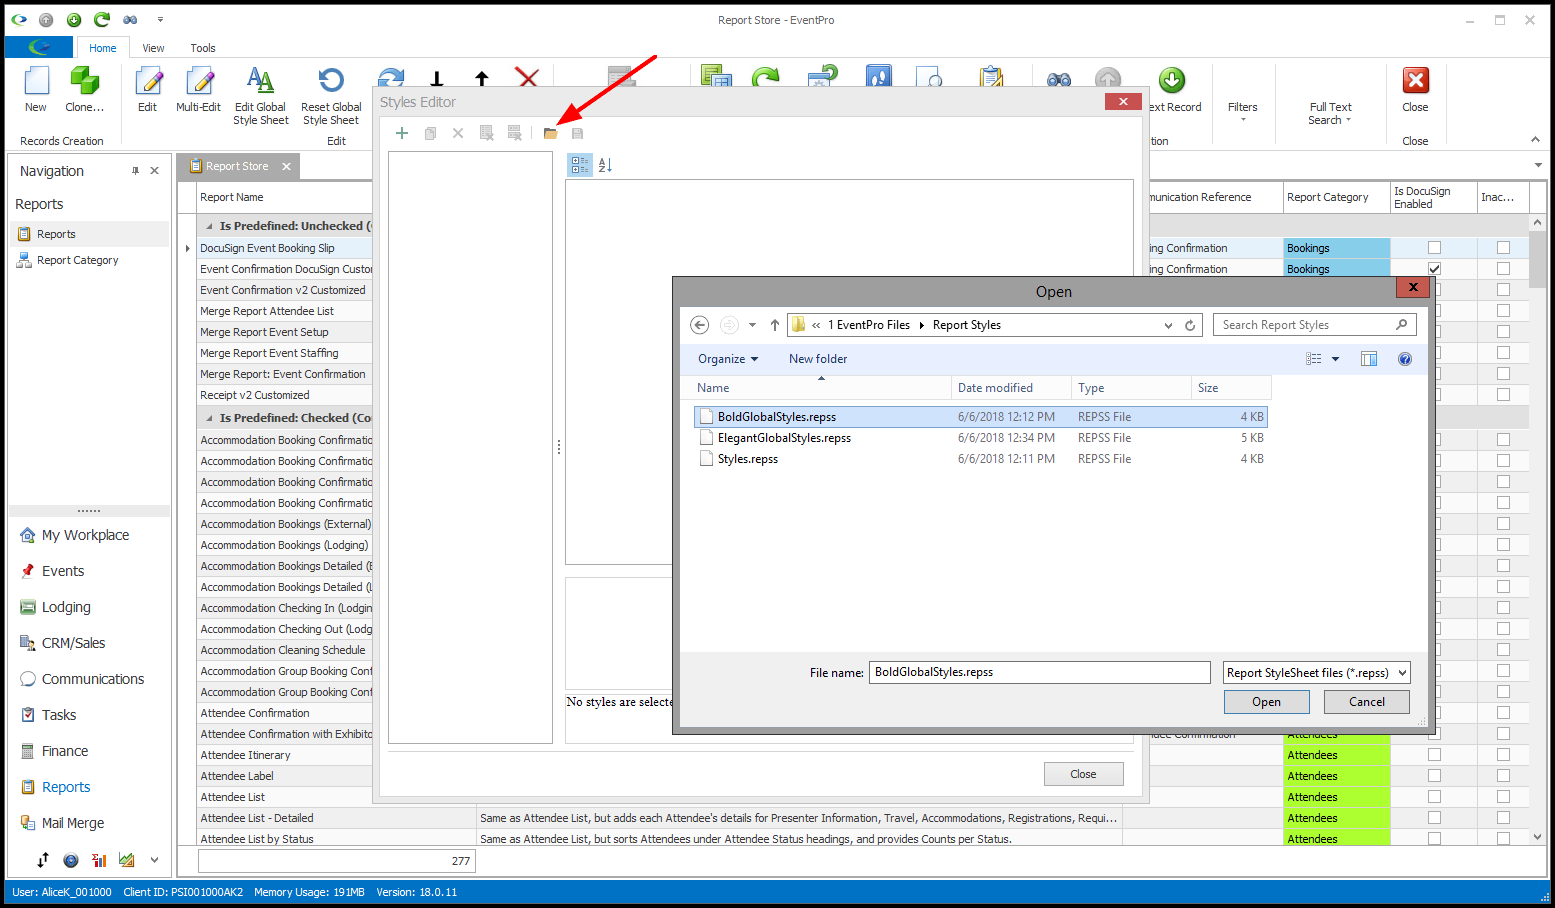
c.Next, click the Load button.
In the Open window, navigate to the correct folder, select the file, and click Open.
d.The saved styles will be pulled into the Styles Editor.
7.Add or Clone Style: You can create a new or cloned Style in the Styles Editor. However, any new style you create here will not be used unless you edit a report in the Report Designer and apply the style, which requires somewhat more advanced report-building skills. The typical User will simply edit the existing styles in the Global Style Sheet.
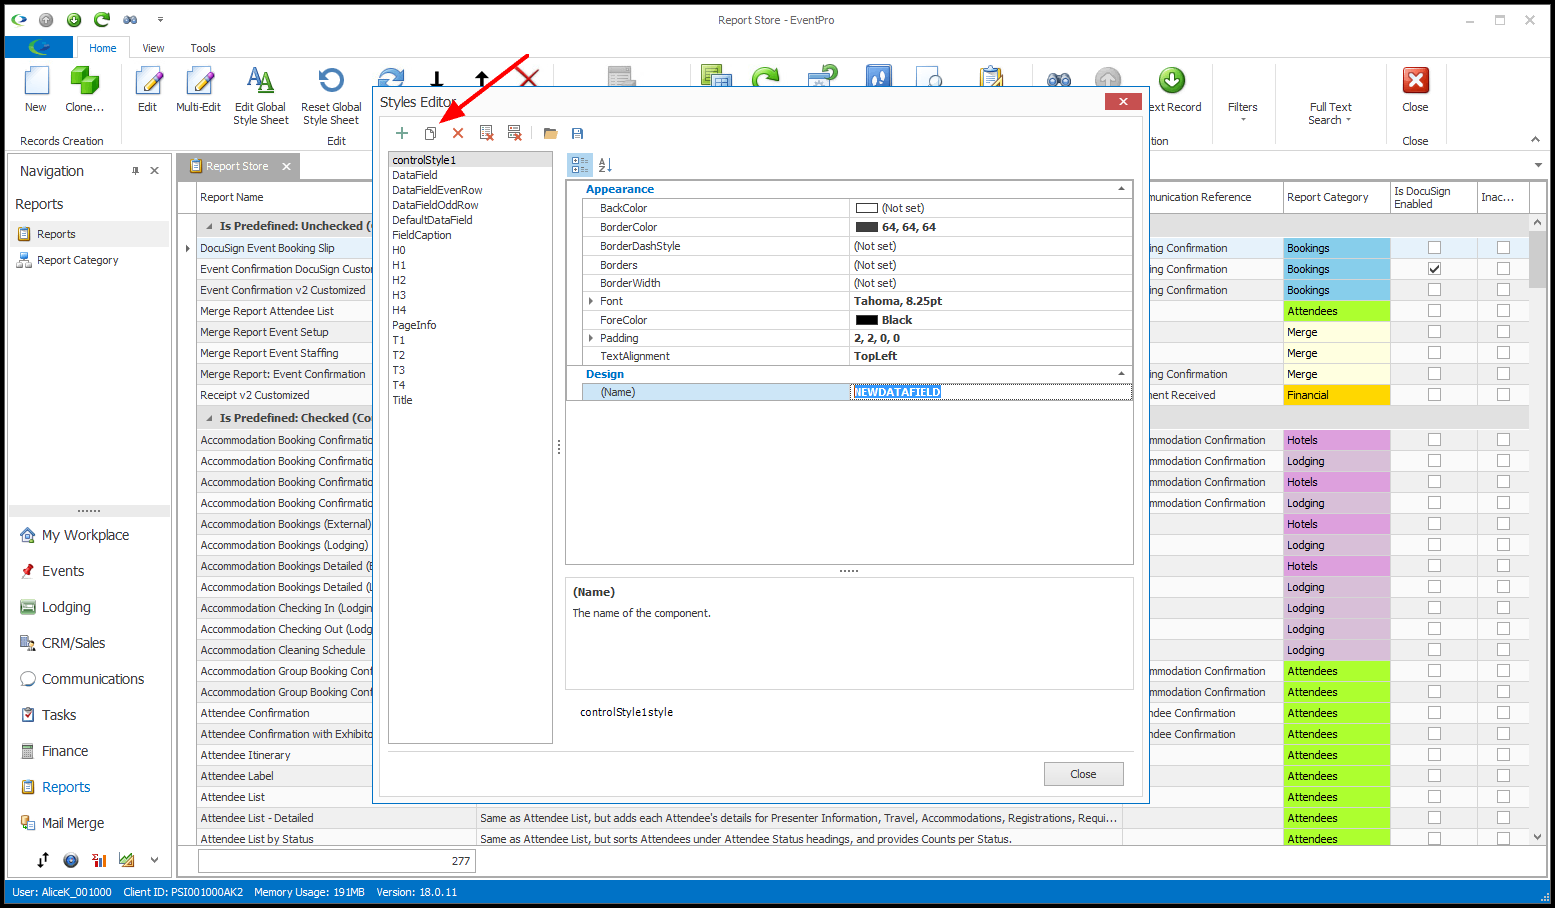
a.To add a completely new style, click the Add a Style button.
b.To clone an existing style, select the style in the left panel, and click the Clone a Style button.
c.The new/cloned style will initially be called "ControlStyle1", or similar. You can type a new Name in the right panel.
d.Make any other changes you require for the style's properties.
8.When you are done with the Styles Editor, click Close.
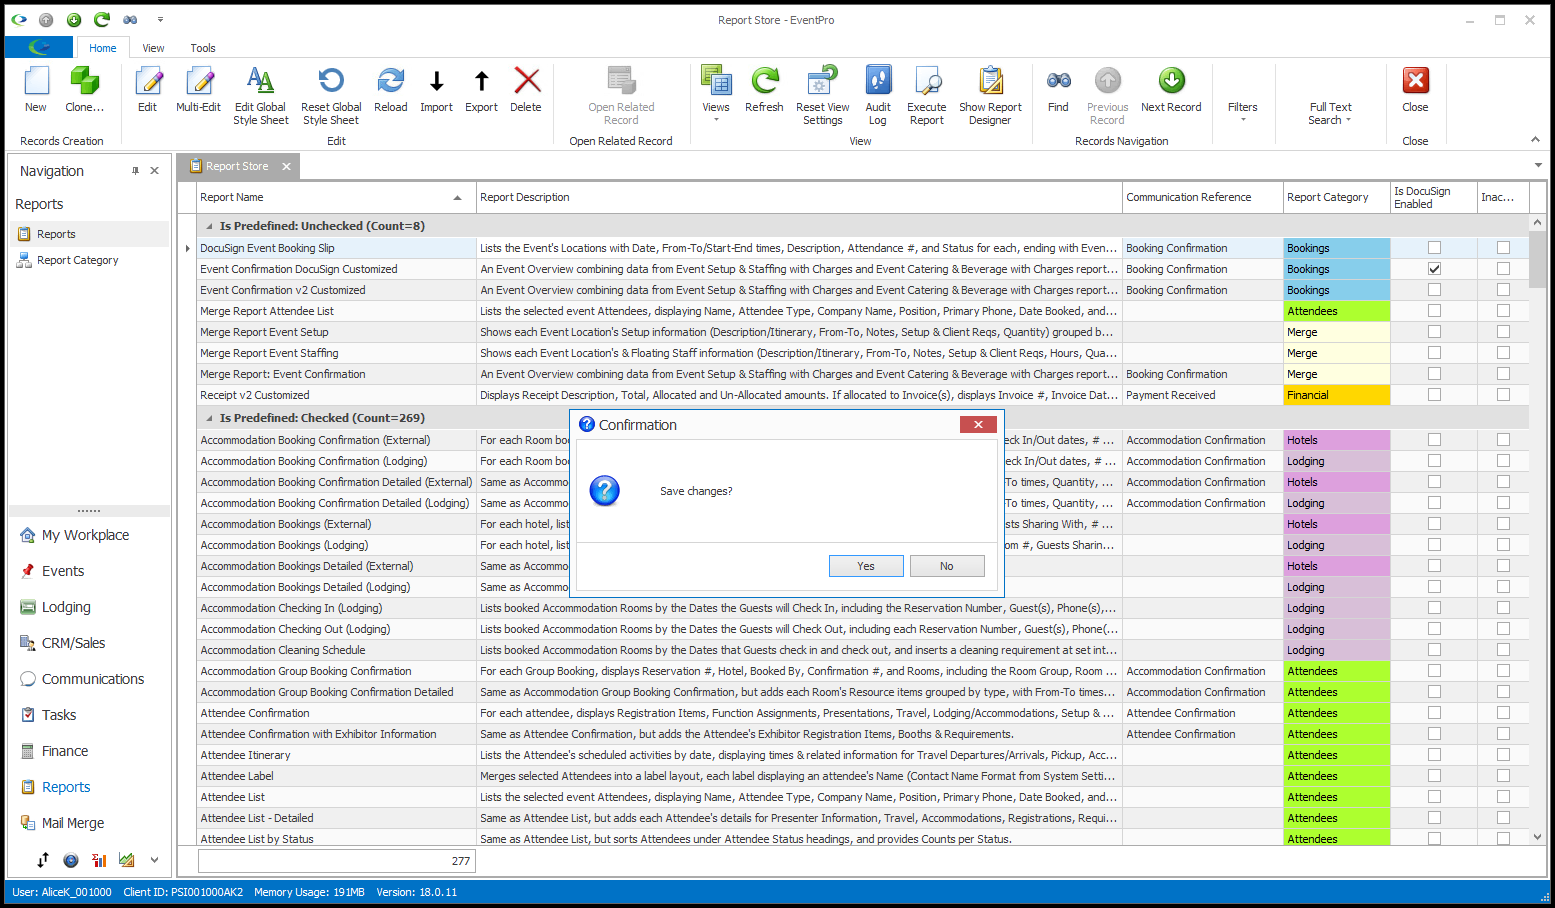
9.The Confirmation dialog appears. Click Yes to save your changes.
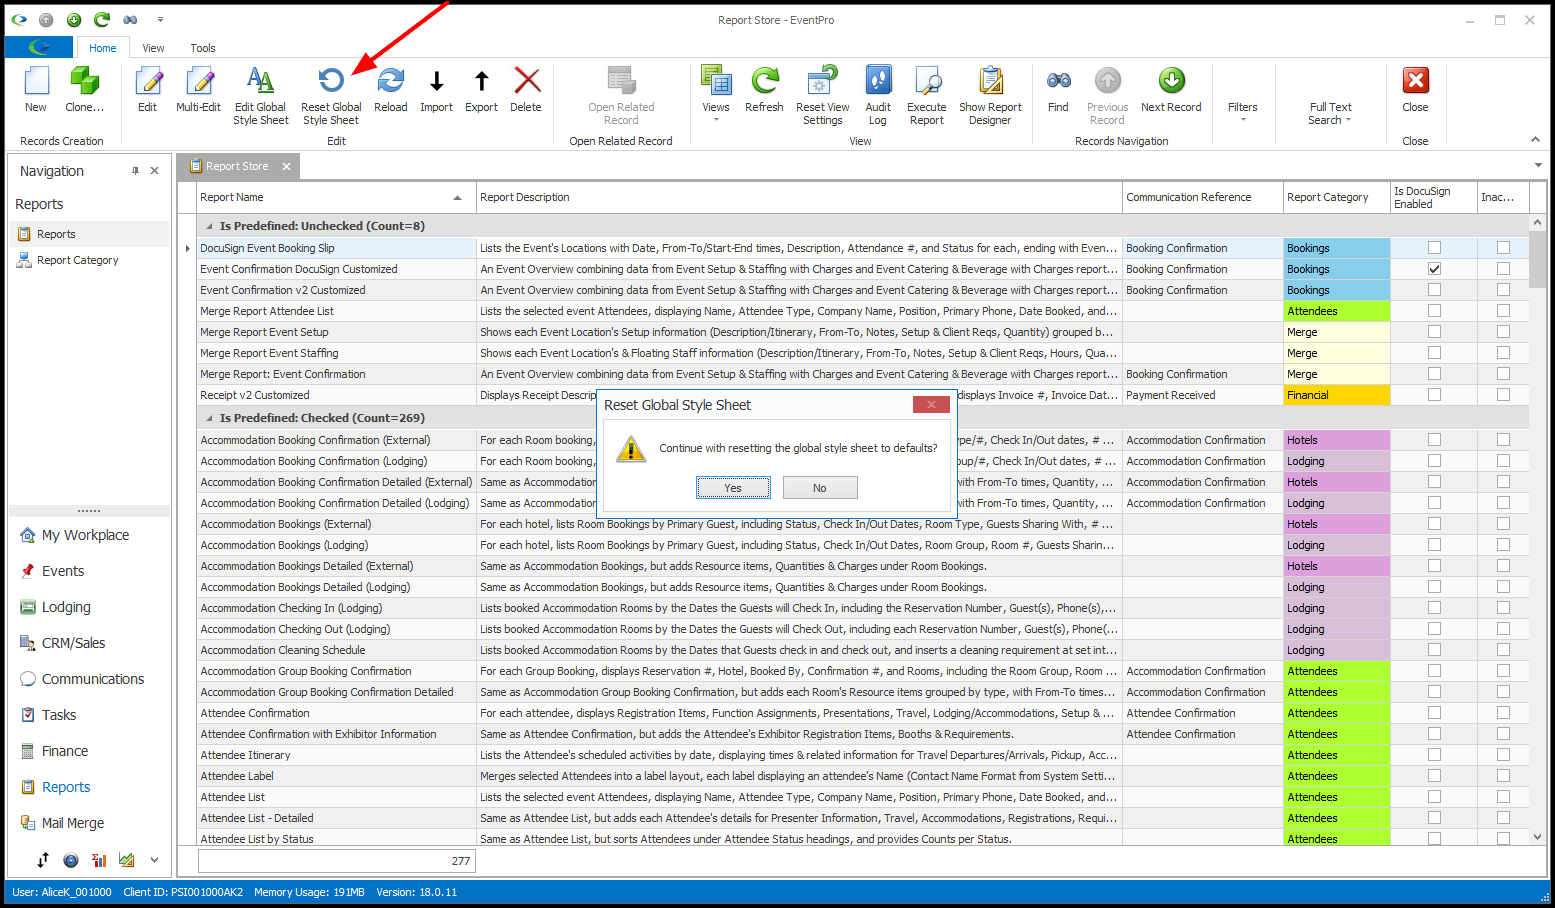
10.If you aren't happy with your edited styles, and just want to start over from the defaults, click the Reset Global Style Sheet button.
Note that resetting to default styles will completely overwrite all existing styles. If you have added any new or cloned styles, they will be deleted.
Click Yes in the confirm dialog if you want to continue with resetting the Global Style Sheet to the defaults.
•NOTE: If you are working in the Report Designer, you may notice that the reports are still displayed using the style sheet with which they were created, but the reports will use the Global Style Sheet when run, unless they are marked to ignore the Global Style Sheet.