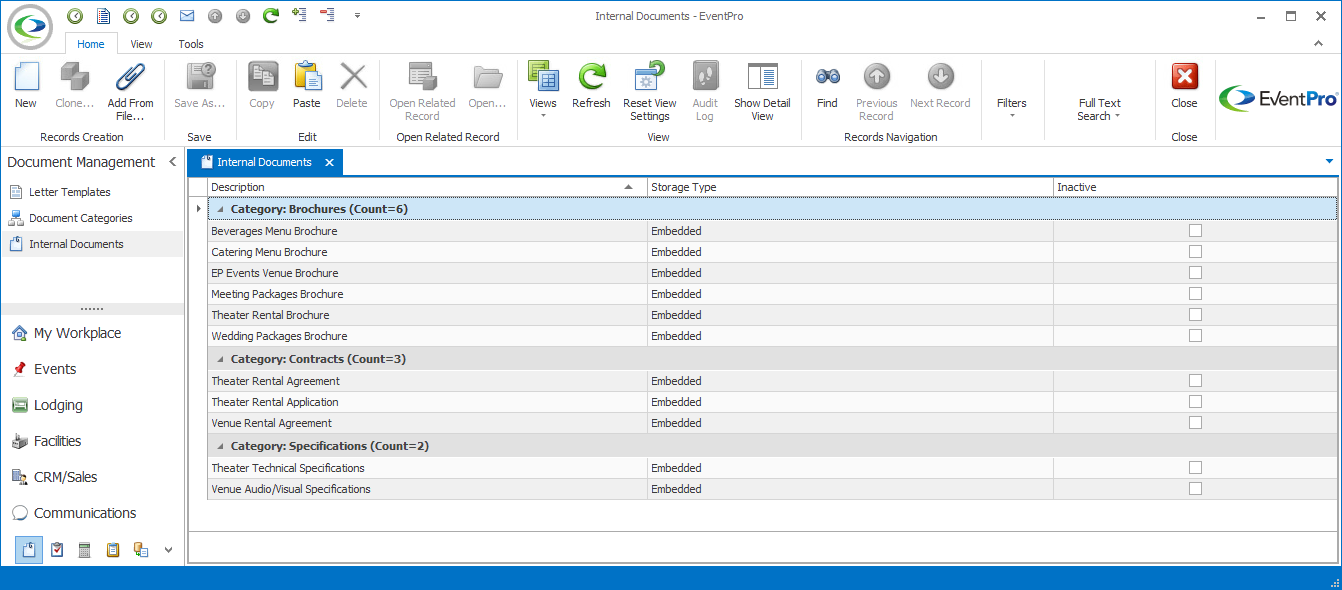
•The Internal Documents tab provides an area where you can store documents that you frequently attach to email communications, such as brochures, information packages, event guides, technical specifications, and so on.
•This will be particularly useful if you are using the EventPro Cloud application, as it saves you the time of uploading a document to the cloud each time you attach it to an email. Instead, you just need to upload the document once into your Internal Documents, and it can be accessed from there.
•If you often attach a specific set of documents along with certain letter templates, you can save even more time by assigning those Internal Documents to the Letter Template as "Auto Attach Documents". Review Letter Templates > Auto Attach Documents.
1.In the Internal Documents area, click the New button in the top ribbon, or right-click anywhere in the selection grid and select New from the speed menu.
2.The Document edit form appears.
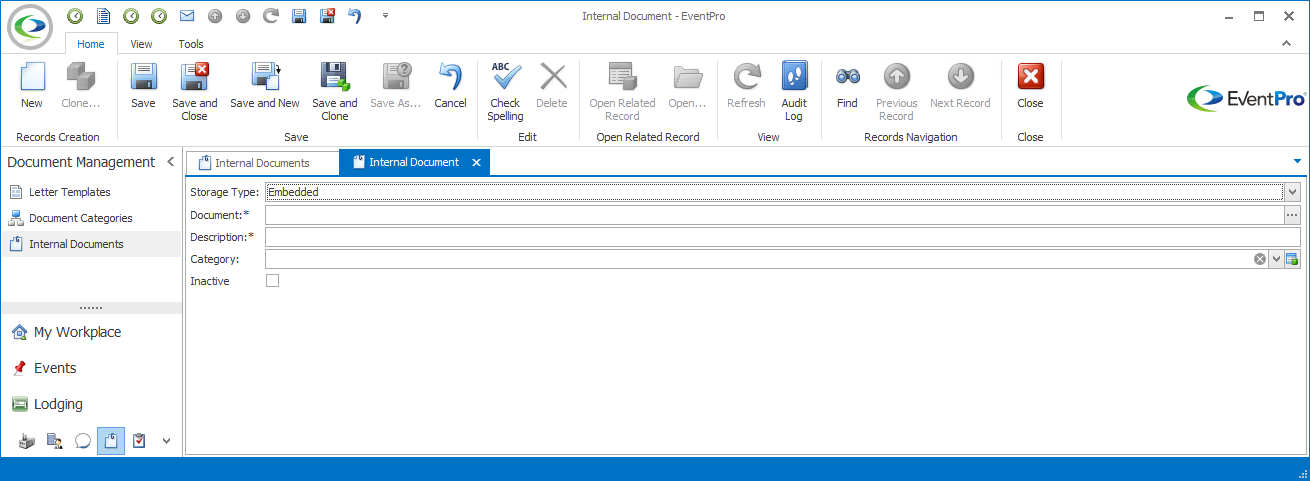
3.From the Storage Type drop-down, choose whether you want the document Linked or Embedded.
a.Embedded: This option stores the document in EventPro.
If you are working in the Cloud application, you will want to choose Embedded, since the purpose of Internal Documents is to save the time spent on uploading documents to the cloud.
If you are using the installed edition of EventPro, you can choose Embedded or Linked.
b.Linked: This only records the link to the document, while the actual document is saved outside of EventPro, typically on your network. This takes up less database space than embedded documents, but you must ensure that users can access the documents where they are stored, and that the documents aren't moved around (breaking the link paths).
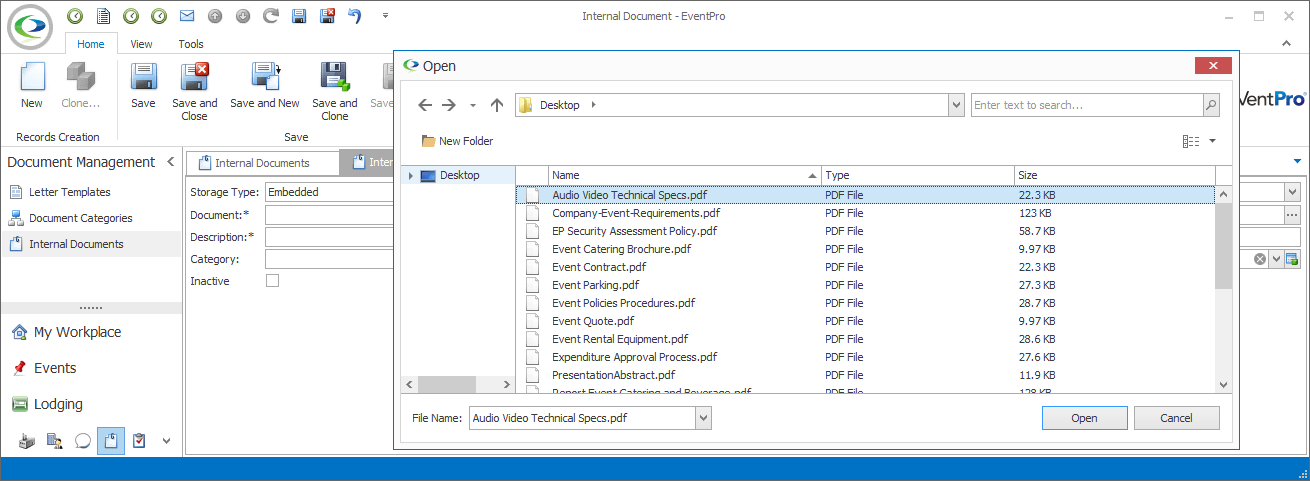
4.Click the ellipsis to the far right of the Document field.
In the Open window, select the document you want to use, and click Open.
5.The Description will default to the name of the Document, but you can change or add information to the Description.
6.From the Category drop-down, select the applicable Category for this internal document. These are the Document Categories you created elsewhere in Document Management.
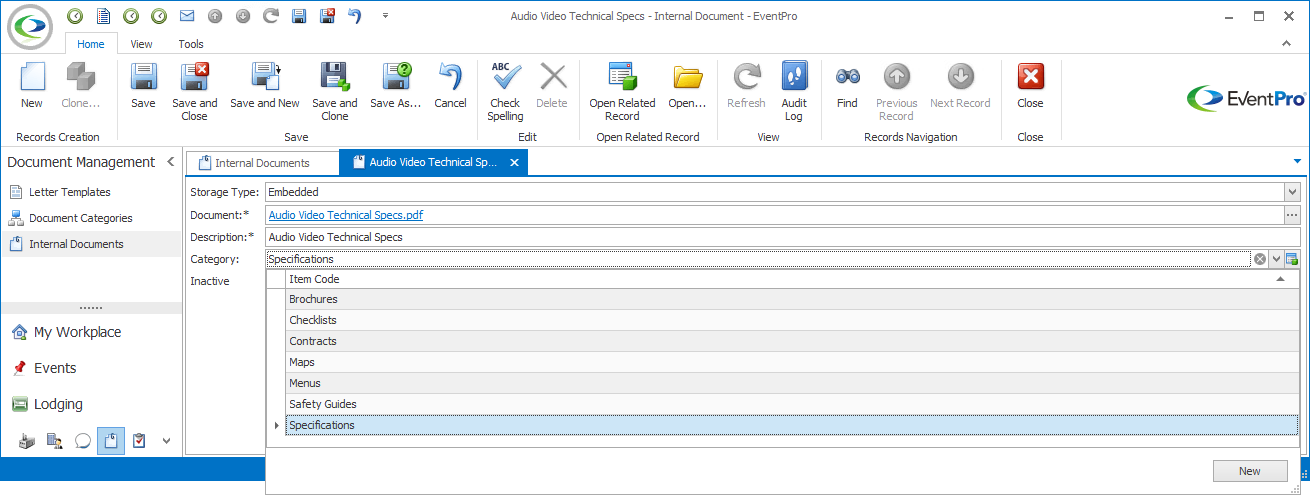
7.When you are done with the Document edit form, click Save and Close.
8.The new Internal Document will be added to the selection grid.
9.Continuing adding as many Internal Documents as you require.
10.To assign Internal Documents as Auto Attach Documents for Letter Templates, see Letter Templates > Auto Attach Documents.
11.To learn how to attach Internal Documents to Communication Emails, see Communication & Email Management > Prepare & Send an Email > File Attachments.