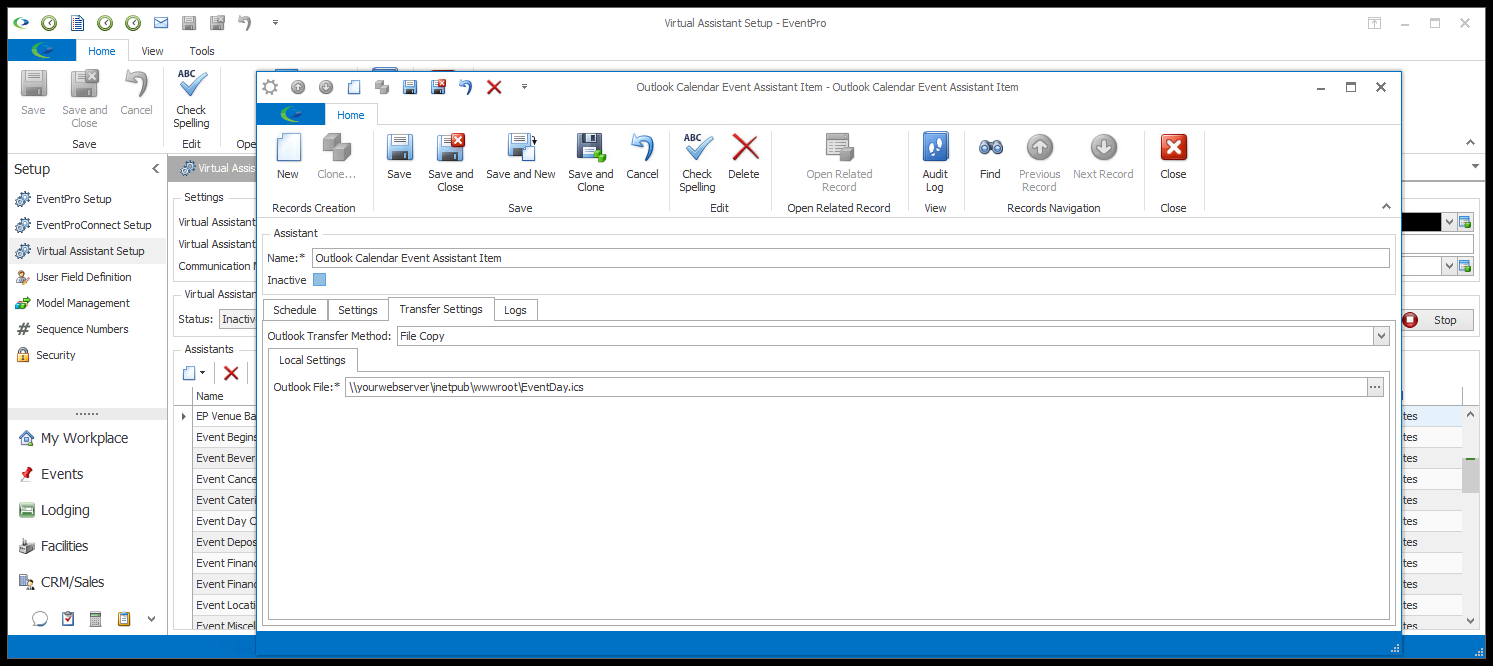
1.From the Outlook Transfer Method drop-down, choose the transfer method you will use: File Copy or FTP.
a.If you are using the EventPro Cloud application, you must select FTP. File Copy is not available for the Cloud application.
b.If you are running a locally installed version of EventPro, you can use FTP or File Copy as your transfer method. However, in order to use File Copy, the EventPro Virtual Assistant Service must have direct access to your webserver, and be able to access the folder containing the .ics file that your webserver is using.
2.File Copy: Enter the path to the .ics file in the Outlook File field.
If you intend to create multiple Outlook Calendar Assistants, you may want give the .ics files unique names that make it easy to identify the content of the files later when adding them to your third-party calendar, e.g. LocationsCal.ics, EventDayCal.ics, EventsCal.ics, Level2Events,ics, etc., instead of Calendar.ics, Calendar2.ics, and so on.
3.FTP (File Transfer Protocol):
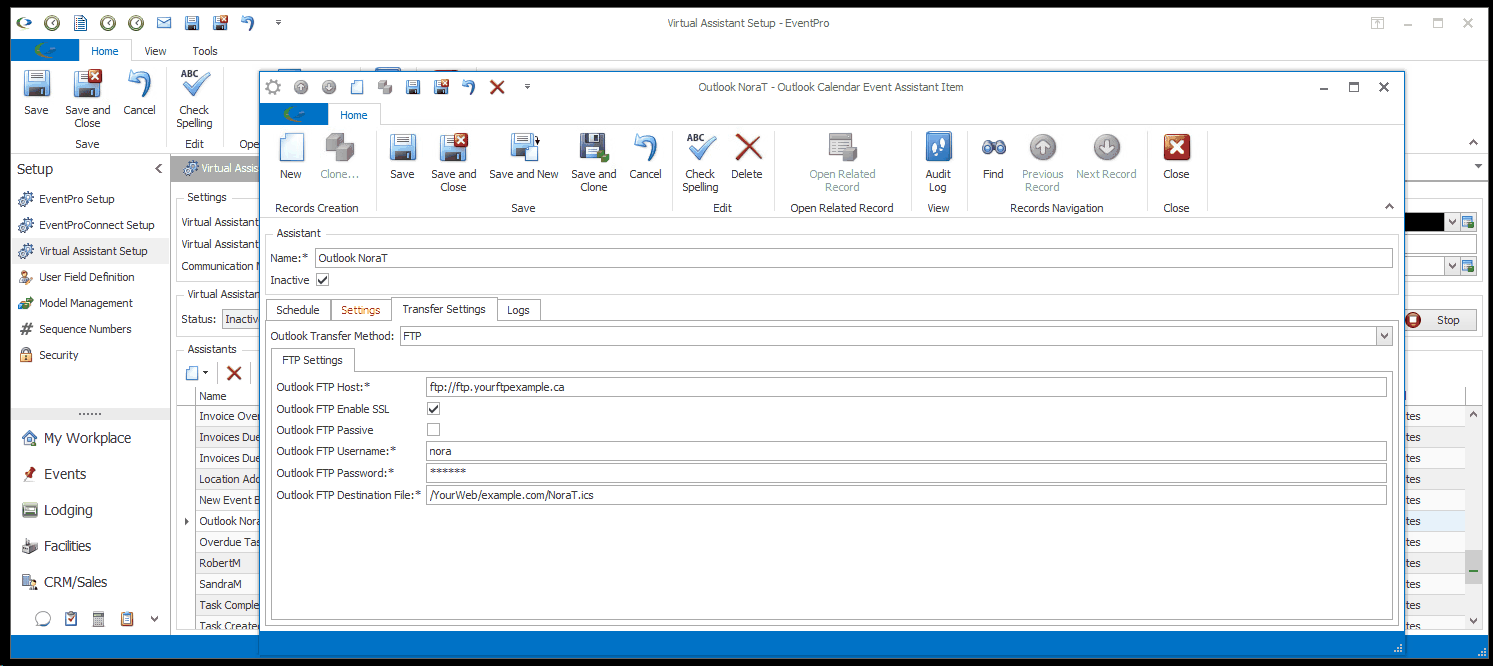
If the EventPro Virtual Assistant Suite Service does not have direct access to your webserver, you can FTP the .ics file to the webserver.
a.Outlook FTP Host: Enter the name of the FTP server to which you want to connect.
b.Outlook FTP Enable SSL: Select this checkbox to enable SSL.
c.Outlook FTP Passive: If the FTP server to which you are connecting requires a passive connection, select this checkbox.
d.Outlook FTP Username: Enter the username used to connect to the FTP server.
e.Outlook FTP Password: Enter the password used to connect to the FTP server.
f.Outlook FTP Destination File: Enter the path to the .ics file.
If you intend to create multiple Outlook Calendar Assistants, you may want give the .ics files unique names that make it easy to identify the content of the files later when adding them to your third-party calendar, e.g. LocationsCal.ics, EventDayCal.ics, EventsCal.ics, Level2Events,ics, etc., instead of Calendar.ics, Calendar2.ics, and so on.
4.Once your Calendar Assistant is ready, note that you need to subscribe to it in your third-party calendar application. See iCal Subscription.
Next: Save & Close