•As noted in Overview of Beverage Levels, a Beverage Item is the smallest unit to which you can break down your beverage configurations.
•It is not actually necessary to go down to this level of detail in beverages, but if you want to track individual beverages within configurations, you can create the items here and then add them to the Beverage Configurations you will create later.
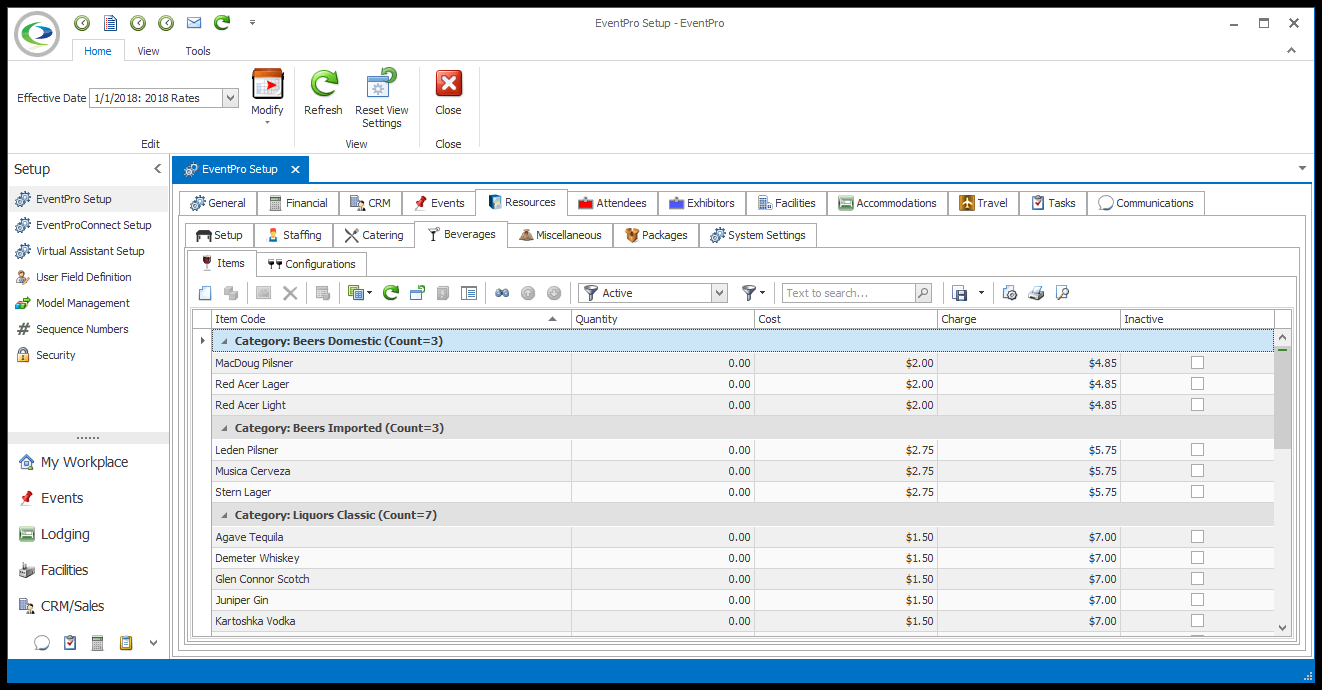
1.Start a New item or Edit an item under EventPro Setup > Resources > Beverages > Items.
2.The Setup Resource Beverage Item edit form appears.
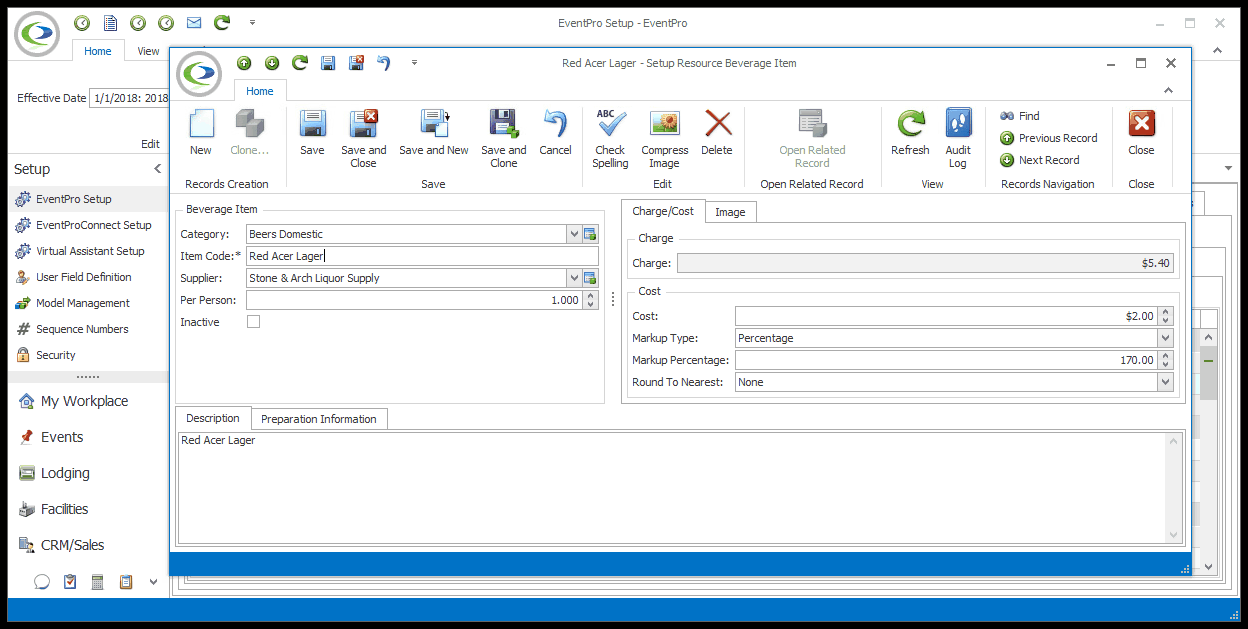
3.There are several different tabs and areas in the Setup Resource Beverage Item edit form.
4.Beverage Item:
a.Category: Beverage Items are grouped under Categories. From the drop-down list, select the Category under which you want to create this Beverage Item.
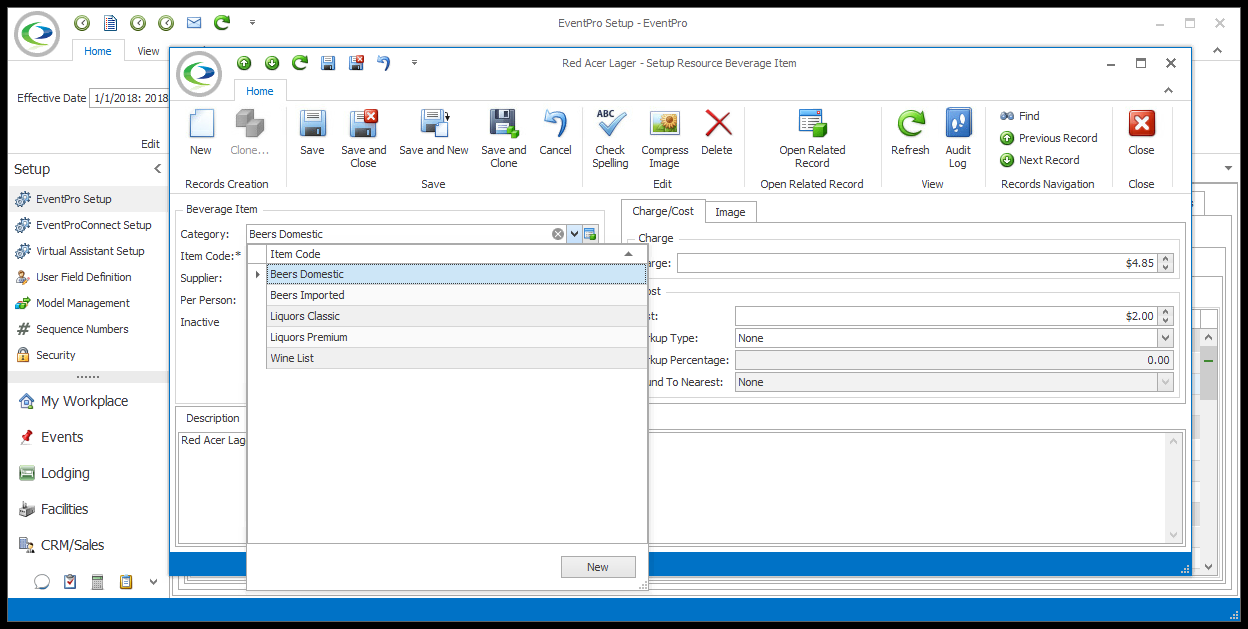
b.If the Category you want to use doesn't exist (or perhaps you don't have any categories at all, yet), you can create one on the fly by clicking the New button at the bottom of the drop-down list.
i.The Setup Resource Beverage Category edit form appears.
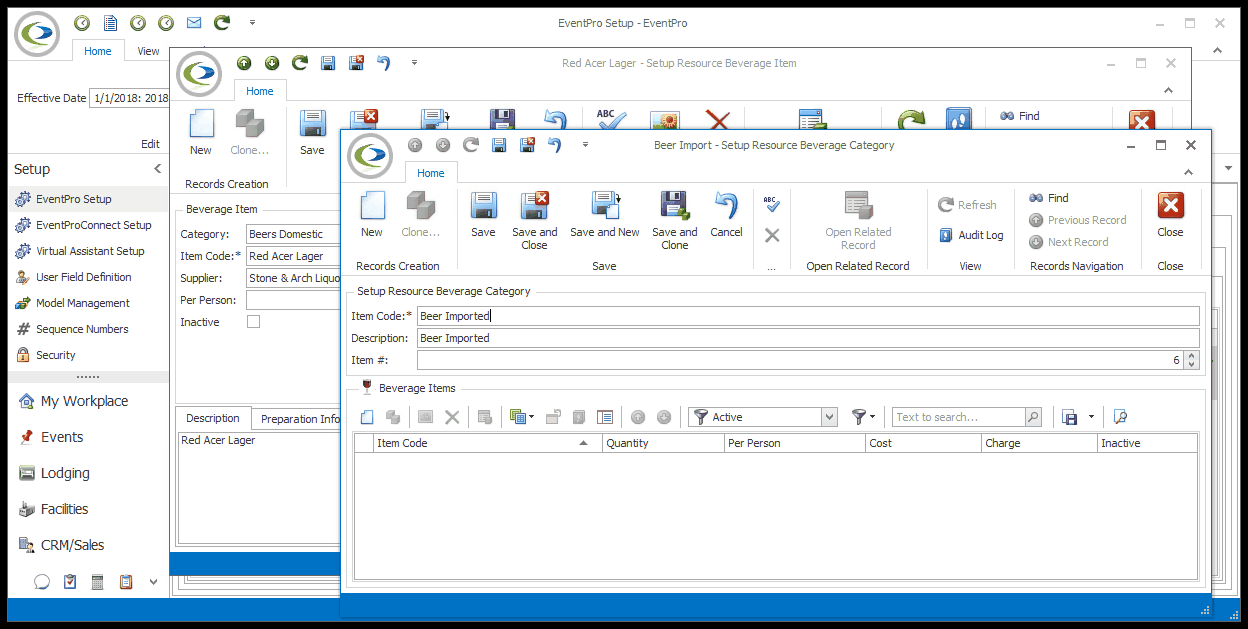
ii.Enter an Item Code and Description for the Beverage Category.
iii.Item #: The Item Number determines a record's position relative to other records in a list sorted by Item #. Change the Item # to change the record's position in the sort order.
iv.In the Beverage Item selection grid at the bottom of the edit form, you can add Beverage Items under the Category you are currently creating. However, since you are already creating a Category within an Item, it's probably easiest to Save and Close this Category edit form, and return to the Setup Resource Beverage Item edit form.
c.Item Code: Enter the name of this beverage item.
d.Supplier: If this Beverage Item is provided by a third-party supplier, you can select the Supplier from your CRM Accounts (Companies or Contacts). Click in the Supplier field and search for the relevant company/contact in the Find window.
e.Per Person: Enter a number indicating the default quantity per person for this beverage item.
i.This may be a whole number - e.g. you need 1 or 2 or 5 of these items per person - or it can be a fraction indicated by a decimal number, e.g. the pitcher serves 5 people, so the Per Person number is 0.2.
5.Charge/Cost: You can add a default cost and charge for the Beverage Item here, but remember that you will also have other pricing options when creating your Configurations later.
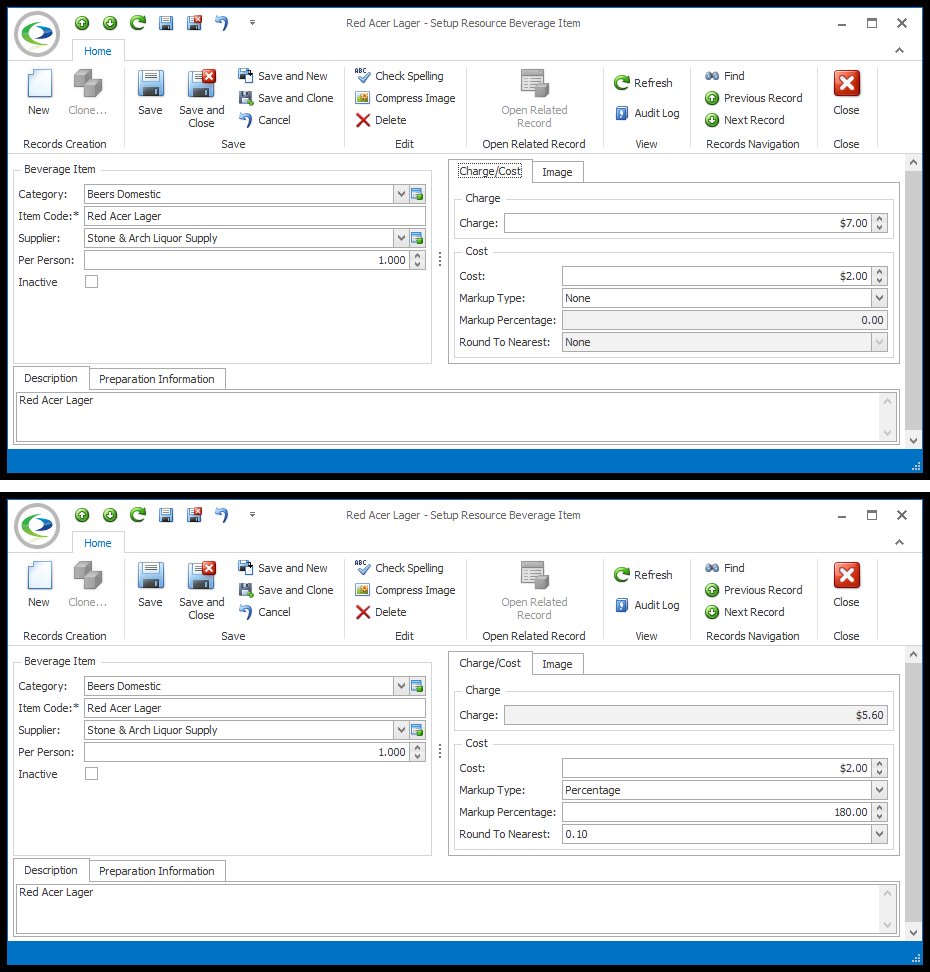
a.Charge: You can manually enter the Charge for the beverage item here.
i.However, if you want the Charge to be based on the Cost (e.g. you have obtained this item through a supplier, and want to pass the cost-plus-markup onto your client), leave this blank for now and enter the Cost and Markup first, which will automatically calculate the resulting Charge.
b.Cost: If applicable, enter the Cost of the beverage item.
c.Markup Type: If you want to apply a markup to this cost, which will calculate the resulting Charge, select the Markup Type from the drop-down: Percentage, Cost, or None.
i.If you choose Percentage, the Charge will be set to the Cost plus the Markup amount determined by the percentage number you enter below.
ii.If you choose Cost, the Charge will be set to the same as the Cost.
iii.If you choose None, you can manually set the Charge to anything you want.
d.Markup Percentage: If you selected Percentage as the Markup Type, enter the Percentage number here.
e.Round To Nearest: Also, if you selected Percentage as the Markup Type, you can choose to Round the resulting Charge to an option in this drop-down.
6.Image:
a.To add an image to this beverage item, review the instructions under Common Procedures > Images.
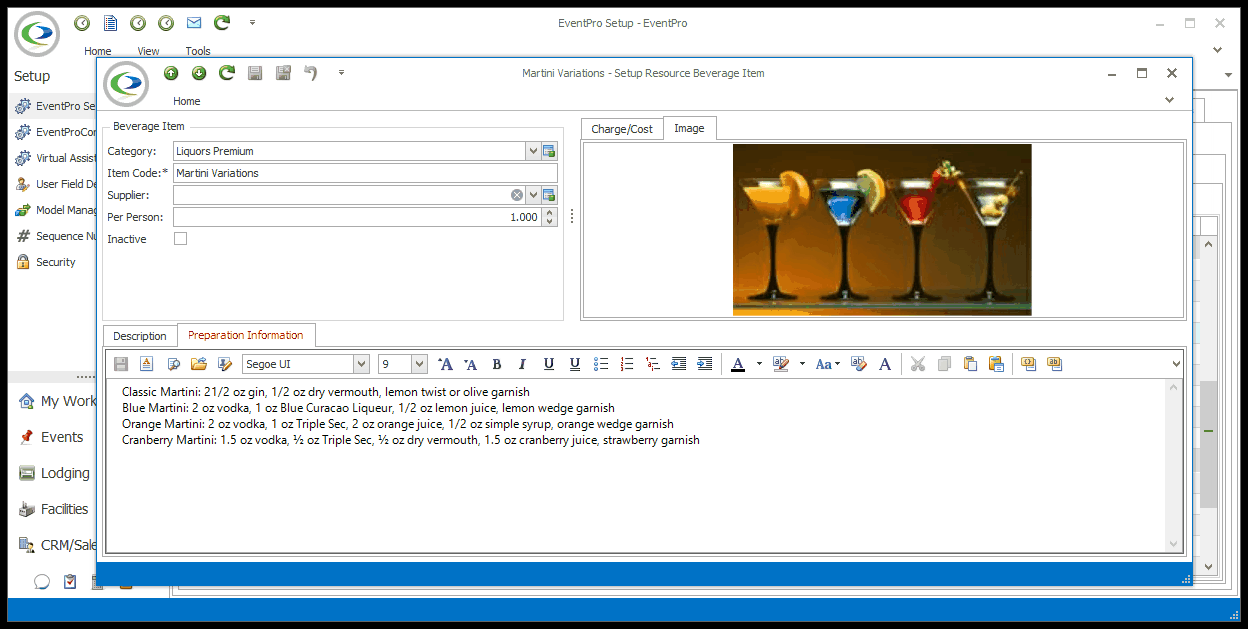
7.Description & Preparation Information:
a.The Description will initially default to the same thing as the Item Code, but you can add more text to the description if you like.
b.You can also add Preparation Information under the so-named tab. You can simply type directly into the memo field in the tab, or if you want to add more sophisticated formatting, you can open the Word Processor and work on your document there.
c.When you later add this item to a beverage configuration, the Description notes will be pulled in along with the item, and you will have the option to use these Preparation Notes for the item within the configuration.
8.When you're done creating or editing the Beverage Item record, click Save and Close.
•Continue creating as many Setup Beverage Items as you require.
•When you are ready to put items together into menus, see Create Setup Resource Beverage Configuration.