1.Title: Select the Contact's Title from the drop-down list, which is populated by the records created under EventPro Setup > CRM > Titles.
2.First Name and List Name: Enter the First Name and Last Name of the Contact.
These are actually the only two required fields for the Contact, and you can Save & Close the record at this point if you want.
However, you probably want to add some additional details for this Contact.
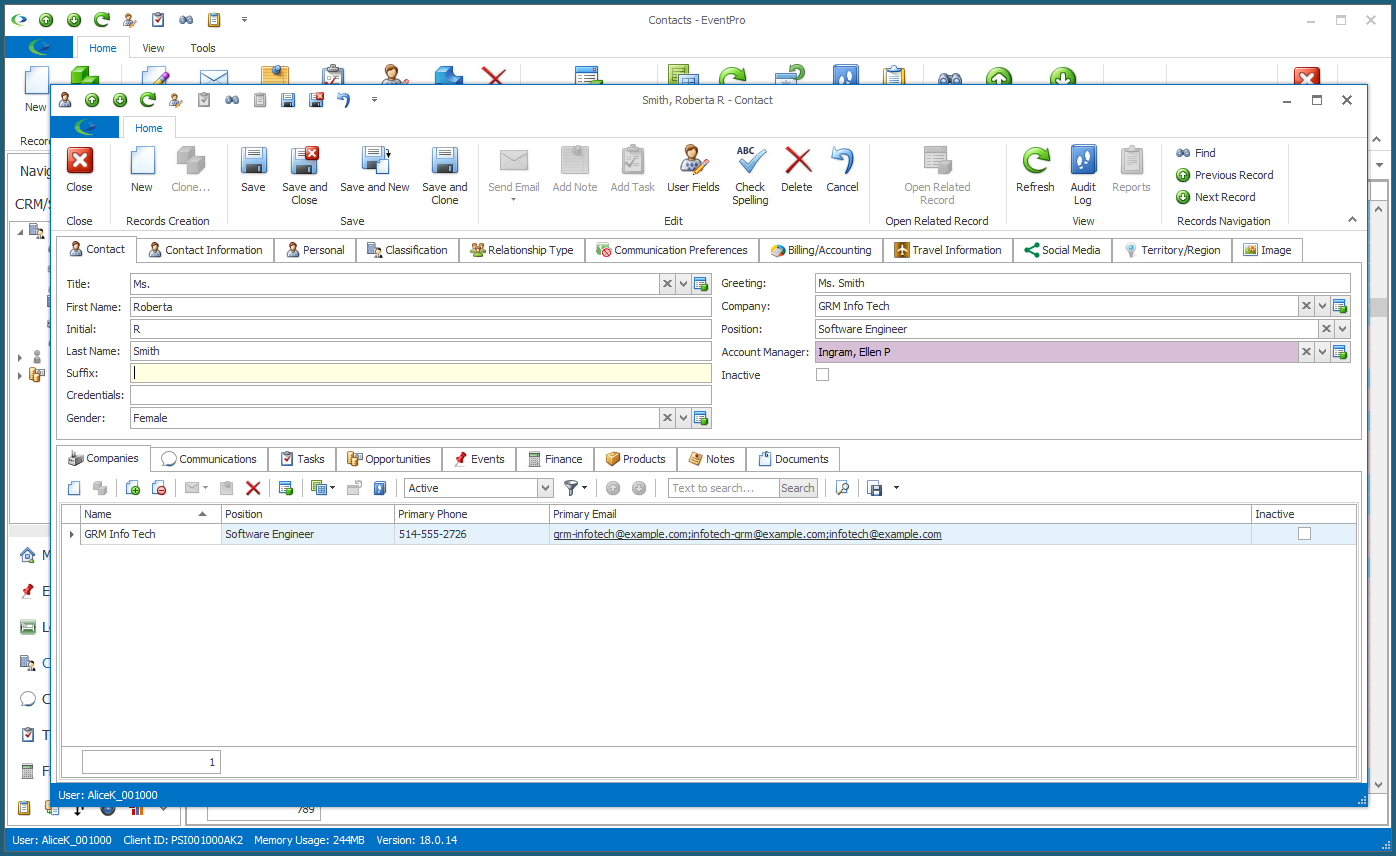
3.Initial, Suffix and Credentials: Enter information in any or all of these fields, if applicable.
4.Gender: Select an applicable Gender from the drop-down list. This drop-down is populated by records created under EventPro Setup > CRM > Gender.
5.Greeting: This field will display the Contact's Title, First Name and/or Last Name in a combination determined by the Contact Greeting Format that was selected in EventPro Setup > CRM > CRM System Settings.
6.Company: If this Contact belongs to a Company, you can select the Company from this drop-down. The drop-down contains a Find window, which you can use to search your existing companies. If you select a Company for the Contact, some of the Company's information - such as Addresses - will default into the Contact's record, but you can edit that information for the Contact.
Remember that Contacts do not need to be linked to a Company. A Contact can exist as an entity on its own in your Accounts. For example, if the event is a wedding, the Bride could be an individual Contact that does not belong to a Company.
You can also link a Contact to multiple Companies under the Companies tab, described below.
7.Position: Select the Contact's Company Position or job description from this drop-down, which is populated by the records created under EventPro Setup > CRM > Company Positions.
8.Account Manager: Select the main Account Manager for the Contact from the drop-down list, which displays EventPro Security Users.
9.Inactive: If necessary, you can mark a Contact as "Inactive".