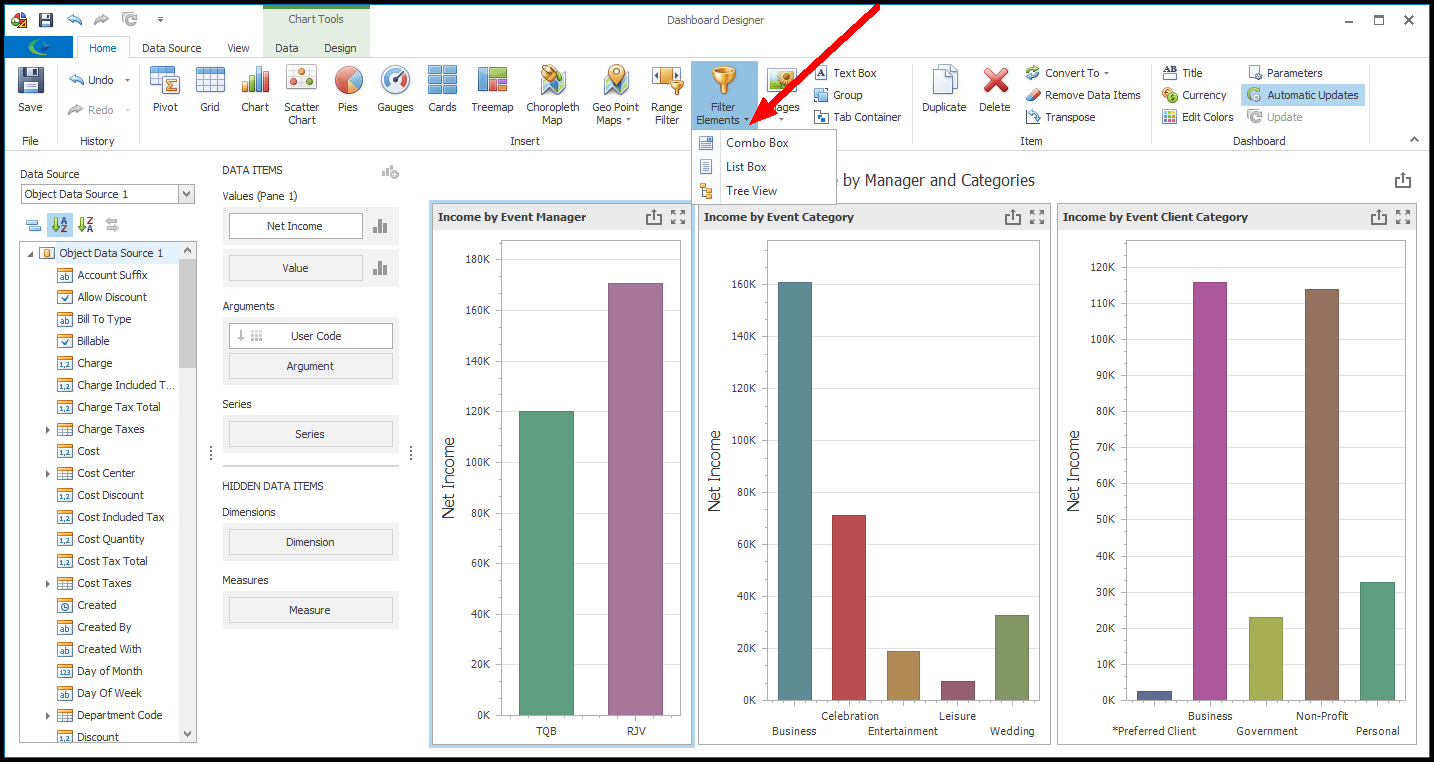
1.To add a Combo Box to your dashboard, click the Filter Element button in the Dashboard Designer and select Combo Box.
2.A blank Combo Box item will appear in the Dashboard Designer.
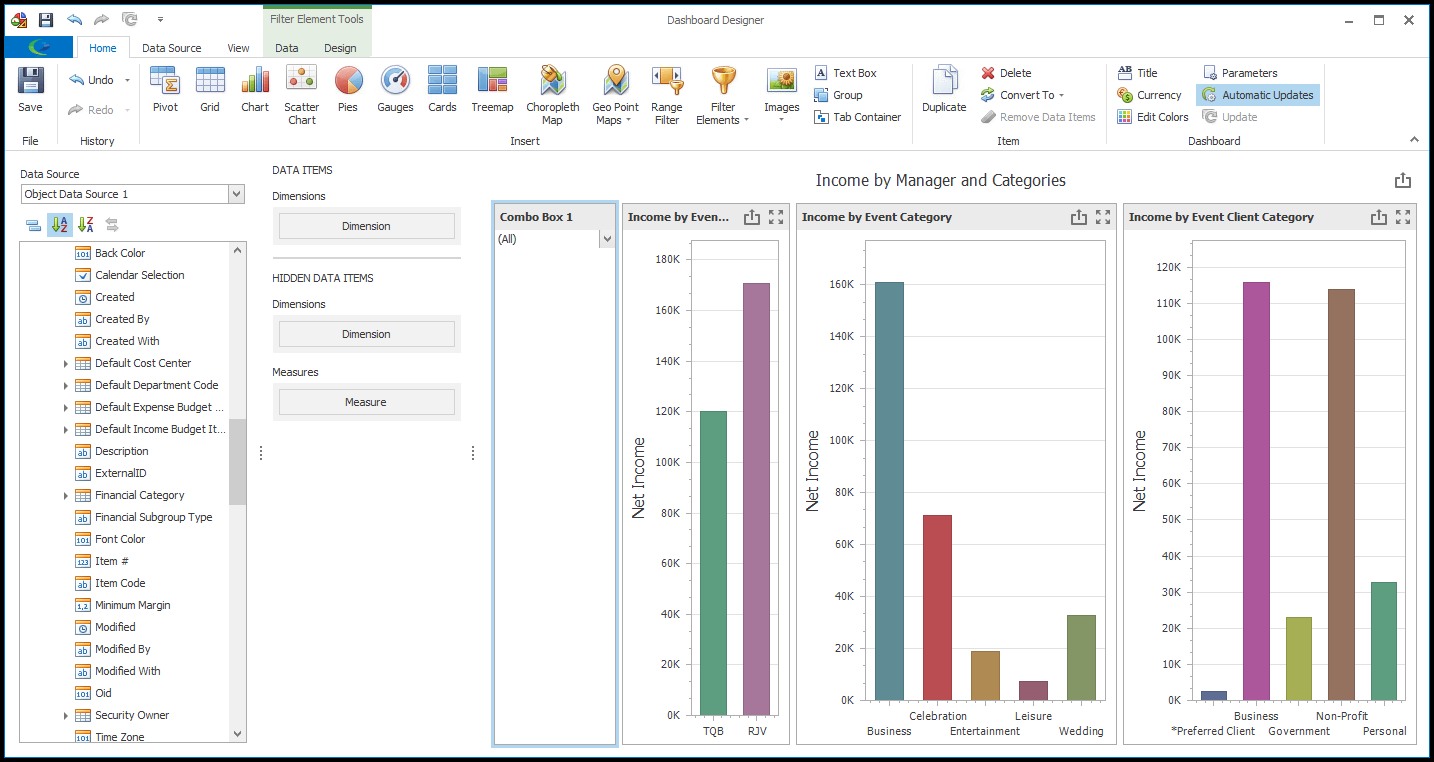
3.From the Data Source Browser in the left column, find the field you want to use to provide filter values.
In our example, we are going to provide the option to filter the financial totals by Financial Subgroup.
Drag and drop the Financial Subgroup Item Code or Description field onto the Dimensions data item under DATA ITEMS.
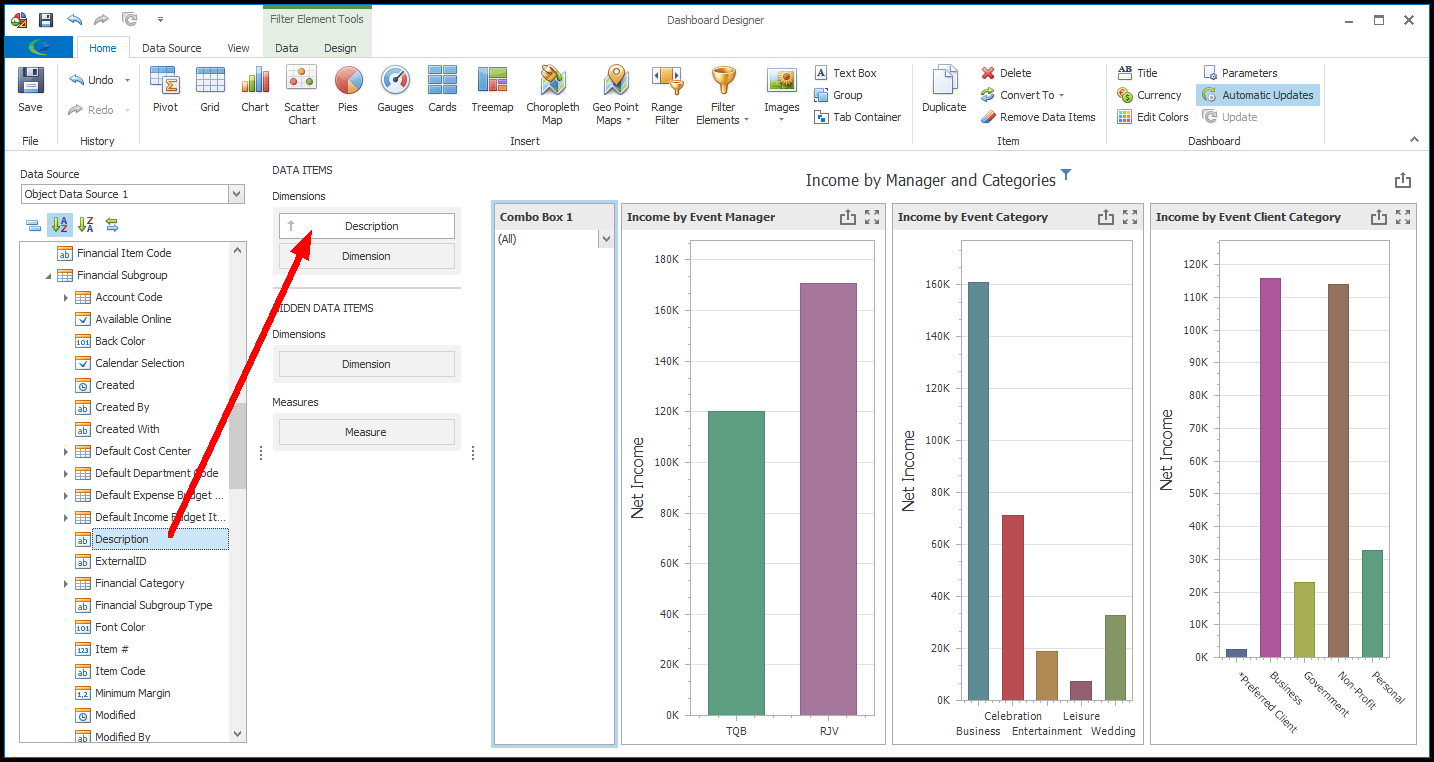
4.A drop-down of Financial Subgroups will be added in the Combo Box.
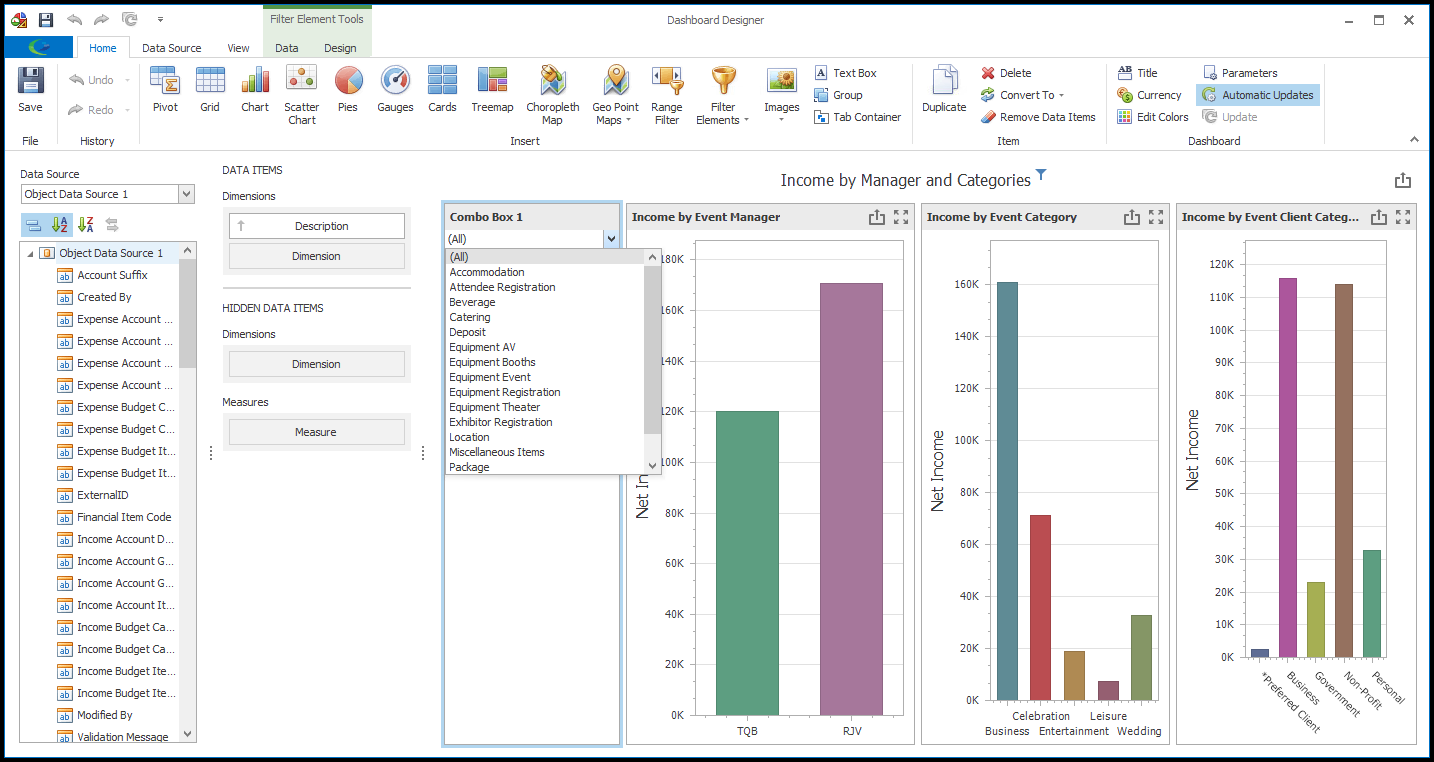
5.By default the Combo Box type will be Standard, in which the User will be able to select only one value, and there will be an "All" option.
If you want to remove the "All" option from the drop-down, go to the Design tab of the top ribbon and click the Show 'All' Value toggle button. Click the button again to put the "All" option back into the drop-down.

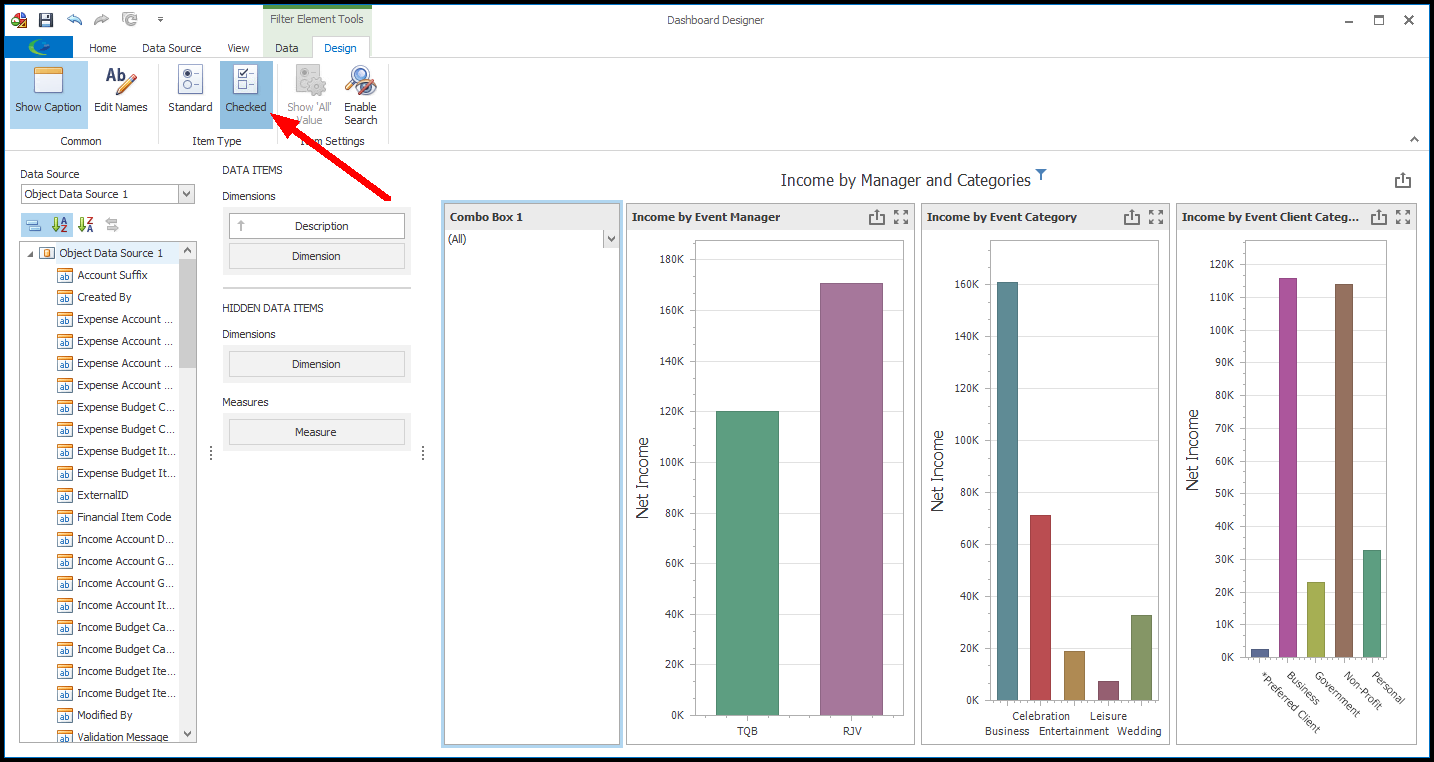
6.To change the Combo Box to Checked type, so that the User will be able to select multiple values, click the Checked button under the Design tab of the ribbon.
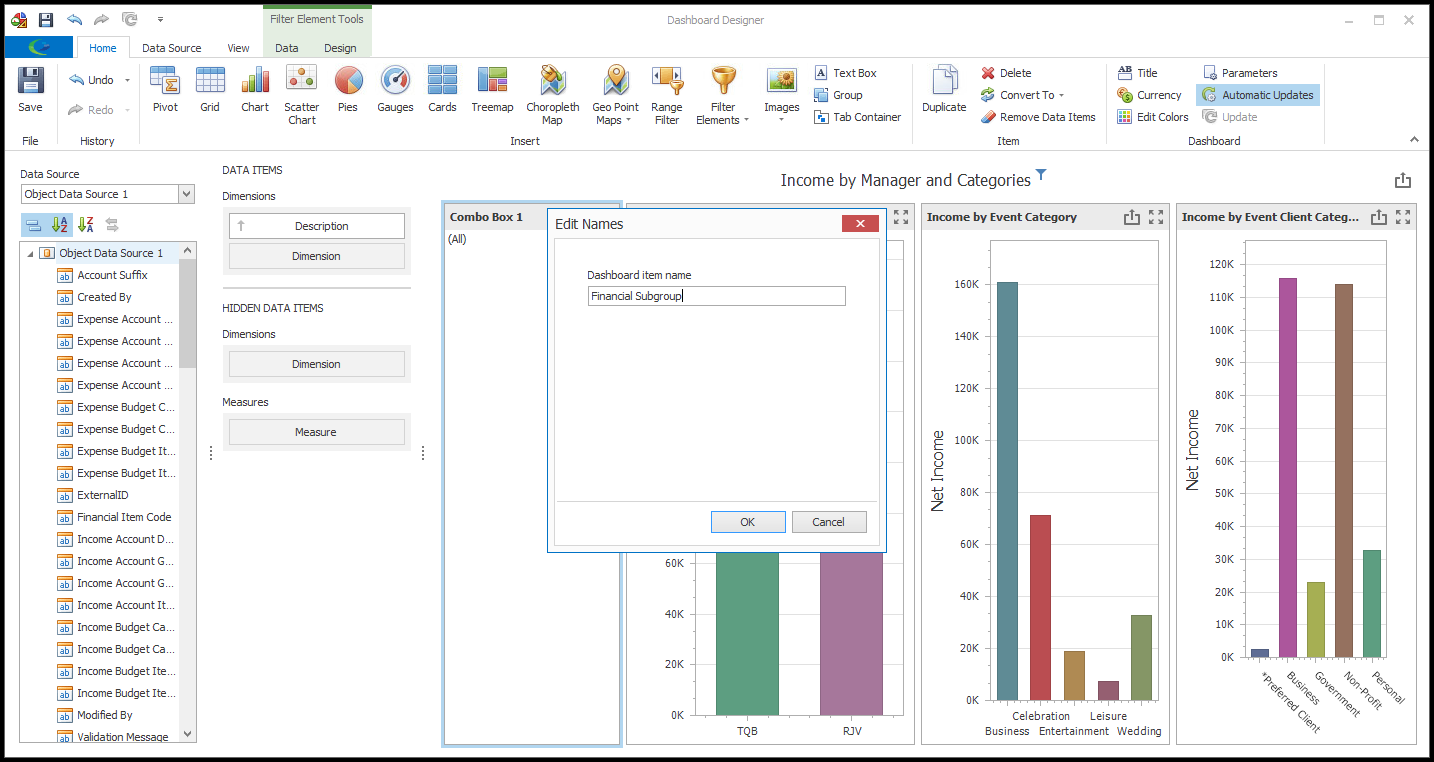
7.Remember that you can change the name of the dashboard item from the default "Combo Box" to something more useful. Review Design Dashboard > Design Dashboard Item above.
8.When you are done designing the Combo Box Filter Element, it's a good idea to Save your dashboard.
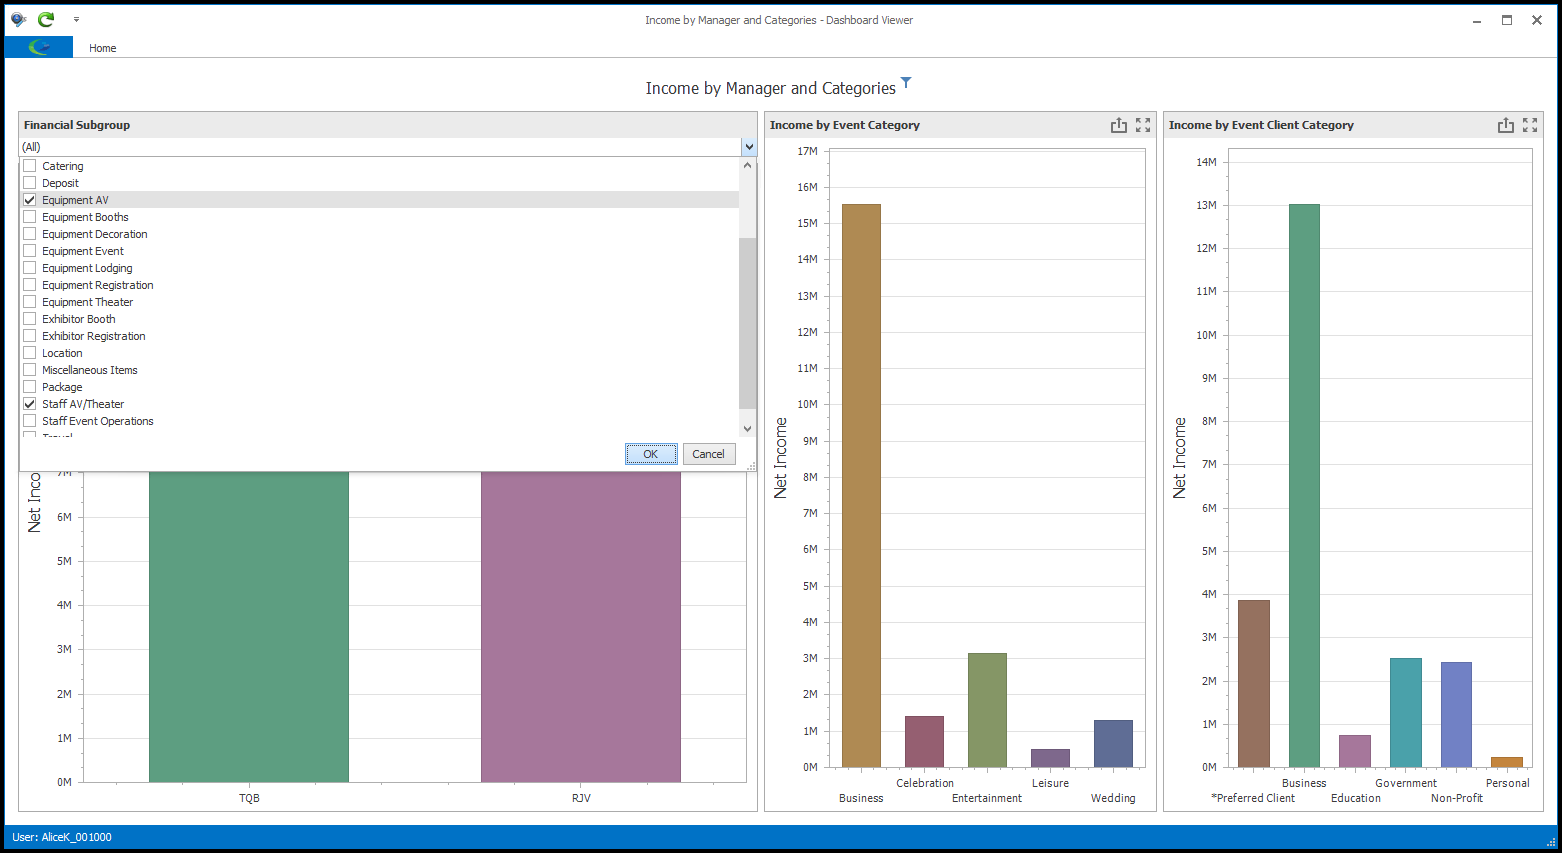
9.Later, when viewing the dashboard, a user will be able to use the drop-down list to filter the financial information by Financial Subgroup.