1.To resize the object manually, you can grab a resize handle on the object (typically in the corners and middle of sides), and drag the outline bigger or smaller.
(If you can't seem to select an object, make sure that you are using the Pointer tool  in the top ribbon.)
2.To enter precise measurements for the object, you need to adjust the dimensions in the object's Properties.
a.Go to the Object's Properties, which can be done in two ways:
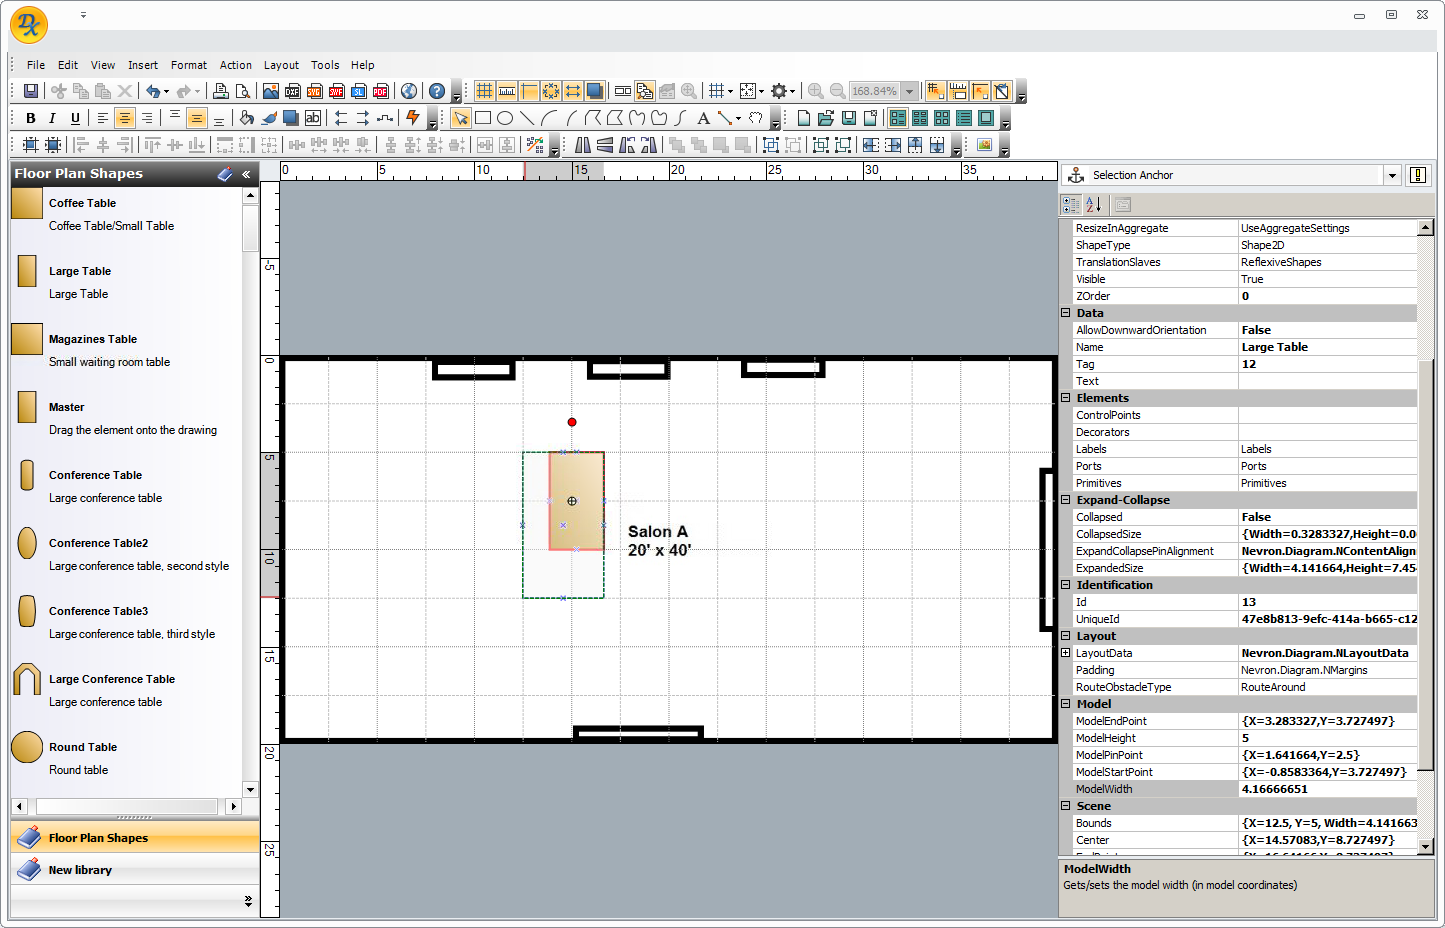
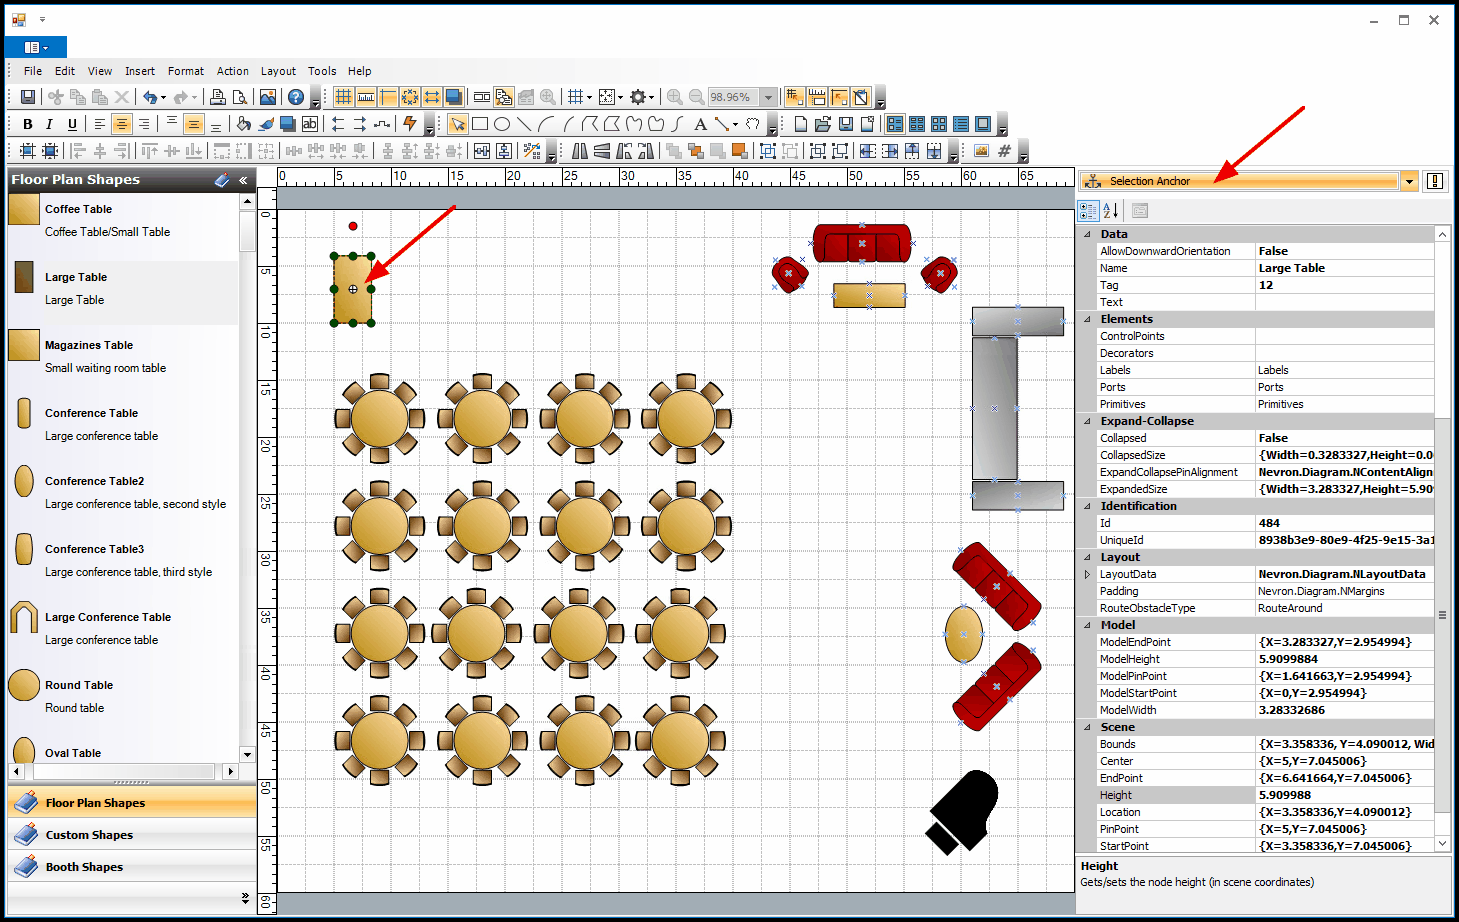
i.Select the object, and ensure that the right-hand Properties panel is set to Selection Anchor.
or
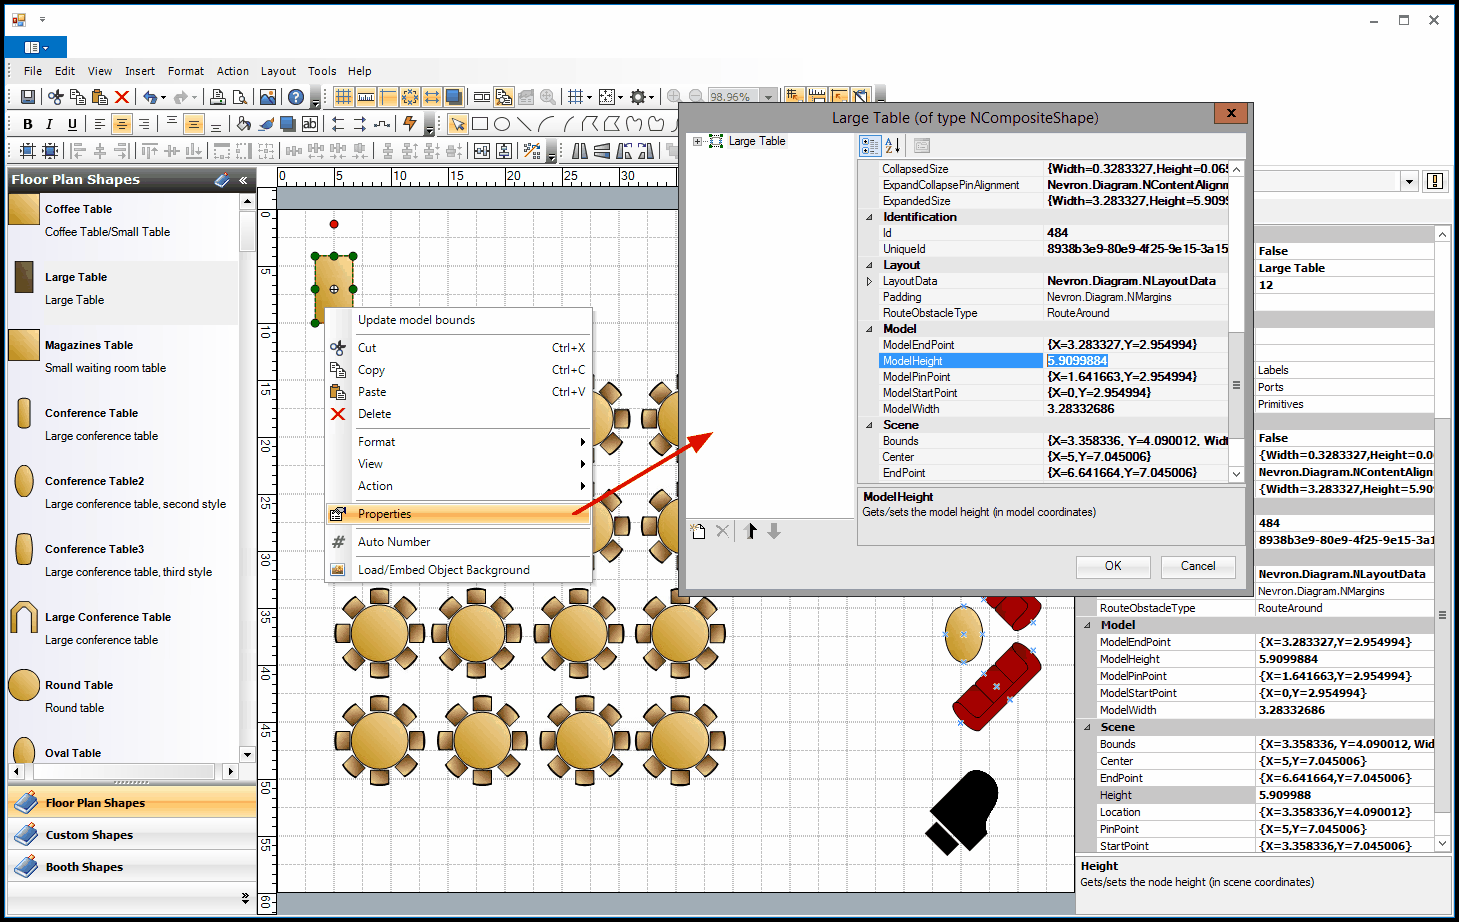
ii.Right-click the object and select Properties in the speed menu to open its Properties window.
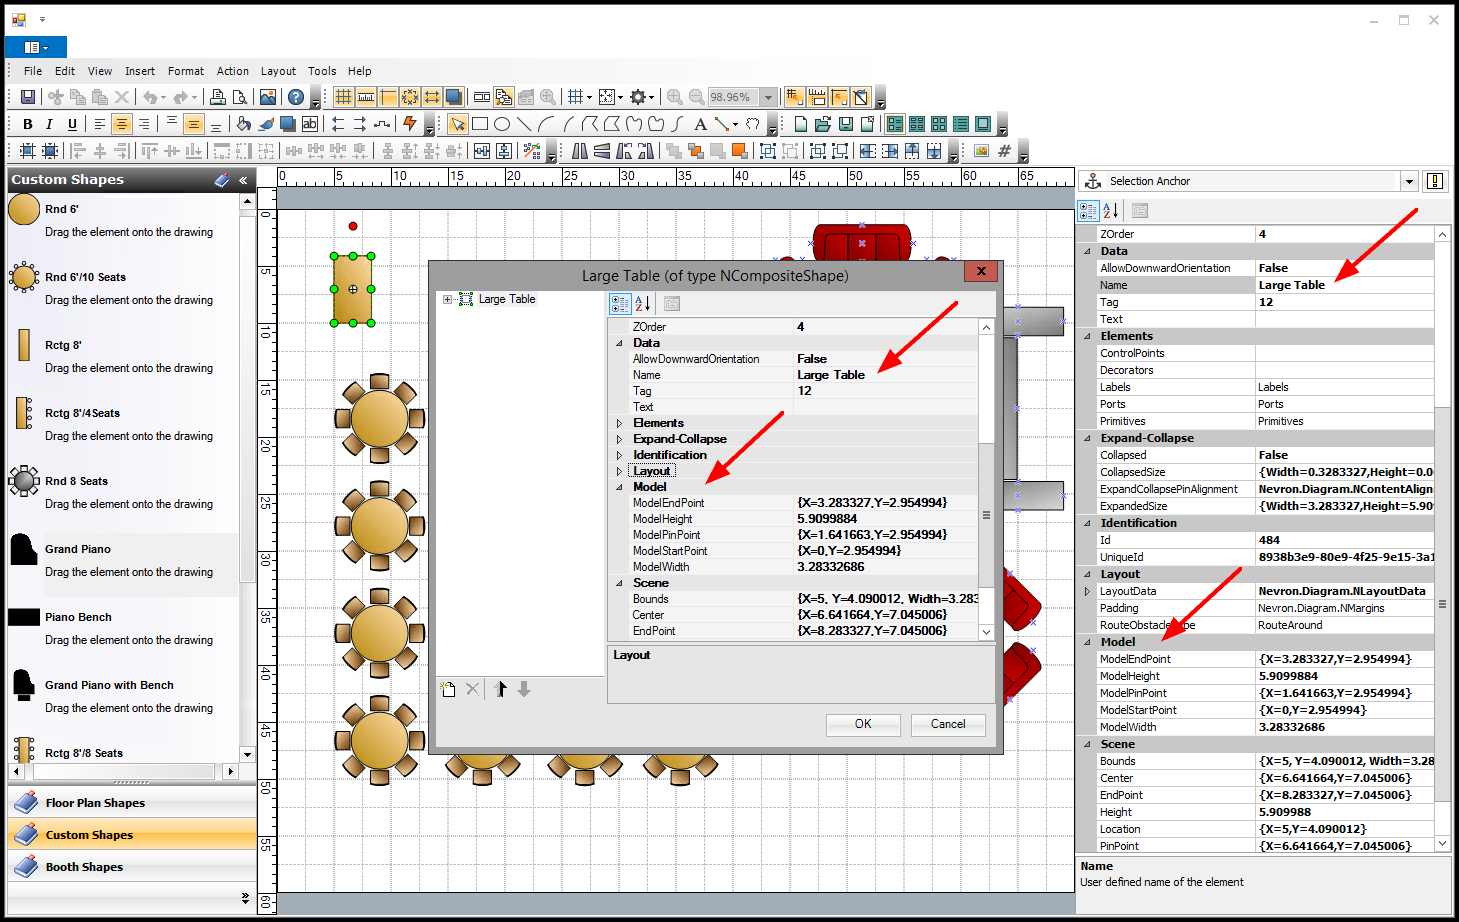
a.Double-check that you have selected the correct object by viewing the object's Name under the Data heading.
b.Enter the object's dimensions in ModelHeight and ModelWidth under the "Model" heading.
(Do not change the dimensions under the Scene heading.)
c.Complete the resizing:
i.If you are in the object's Properties window, click OK to save your changes and view the resized object on the floor plan.
ii.If you are in the right-hand Selection Anchor Properties panel, you need to tab out of the ModelHeight/ModelWidth fields before the object will refresh.
3.You can also re-size an object relative to other objects, matching height, width, or both. See Align, Size & Space Objects.
4.If you want to save the re-sized object as a new custom object, see Add New Objects to Library.