The Floor Plan Designer is accessed when you add a Floor Plan to a Venue Location.
1.Edit the Location to which you want to add a Floor Plan.
In the Venue Location edit form, go to the Floor Plans tab.
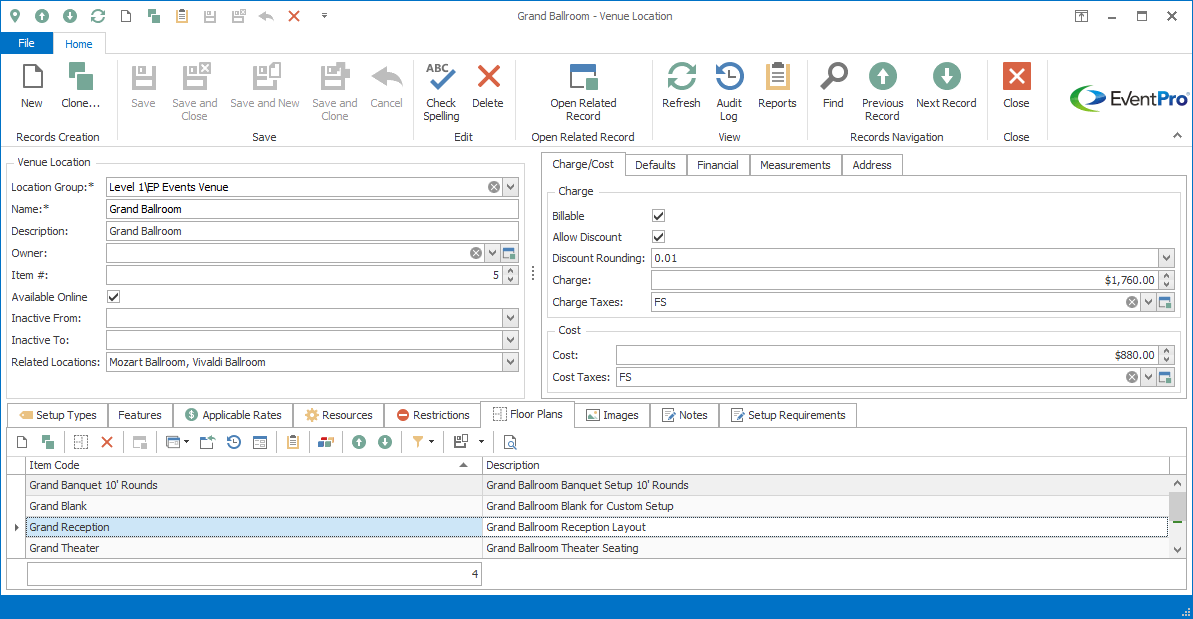
2.Start a New record under the Floor Plans tab, or - if you are editing an existing Floor Plan - double-click the Floor Plan record in the selection grid.
3.The Venue Location Floor Plan edit form opens.
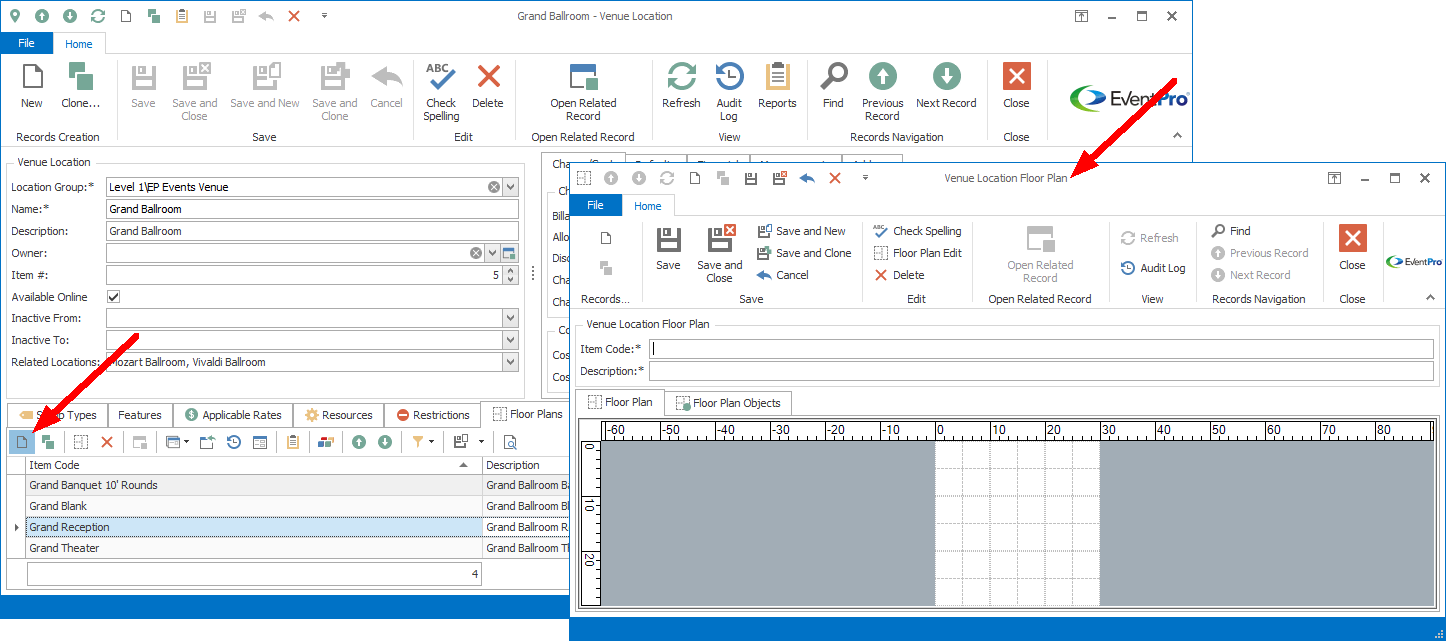
4.Item Code: Enter a name for the Floor Plan.
5.Description: This will default to the Item Code name, but you can enter a different description.
6.To access the Floor Plan Designer, click the Floor Plan Edit button at the top of the Venue Location Floor Plan edit form.

7.The Floor Plan Designer opens.
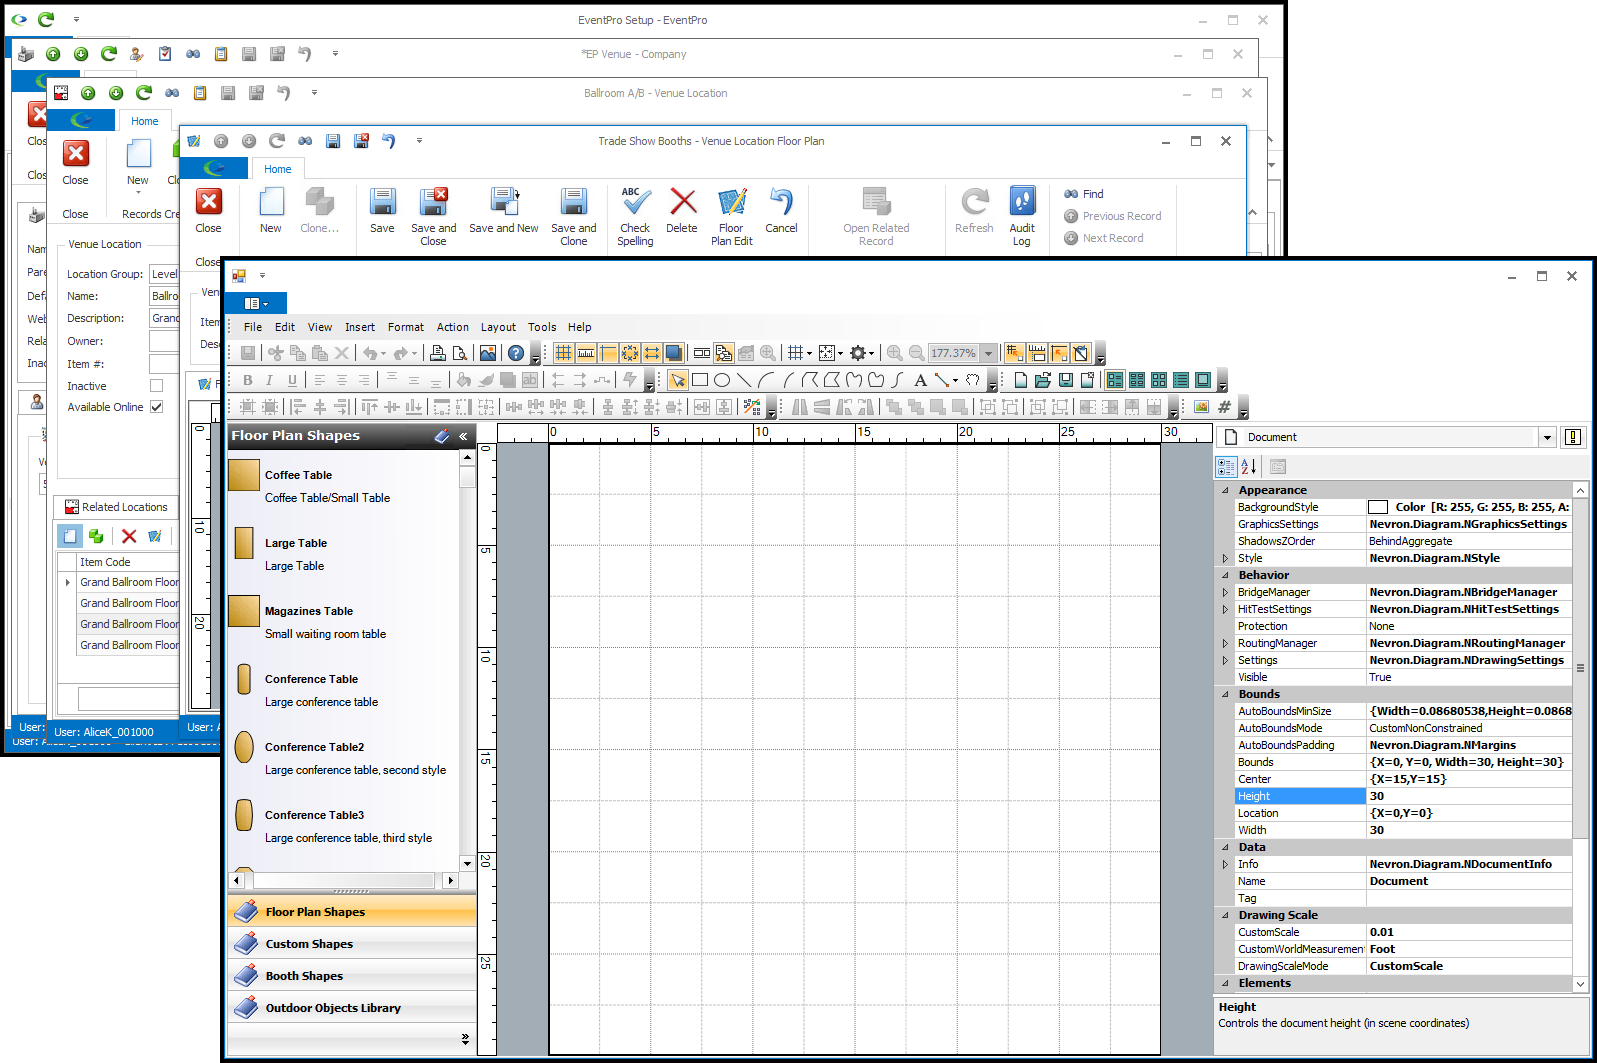
8.The Floor Plan Designer has many tools and functions, but you don't need to use them all, especially if you don't have a lot of experience with drafting. Using the Designer's basic processes and built-in shapes will help you easily build an elegant, professional-looking floor plan.
These are some basic processes in the Floor Plan Designer:
IMPORTANT: It is very important to SAVE your edits in the Floor Plan Designer, so that your work is not lost. When you have completed your floor plan, you need to save any Object Libraries you have changed and/or created, as well as the Floor Plan itself.
Before exiting the Floor Plan Designer, ensure that you have covered all the points in Save and Close Floor Plan.