1.Select the object for which you want change color and/or outlines.
(Remember, if you can't seem to select an object, make sure that you are using the Pointer tool  in the top ribbon.)
2.You can access the Format commands in a few different ways:
a.The Format menu.
b.The Format command icons in the ribbon.
c.Right-click the object and find Format in the speed menu.
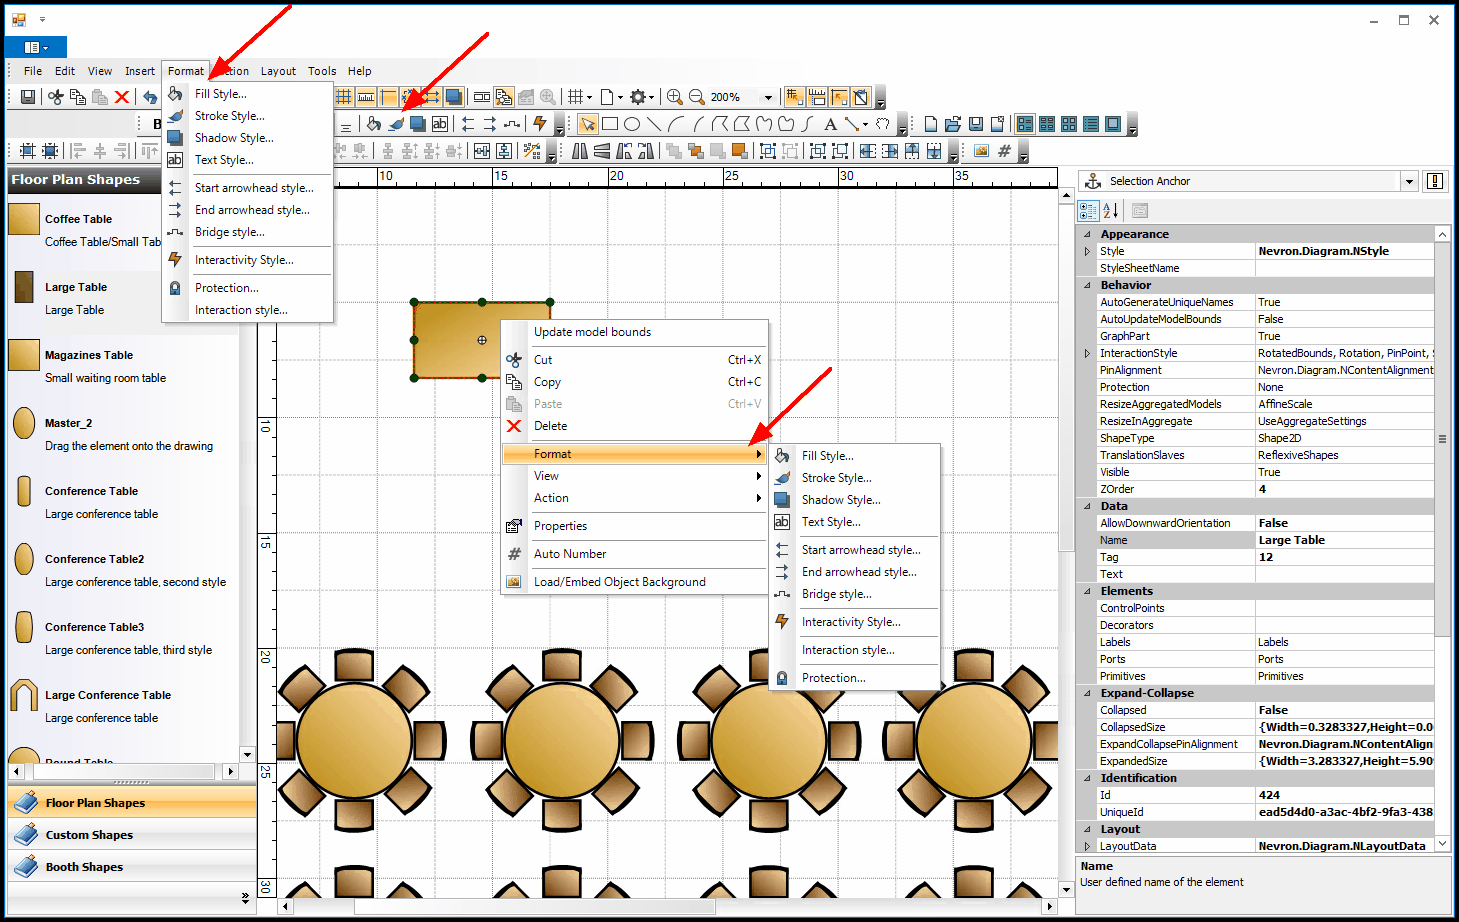
3.There are several different commands under the Format menu, but we will look at three commonly used options: Fill Style, Stroke Style and Shadow Style.
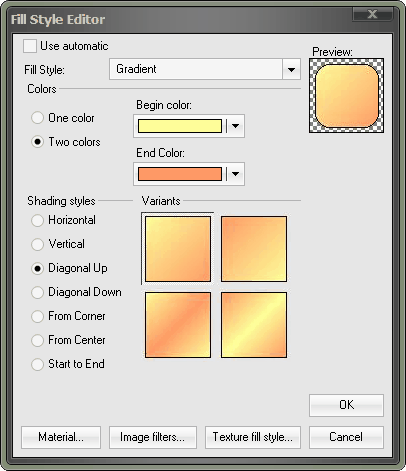
4.Fill Style allows you to select the fill style and color of the object.
a.When you select Fill Style, the Fill Style Editor window opens.

b.Unselect the Use Automatic checkbox at the top of the Fill Style Editor window.
c.From the Fill Style drop-down, choose the option you want to use: Color (solid), Gradient, Image, Hatch (pattern), or Advanced Gradient.
i.Color: Select a color from Standard, Web and System colors, or define your own Custom color.
ii.Gradient: Choose one or two Colors for the gradient, and select a Shading Style.
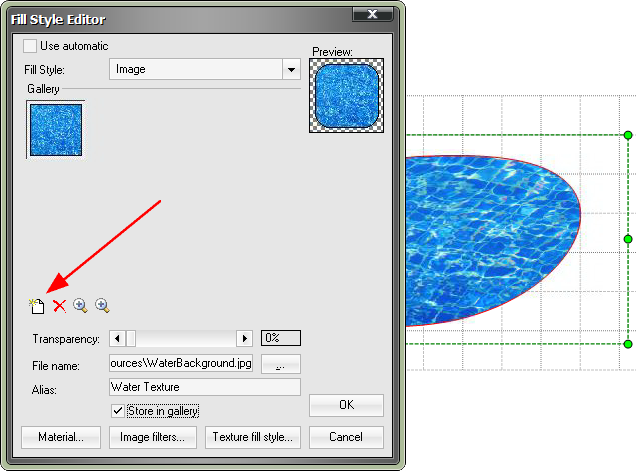
iii.Image: Click the Add icon along the left side of the Fill Style Editor.
In the Open window, select the image you want to use as the object's fill, and click Open.
IMPORTANT: In order for other EventPro Users to see the image you have used, they must have access to the network location where the image resides.
If you use a local image (an image stored locally on your computer), only you will be able to see the image in the Floor Plan.
To learn how to embed an image so that all Users can see it, regardless of the image's storage location, see Embed Image.
iv.Hatch: Choose a Foreground Color, Background Color, and Pattern.
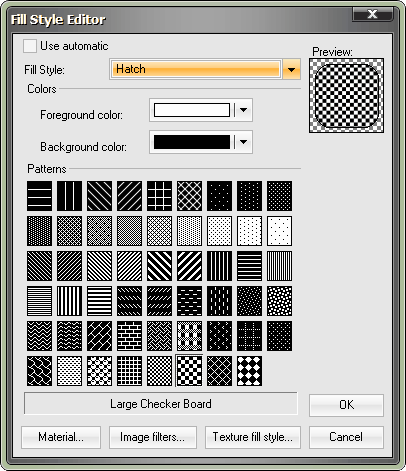
d.The Fill Style Editor will display a preview of your selected color, gradient, image or hatch pattern.
e.When you are done making changes in the Fill Style Editor window, click OK.
5.Stroke Style adjusts the color, thickness, dash style, and joiners of the object's outline.
a.When you select Stroke Style, the Stroke Style Editor window opens.
b.Unselect the Use Automatic checkbox at the top of the Stroke Style Editor window.
c.Make your selections for the appearance of the object's outline.
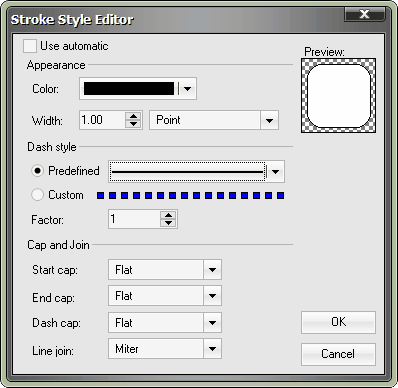
d.Click OK.
6.Shadow Style adjusts the shadow around the object.
a.When you select Shadow Style, the Shadow Style Editor window opens.
b.Unselect the Use Automatic checkbox at the top of the Shadow Style Editor window.
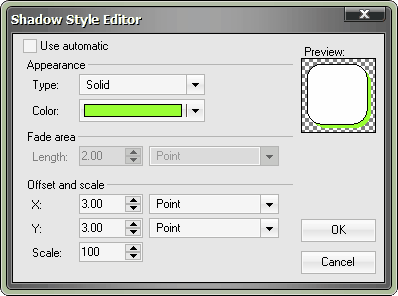
c.Make your selections for the appearance of the object's shadow.
d.Click OK.