•As noted above, you can use the Format > Fill Style option to add an image to a floor plan object.
•However, other EventPro Users will only be able to see that image if it is stored on a network and the Users have access to that network.
•If you add a local image to a floor plan object, only you (or a person on your computer) will be able to see that image.
•In order to add an image that all Users can see, regardless of the image's storage location, you need to embed the image.
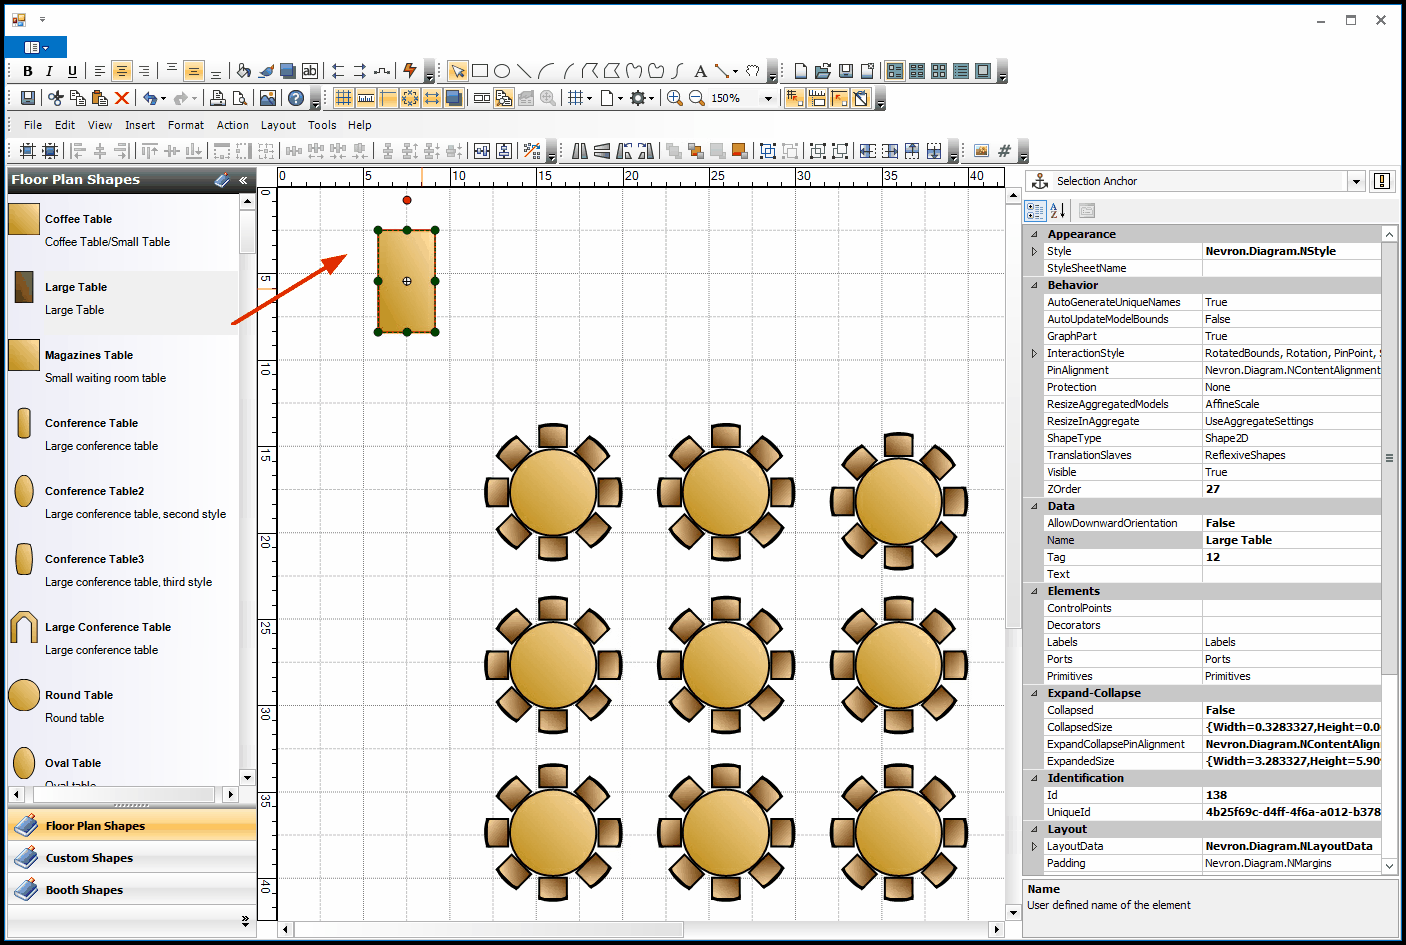
1.To begin, drag and drop an object onto the floor plan.
Select a simple, single-shape object that is similarly shaped to the image you plan to embed. A composite object made up of multiple shapes may not display the image correctly.
Note that embedding images will only work with a floor plan shape, not a drawn shape.
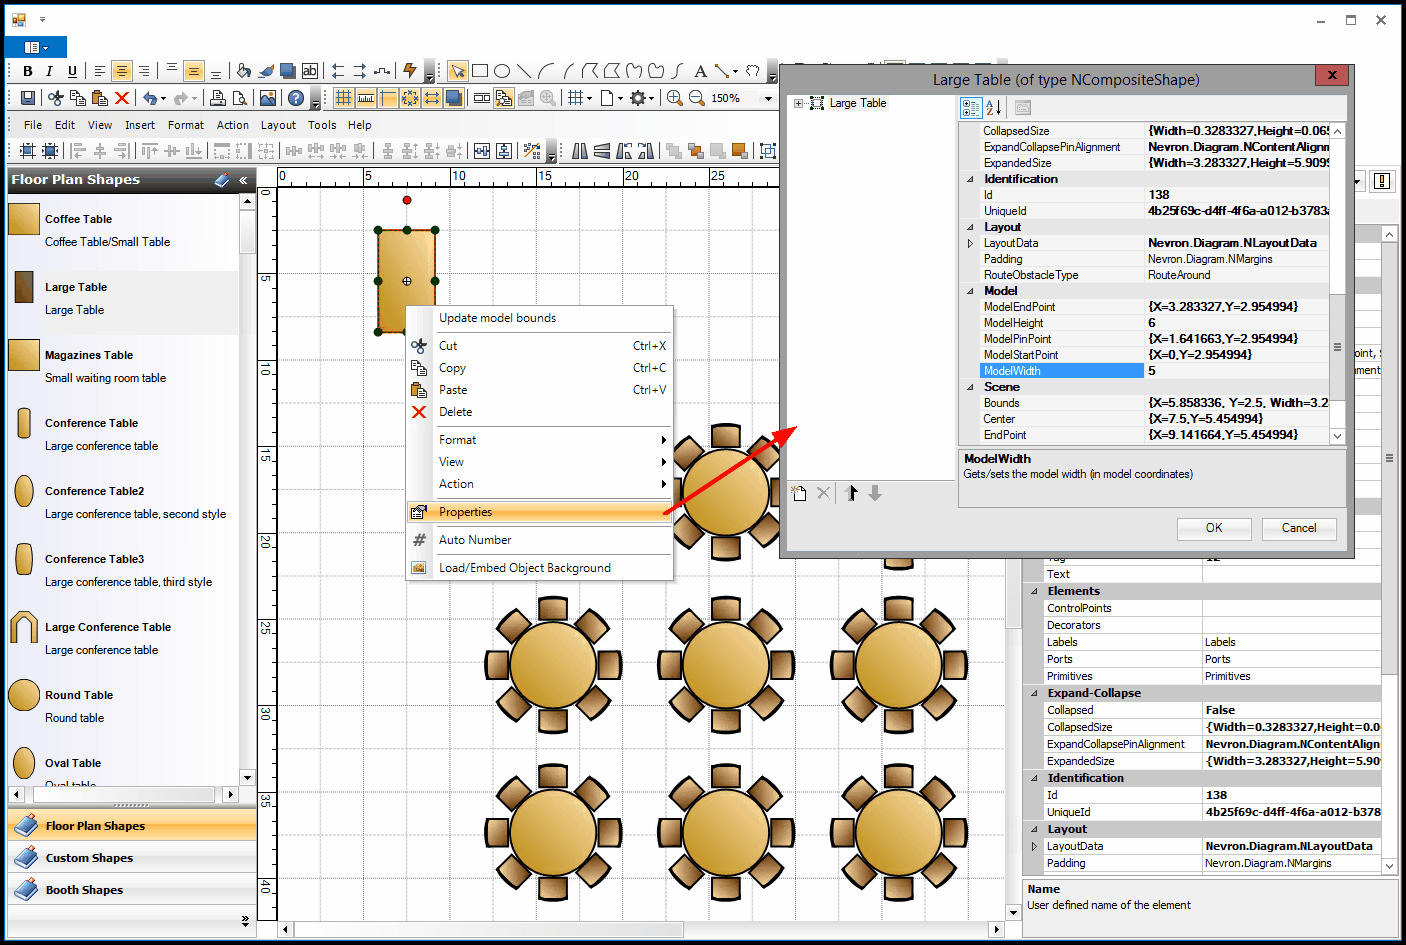
2.If you want to re-size the object for the image in advance, you can do so in the Properties dialog.
Right-click the object and select Properties. Enter the Model Height and Model Width, and click OK.
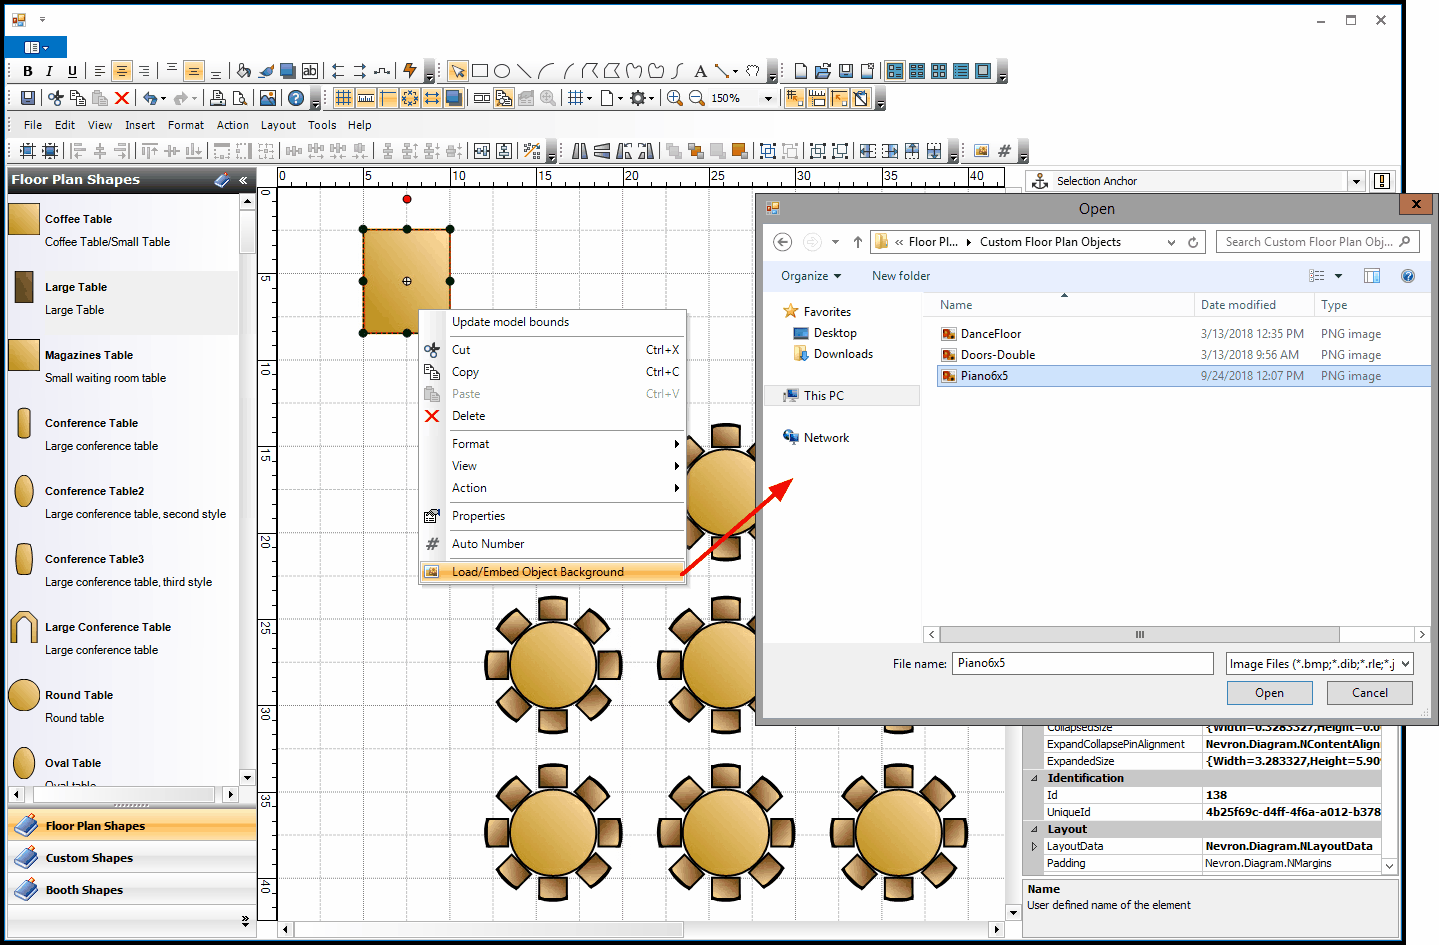
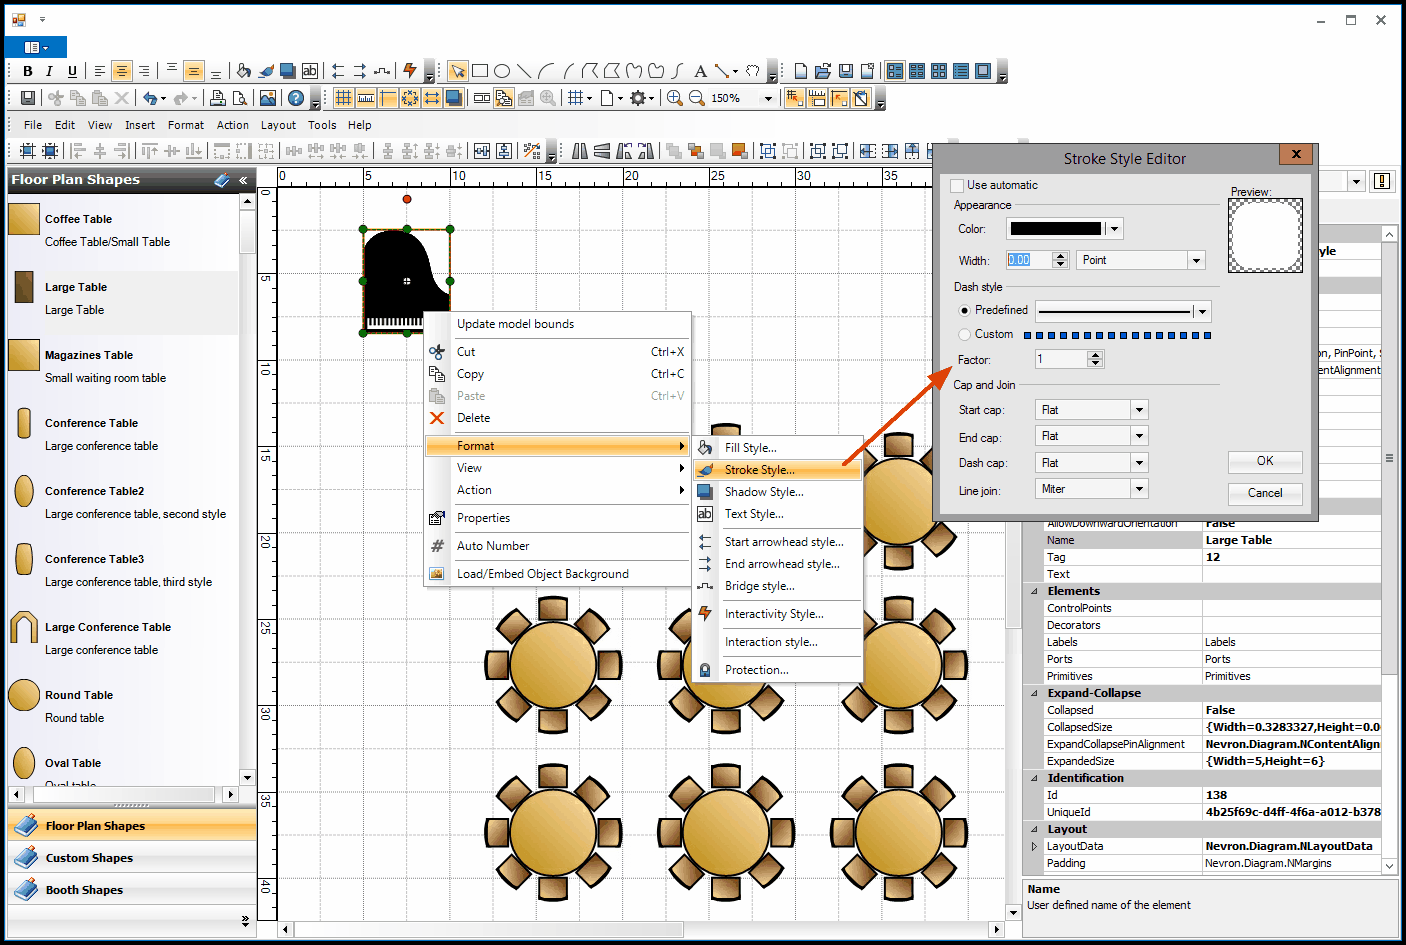
3.To embed the image, right-click the object and select Load/Embed Object Background.
In the Open window, find and select the image you want to use, and click Open.
4.The image will appear in the object boundaries.
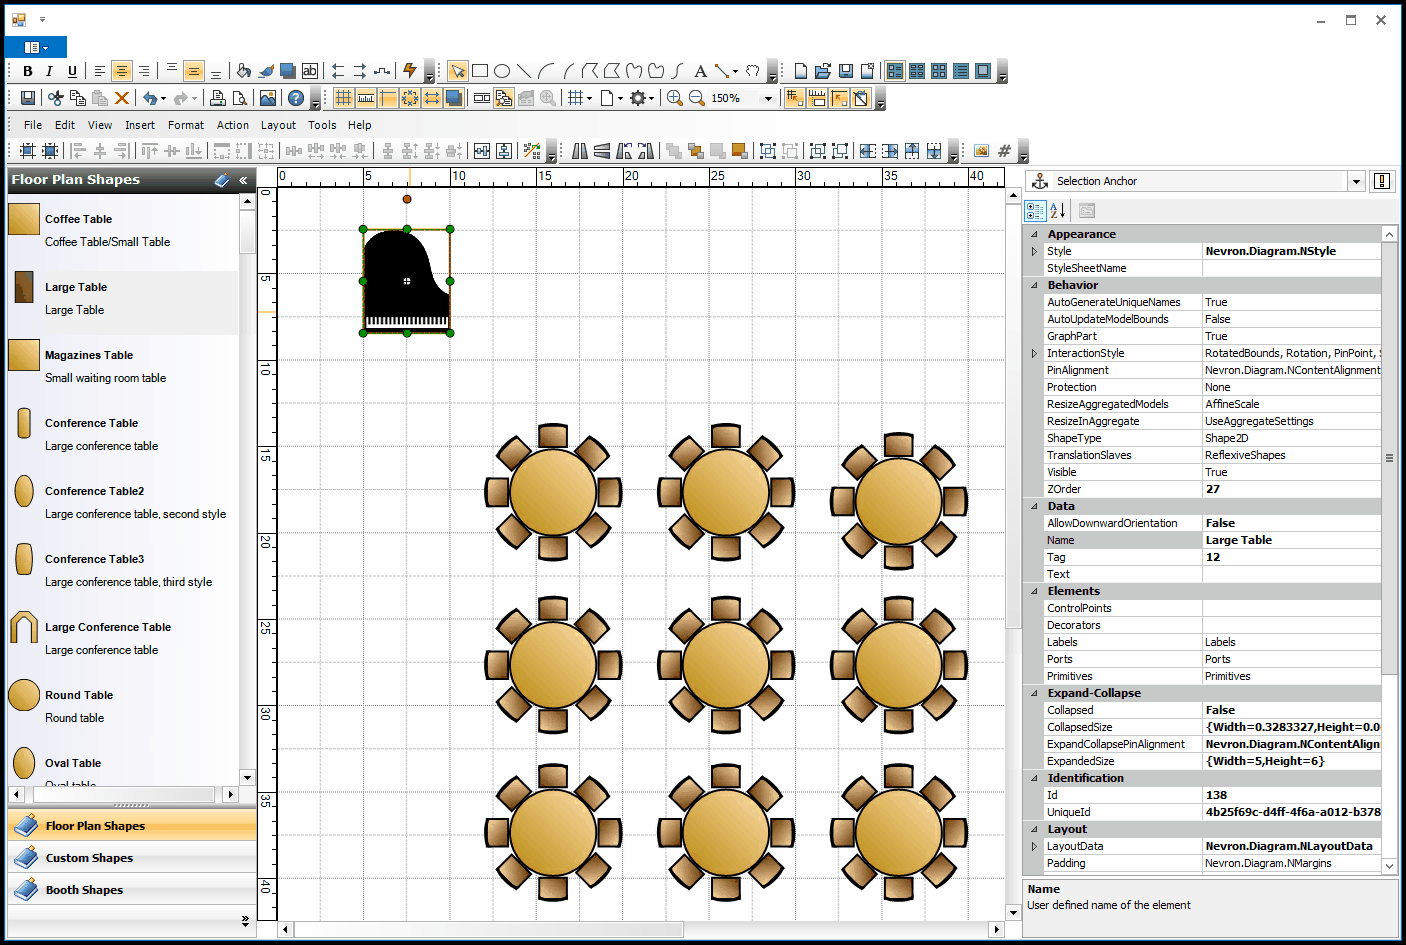
5.Adjust the object/image as necessary.
For example, you may need to remove the border from the object, if the image doesn't extend to all edges. Review Stroke Style under Fill Colors & Outlines.
If you haven't already, you can Resize the image/object.
6.If you want to save the object with the custom embedded image for future use in other floor plans, see Add New Objects to Library.