•If you have created any custom objects in your floor plan - e.g. drawing a new object, editing an object, grouping or composing objects together, a set of multi-selected objects etc. - you can save those custom objects to use again, so that you don't have to repeatedly draw and edit objects for each floor plan.
•IMPORTANT: If you add new objects to a Library, you must SAVE the Library, or your changes will be lost.
•Saving the Library is a separate command from saving the Floor Plan, so it is important that you remember to Save your Libraries, and then Save the Floor Plan.
1.At the bottom of the left-hand library panel, select the library to which you want to add the object.
At first, you may only have the Floor Plan Shapes library, but you have the option to create a new custom library for objects you create.
Remember, if you can't see the library panel, click the Library Browser toggle in the View menu or ribbon to show the library panel again.
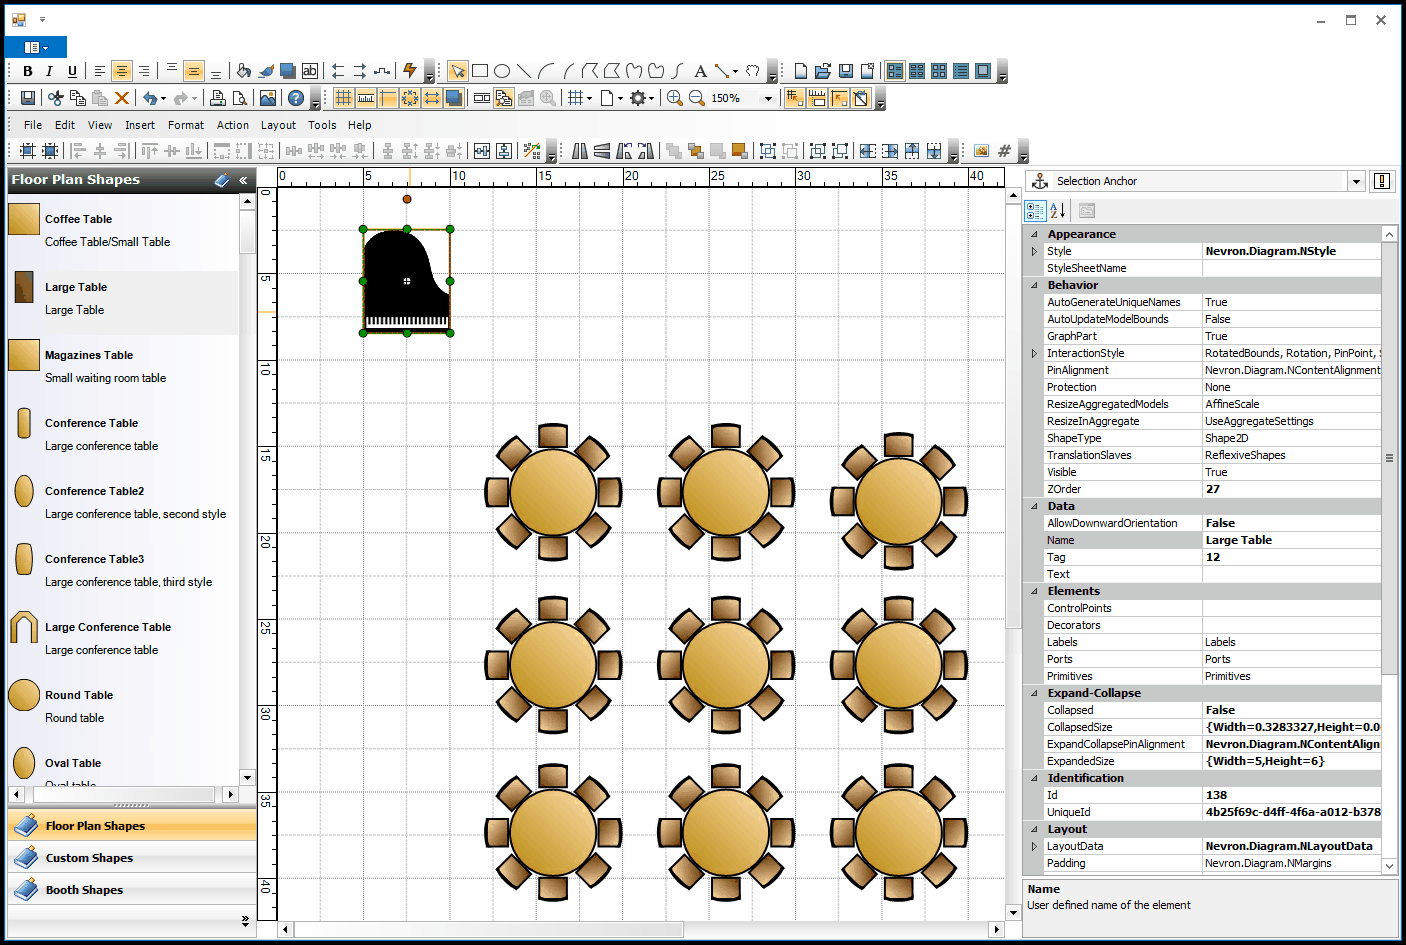
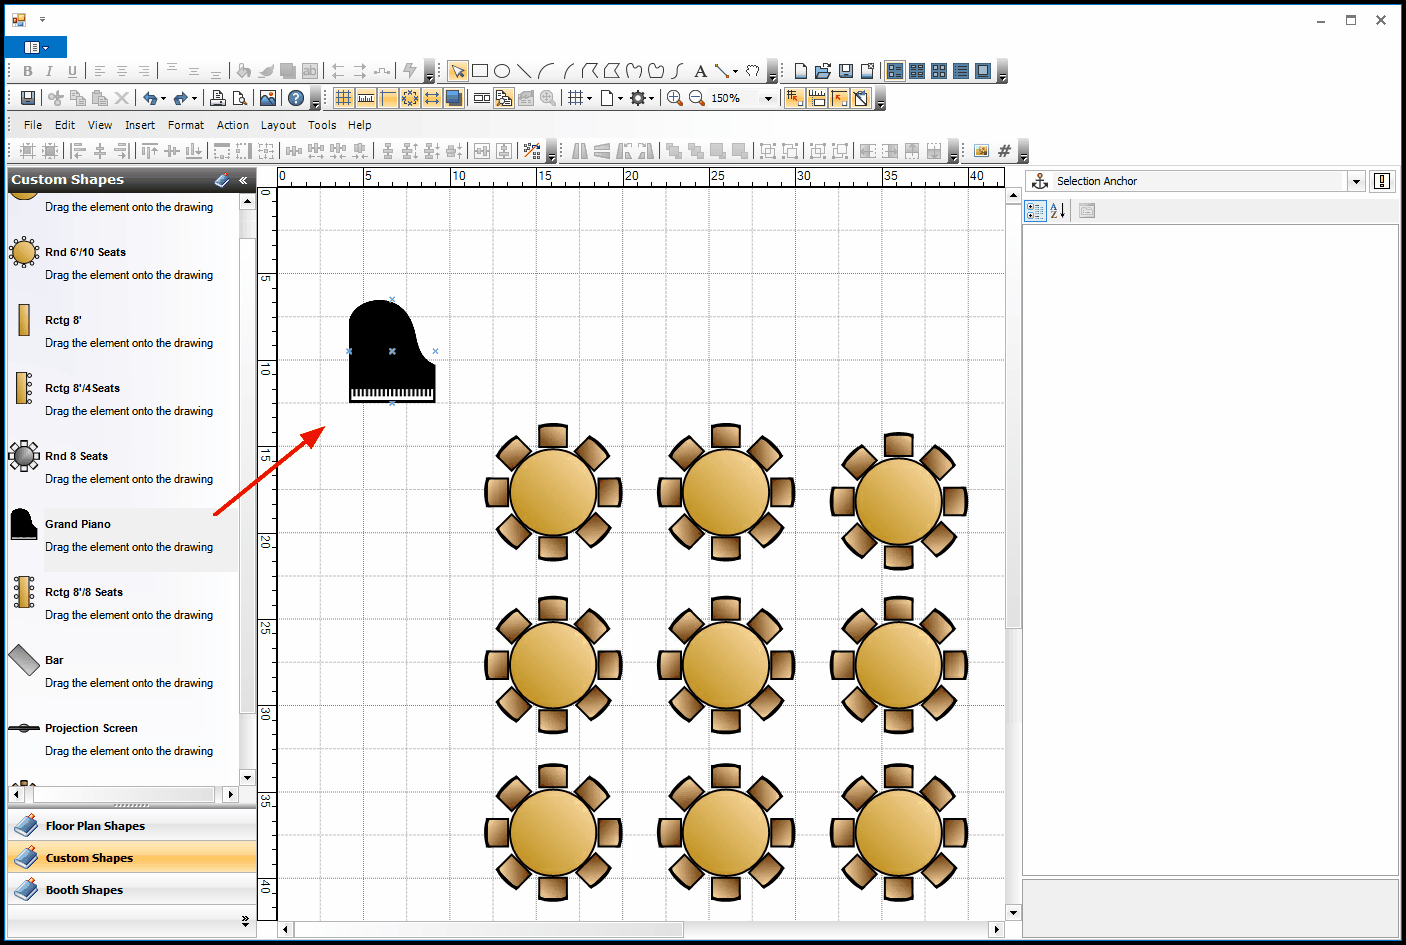
2.In the layout area, select the object, group of objects, or composed object that you want to save in the library.
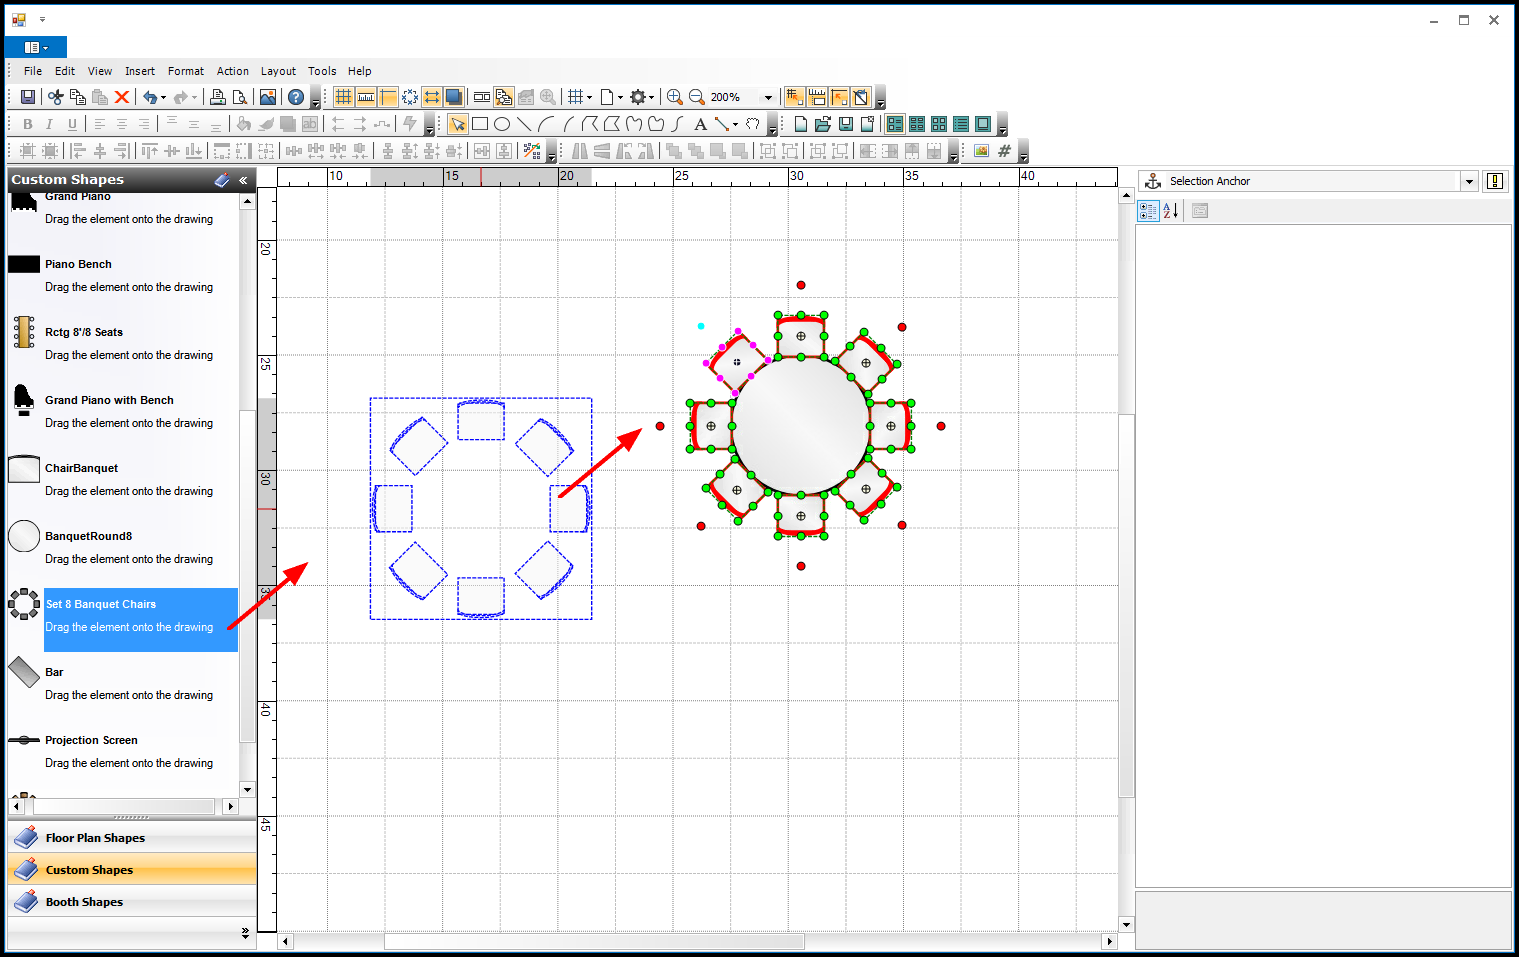
You can also multi-select a set of objects that hasn't been grouped or composed.
(Remember, if you can't seem to select an object, make sure that you are using the Pointer tool  in the top ribbon.)

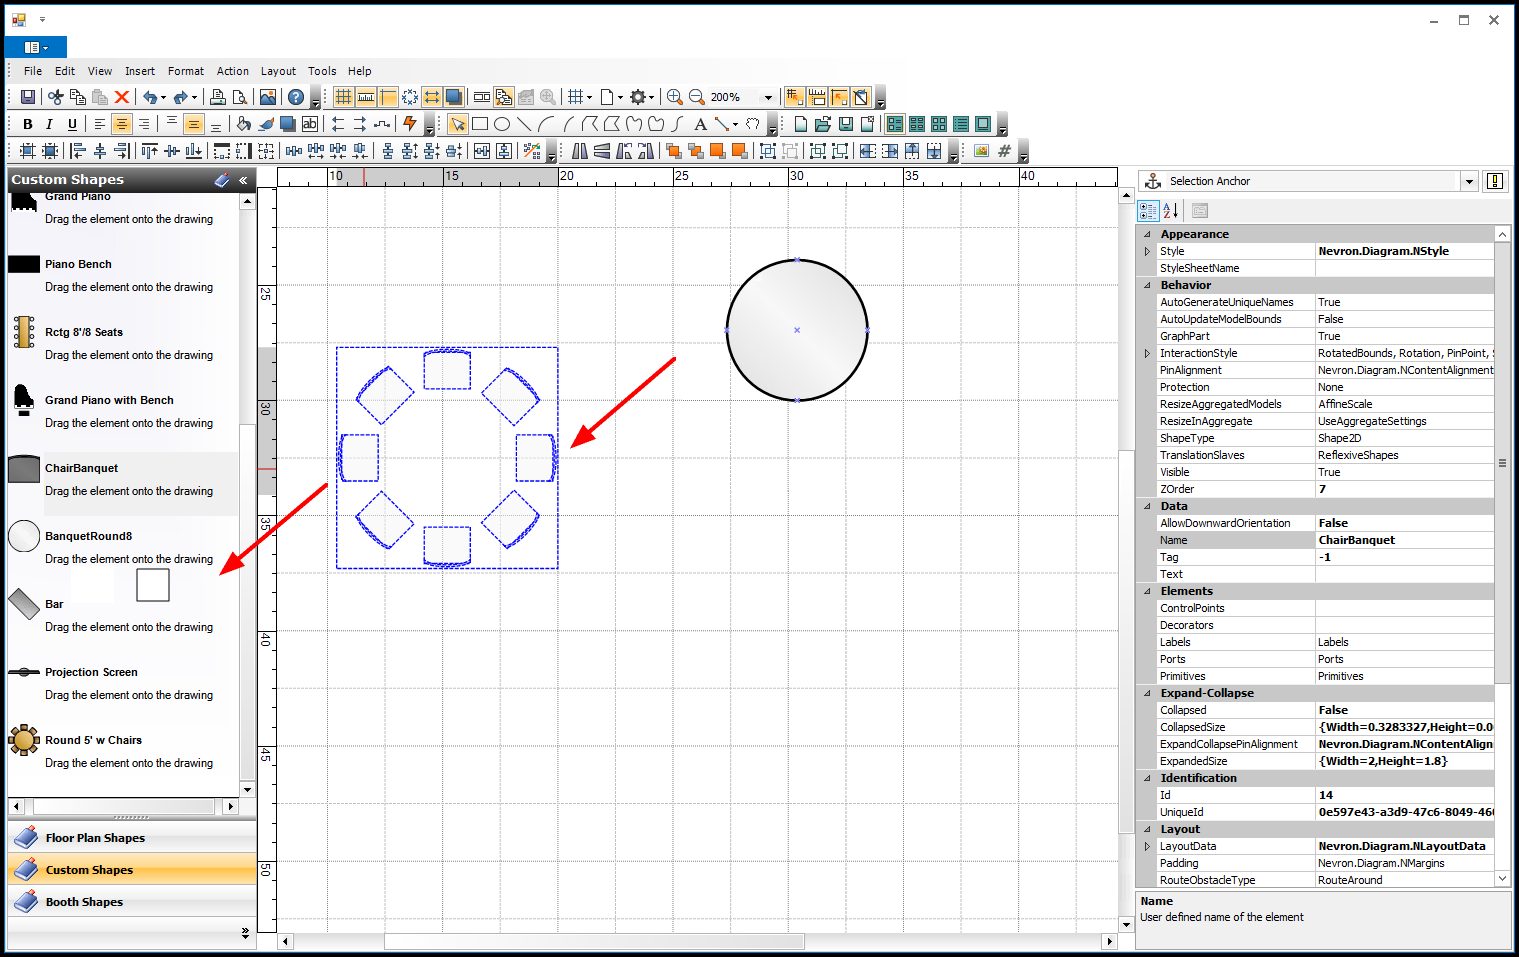
3.Drag and drop the selected object(s) onto the library panel to the left.
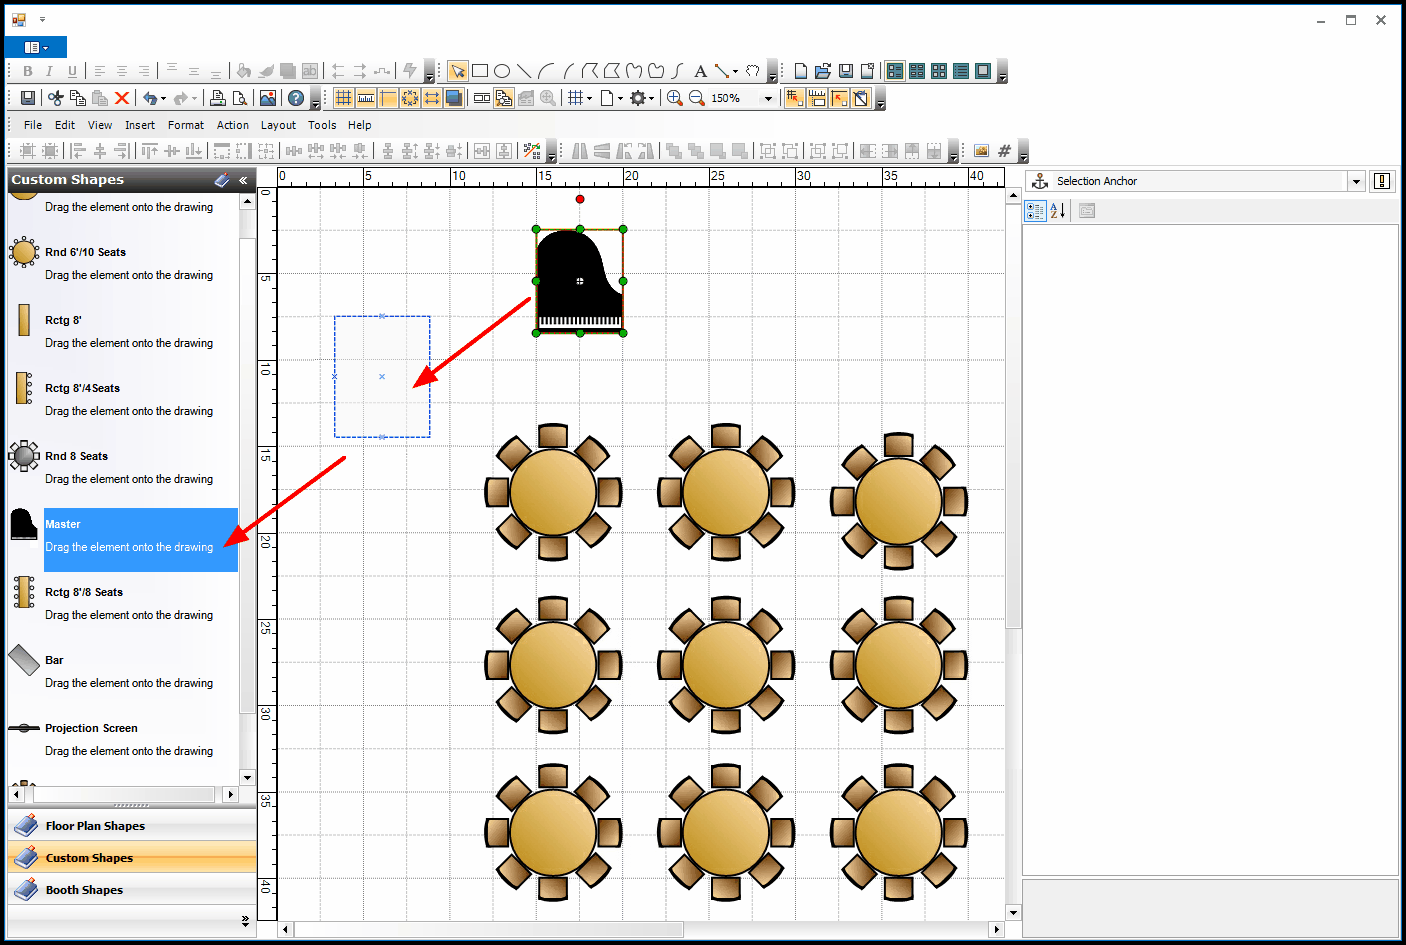
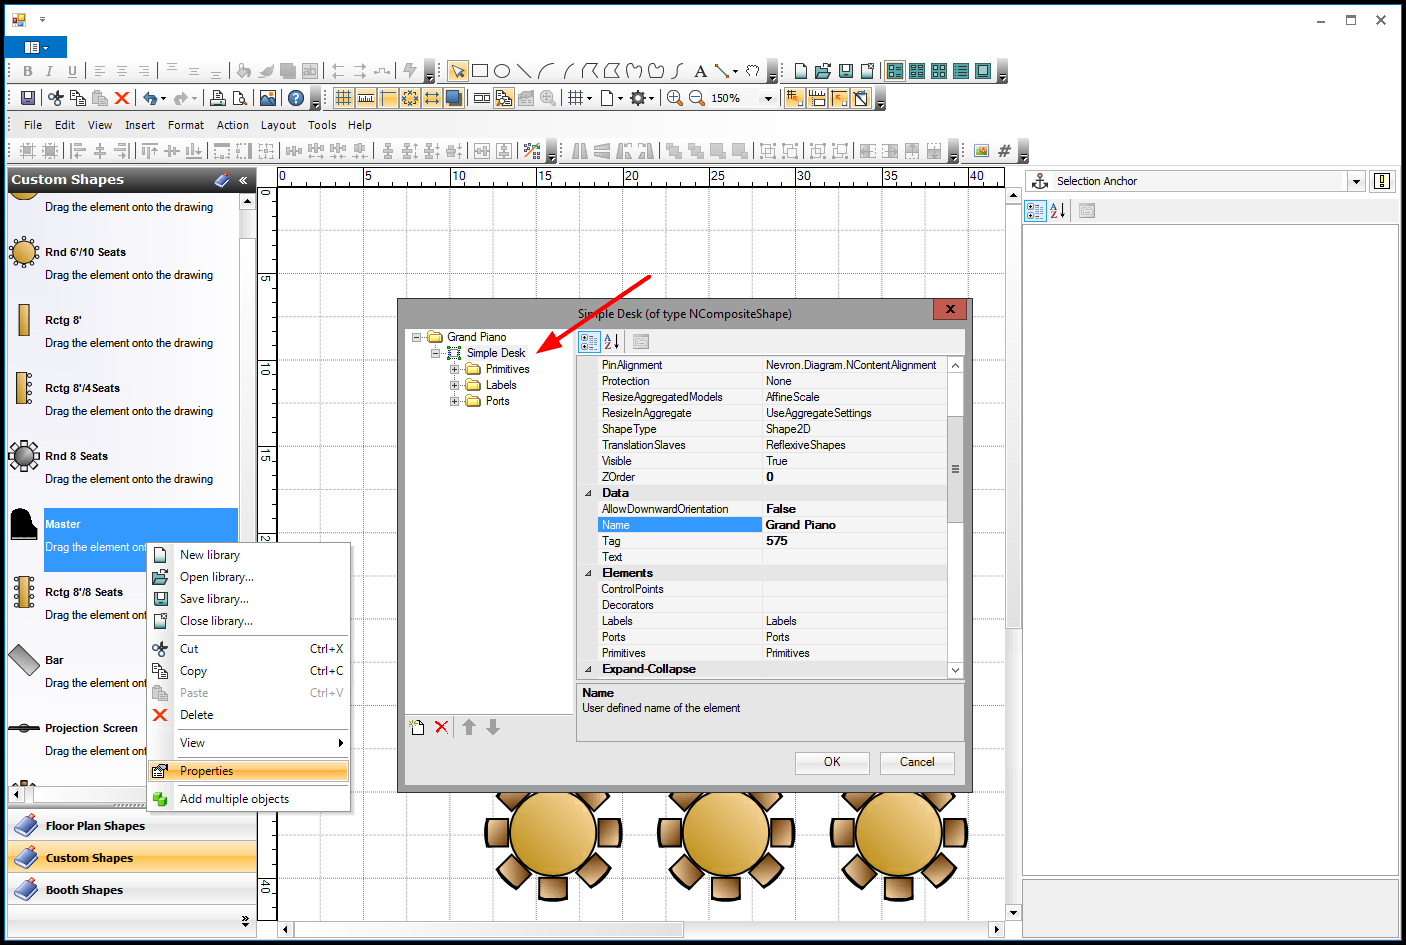
4.The object will be named "Master" by default.
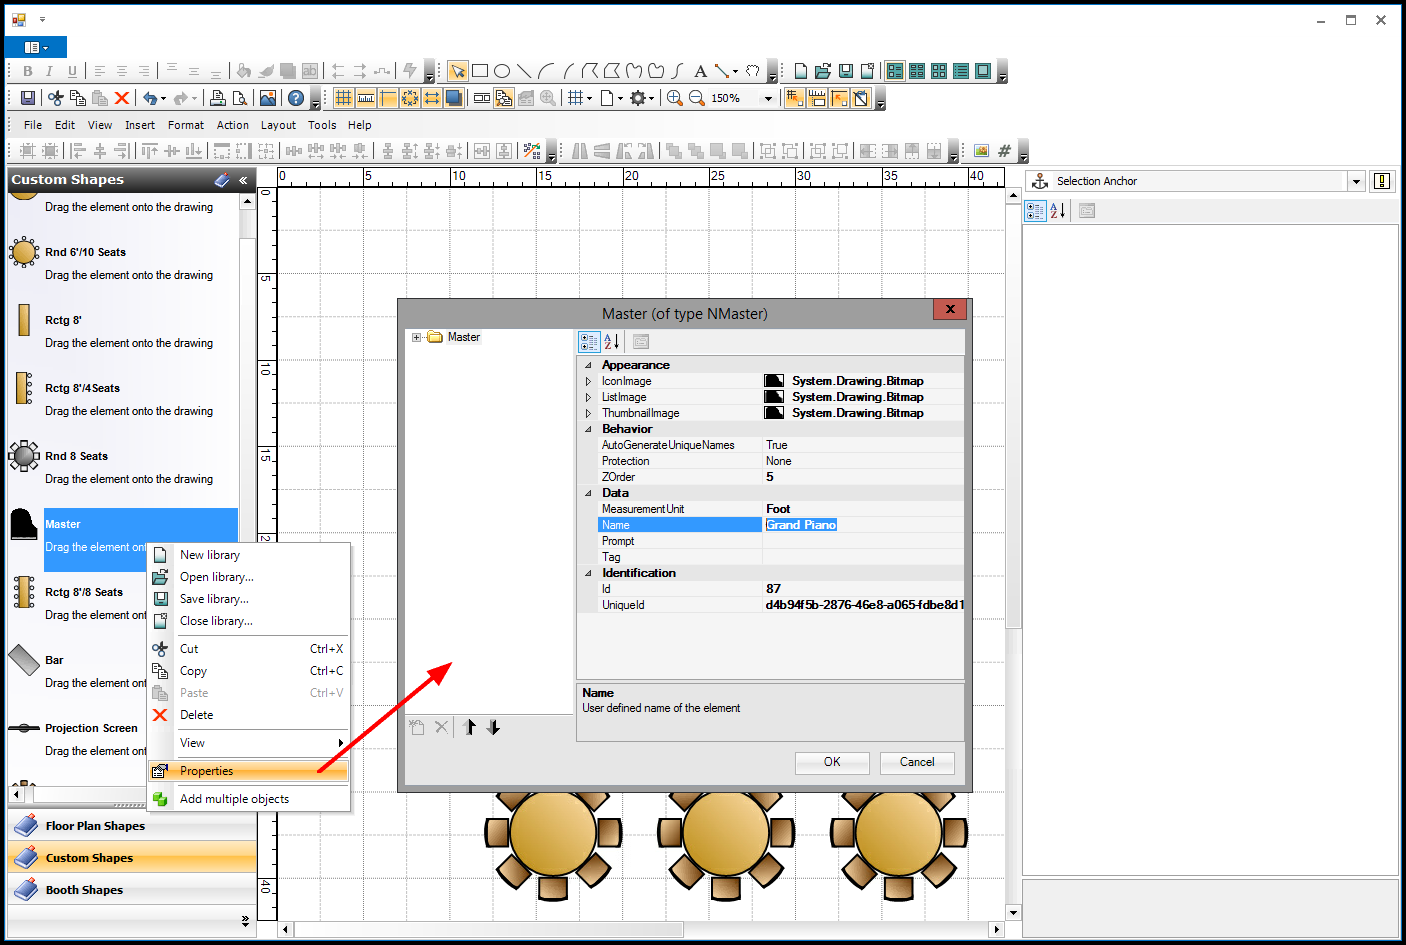
a.To change the object's name, right-click the object in the library panel, and select Properties from the speed menu.
b.The Properties dialog for the object(s) will appear. If this is a multi-object collection, the library will preserve the manner in which you collected them together, i.e. whether you multi-selected, grouped, or composed the objects.
c.Under the Data section, type in the new Name of the object.
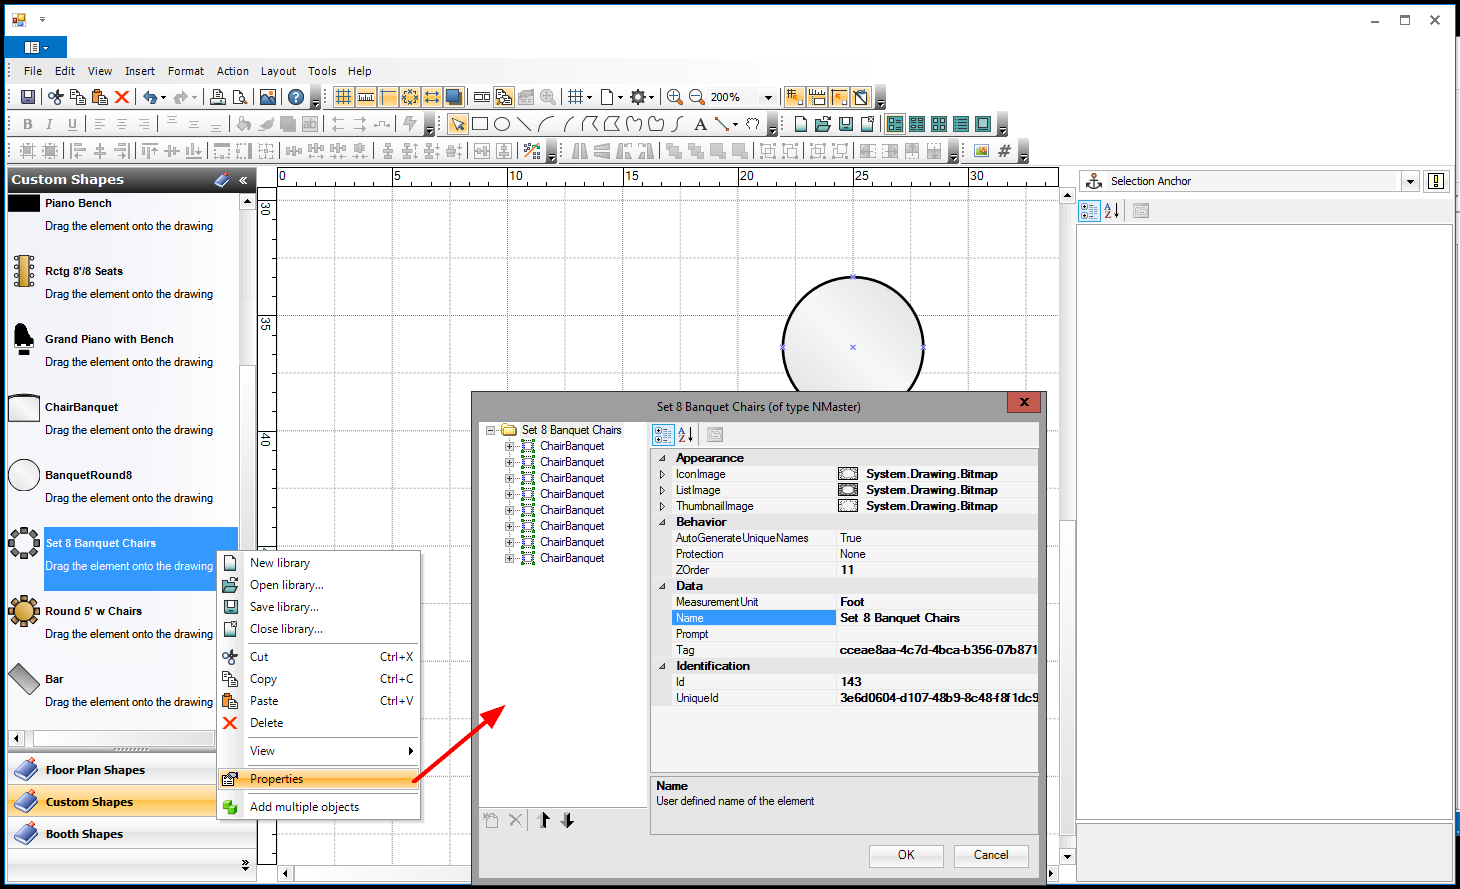
d.You may also want to change the object's name on the level below the Master folder.
In the left panel of the Properties dialog, click the plus sign to expand the top folder.
Click on the original shape name just below. In the right panel, enter the new Name for the object.
If you plan to only use the object on its own, it doesn't make a lot of difference, but if you plan to group and compose the object with other objects, you may find it more convenient to re-name the object on both levels. If you don't rename the object here, and you later group or compose it with other objects, the Properties dialog will still display the original name of the shape.
Also note that the Name of an object can affect auto-numbering. See Auto-Number Tables & Chairs.
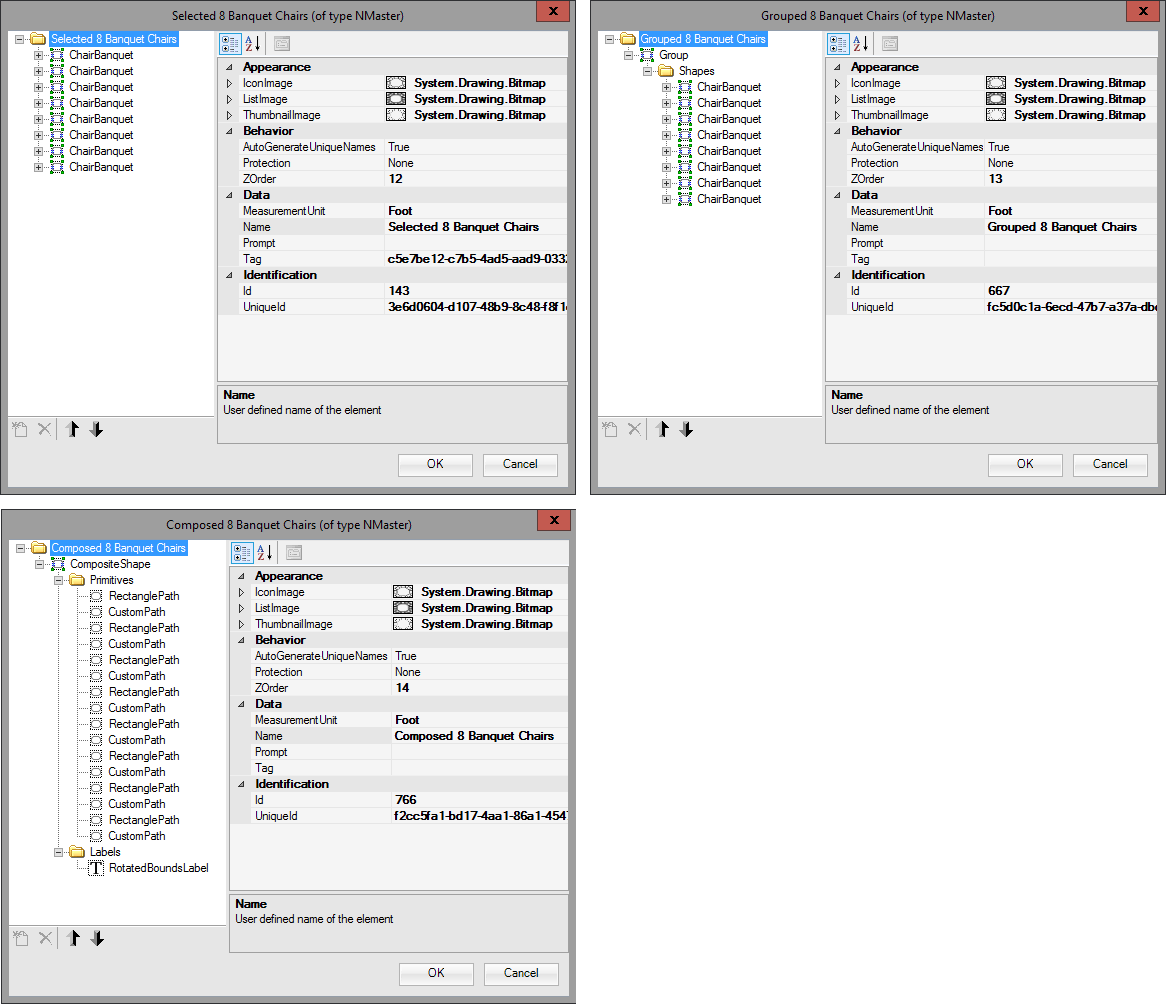
e.If you are re-naming a set of multi-selected, grouped, or composed objects, you will note that the left-hand panel indicates how the objects are joined together.
For example, if you multi-selected 8 chairs, without grouping or composing them, and dragged them into the library, the Properties panel shows that they are still 8 individual chairs.
If you grouped the chairs before dragging them into the library, the Properties panel indicates that it is now a Group of Shapes, but there are still 8 individual chairs in the Group Shapes.
If you composed the chairs before dragging them into the library, the Properties panel indicates that it is one Composite Shape. When you look into the lower levels under the Composite Shape, it doesn't separate into 8 chairs, but rather breaks down into all the individual shapes that make up the chairs.
f.When you are done with the Properties dialog, click OK.
5.IMPORTANT: After adding objects, make sure that you SAVE THE LIBRARY.
Right-click in the library panel, and select Save Library from the speed menu.
In the Saved dialog, click OK.
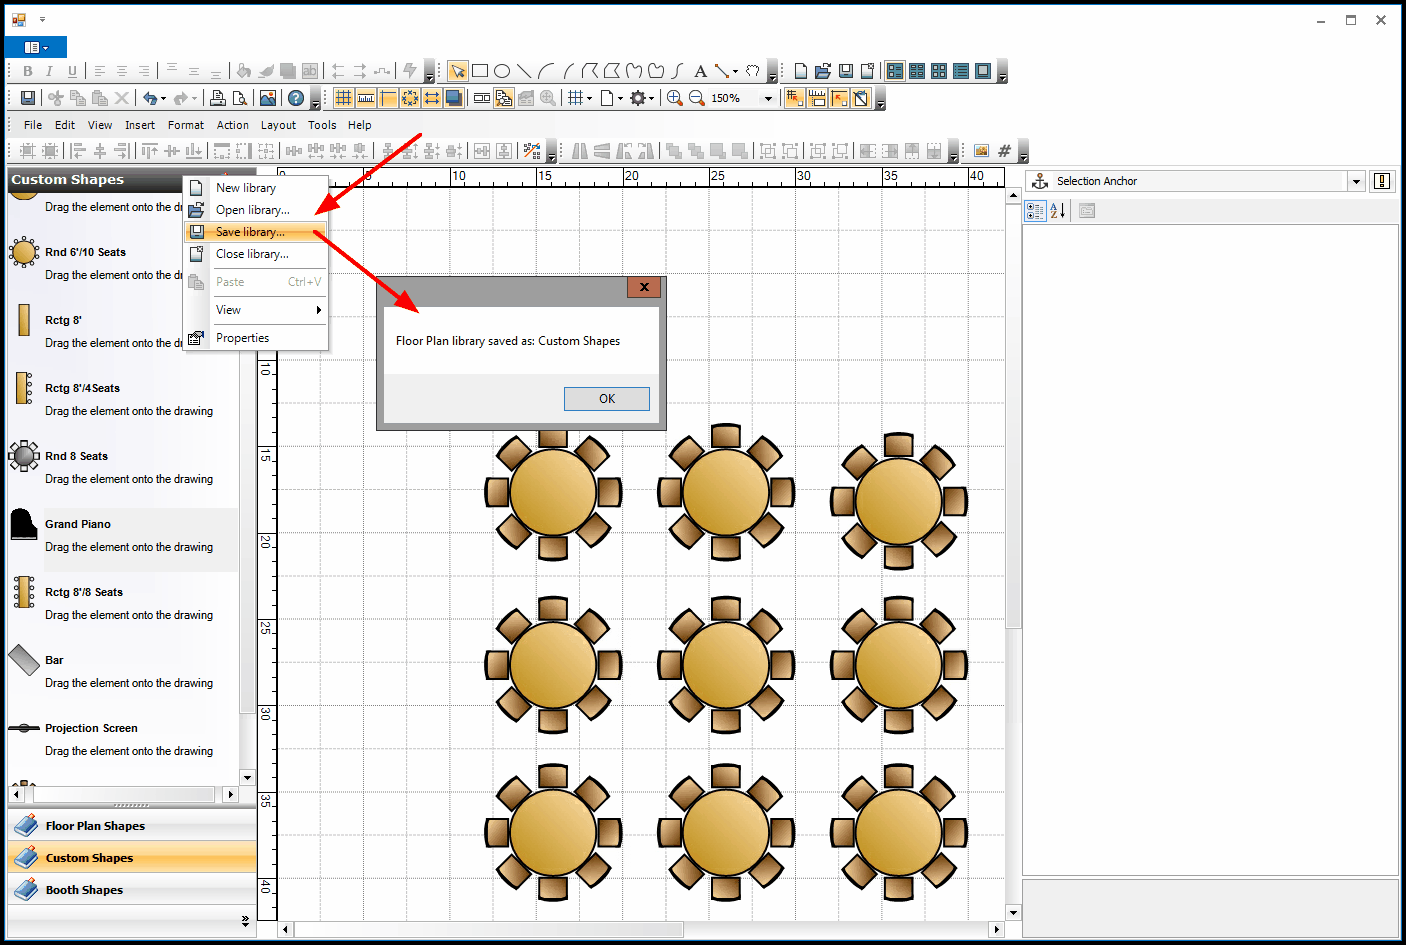
6.You can now drag and drop the newly saved custom object back onto the floor plan.
7.It's a good idea to Save  the entire floor plan at this point, as well.
Do not exit the Floor Plan Designer without saving the libraries AND the floor plan.