•While you can draw your own custom objects in the Floor Plan Designer, remember that it may be faster and easier to simply edit an existing object.
oAs noted above, you can resize objects, edit object colors, group them together, compose multiple objects into one, and so on.
•However, if nothing resembles the object you need, you can draw it from scratch.
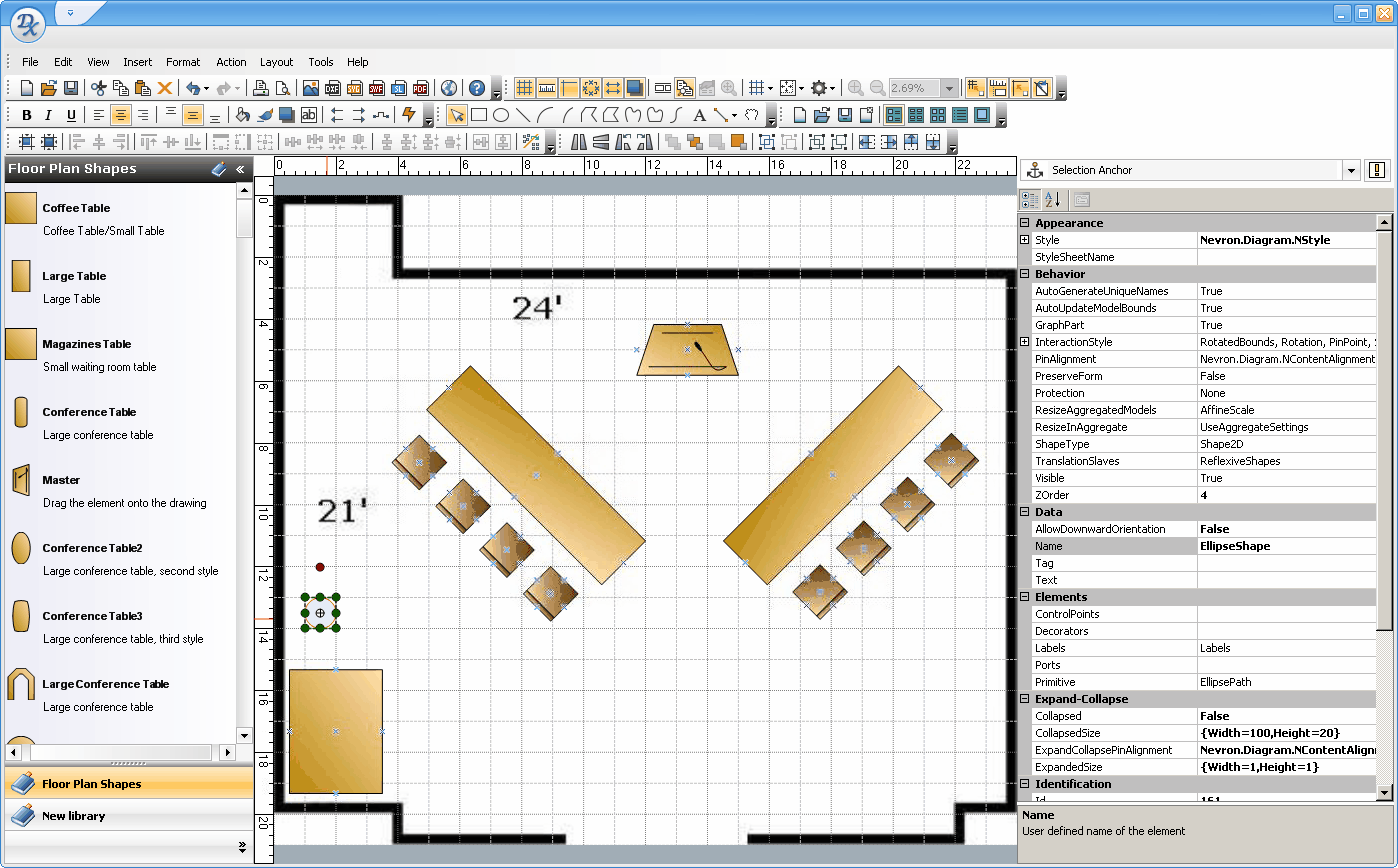
1.In the right-hand properties panel, ensure that the drop-down is set to Selection Anchor.
This will allow you to see the properties of the objects you are drawing.
2.Above the working area, or from the Tools menu, you can access a variety of drawing tools.
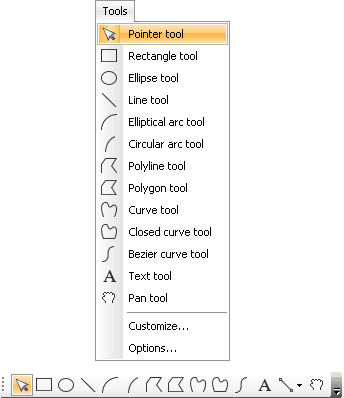
3.Select the tool for type of shape or line you want to draw.
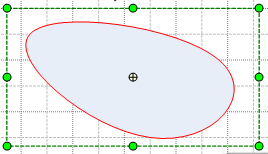
4.Draw the object by clicking and dragging the mouse cursor.
5.If you are drawing a more complex shape, like a polygon or closed curve, you may have to click-and-drag a few times to pull the object into the shape you want.
You then need to right-click to freeze the shape in its current position (as you will otherwise be able to click-and-drag indefinitely).
6.If you want to adjust the object after drawing it, first select the Pointer tool  and then click on the object.
Make sure you choose the Pointer before trying to select an object. If you try to select the object while still in drawing mode, you may end up drawing another object.
7.To edit and format the object, see the instructions above: Move Object, Flip & Rotate Object, Fill Colors & Outlines, etc.
8.If you want to save your new object for future use, you can add it to a library.
9.While you are manipulating objects in the floor plan, it's always a good idea to Save  frequently.