If you frequently set up a room in standard configurations with the same objects, you may find it convenient to create those floor plans with objects in Location Setup.
When you later book the Location for an event, those default floor plans will be ready to use. You can always make changes for the specific event, if required, and it will probably be easier to make a few small adjustments instead of starting over from scratch each time.
Note About Linked Objects: Remember that there is an option to link Floor Plan Objects to Setup Resource Items. If you add a linked Floor Plan Object to an Event Location Floor Plan, the corresponding Setup Item (including quantities and charges) will be added to the Event Location's Setup details. Review the topics Floor Plan Object Library and Event Location Floor Plans.
1.In the panel along the left side of the Floor Plan Designer, you can see the Floor Plan Shapes library.
The Floor Plan Shapes library contains many default shapes, such as chairs, tables, desks, bathroom stalls, toilets, and more.
If you have created other libraries, you will see those additional libraries below the Floor Plan Shapes library in the left-hand panel.
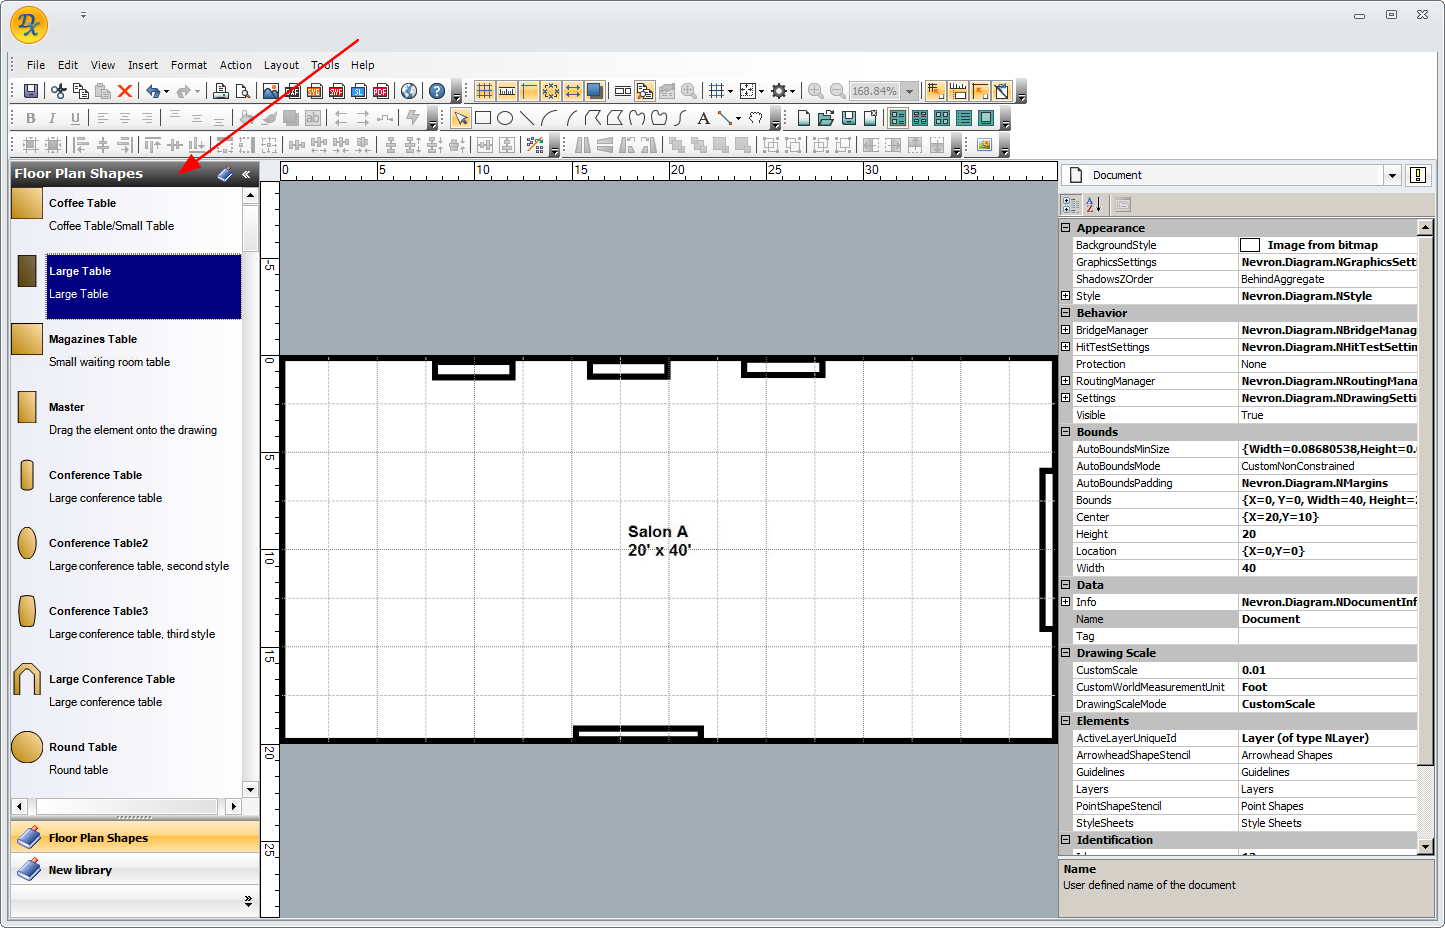
If you can't see the Floor Plan Shapes library panel, it most likely has been hidden. Click the Library Browser toggle under the View menu or in the top ribbon to display the library panel again.

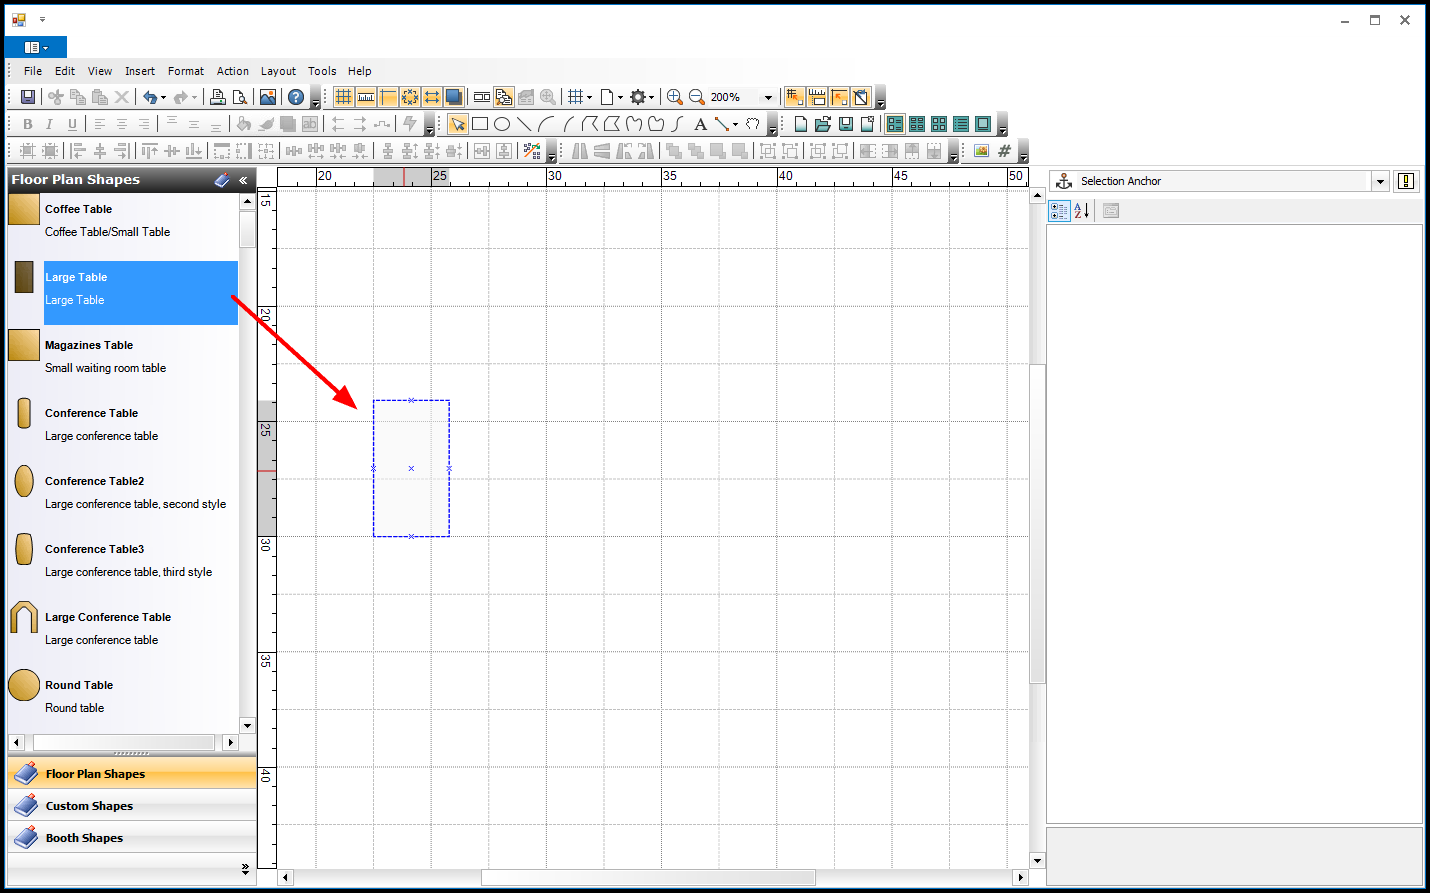
2.Select the library you want to use (Floor Plan Shapes may be your only library option at first), find the object you want to add, and drag and drop the object onto the floor plan.
3.In the right-hand panel, choose Selection Anchor from the drop-down list. The panel will now display the properties of the selected object.
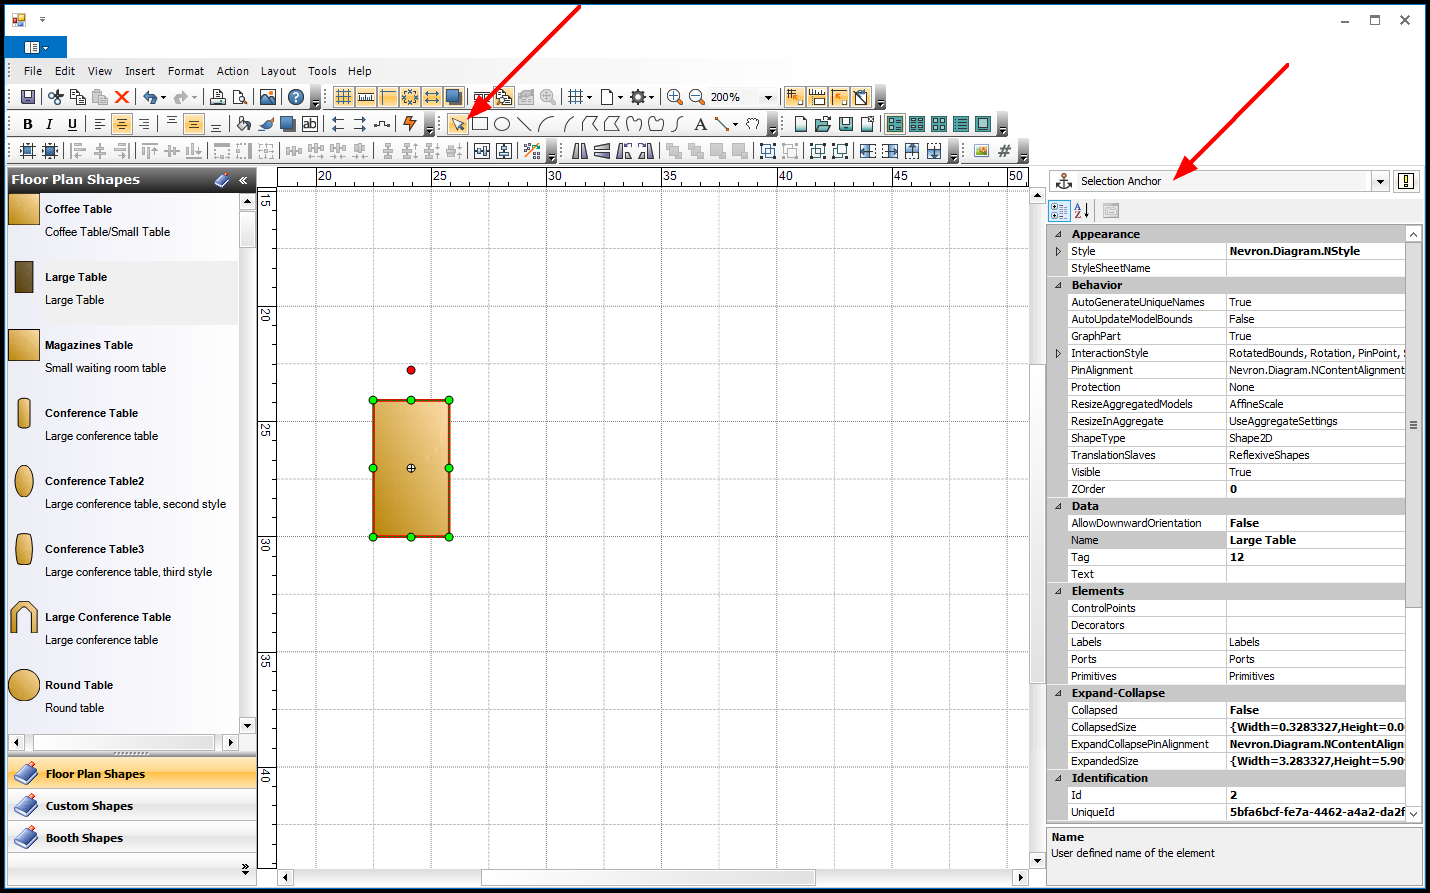
4.Now you can reposition, edit and format the object to suit your preferences.
To select the object, ensure that your cursor is set to the Pointer tool  in the top ribbon.
5.NOTE: While you are designing your floor plan, it's always a good idea to Save  frequently.