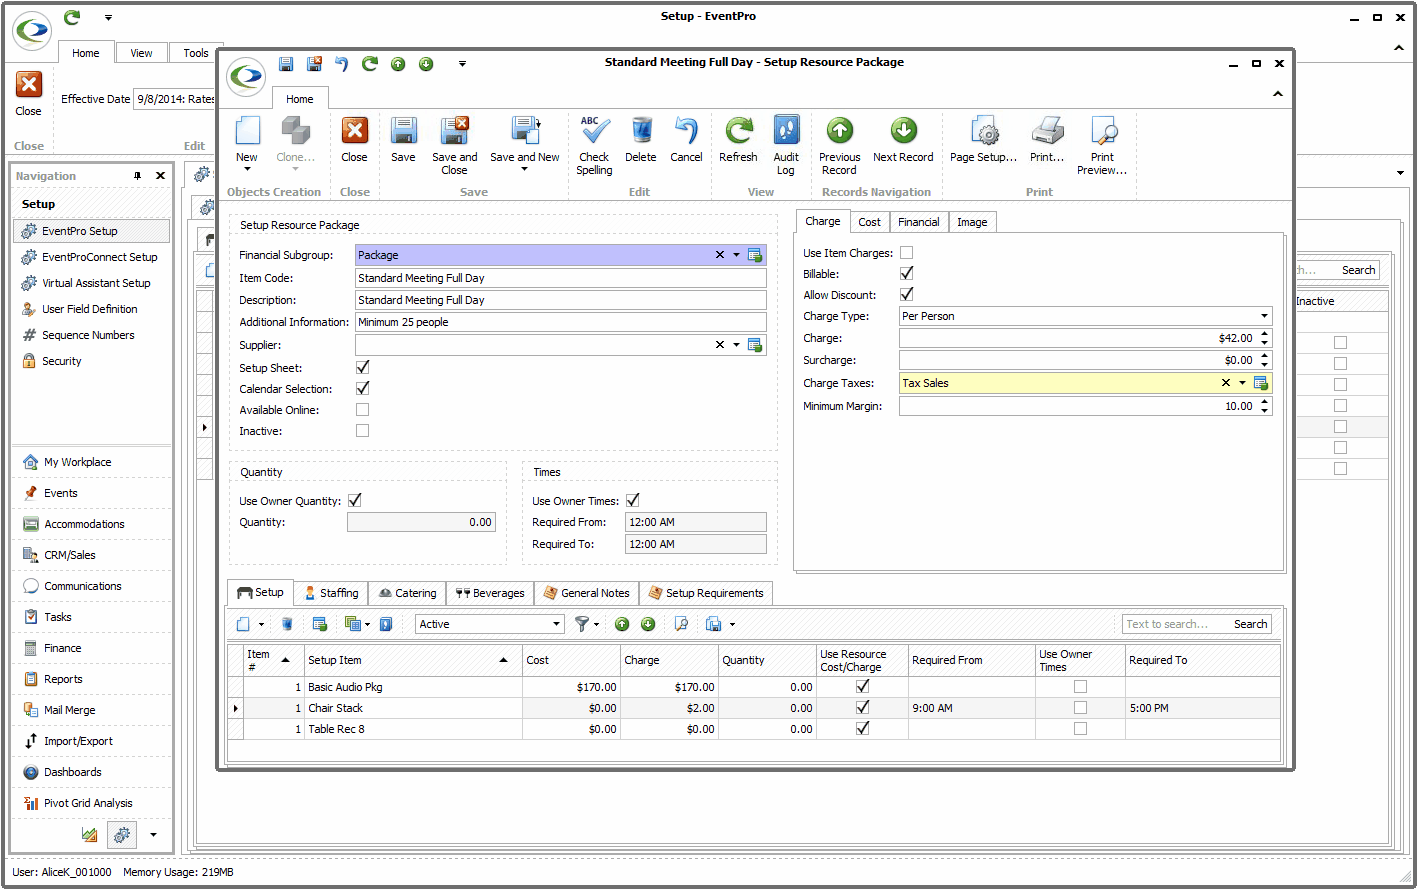
1.Financial Subgroup: As noted above, Packages are grouped under Financial Subgroups, so the first thing you need to do is select the Package's Financial Subgroup from the drop-down list.
The drop-down is populated by the financial subgroups created under EventPro Setup > Financial > Financial Subgroups.
2.Item Code: Type in the name of this Package.
3.Description: When you tab down, the Description will default to the same text as the Item Code, but you can edit the description if you like.
4.Additional Information: If you like, you can type any brief, important additional information in this field.
5.Supplier: If this Package is provided by a third-party supplier, you can select the Supplier from your CRM Accounts (Companies or Contacts). Click in the Supplier field and search for the relevant account in the Find window.
6.Setup Sheet: Select this checkbox if you want this Package to be printed on Setup sheets.
7.Calendar Selection: Check this checkbox if you want this Package to be available in the event Itinerary Calendar.
8.Available Online: Select the Available Online checkbox if you want this Package to be available in EPConnect Suite online.
Remember that EPConnect Suite is a collection of separately available modules, and you will not see its related tabs and screens if you have not purchased it.
Next, you can move to the Quantity area of the Setup Resource Package edit form.