Ping Identity Setup
Before proceeding with EPConnect setup, you first need to add EPConnect as an application to Ping Identity.
1.In your Ping Identity Administration, go to your Applications and add a new application.
2.Select the Web App application type using SAML.
3.On the first page, enter an application name, description, and icon, if you want. Click Next.
4.Configure the SAML information by choosing to manually enter the information.
a.In the ACS URLS field, enter the consumer URL of EPConnect. The url varies, depending on whether you have EventPro On-Prem/Installed or Cloud, and if you have Cloud, the region of your EPConnect site.
i.On Prem: https://<server>/EventProConnect/WebSystem/SamlConsume.aspx
ii.Cloud: https://connect.eventpro.net/EP/WebSystem/SamlConsume.aspx?Client=<client id>
iii.Cloud AU: https://connectau.eventpro.net/EP/WebSystem/SamlConsume.aspx?Client=<client id>
iv.Cloud EU: https://connect.eventpro.net/EU/WebSystem/SamlConsume.aspx?Client=<client id>
v.Cloud CA: https://connectca.eventpro.net/EP/WebSystem/SamlConsume.aspx?Client=<client id>
b.Under Signing Key, select the Sign Response option.
c.Entity ID: This is the ID of this SAML connection. You can use https://connect.eventpro.net, or your own address.
d.SLO Binding: HTTP Redirect
e.Subject NameID format: emailAddress
f.Assertion Validity Duration: The default is 180, but you can change it, if you want.
g.Target Application URL: Set this to your EPConnect website.
5.Click Save and Continue.
6.On the final page, set the Outgoing Value to Email Address.
7.Click Save and Close.
8.Still in your Ping Identity administration, go to your Application List, and open the application you just added.
a.Go to the Configuration tab.
b.Under Configuration, you need to:
i.Download the Signing Certificate, and
ii.Copy the Initiate Single Sign-On URL.
c.You will need these items for EventPro EPConnect Setup.
EventPro EPConnect Setup
Now, proceed to EventPro.

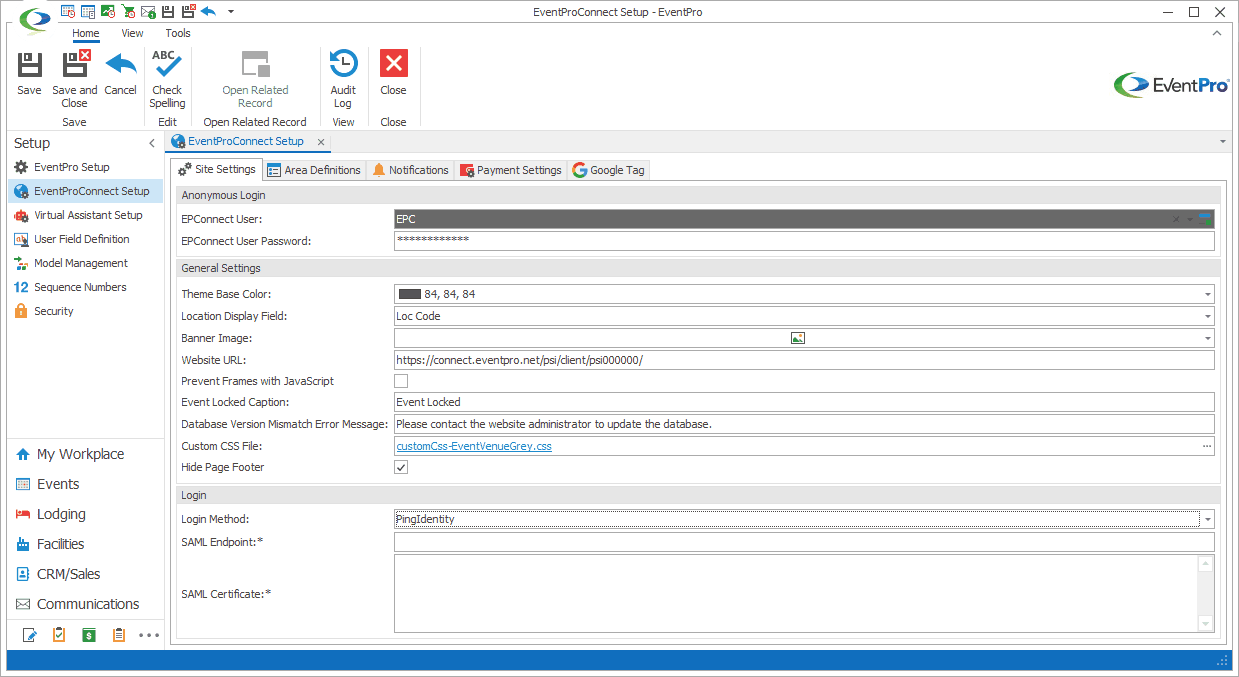
Figure 581: Entering Ping Identity Settings
1.Under EPConnect Setup Site Settings, select Ping Identity from the Login Method drop-down list. (Note that the relevant module must be on your EventPro license in order for the Ping Identity option to appear.)
2.The SAML Endpoint and SAML Certificate fields appear.
3.Enter the Single Sign-On URL and Signing Certificate that you retrieved from your Ping Identity Administration.
4.Save your changes to EPConnect.
EventPro User Setup
The email attached to the Ping Identity User must match the Primary Email on the EventPro CRM Account linked to the corresponding EventPro Security User (i.e. SecurityUser.Account.PrimaryEmail).
•To review how to link a CRM Account to an EventPro Security User, see the topic User under Security Setup / Users / Create New User.
•To review how to add a Primary Email address to a CRM Account, see Contact Information for a Company, or Contact Information for a Contact.
The EventPro Security User will also need to be Available Online.
•Review the topic EPConnect Settings under Security Setup / Users / Create New User.
Logging into EPConnect
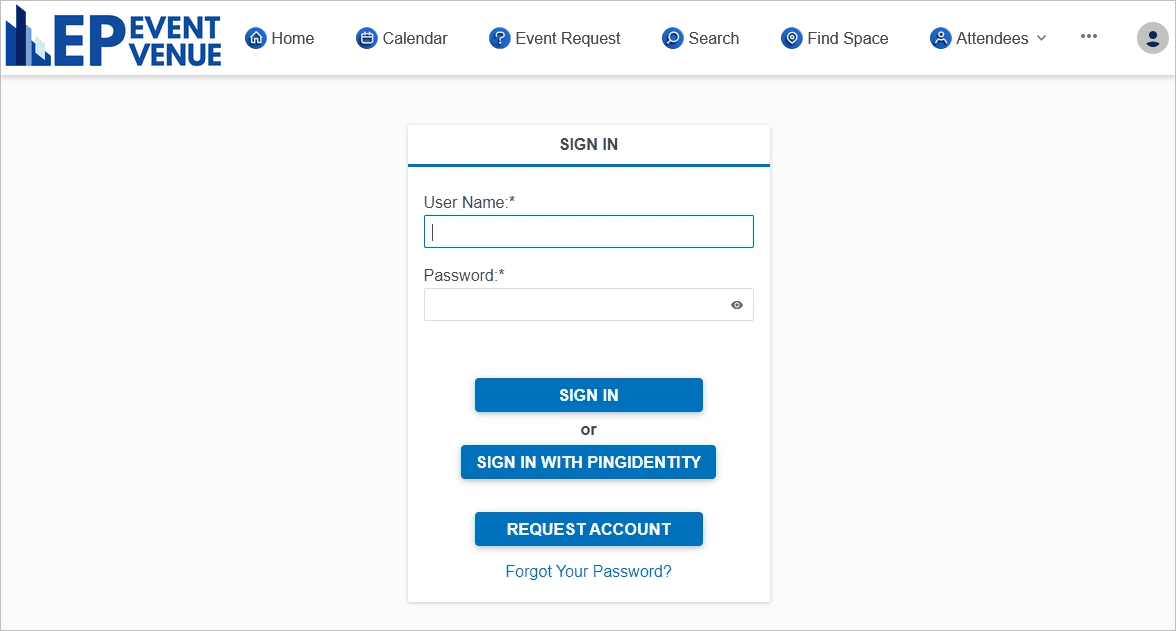
Once the integration setup is complete, the EPConnect login screen will include a "Sign In with Ping Identity" option.

Figure 582: Signing into EPConnect