•If an event has accidentally been booked twice, and details have already been added to both events, you can use the Event Merge function to preserve the resources of both events while keeping only one event active.
•Looking at the two events you want to merge, you need to choose a designation for each:
oOne will be the "main" event, which will pull in the other event's details. The main event's Edit Event information - Book #, Description, Contract, Deposit, Event Comments, etc. - will be preserved.
oThe other will be the "selected" event, which will be deleted after its details are moved over to the main event.
•These are the details that are moved from the selected event to the main event:
•Booked Locations with their Itinerary, Setup, Staffing, Catering, Beverages, Packages, Notes, Floor Plans, and Images |
|
•Non-Location Event Staffing |
•Tasks |
•Miscellaneous Resources |
•Documents |
•Invoices & Payments |
•Letter Templates |
•Communications |
•Images |
•While the Event Merge will move the above-listed details to the main event, the selected event's Edit Event information will not be preserved. If you have any special Event Comments, Contract Notes, etc., that you want to keep from the selected event, you should manually transfer them to the main event before proceeding with the merge.
•At this time, you cannot merge these records from the selected event:
•Attendees & Attendee Registrations |
•Accommodation/Lodging |
•Exhibitors & Exhibitor Registrations |
•Travel |
1.To begin, go to the Event screen of the main Event, i.e. the Event with the Book # and other Edit Event information you want to keep.
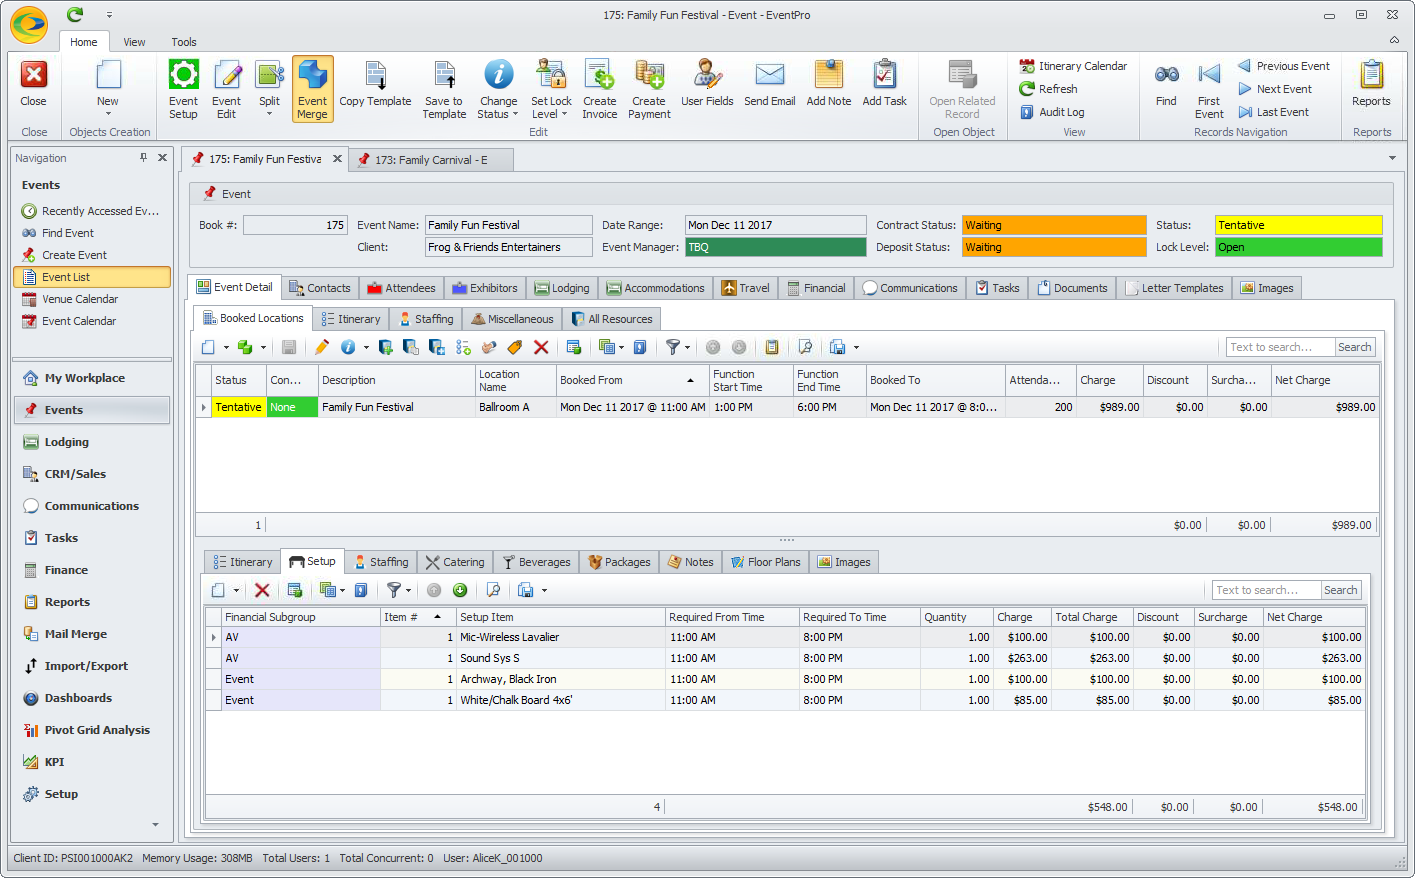
2.Click the Event Merge button in the top ribbon.

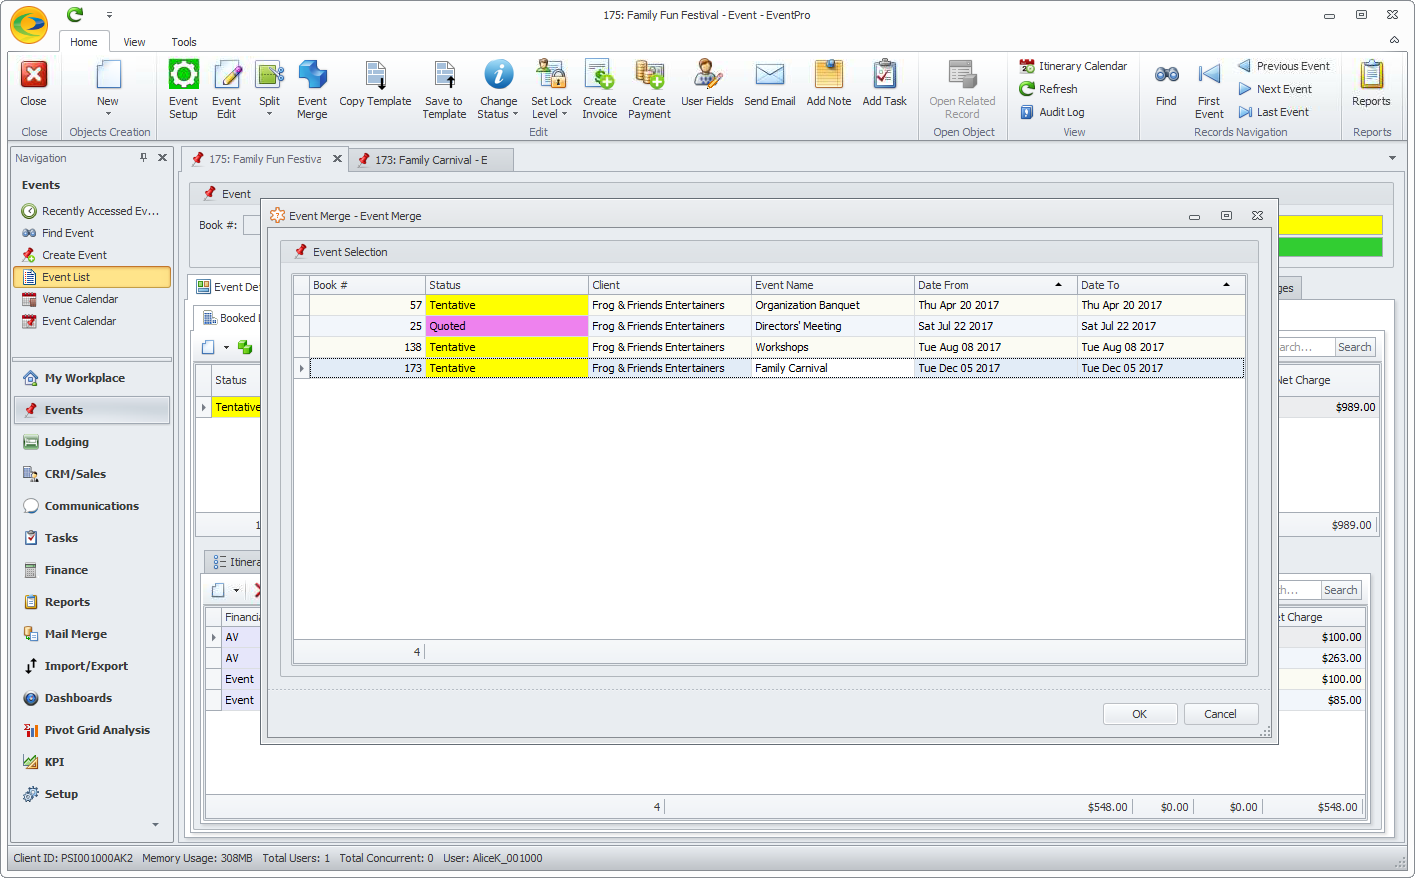
3.The Event Merge window appears, displaying any other events for the same Event Client. NOTE: Merged Events must have the same Event Client.
Select the event you want to merge into the current main Event, and click OK. (Remember, the selected Event will be deleted after its records are moved to the main Event.)
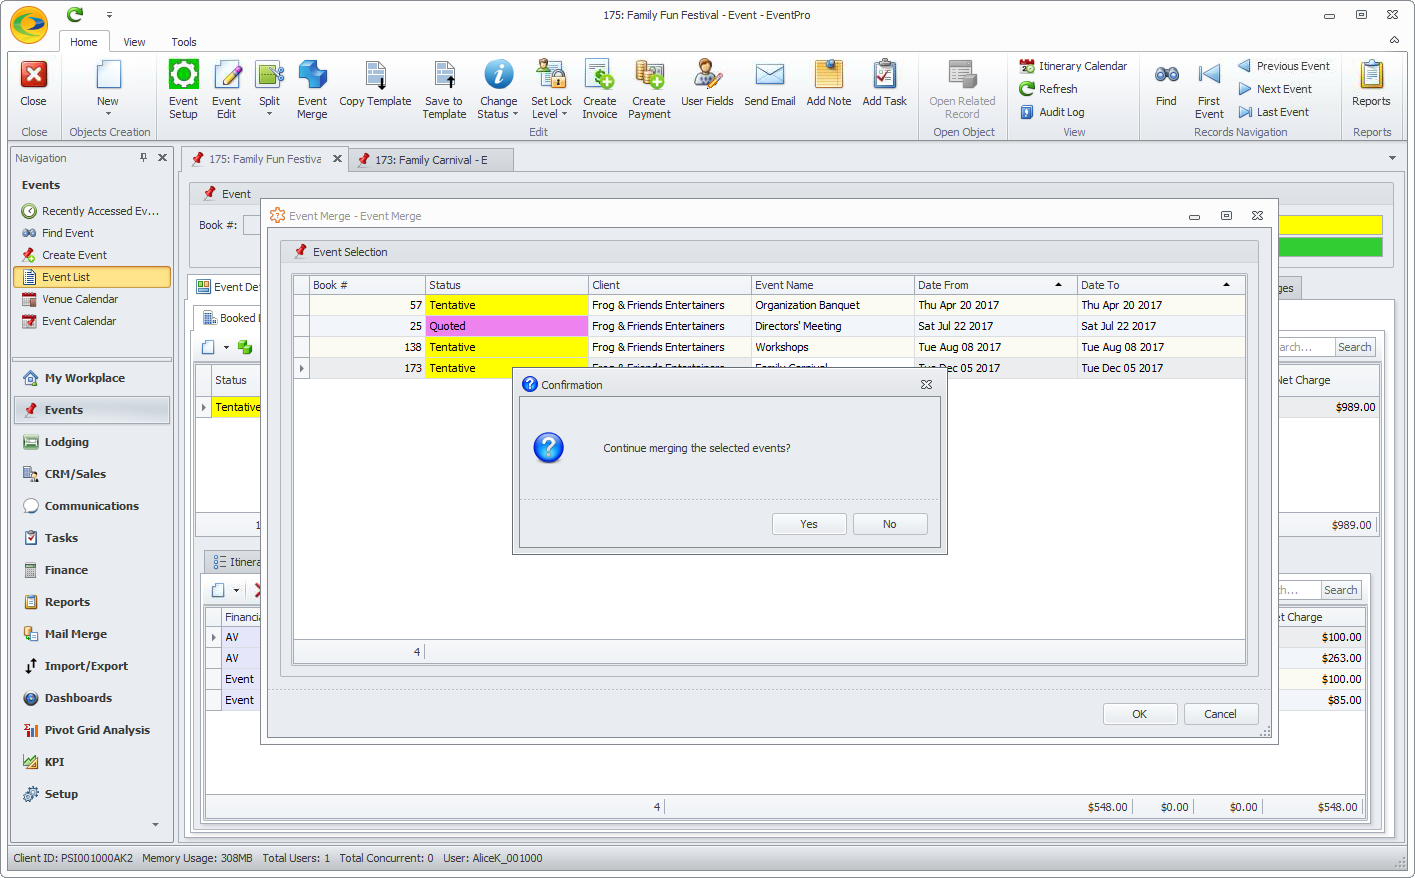
4.The Confirmation dialog will ask if you want to continue merging the selected events. Click Yes if you want to proceed.
5.As you recall from above, there are certain records that cannot be merged from one event to another at this time. If the selected event has certain records, you will receive an Error dialog.
6.For example, you will receive an Error dialog if the selected event has Attendee or Exhibitor Registrations. You will not be able to proceed with the event merge until those ineligible records are removed from the selected event.
7.You will also receive an Error if the Event Group Discounts are not the same. The Event Client and the Event Group Discount must be the same for both events.
8.Once the Event Merge process begins, you will see that the Event is being updated.
9.When the merge process is complete, you will be back in the Event Screen for the main Event.
a.If you look around the main Event now, you will see that the following items - if existing - have been added from the selected Event: Booked Locations (with their Itinerary, Setup, Staffing, Catering, Beverages, Packages, Notes, Floor Plans, and Images), Non-Location Event Staffing, Miscellaneous Resources, Invoices, Payments, Communications, Tasks, Documents, Letter Templates, and Images.
b.Also, if you check your Event List or Venue Calendar, you will see that the selected Event has been deleted.
10.Your main Event will now have multiple Booked Locations, one or more being from the selected Event.
11.If you want to delete the extraneous Booked Locations(s) while still keeping their resources, remember that you can move resources from one Booked Location to another (review Move Resources to One Location).