1.Import Options:
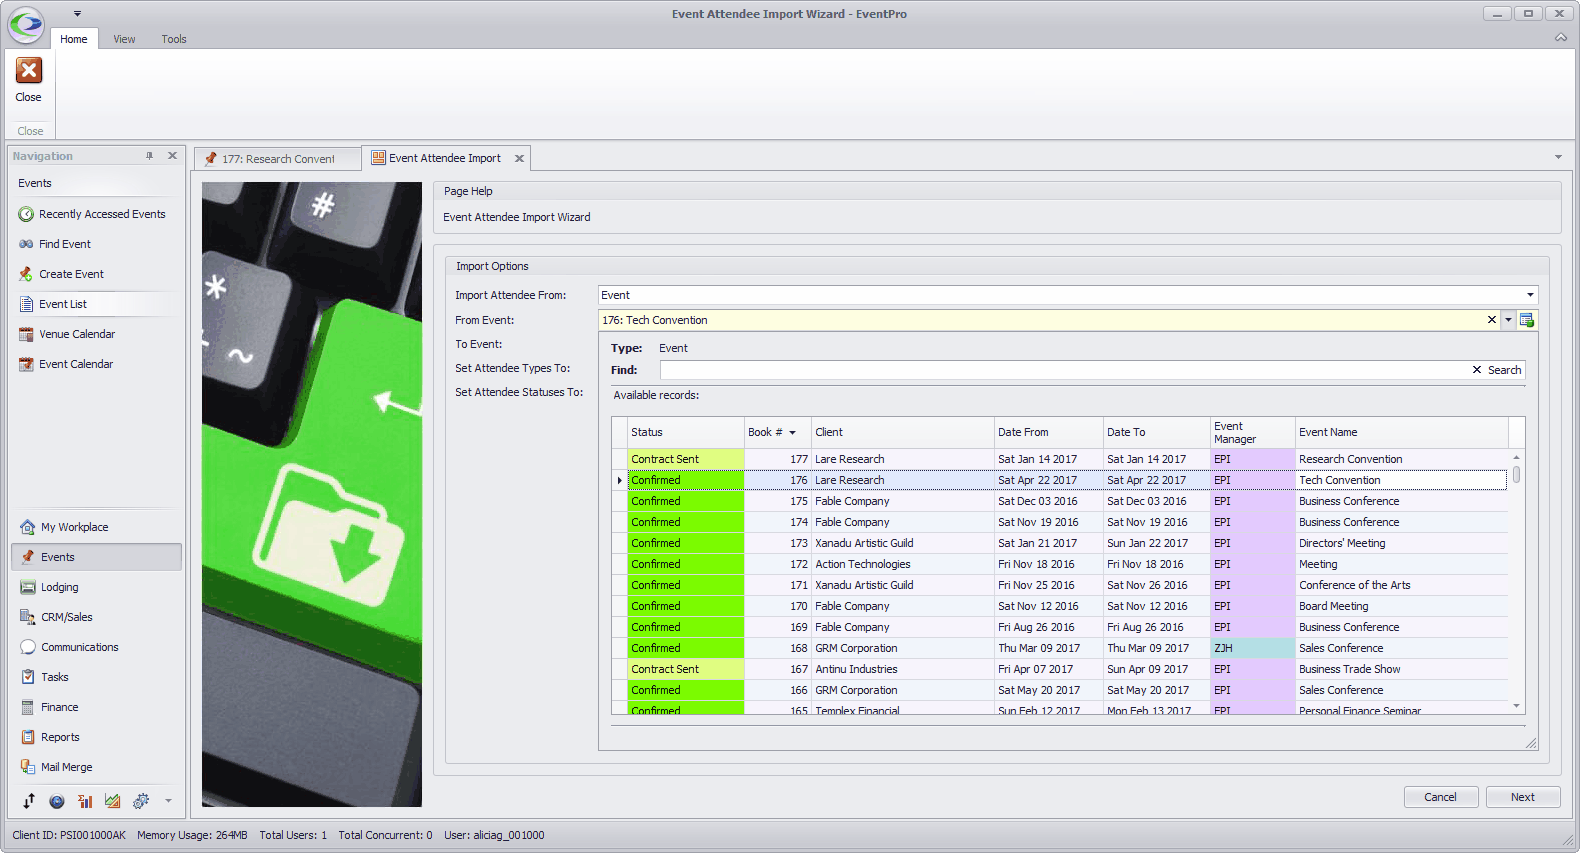
a.Import Attendee From: You have selected Event.
b.From Event: Find and select the existing Event that contains the Attendees you want to import to your current Event.
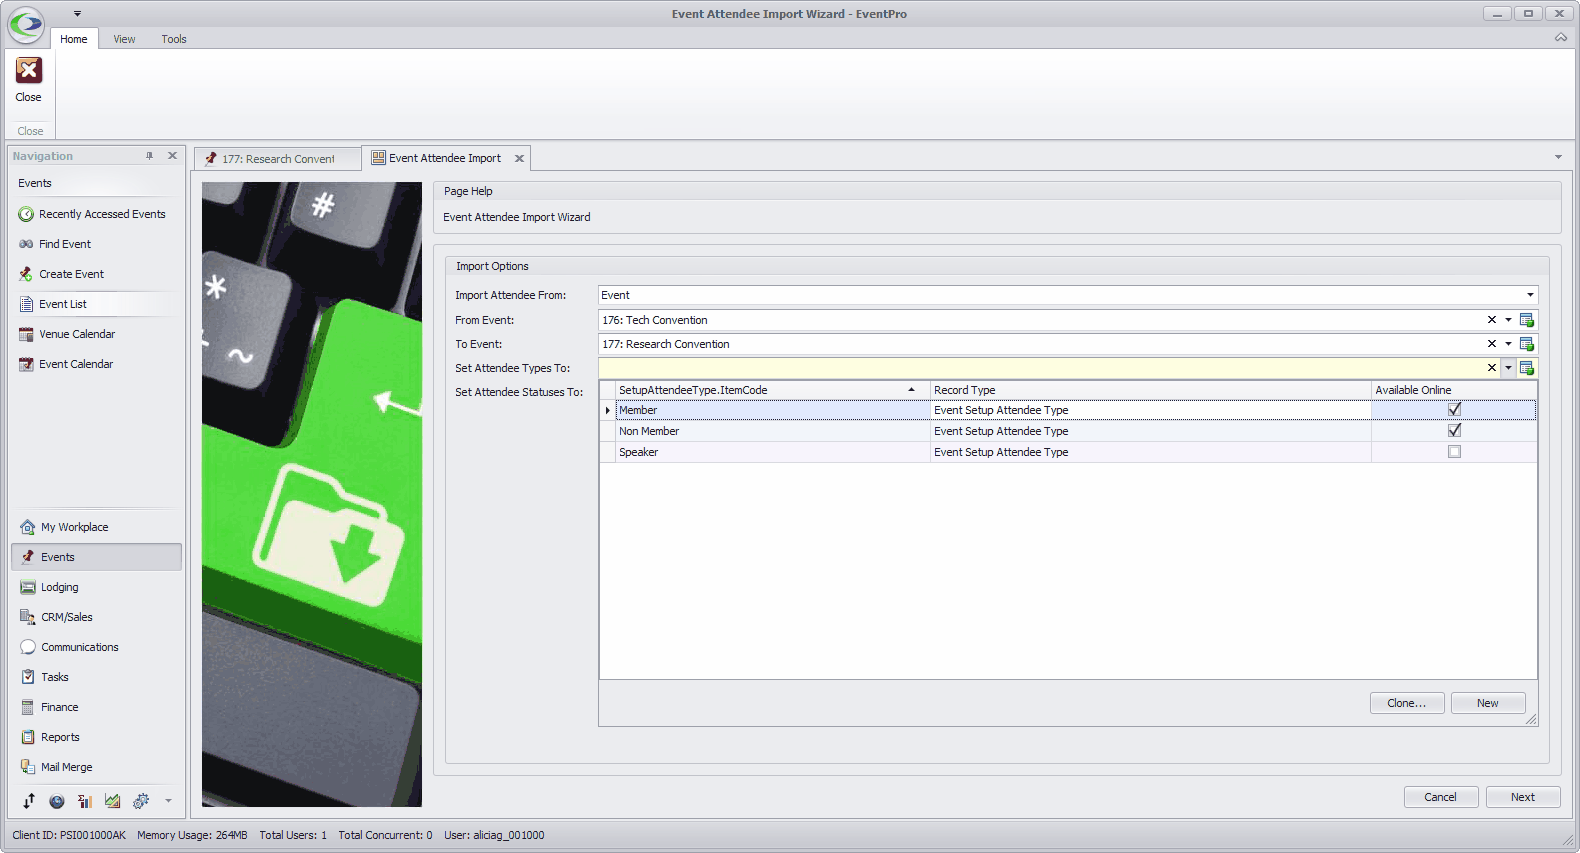
c.To Event: From the drop-down, select the Event into which you are importing Attendees.

d.Set Attendee Types To: From the drop-down, choose the default Attendee Type to which all the imported Attendees will be set initially. You will be able to edit individual Attendees later.
The drop-down is populated by the Attendee Types from Edit Event of the selected "To" Event. (Review Event Management > Edit Event Window > Attendee Setup > Attendee Types.) If you don't have any Attendee Types set up in the Event, this drop-down will be blank.
e.Set Attendee Statuses To: From the drop-down, choose the default Attendee Status to which all the imported Attendees will be set initially. You will be able to edit individual Attendees later.
The drop-down is populated by the Statuses created under EventPro Setup > Attendees > Attendee Statuses.
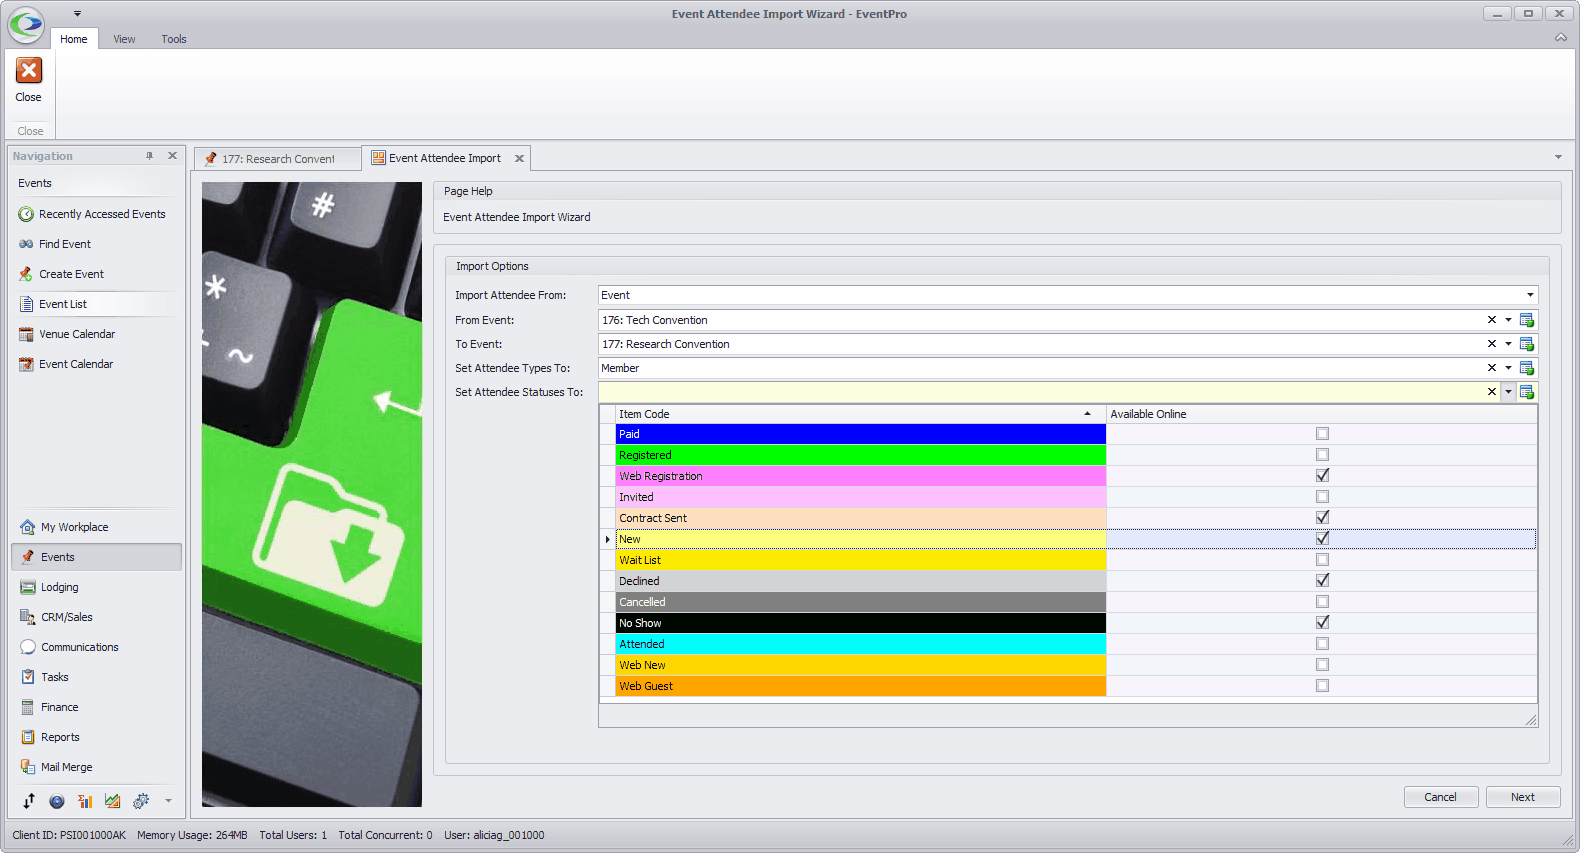
f.Click Next.
2.Import Summary: This page displays the Attendees that are about to be imported.
You can review the information, and make changes before completing the import. If necessary, you can edit individual Attendees, multi-edit several Attendees at once, and remove Attendees you don't want to import.
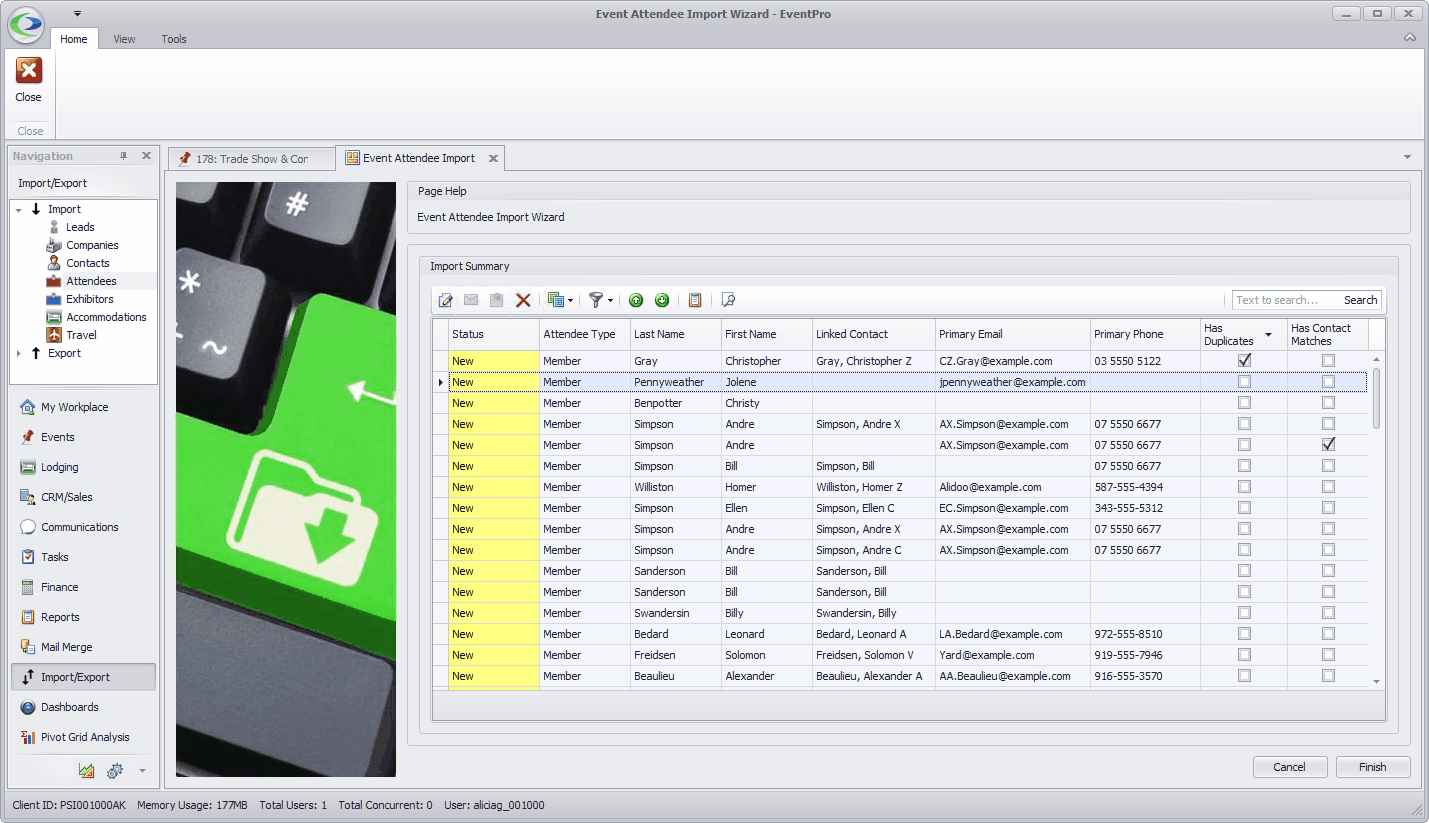
a.Has Duplicates: The Has Duplicates column will be selected for an imported Attendee if there are possible duplicate Attendees already in the Event. You can edit the imported Attendee, and determine whether or not to use one of the existing duplicate Attendees.
b.Linked Contact: If you are importing Attendees from an Event that has the "Require Linked Contact" setting turned on (review the "Require Linked Contact" setting in Event Attendee Setup), the Attendees should already have Linked Contacts assigned.
If the "From" Event did not require Linked Contacts, some of the imported Attendees may not have Linked Contacts. If the "To" Event into which you are now importing the Attendees does require Linked Contacts, you will need to edit the imported Attendees and manually link Contacts, either selecting an existing Contact from CRM or creating a New Contact within the Attendee edit form.
If the Event requires Linked Contacts, you will not be able to complete the import until all Attendees have Linked Contacts. If you attempt to finish the import before all Attendees have Linked Contacts, you will receive an Error:

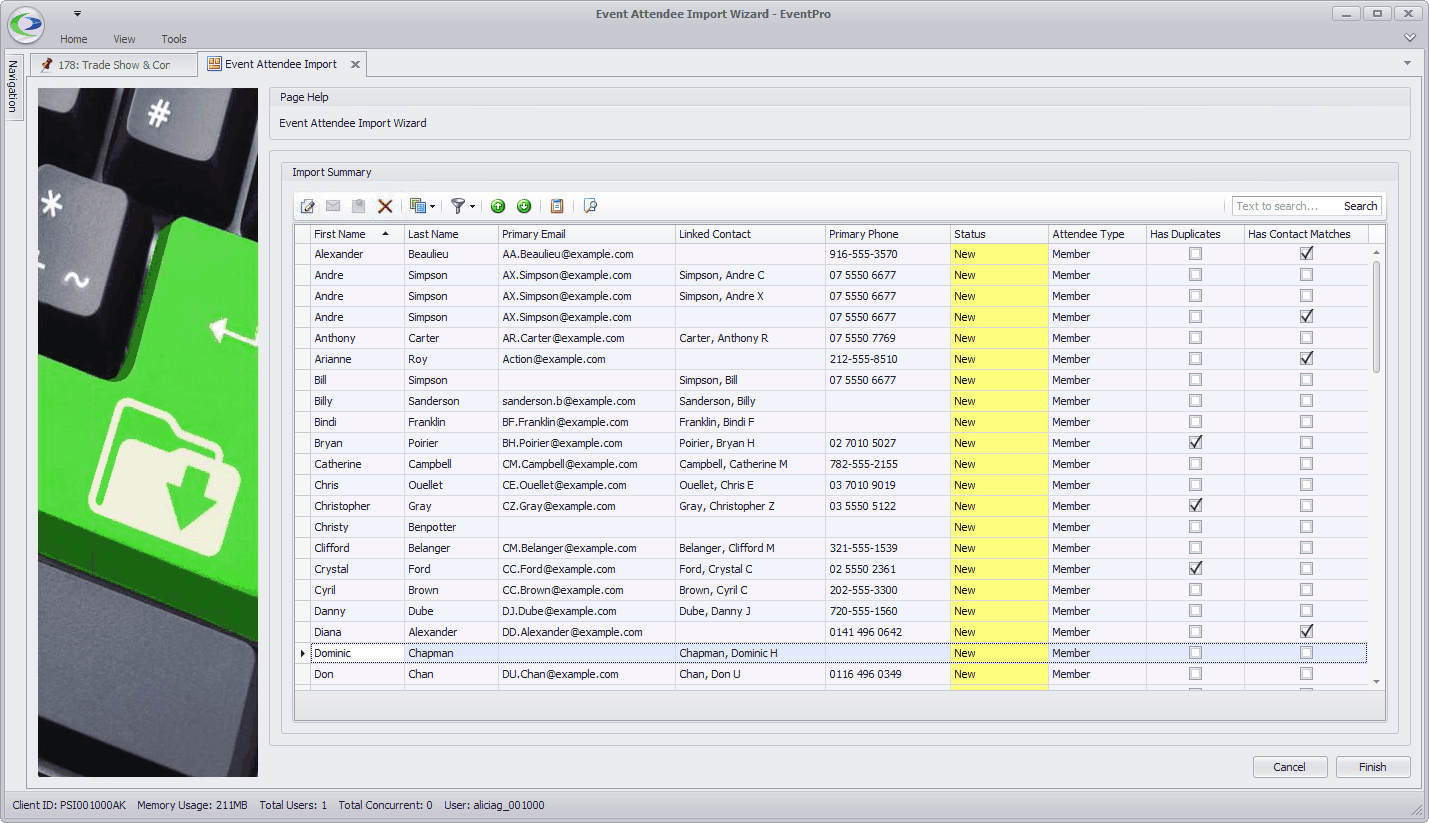
c.Has Contact Matches: This checkbox will be selected if the Attendee does not have an assigned Linked Contact, but there is one or more possible CRM Contact match based on on First Name and Last Name, plus one of Primary Email, Primary Phone, S.S.N., Membership #, or Passport #.
Unlike the File Attendee Import, the Contact will not be automatically assigned upon matching the required fields. Instead, the potential matching Contact(s) will appear in the Attendee's Contact Matches tab, and you can manually select the Linked Contact.
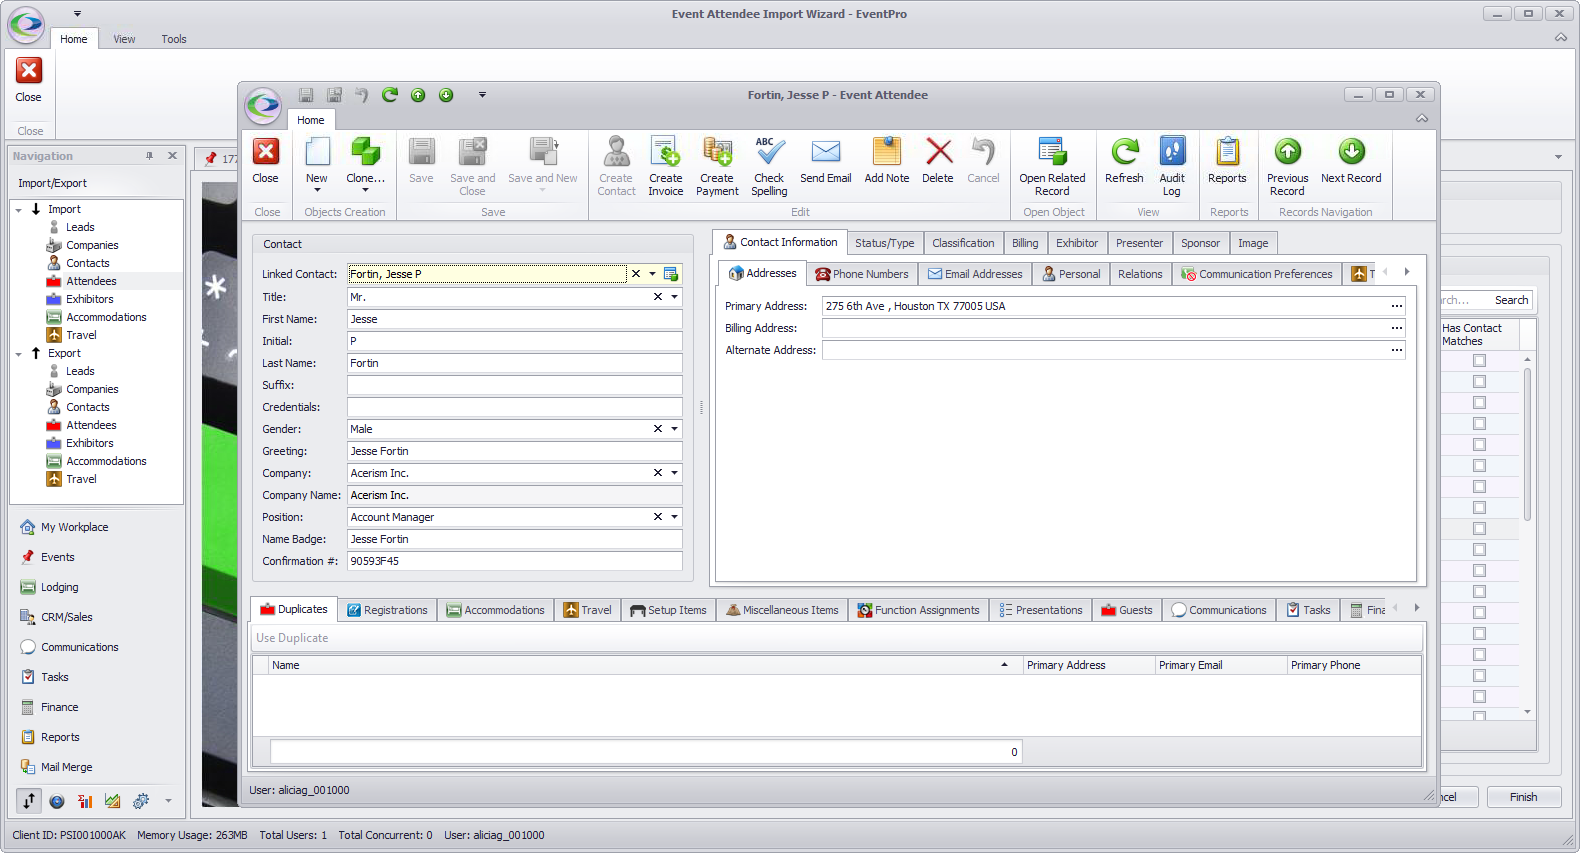
d.Edit: Double-click the Attendee record you want to edit.
Make any changes you require in the Event Attendee edit form, and click Save and Close to return to the Import Summary.
This edit form is very similar to the Event Attendee edit form covered under Add Attendee to Event, above. In particular, if you need to deal with Duplicates, Contact Matches and/or Linked Contacts, you may want to review the following topics: Contact (incl. Linked or Create), Duplicates, and Contact Matches.
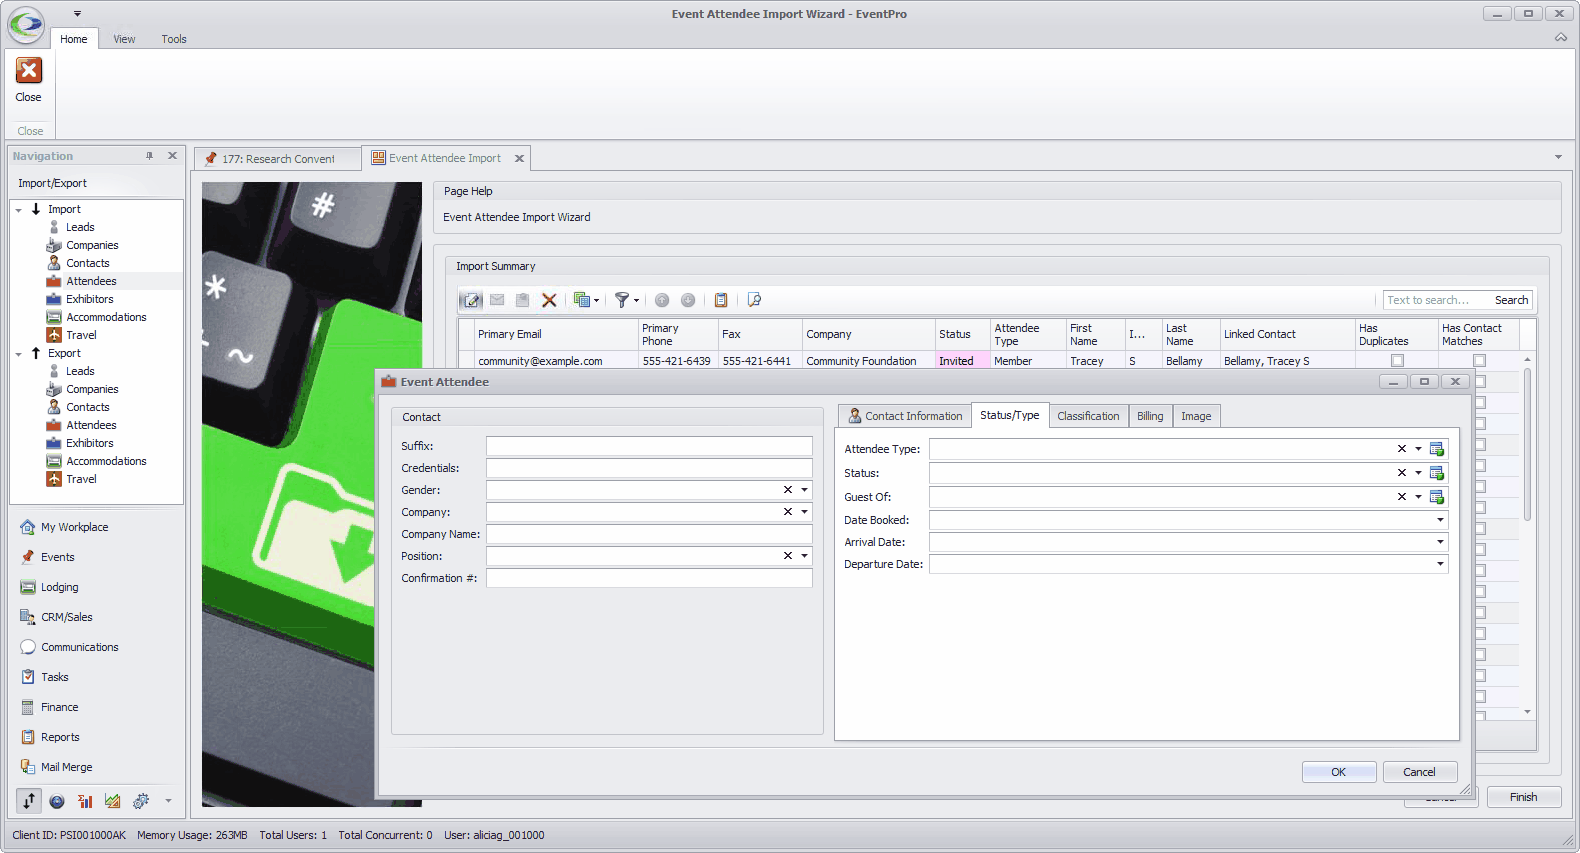
e.Multi-Edit: Hold down the Ctrl key, select the Attendees you want to edit, and click the Multi-Edit button  .
.
The Event Attendee multi-edit form appears. Make the edits you require, and click OK to return to the Import Summary.
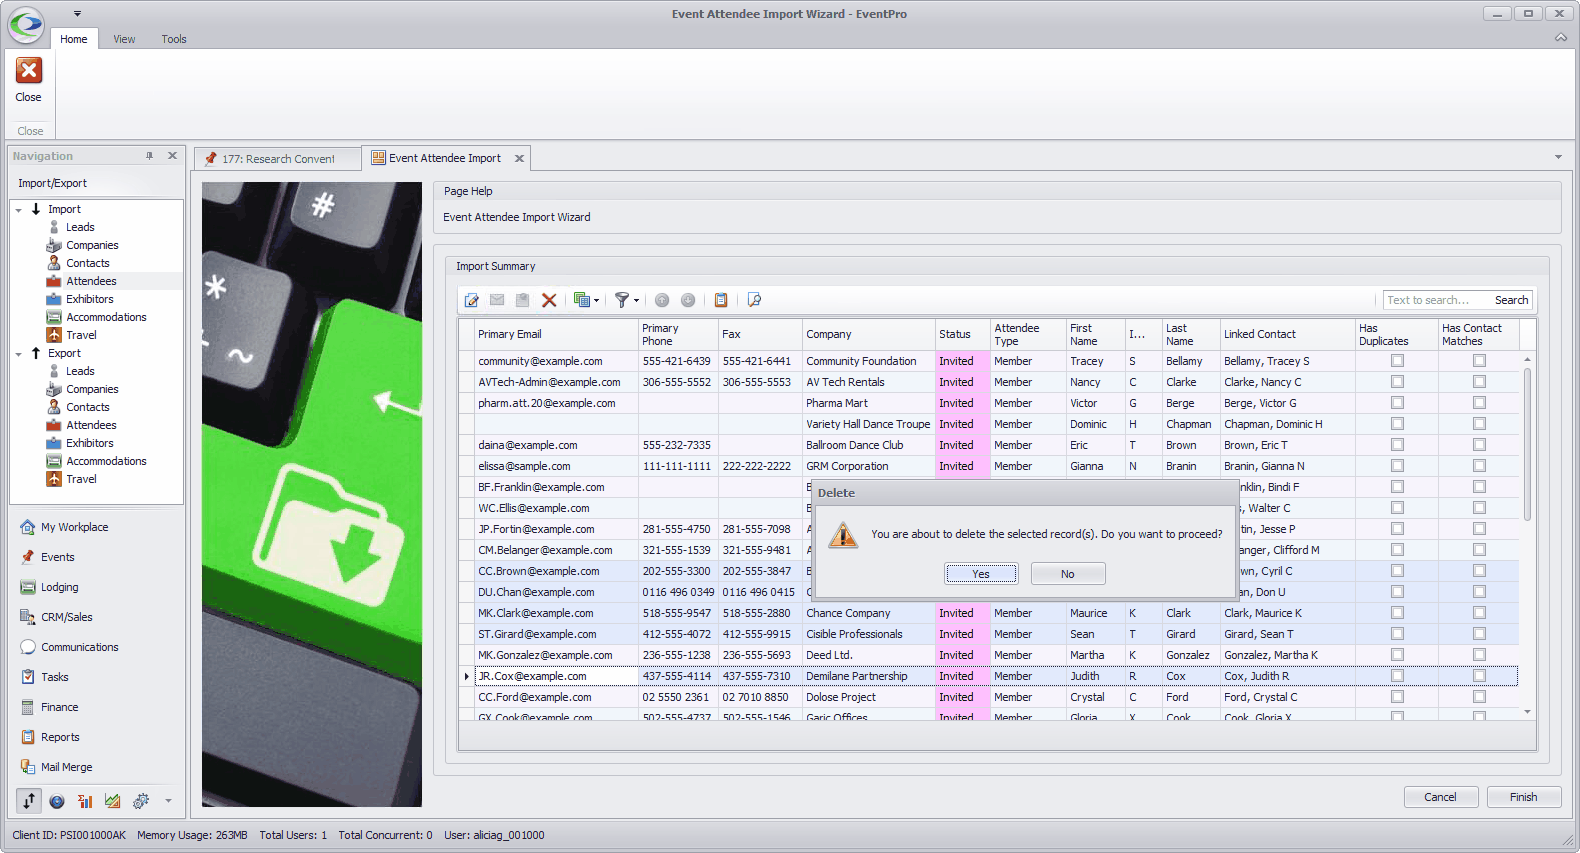
f.Delete: Select an Attendee or multi-select the Attendees you want to delete. Click the Delete button above  .
.
The Delete dialog asks if you want to proceed with deleting the selected record(s). Click Yes to continue.
3.When you are done making adjustments in the Import Summary page, click Finish.
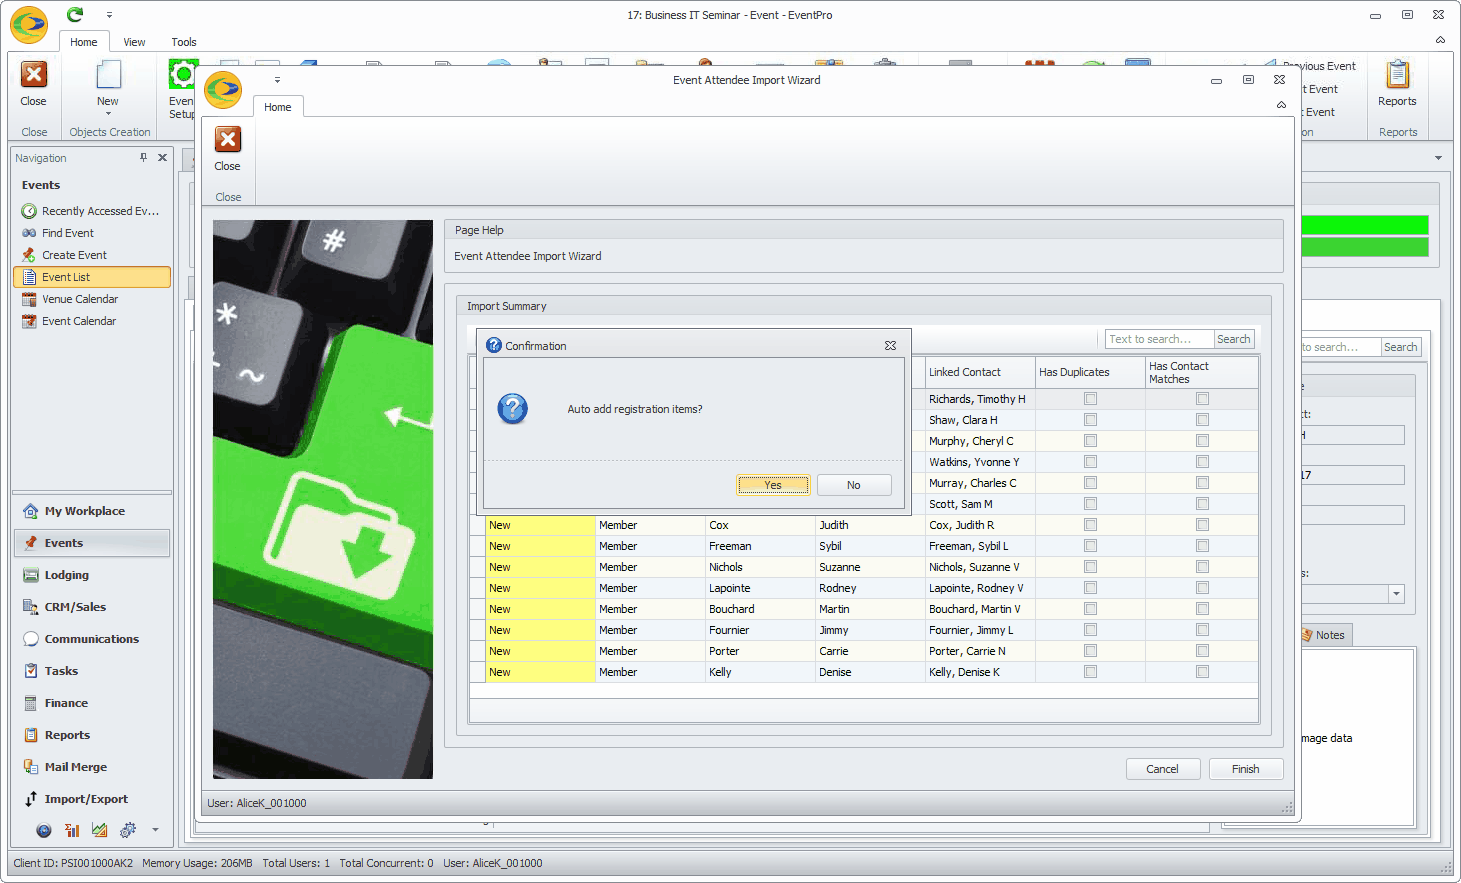
4.If you have Auto-Add Attendee Registrations set up for the event (review Event Management > Edit Event Window > Attendee Registrations), the Confirmation dialog will ask if you want to Auto Add Registration Items.
Click Yes or No. The import will proceed whether you click Yes or No, but if you click Yes, the Auto-Add Registrations (if they exist) will be added to any applicable Attendees (depending on Attendee Type).
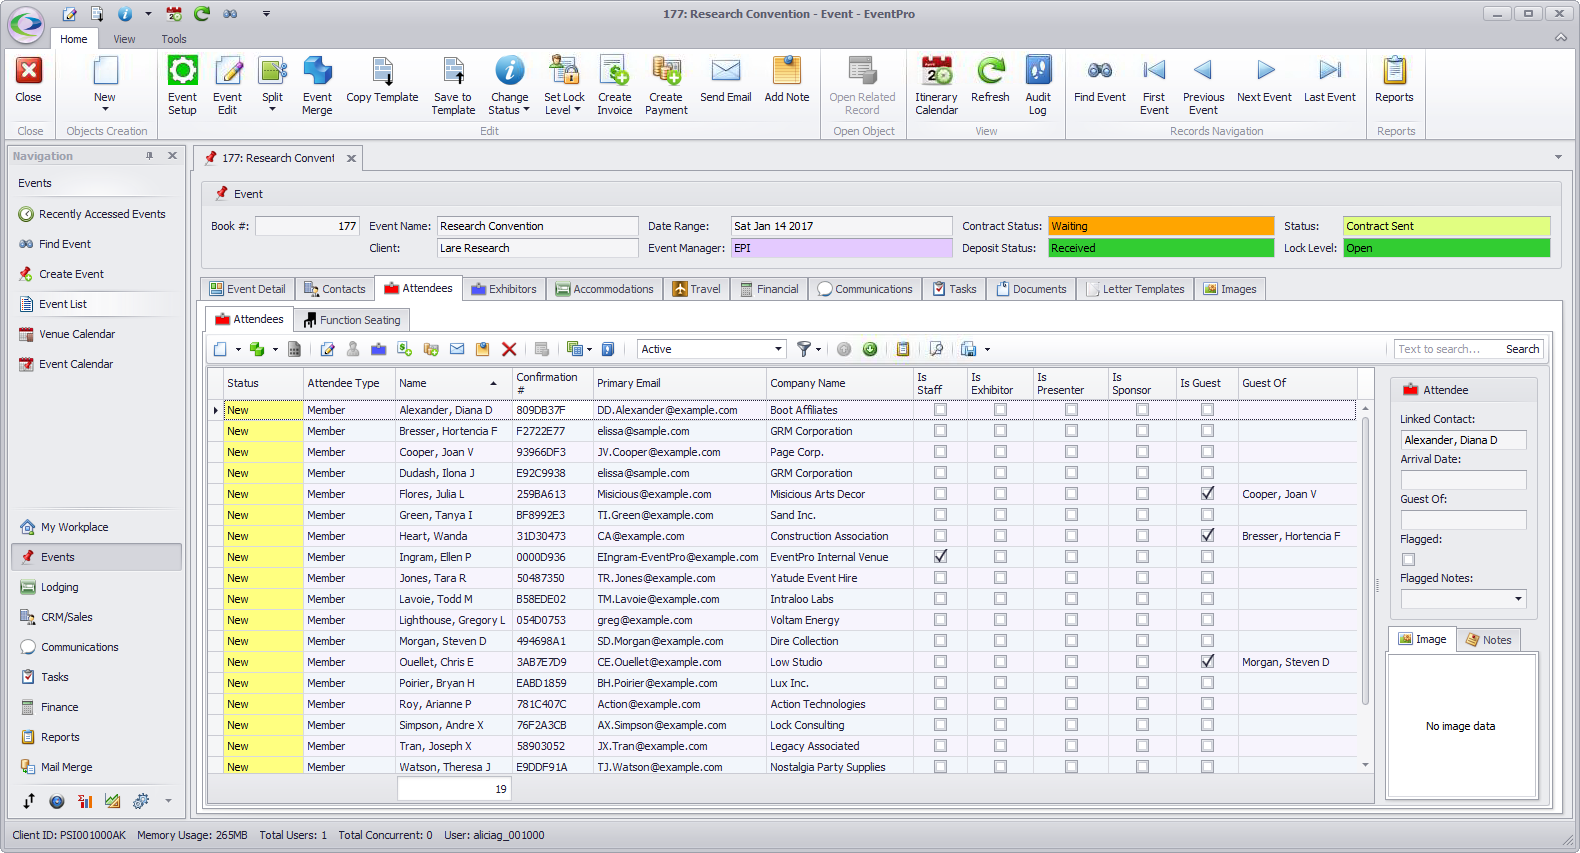
5.The imported Attendees will appear in the Attendees tab of the selected "To" Event.
6.If you don't see the newly imported Attendees in the grid immediately, click the Refresh  button to refresh the screen.