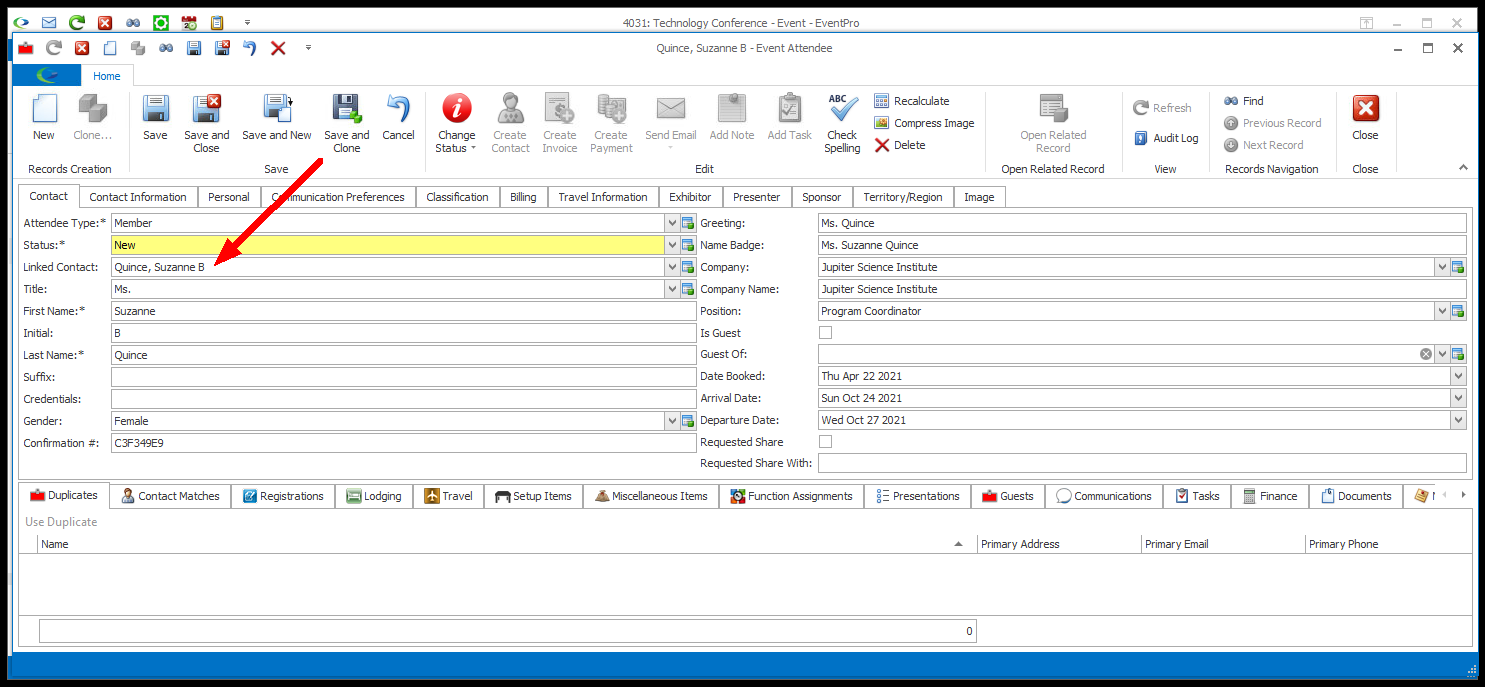
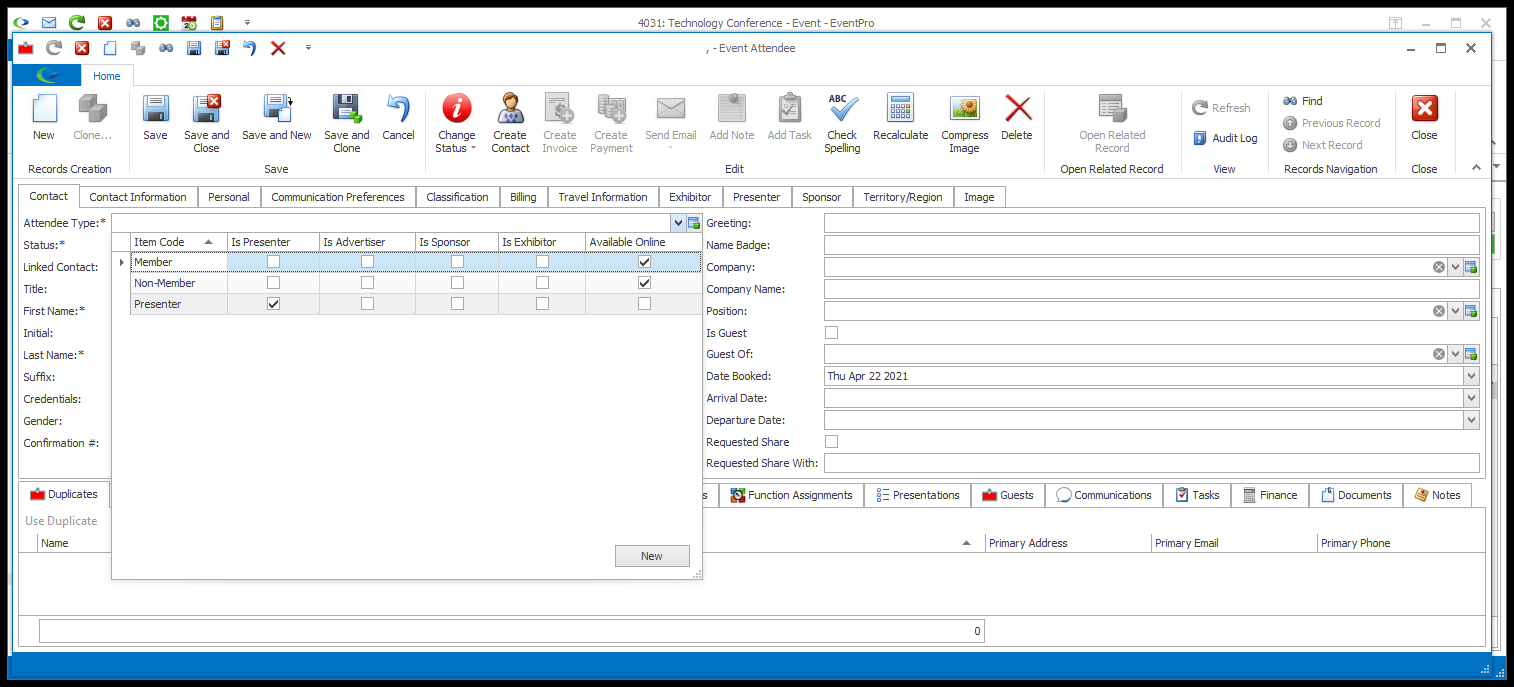
1.Attendee Type: Select an Attendee Type for this Attendee. This is a required field. This drop-down is populated by the Event Attendee Types you selected in Edit Event (Event Management > Edit Event Window > Attendee Setup > Attendee Types).
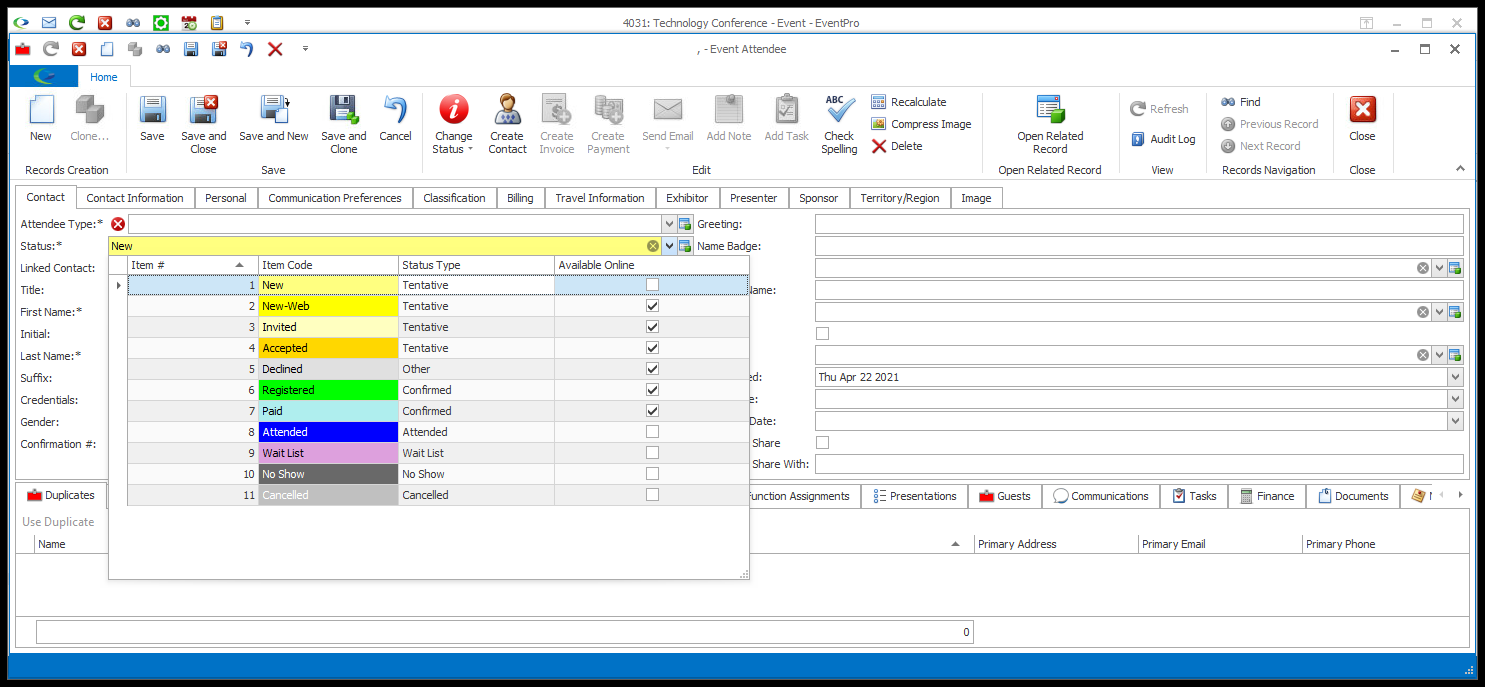
2.Status: Select the current Status of this Attendee. This is also a required field. This drop-down is populated by records created under EventPro Setup > Attendees > Attendee Statuses, and will initially default to the "Is Default" Setup Attendee Status.
3.Linked Contact: This field allows you to link the Attendee to a Contact in CRM.
a.A Linked Contact for the Attendee may or may not be required. It depends on the "Require Linked Contact" setting in Edit Event (review Event Management > Edit Event Window > Attendee Setup > Attendee Options).
i.If the event requires linked Attendees/Contacts, you need to either select an existing contact form the Linked Contact drop-down, or create a contact from the Attendee's information.
ii.If the event does not require linked Attendees/Contacts, you can still link them if you want, but it is not required.
b.If you are starting a new Attendee altogether, you can skip down to the fields below.
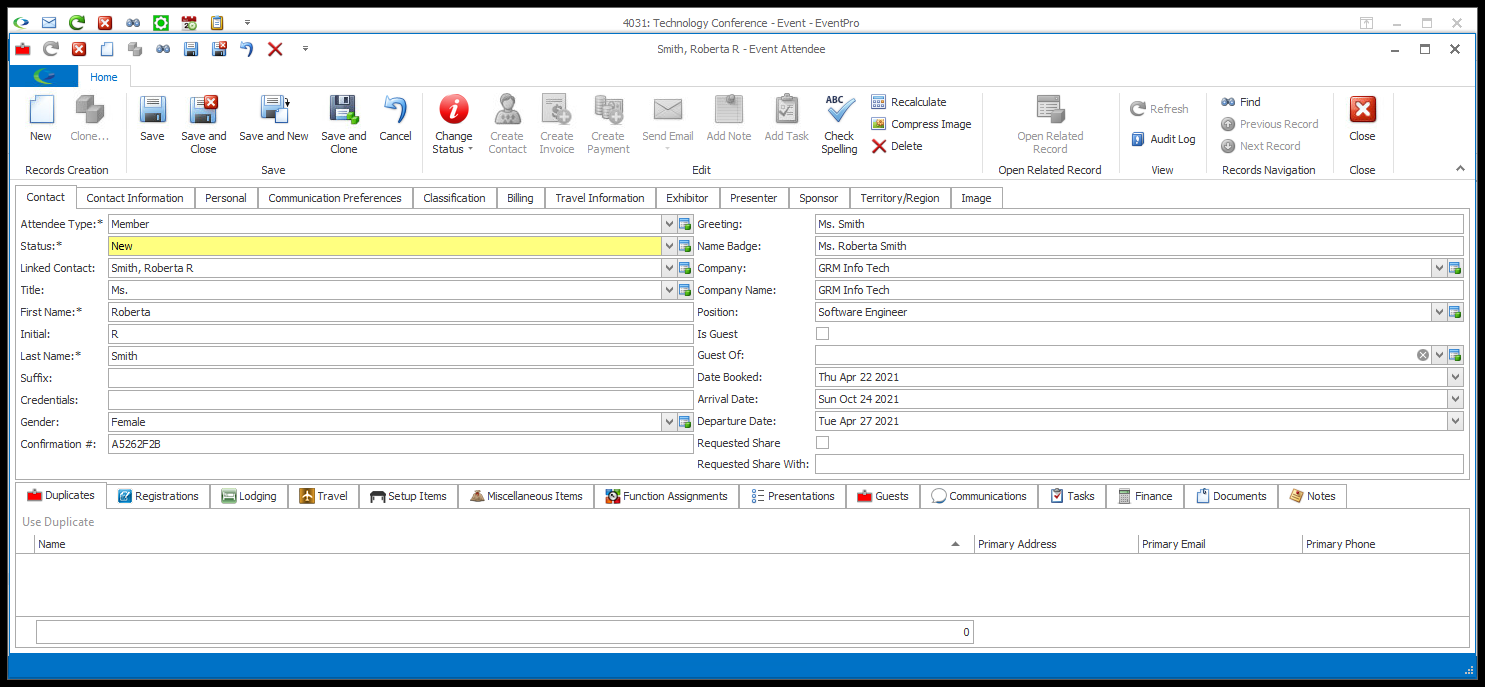
c.Otherwise, you can select a Contact from the Linked Contact drop-down.
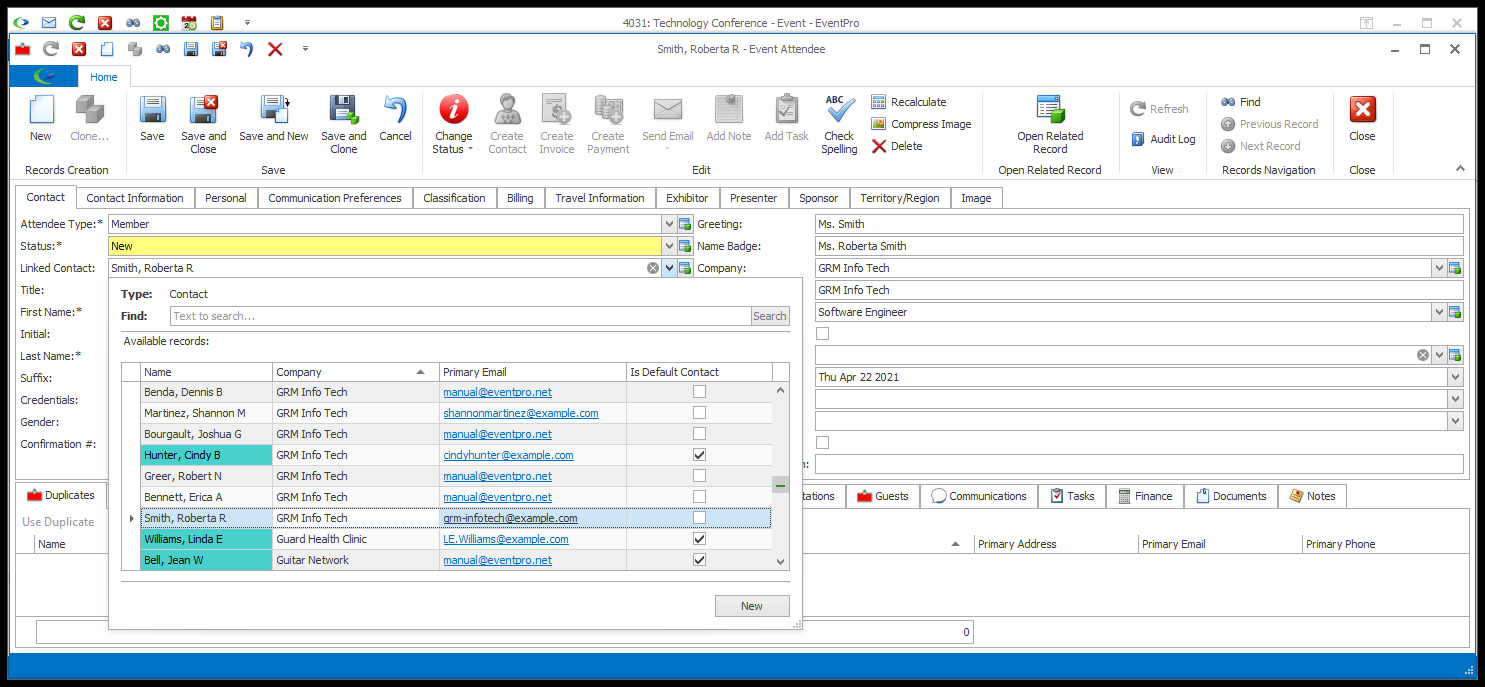
d.When you select a Linked Contact, certain fields in the Event Attendee edit form will be populated with any information available from the Contact's CRM record. With a Linked Contact, you can still edit the Event Attendee's information. However, note that some of the data fields are synced between the Event Attendee and Linked CRM Contact, such that changes to one record will update the other. For an explanation of what information in pulled from the Linked CRM Contact record, and what information is synced between the Event Attendee and Linked Contact, see Attendee/Contact Sync.
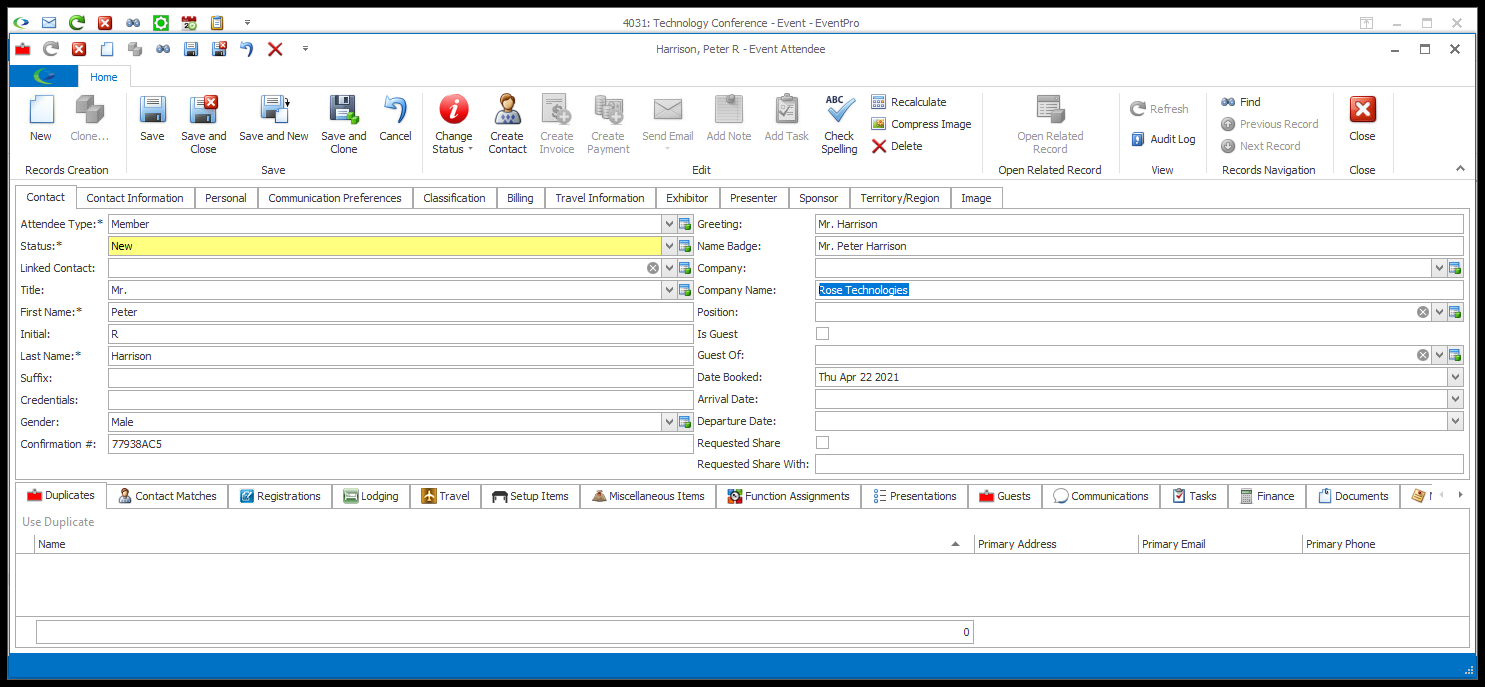
e.If you are starting an entirely new Attendee, you can begin entering information in the fields below.
4.Title: Select the attendee's Title. The drop-down is populated by records created under EventPro Setup > CRM > Titles.
5.First Name: Enter the attendee's first name. This is a required field.
6.Initial: The attendee's middle Initial is optional, but can be useful if multiple attendees have the same or similar names.
7.Last Name: Enter the attendee's last name. This is a required field.
8.Suffix: If applicable, enter the attendee's Suffix.
9.Credentials: You can enter the attendee's Credentials here.
10.Gender: If applicable, select the attendee's Gender. This drop-down is populated by records created under EventPro Setup > CRM > Gender.
a.A random Confirmation Number will be automatically generated, unless you have turned on the Leave Attendee Confirmation # Blank by Default setting in Attendee System Settings.
b.If that setting is on, the Confirmation # field will be blank at first.
c.Whether this field is blank or contains a generated number, you can manually enter a Confirmation # of your choice, but be careful not to accidentally re-use Confirmation Numbers.
12.Greeting:
a.If this Attendee has a Linked Contact, the Contact's Greeting will be pulled into this field.
b.If you are creating a new Attendee, the Greeting will be formatted according to the Contact Greeting Format setting under EventPro Setup > CRM > CRM System Settings.
c.Either way, you can manually edit the Greeting to your preference.
13.Name Badge:
a.The Name Badge field will be automatically formatted according to the Attendee Badge Format setting under EventPro Setup > CRM > CRM System Settings.
b.You can, however, manually adjust the Name Badge entry to your preference.
14.Company: If the attendee belongs to a Company in CRM, you can use the drop-down to find and select the applicable Company.
15.Company Name: If you selected a CRM Company in the field above, you can leave this field as is. However, if you want to record the attendee's Company without entering it in CRM, type it in this Company Name field.
16.Position: If you want, you can select the Attendee's Position at the indicated company. The drop-down is populated by records created under EventPro Setup > CRM > Company Positions, although you can also add a new Setup Company Position on the fly by clicking the New button at the bottom of the drop-down.
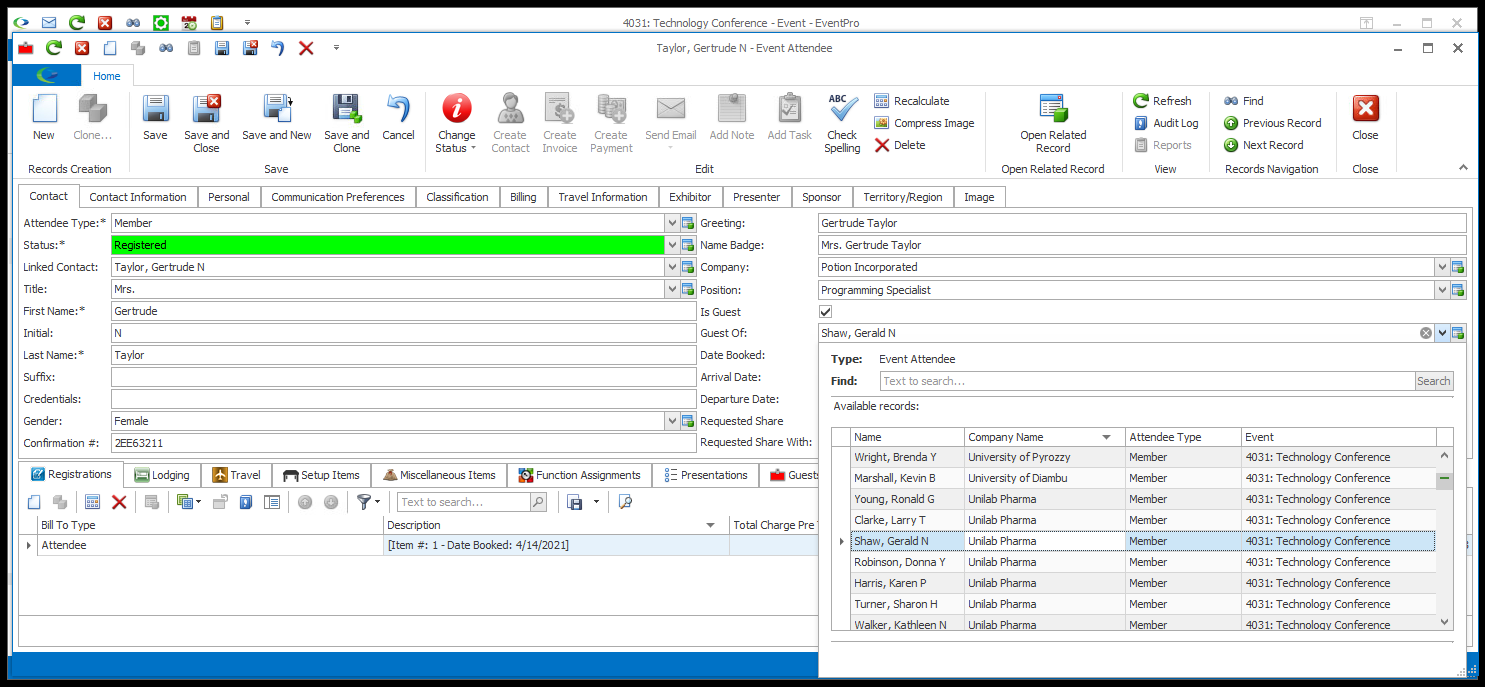
17.Is Guest: This checkbox will be selected automatically if the Attendee is a Guest of another attendee, i.e. you started this record from the Guests tab of another Attendee.
18.Guest Of: To make this Attendee the Guest of another Attendee, search for and select the main Attendee from the Guest Of drop-down, which is populated with the existing Attendees for this Event. The Guest checkbox will then be automatically selected.
19.Date Booked: This will default to the current Date, but you can select another, if applicable.
20.Arrival Date and Departure Date: If applicable, you can select an Arrival Date and Departure Date for the Attendee. These Attendee Arrival/Departure Dates may be automatically updated to match Accommodation or Travel arrangements added to the Attendee's record, depending on the Update Attendee Arrival/Departure Date From setting in Attendee System Settings.
21.Requested Share and Requested Share With: If the Attendee has requested to share accommodations with another individual, you can select the Requested Share checkbox, and enter the provided name in the Requested Share With field.
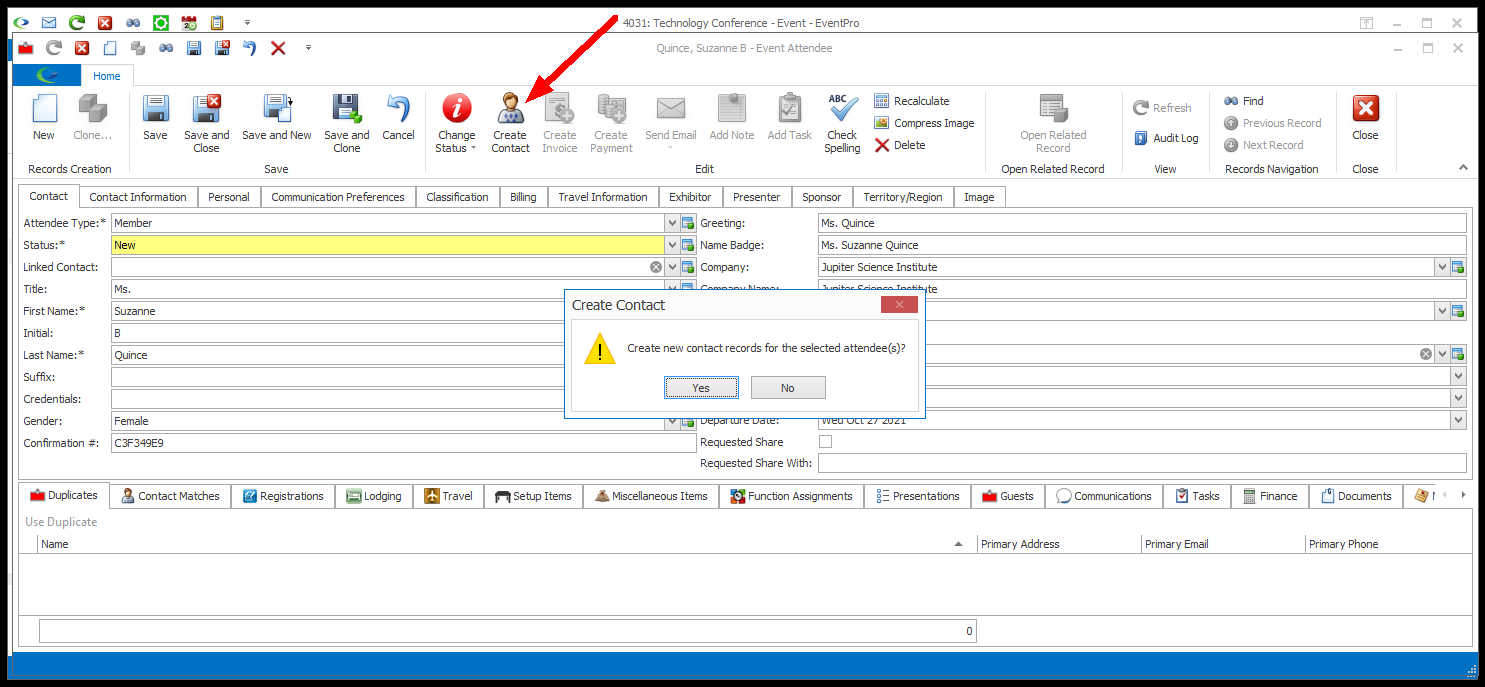
22.Create Contact: If this Attendee is not already a Linked Contact, you can turn the Attendee into a CRM Contact.
a.Click the Create Contact button in the top ribbon of the edit form.
b.The Create Contact dialog ask if you want to create a contact for the attendee. Click Yes to continue.
23.The Attendee's name will then appear in the Linked Contact field, meaning the person is now both an Event Attendee and CRM Contact. Remember to review how information is synced between an Event Attendee and Linked Contact: Attendee/Contact Sync.