Now that you have added a Location Group to the Venue, you can add a Location Subgroup to the Group.
As with many processes in EventPro, there are several different ways you can go about adding a Location Subgroup, all ending up at the same Venue Location Subgroup edit form. We will show one method of adding a Location Subgroup, but as you become more familiar with EventPro, you will find there are other paths to the same result, and you can choose the way that is most convenient to you.
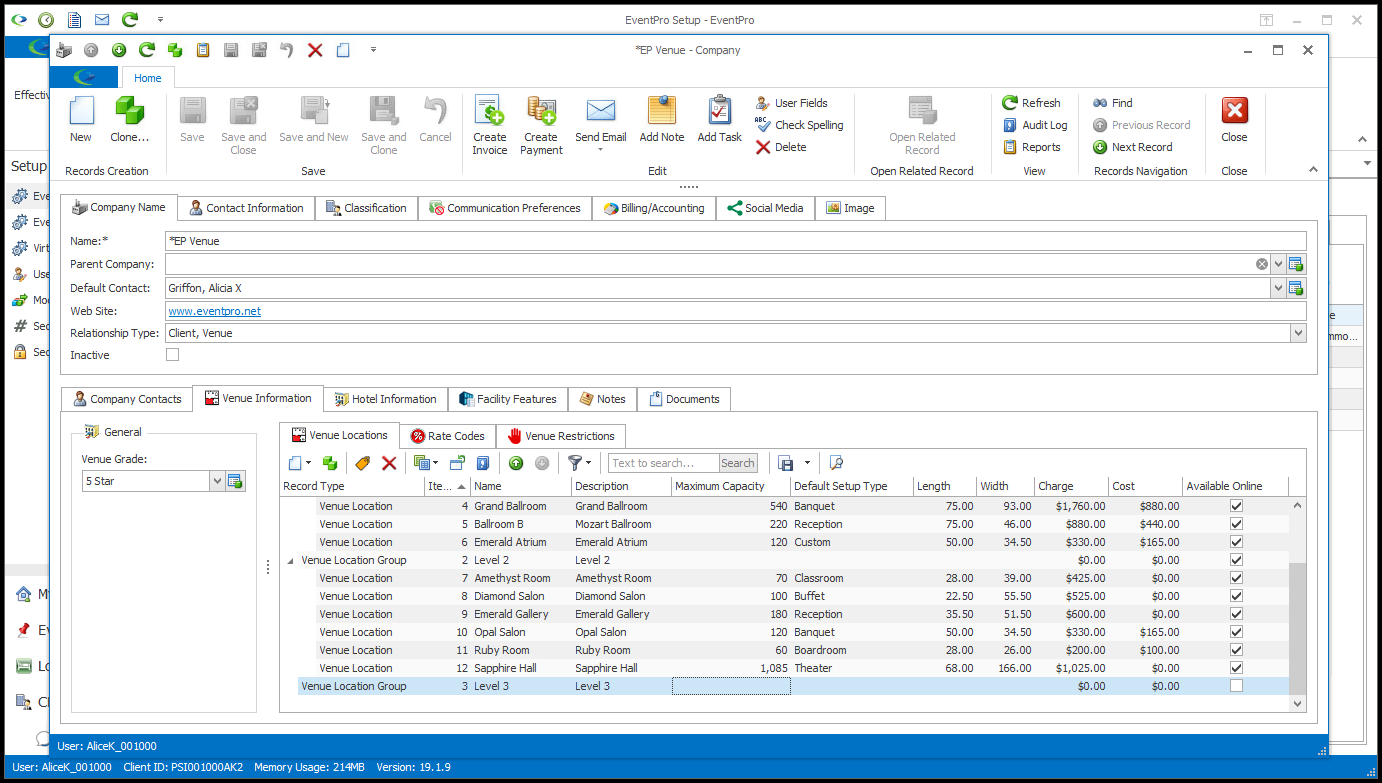
1.Under the Venue Locations tab, find the Location Group to which you want to add a Subgroup.
Click on that Location Group record once so that it is highlighted, but don't open its edit form.
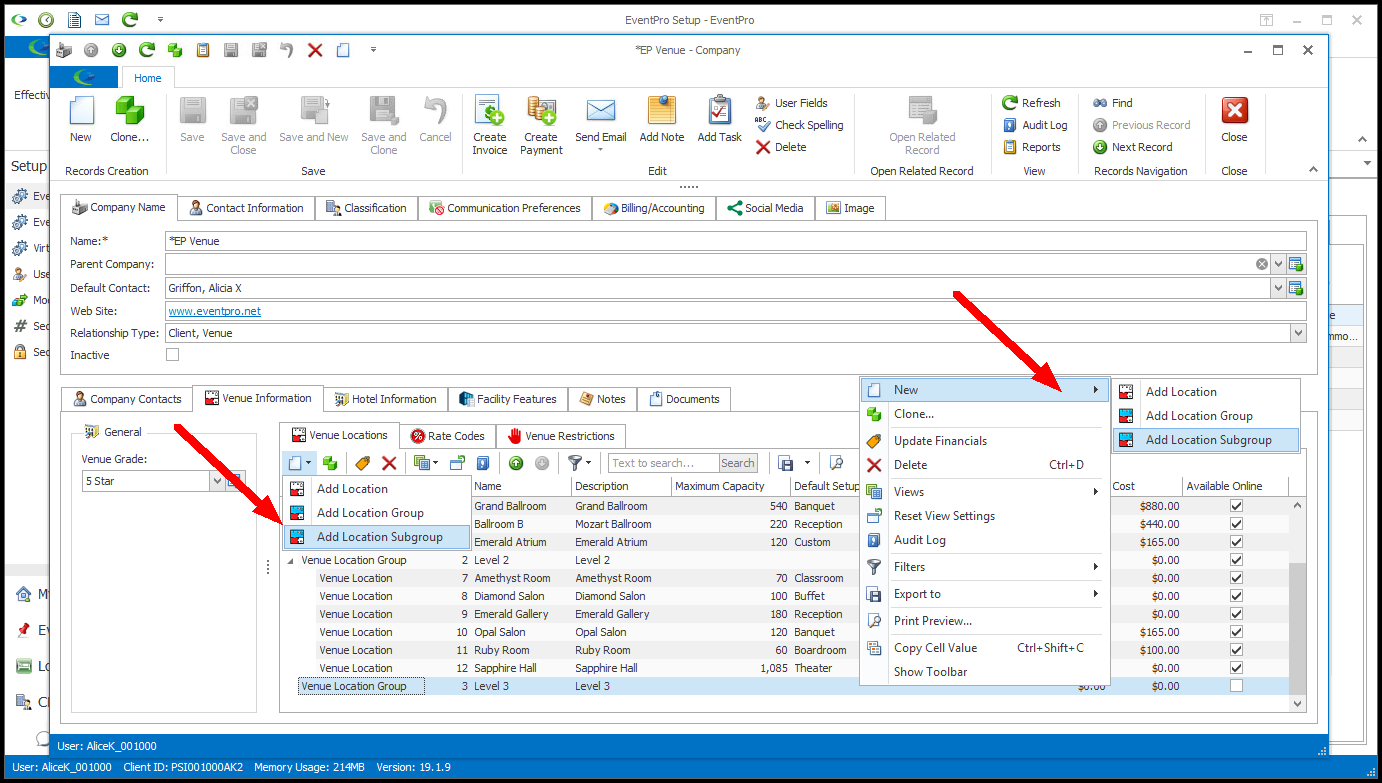
2.Click the drop-down arrow beside the New button above the selection grid, and select Add Location Subgroup (or right-click on the Group record and select New > Add Location Subgroup from the speed menu).
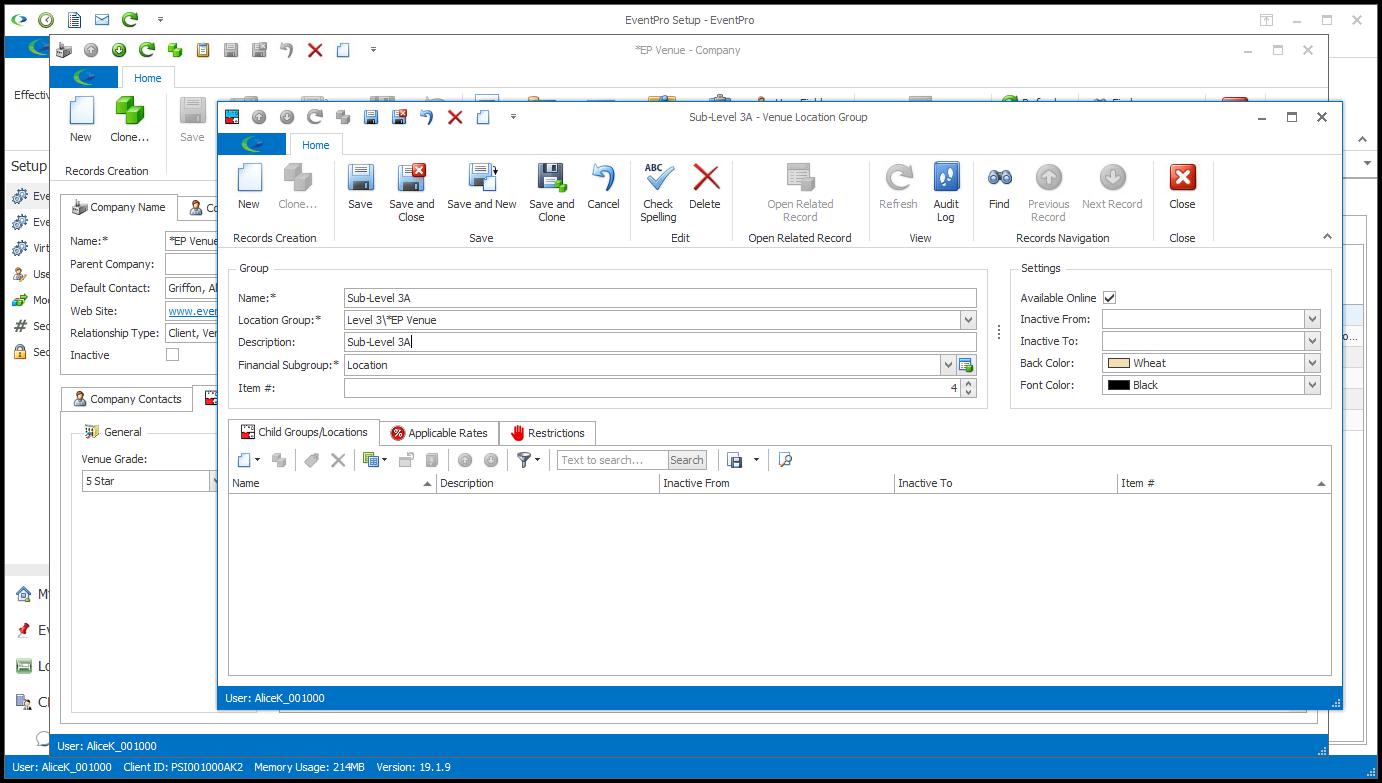
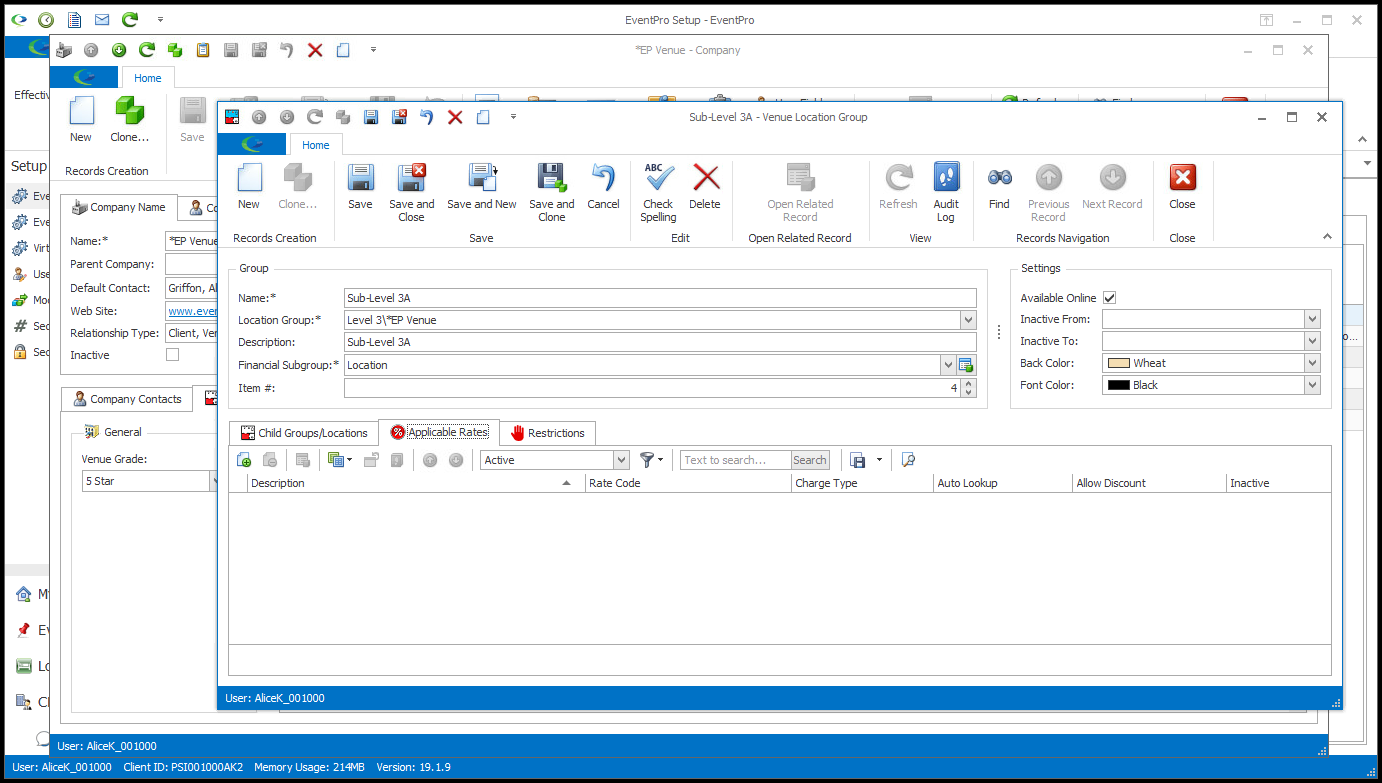
3.A new Venue Location Group edit form appears.
This edit form looks the same as your top-level Venue Location Group edit form, but remember that you are now creating a Subgroup. This will be apparent by looking at the Location Group field. The Location Group you selected before creating this Subgroup will appear in the Location Group field, indicating that you are creating a Subgroup under that Location Group.
4.Follow the instructions below for each area and tab of the Venue Location (Sub)Group edit form:
1)Name: Enter a name for this Location Subgroup.
2)Location Group: Remember, because you are creating a Subgroup, you need to select a higher-level Location Group from this drop-down.
a)If you started this Subgroup record from a higher-level Location Group, that Location Group will already be selected, or you can select another Group from the list.
3)Description: Enter a Description for the Location Subgroup.
4)Financial Subgroup:
a)As noted previously, you can assign a different Financial Subgroup to each Location Group, including Location Subgroups, which can be useful for grouping and separating out rooms for the purposes of financial reporting.
b)Select the Financial Subgroup for this Location Subgroup from the drop-down.
c)You may have only one Financial Subgroup to choose from, or multiple, depending on what you set up in EventPro Setup > Financial > Financial Subgroups.
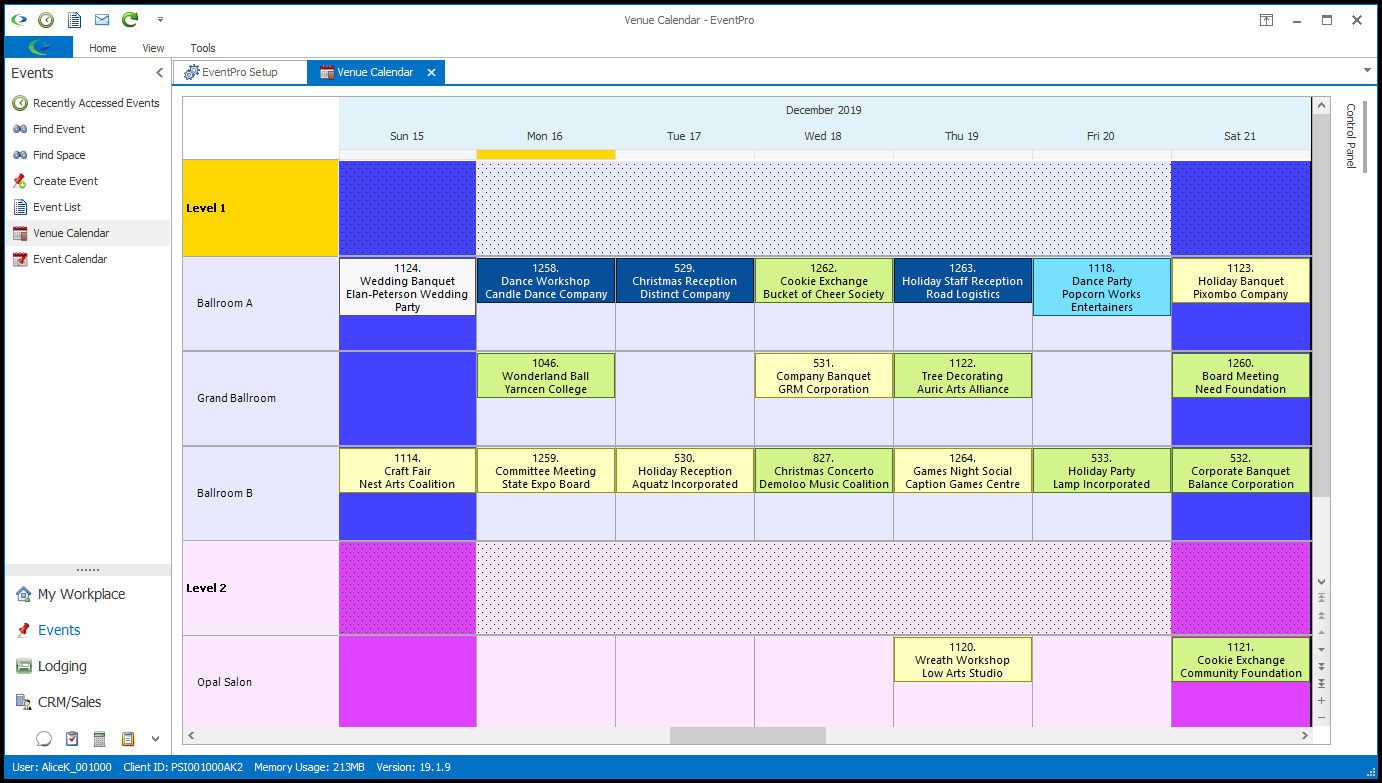
5)Item #: Item numbers allow you to determine a sort order for the Location Subgroups on the Venue Calendar. If you don't enter Item numbers for Location Subgroups and leave them all as 0, the Location Subgroups will be positioned alphabetically within their Location Group on the Venue Calendar. An Item # will default in, but you can change it. |
1)Available Online: Select the Available Online checkbox if you want this Location Subgroup to be available in EPConnect Suite online. Remember that EPConnect Suite is a collection of separately available modules, and you will not see the related tabs and screens if you have not purchased the modules.
2)Inactive From and Inactive To: If this Location Subgroup will be Inactive for a period of time, you can select the Inactive From and Inactive To dates from the drop-down calendars. Note that you can also set the Inactive dates at the Location Group and individual Location level.
3)Back Color and Font Color: The colors you select here will determine the colors used for the Locations under this Location Subgroup on the Venue Calendar. So, choose your colors wisely, since you will have to look at them every time you go to your Venue Calendar.
|
•Under this Child Groups/Locations tab, you could now add Locations or yet another Location Subgroup to the Subgroup you are currently working on. It's up to you.
•However, just a word of caution... if you keep adding Locations within Subgroups within more Subgroups, etc. etc. etc., it can start to get confusing as to how many layers deep you've gone. At this point, you may want to just complete this Subgroup record, and return later to add Subgroups and/or Locations to it.
•With the example we are working on now, we are going to leave this Child Groups/Locations tab empty for now, and add Locations later.
|
•Under the Applicable Rates tab, you can link Rate Codes that you already added to the Venue.
•However, because we are still working at the Subgroup level, we are not going to add Rate Codes yet.
•We will wait until we have created the individual, bookable Venue Locations, and add Rate Codes to those Locations.
|
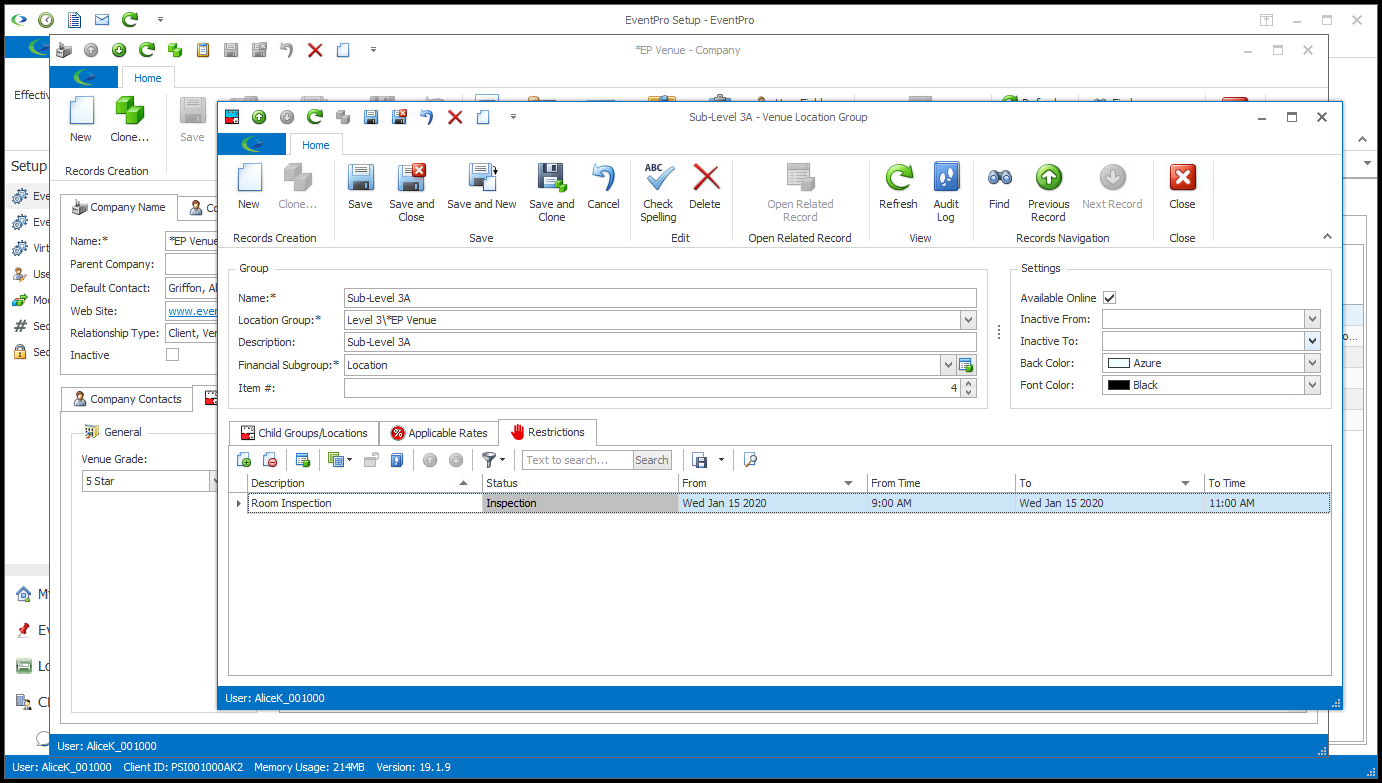
•If you link a restriction under this Restrictions tab, it will apply to the entire Location Subgroup.
oIf you want a Restriction to only apply to an individual Location, you can add those restrictions later. See Add Location.
oIf you want the Restriction to apply to the Location Group above this Subgroup, see Add Location Group.
oIf the Restriction applies to the entire Venue, you would add it under Venue Restrictions.
•Before you start adding Restrictions to this tab, ensure that they have already been added to the Venue under Venue Restrictions.
1)Click the Link button under the Subgroup's Restrictions tab.
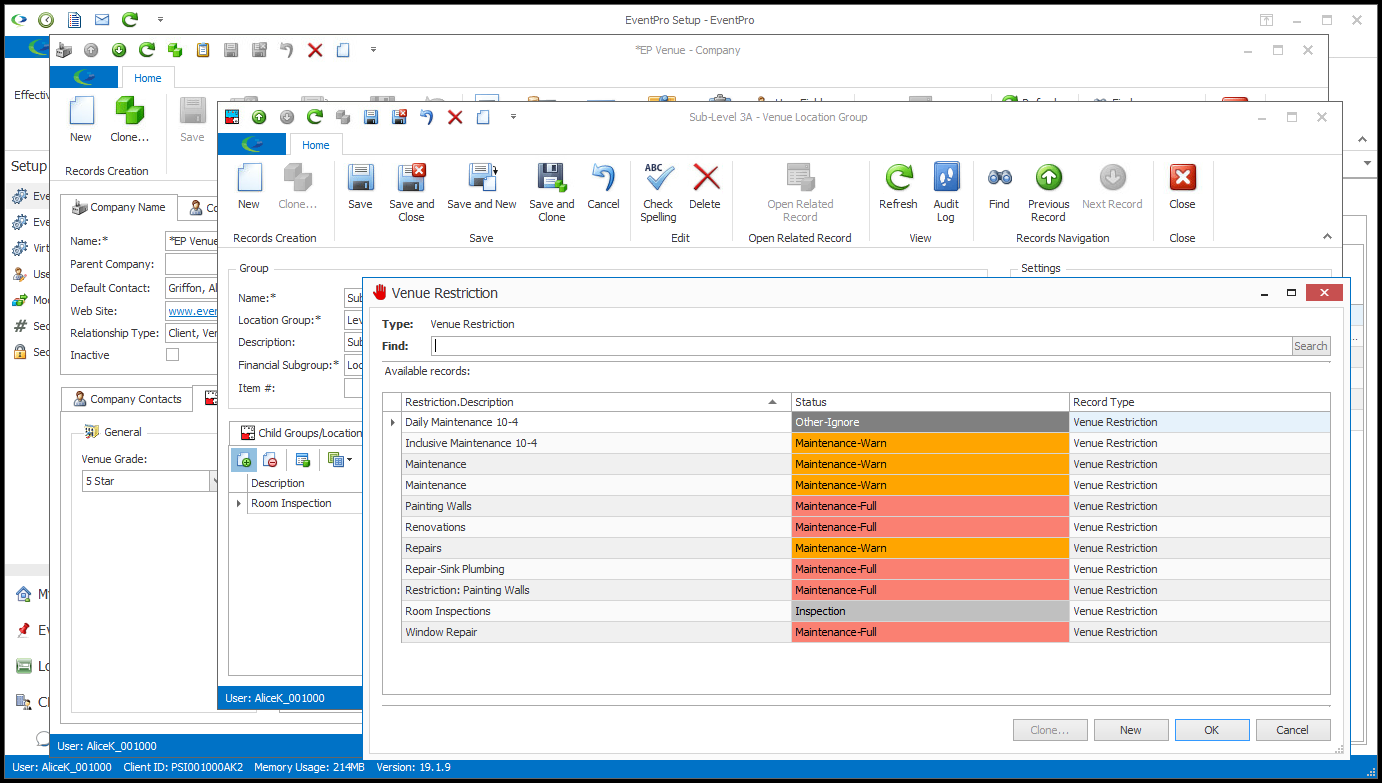
2)The Venue Restriction window appears. This window contains the Venue Restrictions that were added under the Venue Restrictions tab.
3)Select the Restriction you want to apply, and click OK.
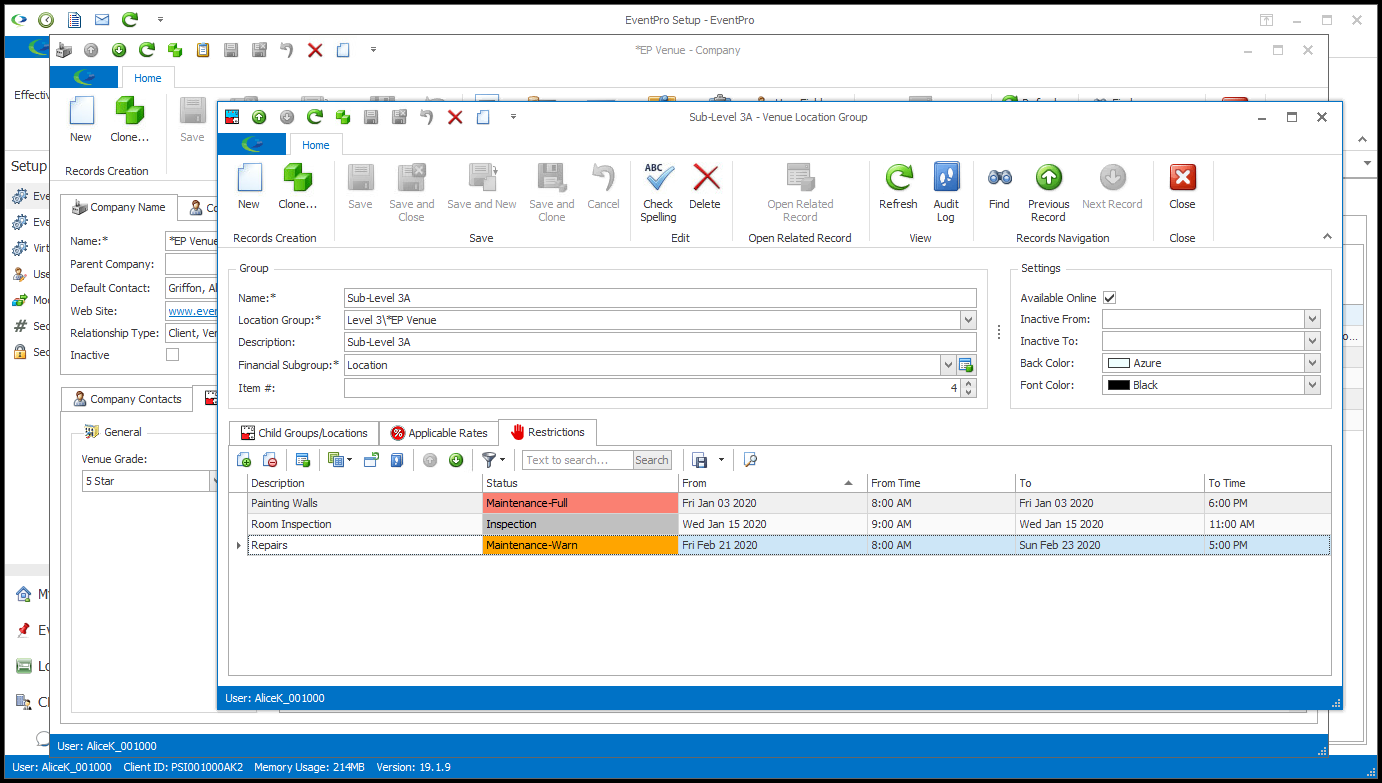
4)You will return to the Venue Location Subgroup edit form.
5)Click the Save button at the top of the Venue Location Subgroup edit form to ensure that your changes have been saved.
6)You can link other Restrictions under this tab if you require. Just remember to click Save each time at the top of the Venue Location Subgroup edit form to ensure that all changes have been saved. |
5.When you are done entering information for this Location Subgroup, click Save and Close.
6.You will end up back in the the Venue Information tab of the Company (Venue/Hotel) edit form.
Your new Location Subgroup will appear under its Location Group in the selection grid. If you can't see the new Subgroup you added, make sure that you click the arrows in the left column to open up the Location Groups and display all Subgroups and Locations below.
7.If necessary, click the Save button at the top of the Venue/Company edit form to ensure that changes to your Venue Information are completely saved.
8.You can now do a couple different things:
a.Add more Venue Location Subgroups, repeating these Add Location Subgroup instructions.
b.Add Locations to Groups or Subgroups, following the instructions under Add Location.