•As noted earlier, you need to have these Notifications set up in order for the Account Request area to work.
•In EPConnect Setup, go to the Notifications tab.
•You can follow the general process in Overview > Notifications to create these Account Request Notifications, with some additional details noted below.
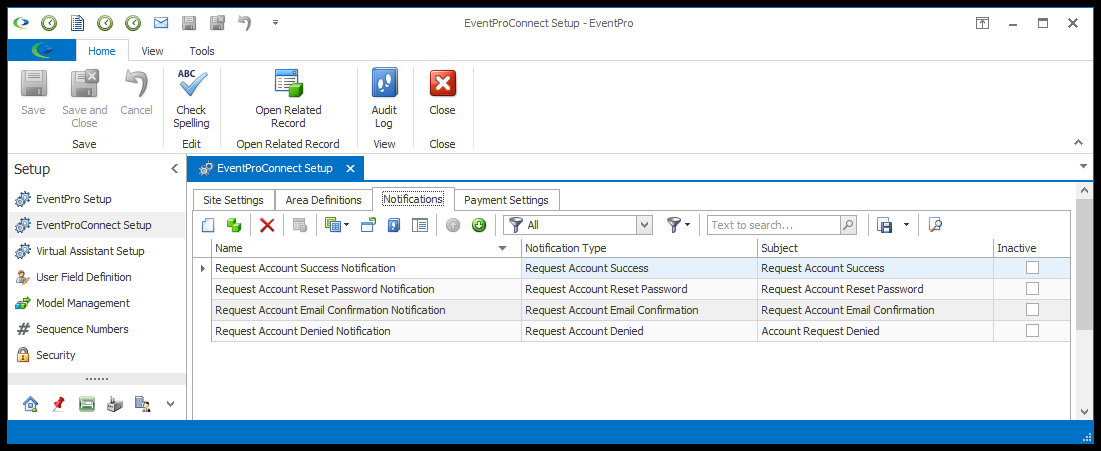
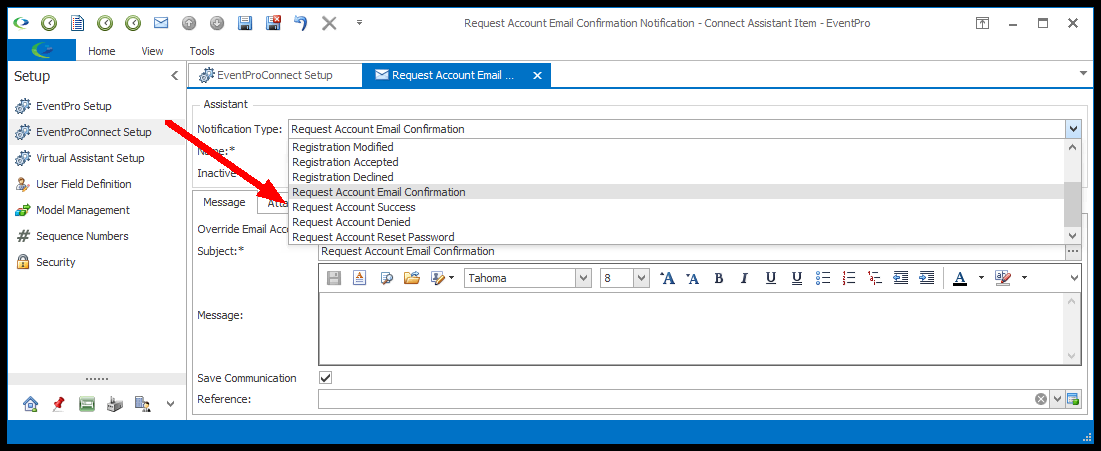
1.Start/Edit the Notification: Ensure that when selecting Notification Type, you make one of each of the four Account Request Notification Types: Request Account Email Confirmation Notification, Request Account Success Notification, Request Account Reset Password Notification, and Request Account Denied Notification.
2.Message Tab: For 3 of the Account Request Notification Types, certain content will be automatically added into the email message, although you won't see this particular content in the Message Tab.
If you add nothing to the Message for these three notification types, the automated links/content would still appear in the emails.
Any content you add to the Notifications' email Message area it will appear above the default content in the email body.
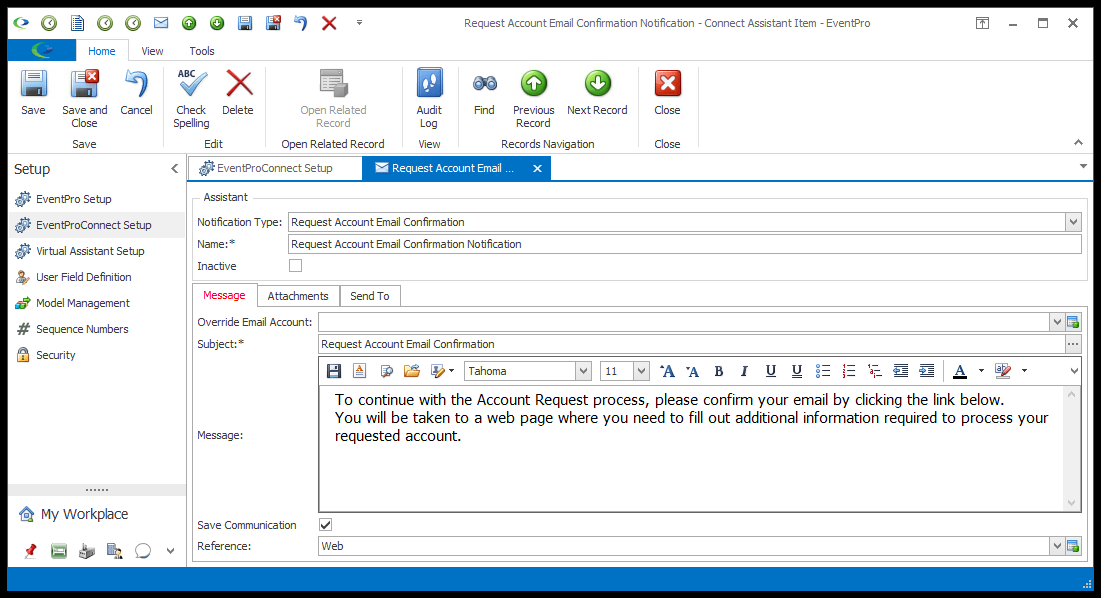
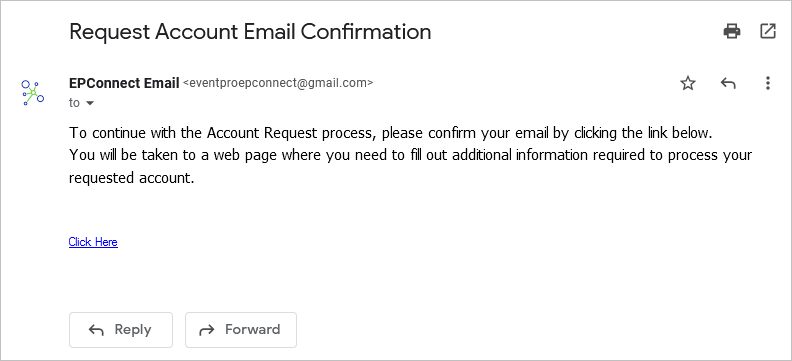
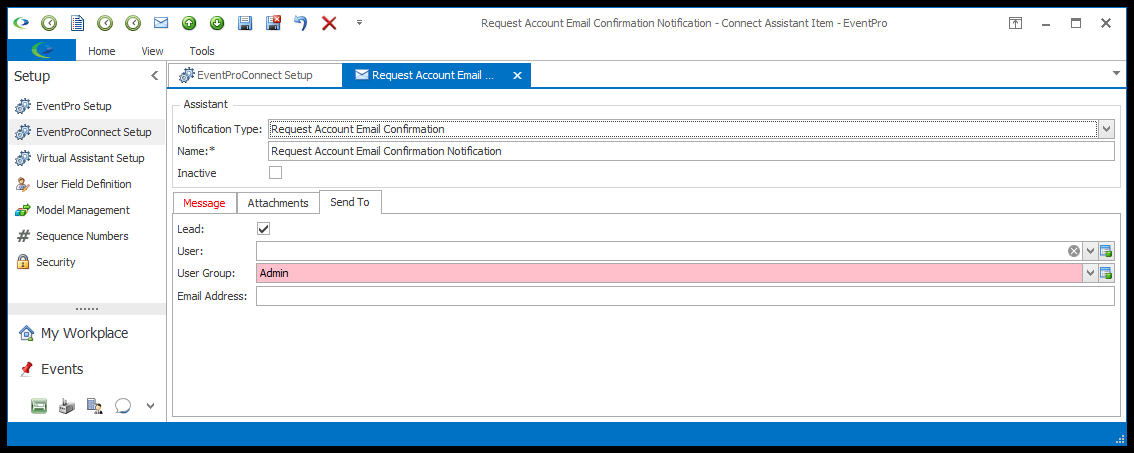
a.Request Account Email Confirmation: This email will automatically contain a "Click Here" link that leads the recipient to the Account Request page (defined here, and appears in Process Flow here).
i.If you don't add your own message to the notification, the link will still appear in the email.
ii.You can add an explanatory message, if you like.
Note that you do not see the automatically generated link in the Notification's Message tab...
iii....but the link still appears below your message in the resulting email.
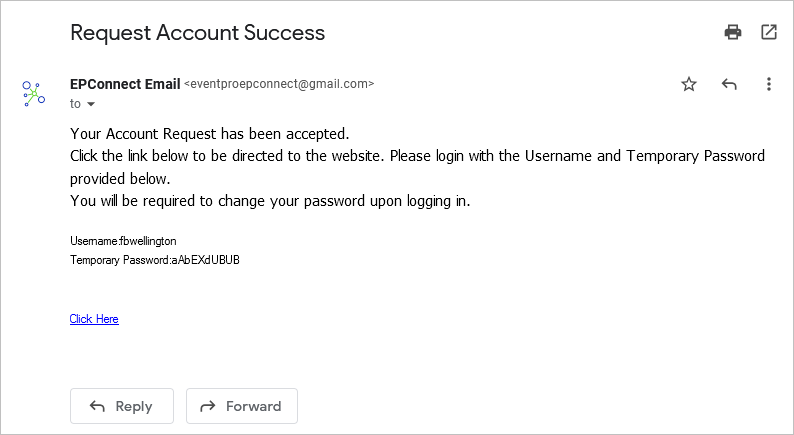
b.Request Account Success Notification: This email will automatically contain the new account's Username and a Temporary Password, as well as a "Click Here" link to your EPConnect website.
i.If you don't add your own message to the notification, the link and login credentials will still appear in the email.
ii.You can add an explanatory message, if you like.
Note that you do not see the automatically generated link and credentials in the Notification's Message tab...
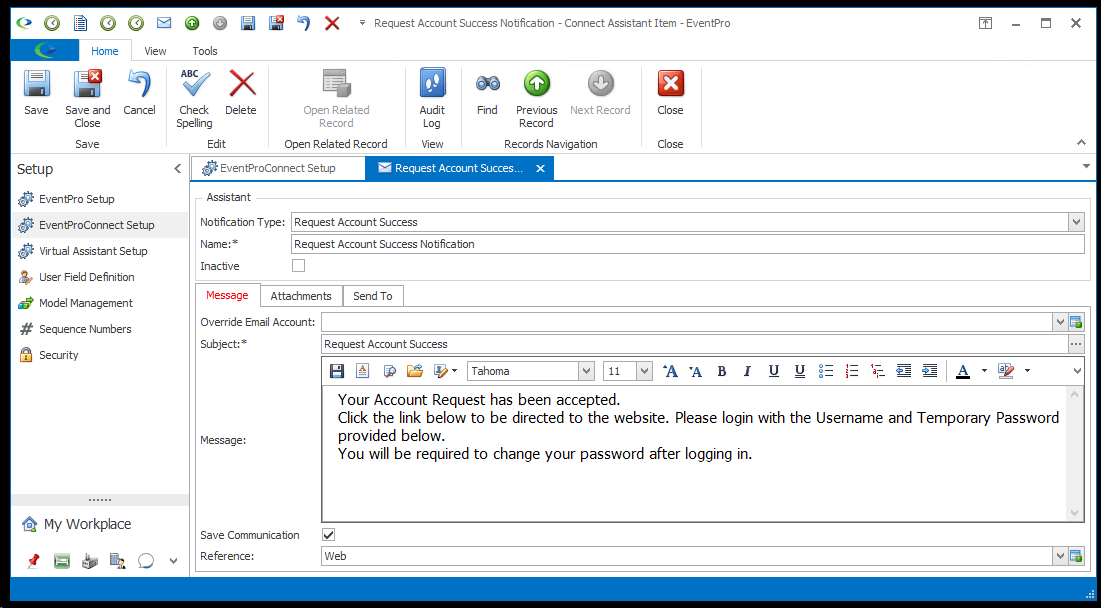
iii....but the link and credentials still appear below your message in the resulting email.
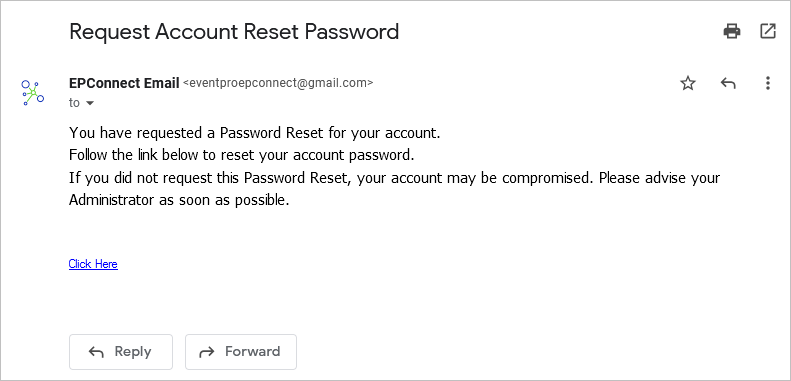
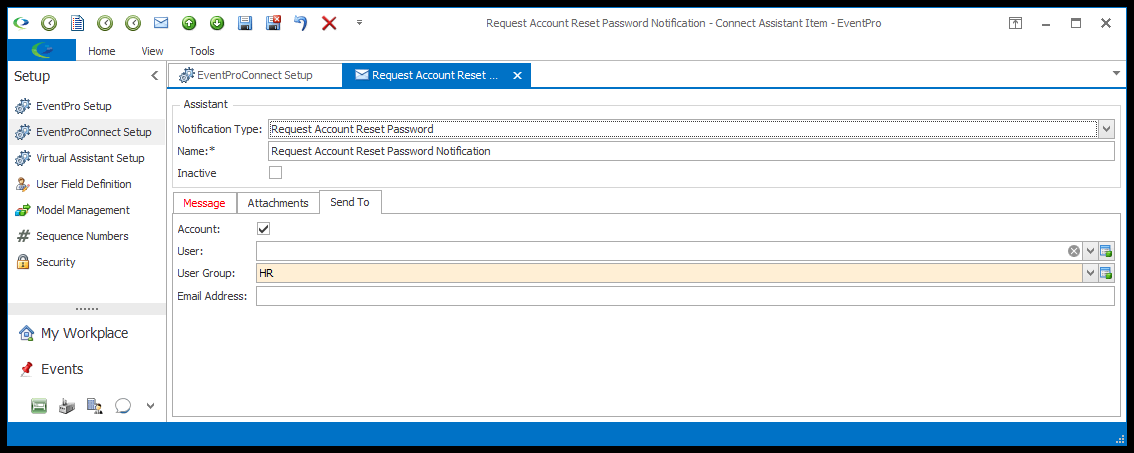
c.Request Account Reset Password Notification: This email will automatically contain a "Click Here" link that leads the recipient to the Password Reset page.
i.If you don't add your own message to the notification, the link will still appear in the email.
ii.You can add an explanatory message, if you like.
Note that you do not see the automatically generated link in the Notification's Message tab...
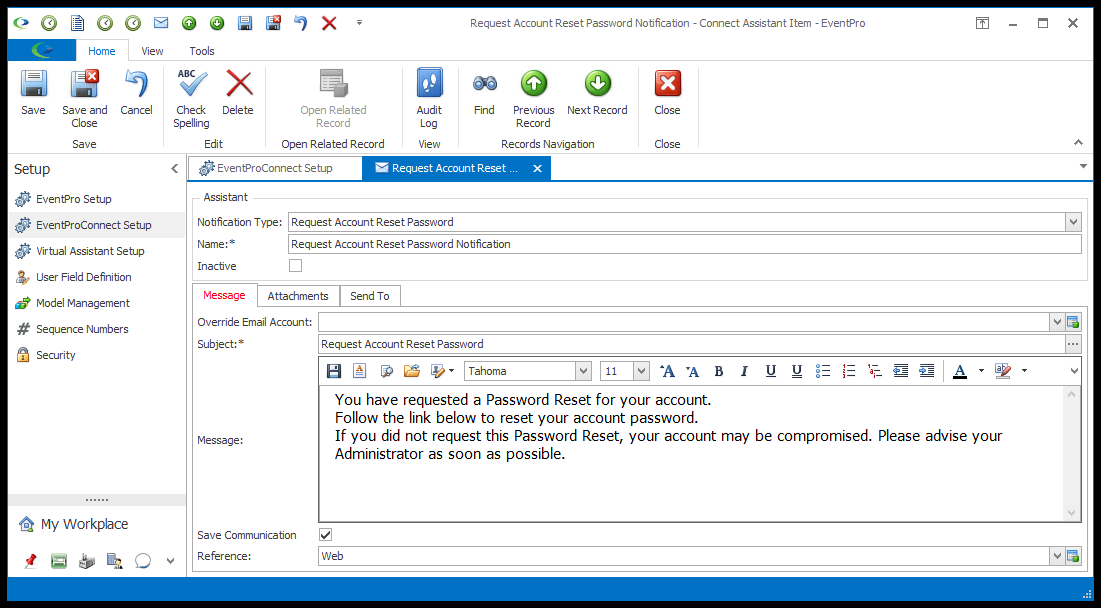
iii....but the link still appears below your message in the resulting email.
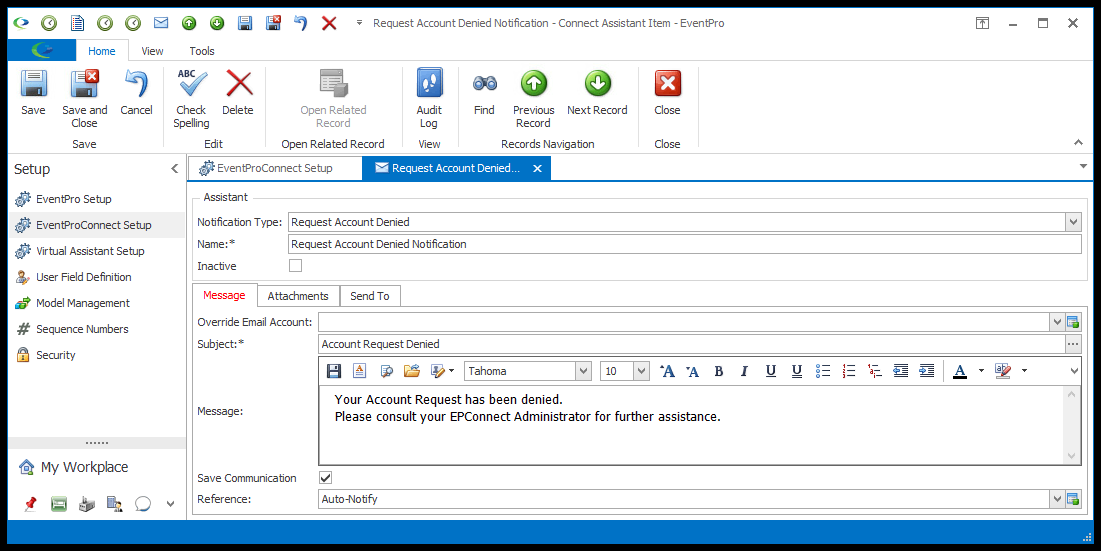
d.Request Account Denied Notification: This notification type doesn't contain any automatically generated content. If you do not add a message, the email content will be blank.
3.Attachments Tab: If you need to add attachments to the notification emails, you can attach File, Letter, and/or Report Attachments.
4.Send To Tab: In addition to the standard User/User Group/Email Address send to options, the four Account Request Notification Types have another option.
a.Request Account Email Confirmation & Request Account Denied: Before the Account Request has been verified (by Admin Review or Email Confirmation), the requester is a "Lead" in EventPro. These two particular notifications would be sent before verification, and so have "Lead" as a Send To option.
b.Request Account Success & Request Account Reset Password: After the Account Request has been verified, the requester is now an "Account" in EventPro. These two notifications would be sent after verification, and so have"Account" as a Send To option.
5.As you finish creating each Notification, click Save and Close.