|
Breadcrumb Trail: EventPro Setup > Communications Communications System Settings |
Scroll Prev Top Next More |
•The Communications System Settings allow you to set a number of defaults that apply when you create and send a communication.
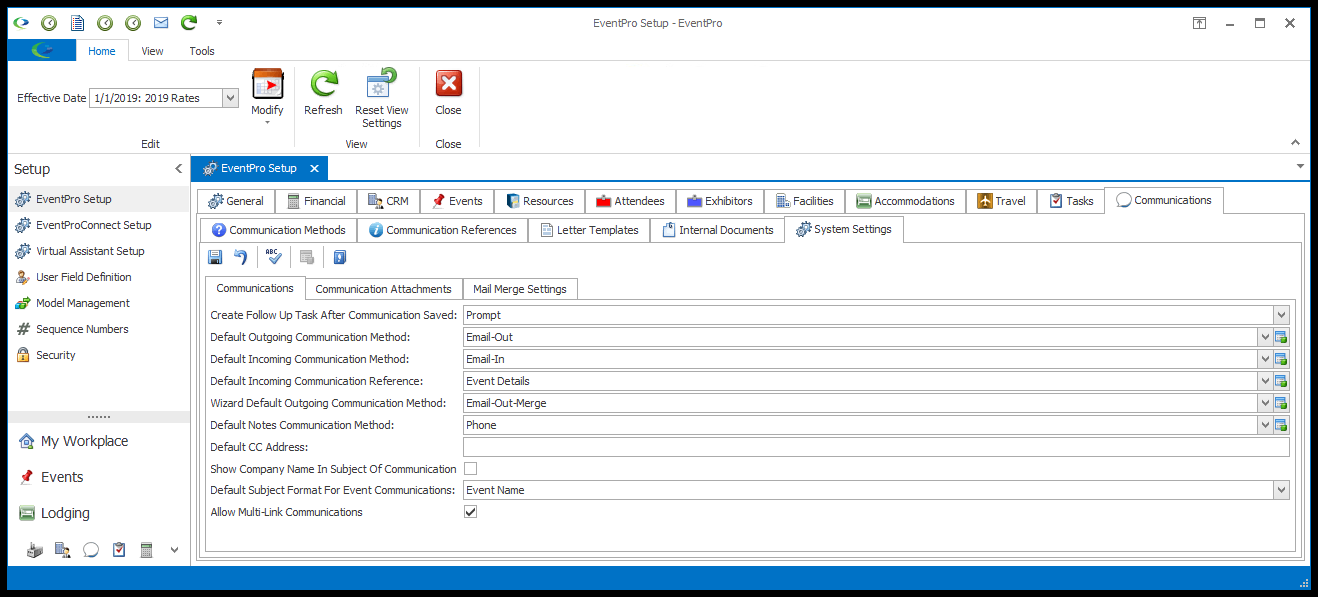
•If you set these defaults to the most commonly used options, it can save time and reduce the number of selections you need to make when sending communications.
•If you make any changes, ensure that you click the Save ![]() icon at the top the System Settings tab.
icon at the top the System Settings tab.
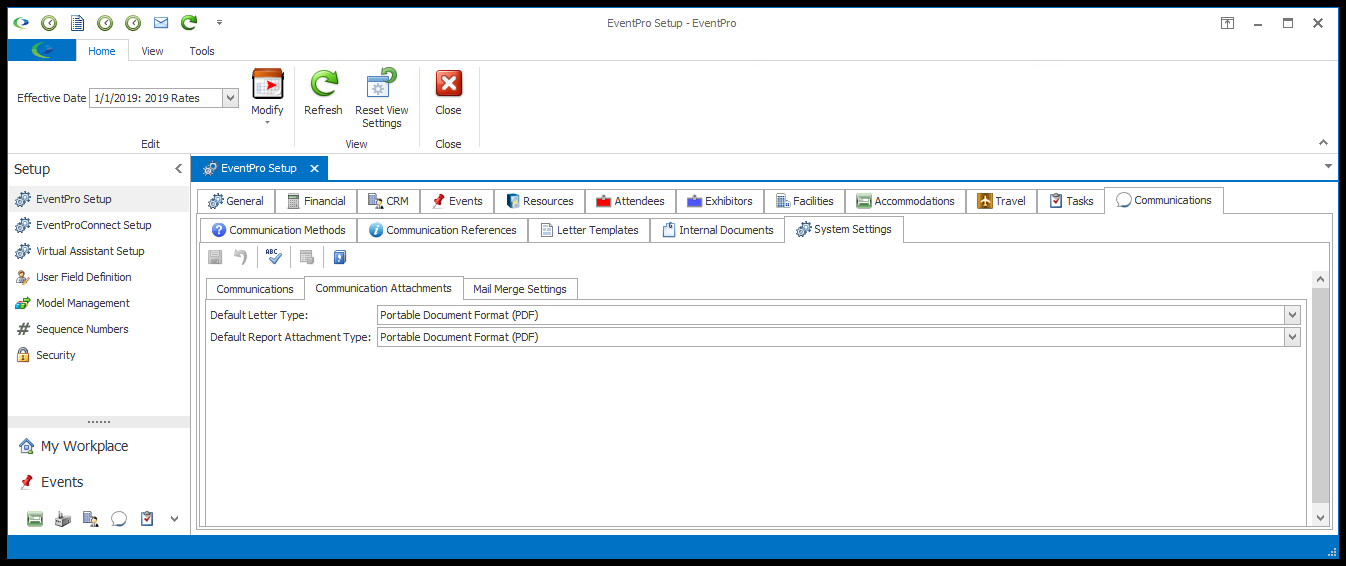
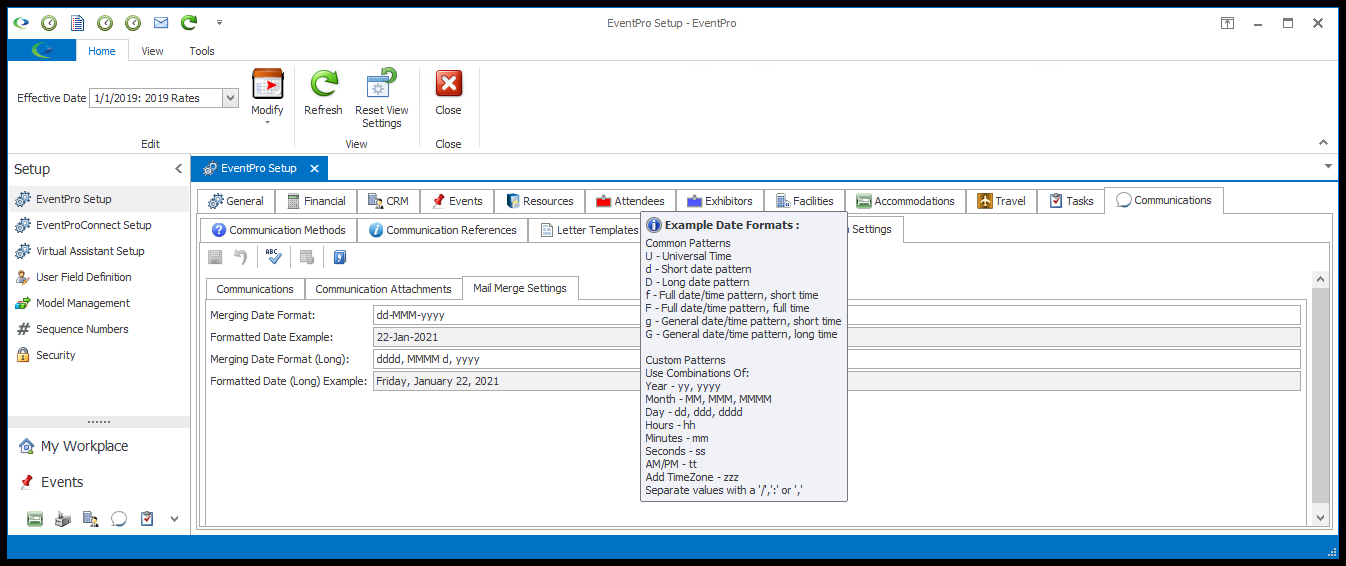
•There are three sub-tabs under which you can adjust your Communications System Settings: Communications, Communication Attachments, and Mail Merge Settings.

|
1.Create Follow Up Task After Communication Saved: After you save a communication, you may want to create a followup task. For example, if you send an invoice, you may want to follow up in 30 days to ensure the invoice was paid. From this drop-down list, choose whether you want EventPro to Always create a follow up task, Never create a follow up task in this situation, or Prompt you with the option to create a follow up task so that you can choose each time. 2.Default Outgoing Communication Method: From the drop-down list, select a default Communication Method for outgoing communications. This drop-down is populated by the Setup Communication Methods you created earlier. 3.Default Incoming Communication Method: From the drop-down list, select a default Communication Method for incoming communications. This drop-down is populated by the Setup Communication Methods you created earlier. 4.Default Incoming Communication Reference: From the drop-down list, select a default Communication Reference for incoming communications. This drop-down is populated by the Setup Communication References you created earlier. Remember that you will be able to change the default Methods or References on the actual email communications. 5.Wizard Default Outgoing Communication Method: From the drop-down list, select the default Communication Method that will apply to outgoing communications in a Mail Merge. This drop-down is populated by the Setup Communication Methods you created earlier. 6.Default Notes Communication Method: From the drop-down list, select a default Communication Method for new Communication Notes. This drop-down is populated by the Setup Communication Methods you created earlier. 7.Default CC Address: An email address entered here will be set as the default CC email address for all email communications. NOTE, however, that if you set a Default CC Address here, and have the Contact recipient flagged to "Auto CC Alternate Contact" on all emails, that Alternate Contact's email address will override this default CC address from Setup System Settings. 8.Show Company Name in Subject of Communication: If you select the Show Company Name in Subject of Communication checkbox, your company's name will appear at the beginning of the Subject by default. For example, if your company's name is "Corporation 123 Unlimited", a new email's Subject would default to: Corporation 123 Unlimited: Your company name is recorded as the Client in your software license, which you can view under EventPro - About. 9.Default Subject Format for Event Communications: From the Default Subject Format for Event Communications drop-down, select the option you want to use as the default Subject of emails linked to Events. "None" means that none of the default Subject formats will be used. The following examples demonstrate what the default subject would look like for the other options, using the sample event #167, Business Trade Show, from April 7 to April 9, 2017. a.Booking #: Booking #: 167 b.Event Name: Event: Business Trade Show c.Booking #, Event Name: Booking #: 167 - Business Trade Show d.Event Name, Dates: Event: Business Trade Show (Fri Apr 07 2017 to Sun Apr 09 2017) e.Booking #, Dates: Booking #: 167 (Fri Apr 07 2017 to Sun Apr 09 2017) f.Booking #, Event Name, Dates: Booking #: 167 - Business Trade Show (Fri Apr 07 2017 to Sun Apr 09 2017) If you also have the "Show Company Name in Subject of Communication" checkbox selected above, the company name will appear in front of the default Event Email Subject. For example: Corporation 123 Unlimited: Booking #: 167 Corporation 123 Unlimited: Event: Business Trade Show 10.Allow Multi-Link Communications: Select this checkbox if you want to allow Communication Emails to be linked to more than one record. See Communication & Email Management > Linking Emails to Communications. 11.Ensure that you save changes to your settings by clicking the Save |
© 2023 EventPro Software, a wholly owned subsidiary of Profit Systems Inc. All Rights Reserved.