1.The two Page Types would have already been pulled into the Page Definitions tab when the Contact Tracing Area Definition was added to EPConnect.
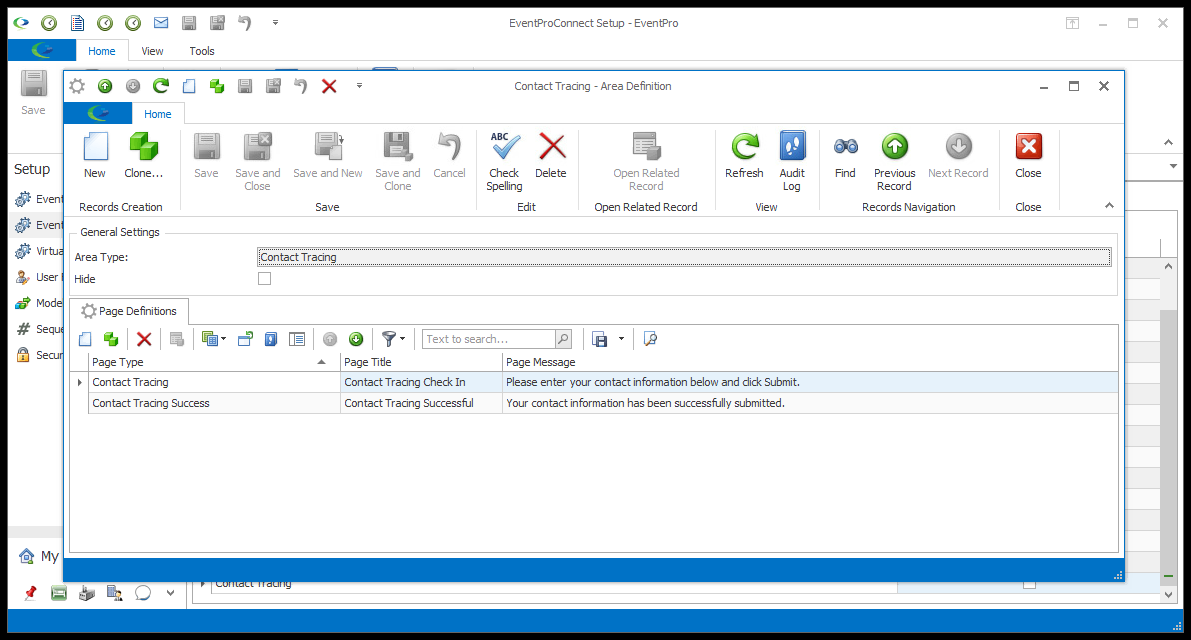
2.Both Page Definitions have these common elements, described earlier in Overview > Page Definitions:
For either page, you can leave the default Message as is, or edit it as you would like for your online form.
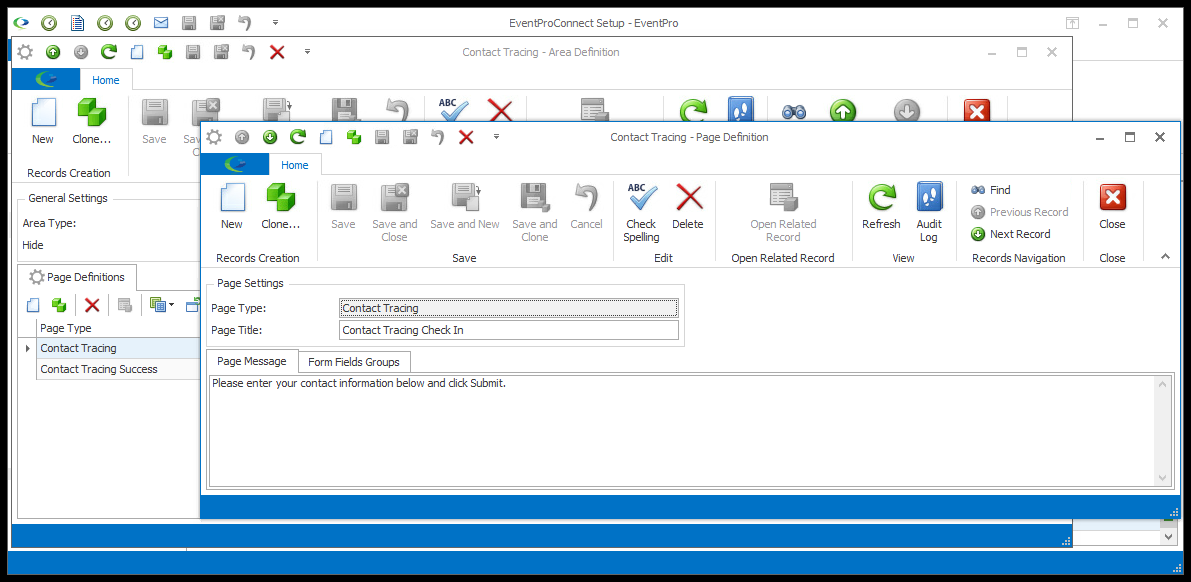
a.This page contains the Form Fields in which the individual will enter contact information. (View in Process Flow.)
b.The Contact Tracing Page Definition will already contain the Form Fields necessary for the Contact Tracing area, and you do not need to edit them. If you want to collect additional information for contact tracing purposes, you will need to first add User-defined Fields to the Contact Tracing area in EventPro, and return here to add form fields to the page definition.
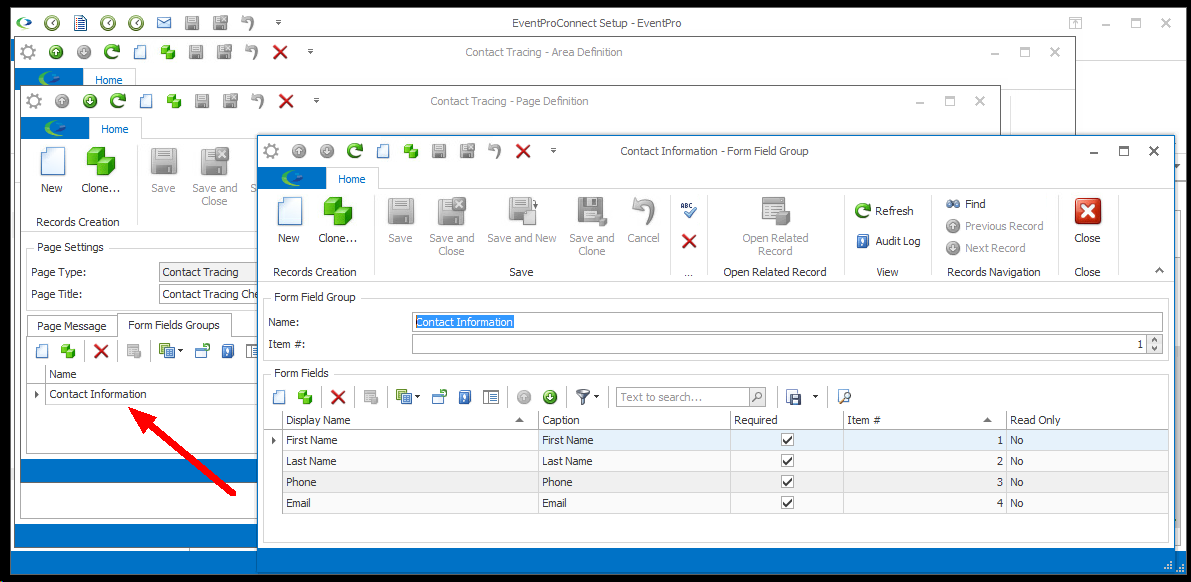
c.Under the Page Definitions tab of the Contact Tracing Area Definition, double-click the Contact Tracing Page Definition to open its edit form.
d.In the Contact Tracing Page Definition, go to the Form Fields Groups tab. By default, there will already be a "Contact Information" Form Field Group.
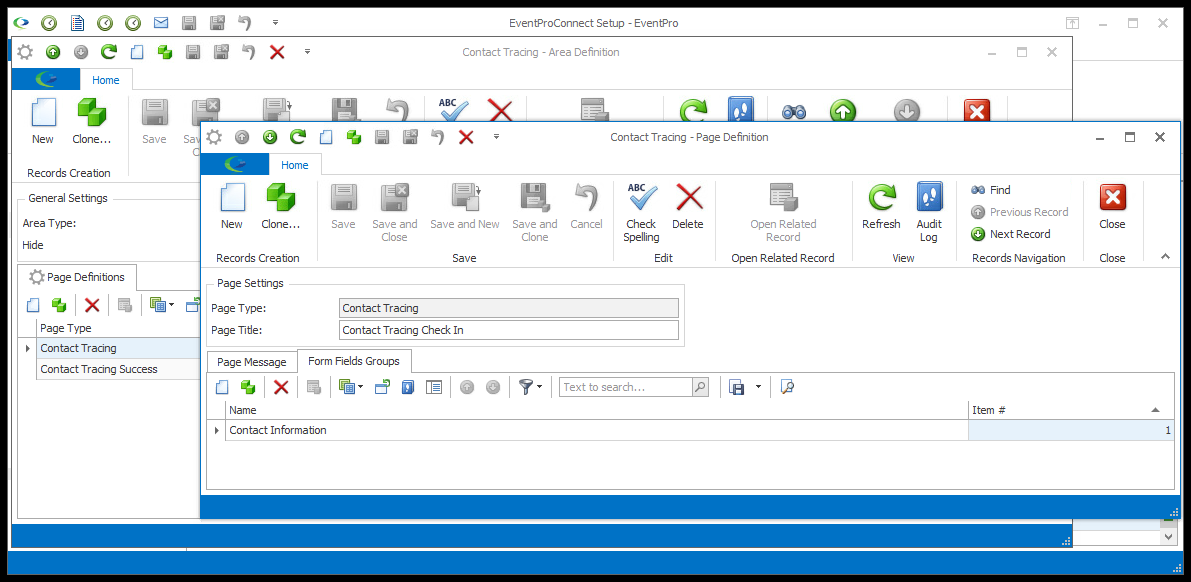
e.Double-click the Contact Information Form Field Group to open its edit form and view the default Form Fields: First Name, Last Name, Phone, and Email.
f.If you have added User Fields to the Contact Tracing area, and now want to add Form Fields to this Group, or to create a new Group for the additional Form Fields, review the instructions under Overview > Form Field Groups and Form Fields.
g.When you are done, you can Save and Close the Form Field Group, as well as the Contact Tracing Page Definition.
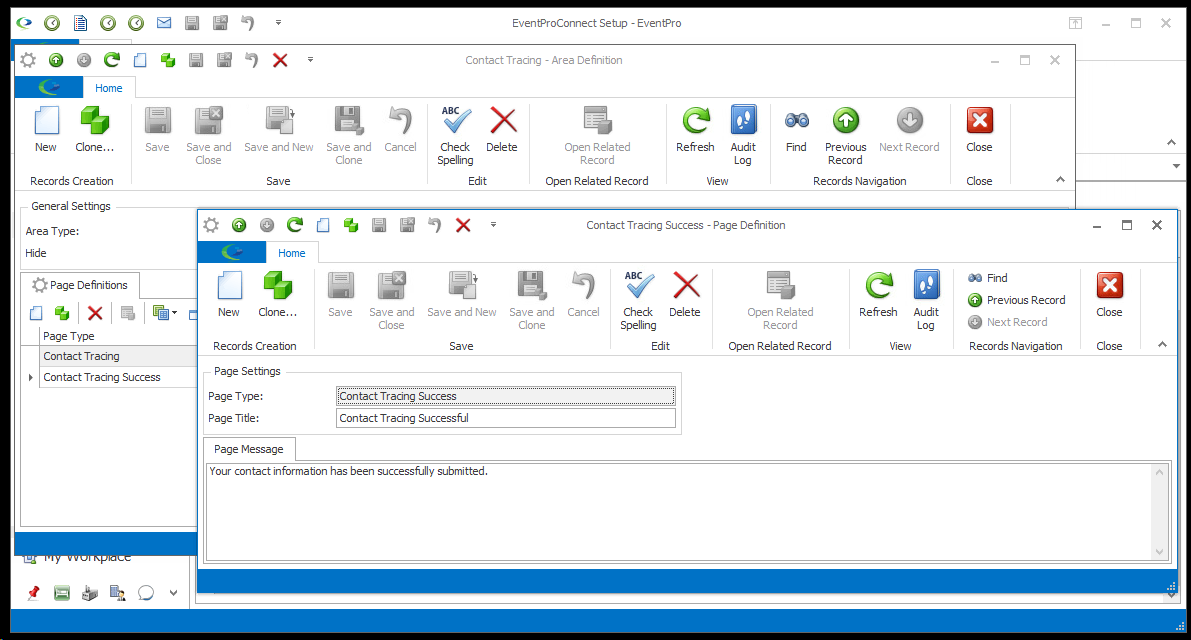
a.After submitting their contact information, the individual will arrive at this page. (View in Process Flow.)