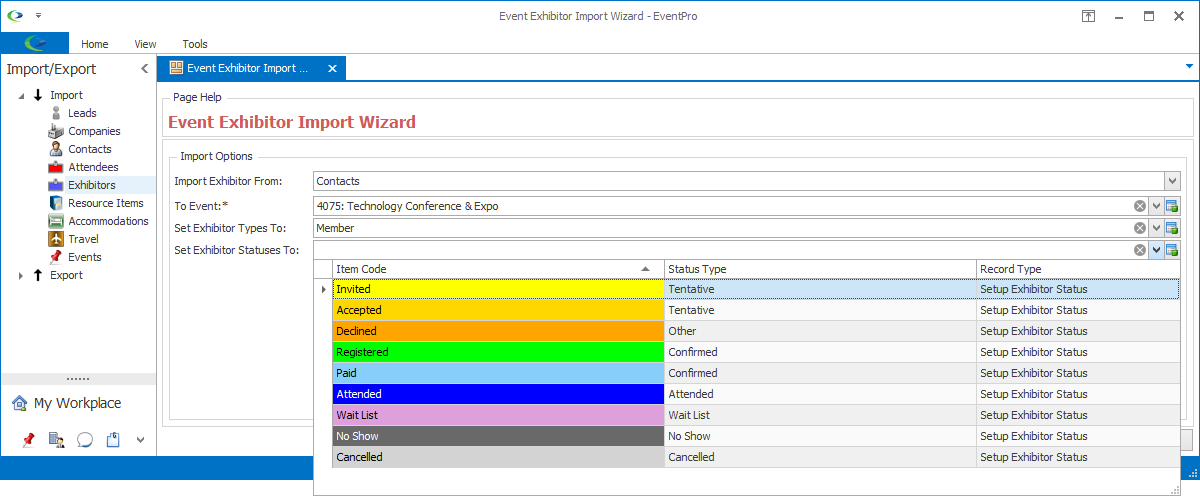
1.Import Options:
a.Import Exhibitors From: You have selected Contacts.
b.To Event: From the drop-down, select the Event into which you are importing Exhibitors.
c.Set Exhibitor Types To:
i.From the drop-down, choose the default Exhibitor Type to which all the imported Exhibitors will be set initially. You will be able to edit individual Exhibitors later.
ii.The drop-down is populated by the Exhibitor Types from the selected "To" Event. (Review Event Management > Edit Event Window > Exhibitor Setup > Exhibitor Types.)
iii.If you don't have any Exhibitor Types set up in the "To" Event, this drop-down will be blank. The "To" Event needs at least one Event Setup Exhibitor Type in order to import exhibitors.
d.Set Exhibitor Statuses To:
i.From the drop-down, choose the default Exhibitor Status to which all the imported Exhibitors will be set initially. You will be able to edit individual Exhibitors later.
ii.The drop-down is populated by the Statuses created under EventPro Setup > Exhibitors > Exhibitor Statuses.
e.When you are done adjusting import options, click Next.
2.Select Contacts:
a.This page displays CRM Accounts. The Accounts will not be imported directly into the Event from this page. You can choose which Accounts will be moved into the Exhibitor Import Summary.
b.If you only want to import some Accounts from CRM, select the "Import Selected Contacts Only" checkbox. If you want to import all CRM Accounts, leave the checkbox unselected.
c.If you selected the "Import Selected Contacts Only" checkbox, you need to select the Accounts to be imported as Exhibitors.
d.One option is to multi-select the relevant accounts; hold down the CTRL key and click on the Accounts you want included in the import.
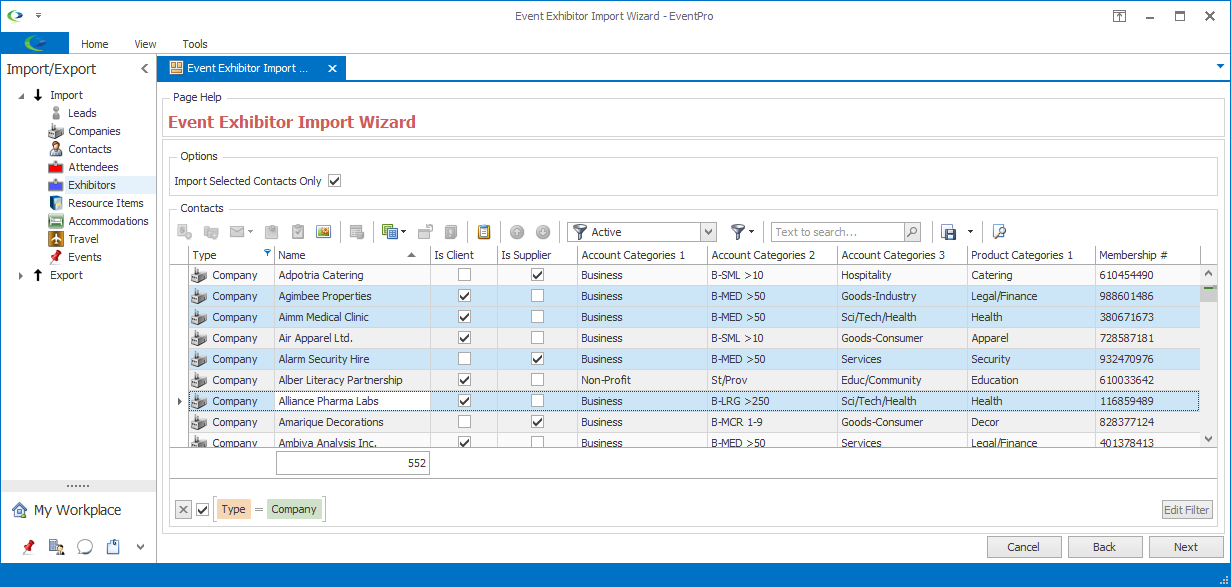
e.If that method takes too long, you can filter the selection grid so that only the Accounts you want appear. Review how to filter selection grids in Common Procedures > Selection Grids > Column Header Filter and Filter Editor. Once the selection grid displays only the Accounts you want to import, press CTRL A to select all of the visible Accounts in the grid for import.
f.When you have selected the relevant Accounts to import as Exhibitors, click Next.
3.Import Summary:
a.On this page, you can review the Exhibitors that are about to be imported into the Event.
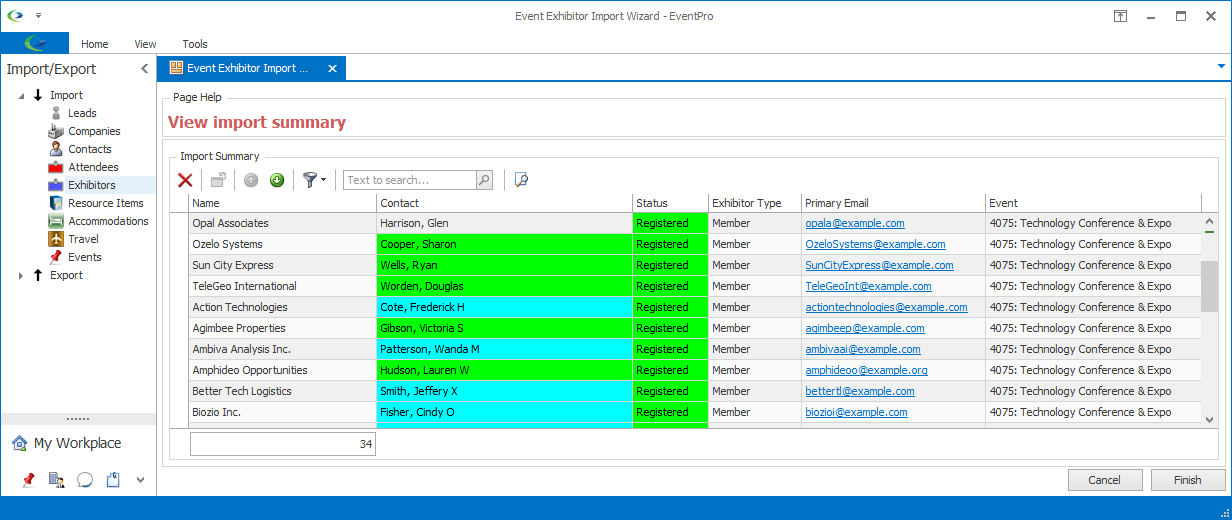
b.If necessary, you can Delete Exhibitors you don't want to import from this page. Select an Exhibitor or multi-select the Exhibitors you want to delete. Click the Delete button  above the selection grid. The Delete dialog asks if you want to proceed with deleting the selected record(s). Click Yes to continue.
c.When you are done making adjustments in the Import Summary page, click Finish.
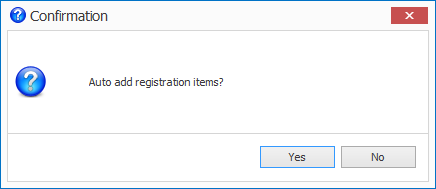
4.If you have Auto-Add Exhibitor Registrations set up for the event (review Event Management > Edit Event Window > Exhibitor Registrations), the Confirmation dialog will ask if you want to Auto Add Registration Items.
a.Click Yes or No.
b.The import will proceed whether you click Yes or No, but if you click Yes, the Auto-Add Registrations (if they exist) will be added to any applicable Exhibitors (depending on Exhibitor Type).
5.The imported Exhibitors will appear in the Exhibitors tab of the selected "To" Event. If you don't see the newly imported Exhibitors in the grid immediately, click the Refresh  button to refresh the screen.