The Exhibitor Review Registration process is not as linear as the New Registration process, because there are several different actions the Exhibitor may be able to take.
Also, you may have provided Exhibitors with EPConnect Exhibitor Links that take them directly to one of the Review pages (Review, Edit, Edit and Accept, Accept, and Decline).
This topic will provide an overview of the pages that Exhibitors could see during the review process.
•Start Review Registration (From Home Page)
•Accept Success (Exhibitor Registration Accepted)
•Decline Success (Exhibitor Registration Declined)
•Edit Success (Exhibitor Registration Edited)
Remember that your pages will look different than the sample screenshots for several reasons:
•You customized the logo, icons, color scheme, and other components.
•You selected different options (e.g. showing/hiding components, changing caption/message text, etc.) for the Review Exhibitor Registration Area Definition and the Page Definitions within.
•Your web pages will display the registration groups, booths, requirements, etc. from your EventPro data.
Start Review Registration (From Home Page)
On your EPConnect home page, the Exhibitor selects Review Exhibitor Registration from the Exhibitors Menu.
(Note that the Exhibitor will not start the review process at this point if you send them an EPConnect Review Exhibitor Link.)
The Exhibitors caption and image are defined in the Exhibitors Area Definition, and the Review Exhibitor Registration caption and image are defined in the General Settings in the Review Exhibitor Registration Area Definition.
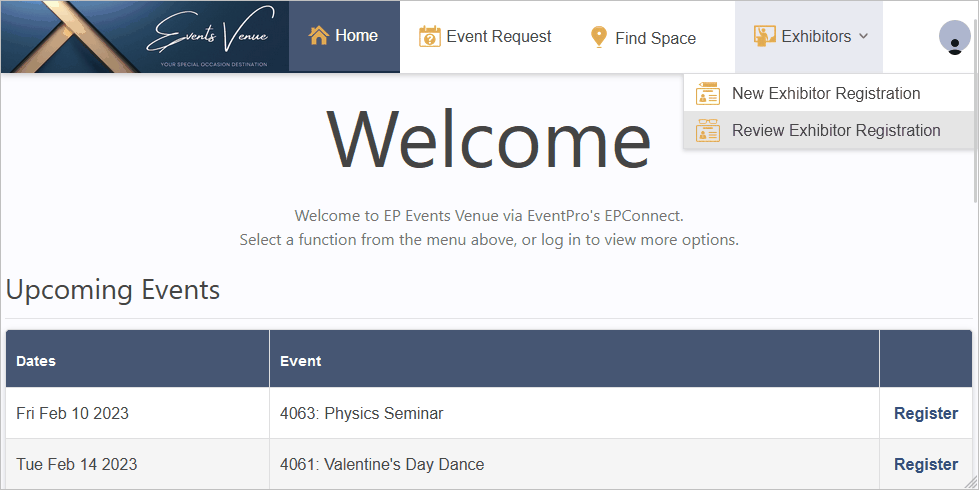
Figure 900: Review an Exhibitor Registration
Select Registration
On the Select Registration page, the Exhibitor enters their Email address and Confirmation #, and clicks Continue.
They will proceed to the Exhibitor Information page.
(Again, note that the Exhibitor will not start the review process at this point if you send them an EPConnect Review Exhibitor Link.)
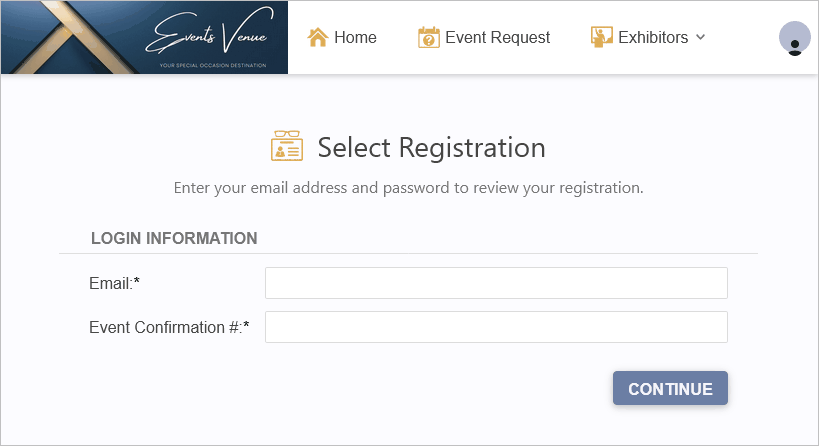
Figure 901: Select the Registration to Review
Exhibitor Information
Page Definition: Exhibitor Information
The Exhibitor Information page lists the Exhibitor's registration information from the event in EventPro.
The Exhibitor can arrive at this page in different ways:
•Selecting Review Exhibitor Registration from the Exhibitors Menu on the EPConnect home page.
•Using an EPConnect Review Exhibitor Link.
From this page, Exhibitors will have different options, depending on which buttons are visible.
The Return to Main Page button will always be visible, although you may have customized the caption and link in Return Button Settings.
The visibility of the other buttons are determined by the page definition's Review Settings, where you chose whether to show the following buttons on the page.
•Accept Button: Clicking Accept takes the Exhibitor to the Accept Success (Exhibitor Registration Accepted) page.
•Decline Button: Clicking Decline takes the Exhibitor to the Decline Success (Exhibitor Registration Declined) page.
•Edit Button: Clicking Edit takes the Exhibitor to the beginning of the Editing Exhibitor wizard.
•Edit and Accept Button: Clicking Edit and Accept also takes the Exhibitor to the beginning of the Editing Exhibitor wizard.
Note: The Edit and Edit and Accept buttons may seem like they do the same thing, but they do have different functions, which becomes clear when the Exhibitor clicks the Submit button in the Editing Exhibitor wizard.
•Edit: When the Exhibitor clicks Submit, their registration information is submitted to EventPro
•Edit and Accept: When the Exhibitor clicks Submit, their registration information is submitted to EventPro and the Exhibitor's status is changed to "Accepted" in EventPro. (In other words, the Submit button simultaneously submits and accepts the Exhibitor registration in this case.)
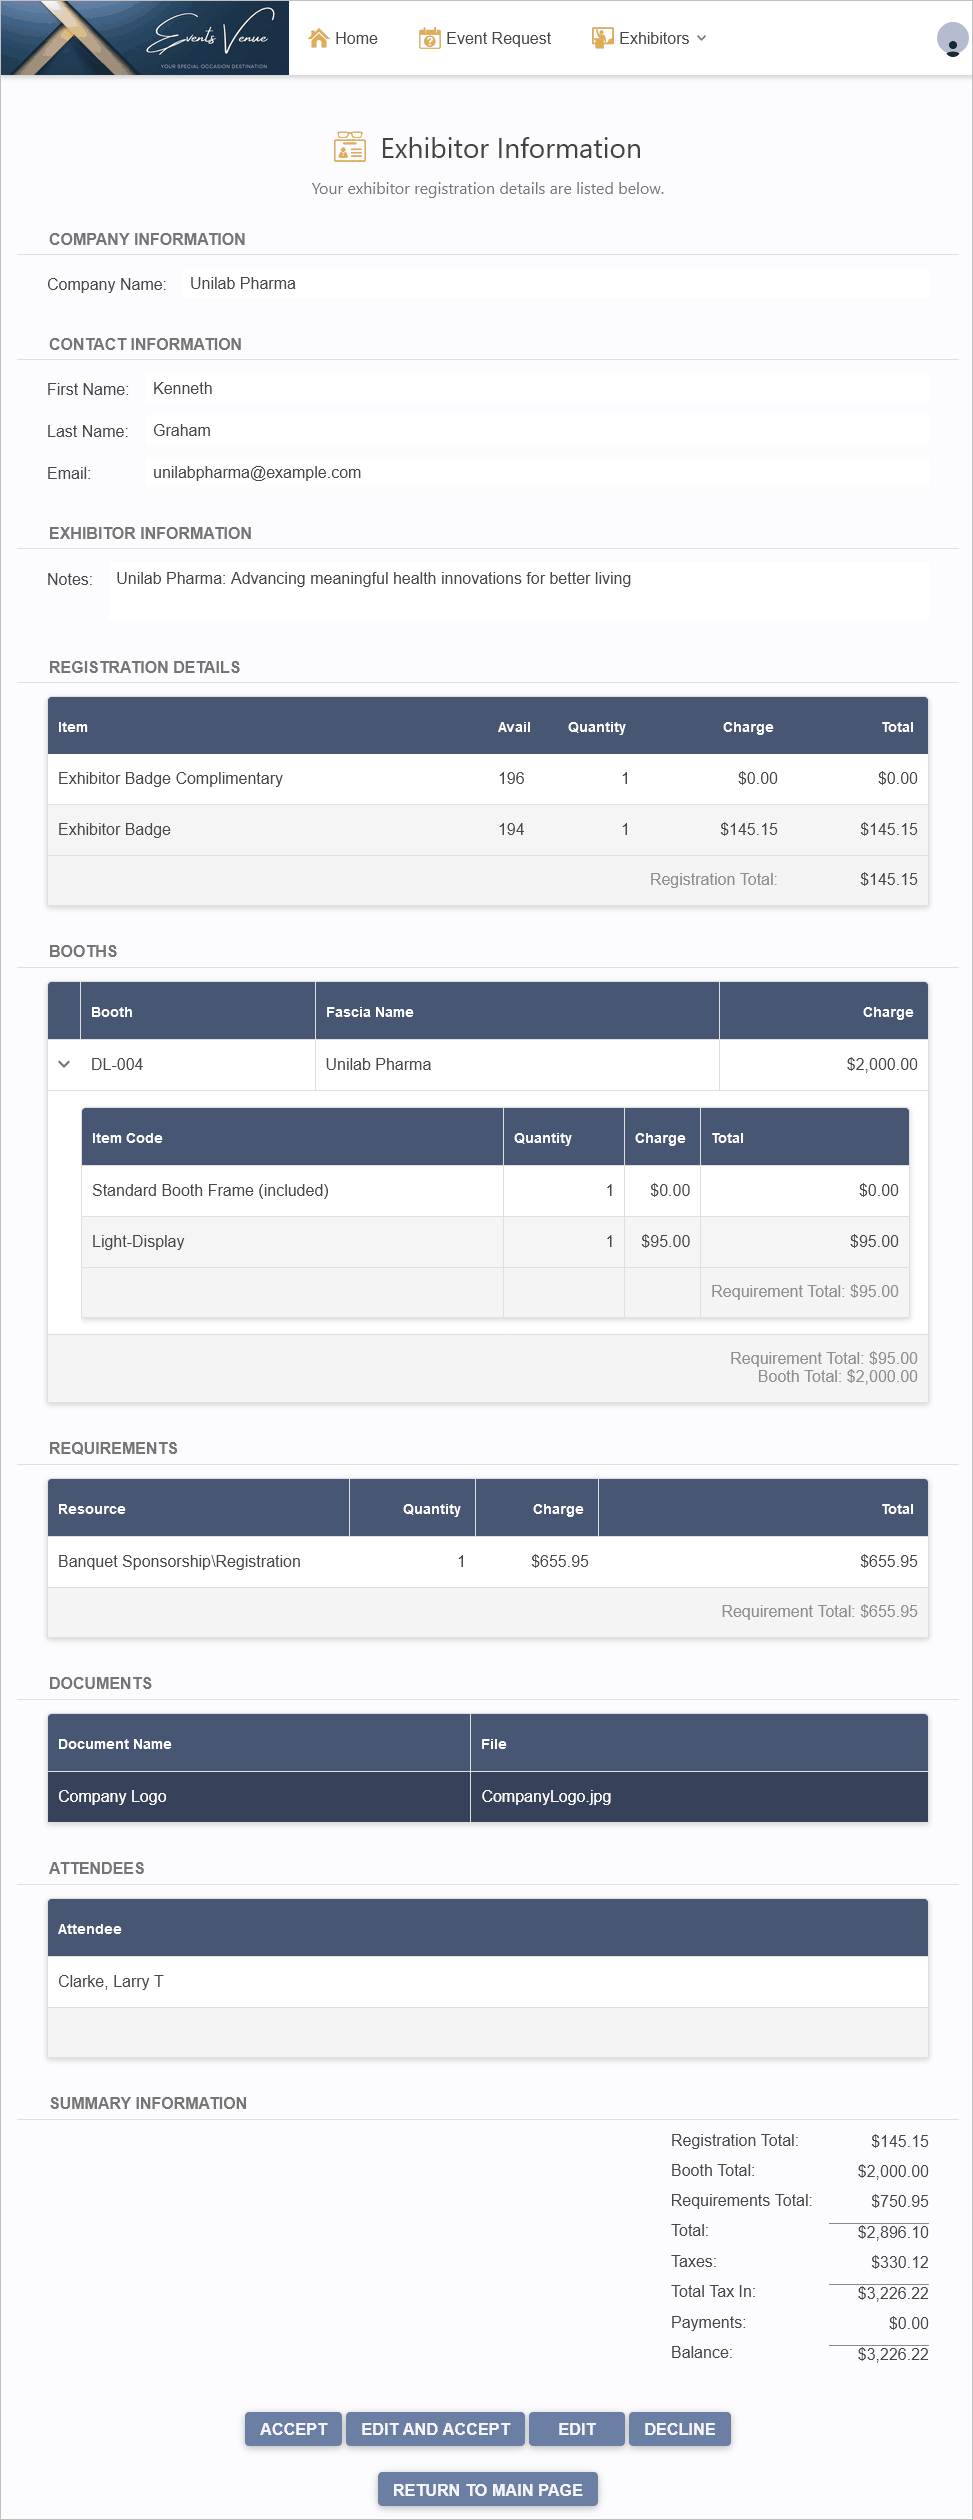
Figure 902: Reviewing Exhibitor Information
Accept Success (Exhibitor Registration Accepted)
Page Definition: Exhibitor Accept Success
The Exhibitor can arrive at this Accept Success page in a few different ways:
•Using a direct EPConnect Accept Exhibitor Link.
•Clicking Accept at the bottom of the Exhibitor Information page (if the button is visible).
•Clicking Accept at the bottom of the Edit Success page (if the button is visible).
•Clicking Submit in the Editing Exhibitor wizard, if they started the wizard from the "Edit and Accept" button or a direct EPConnect Edit and Accept Exhibitor Link.
When the Exhibitor arrives at this page, their updated registration has been submitted to EventPro, and their Exhibitor Status has been set to the default "Accepted" status (EPConnect Accept Exhibitor Status).
The Exhibitor can record their Confirmation Number, which can be used to review their registration later.
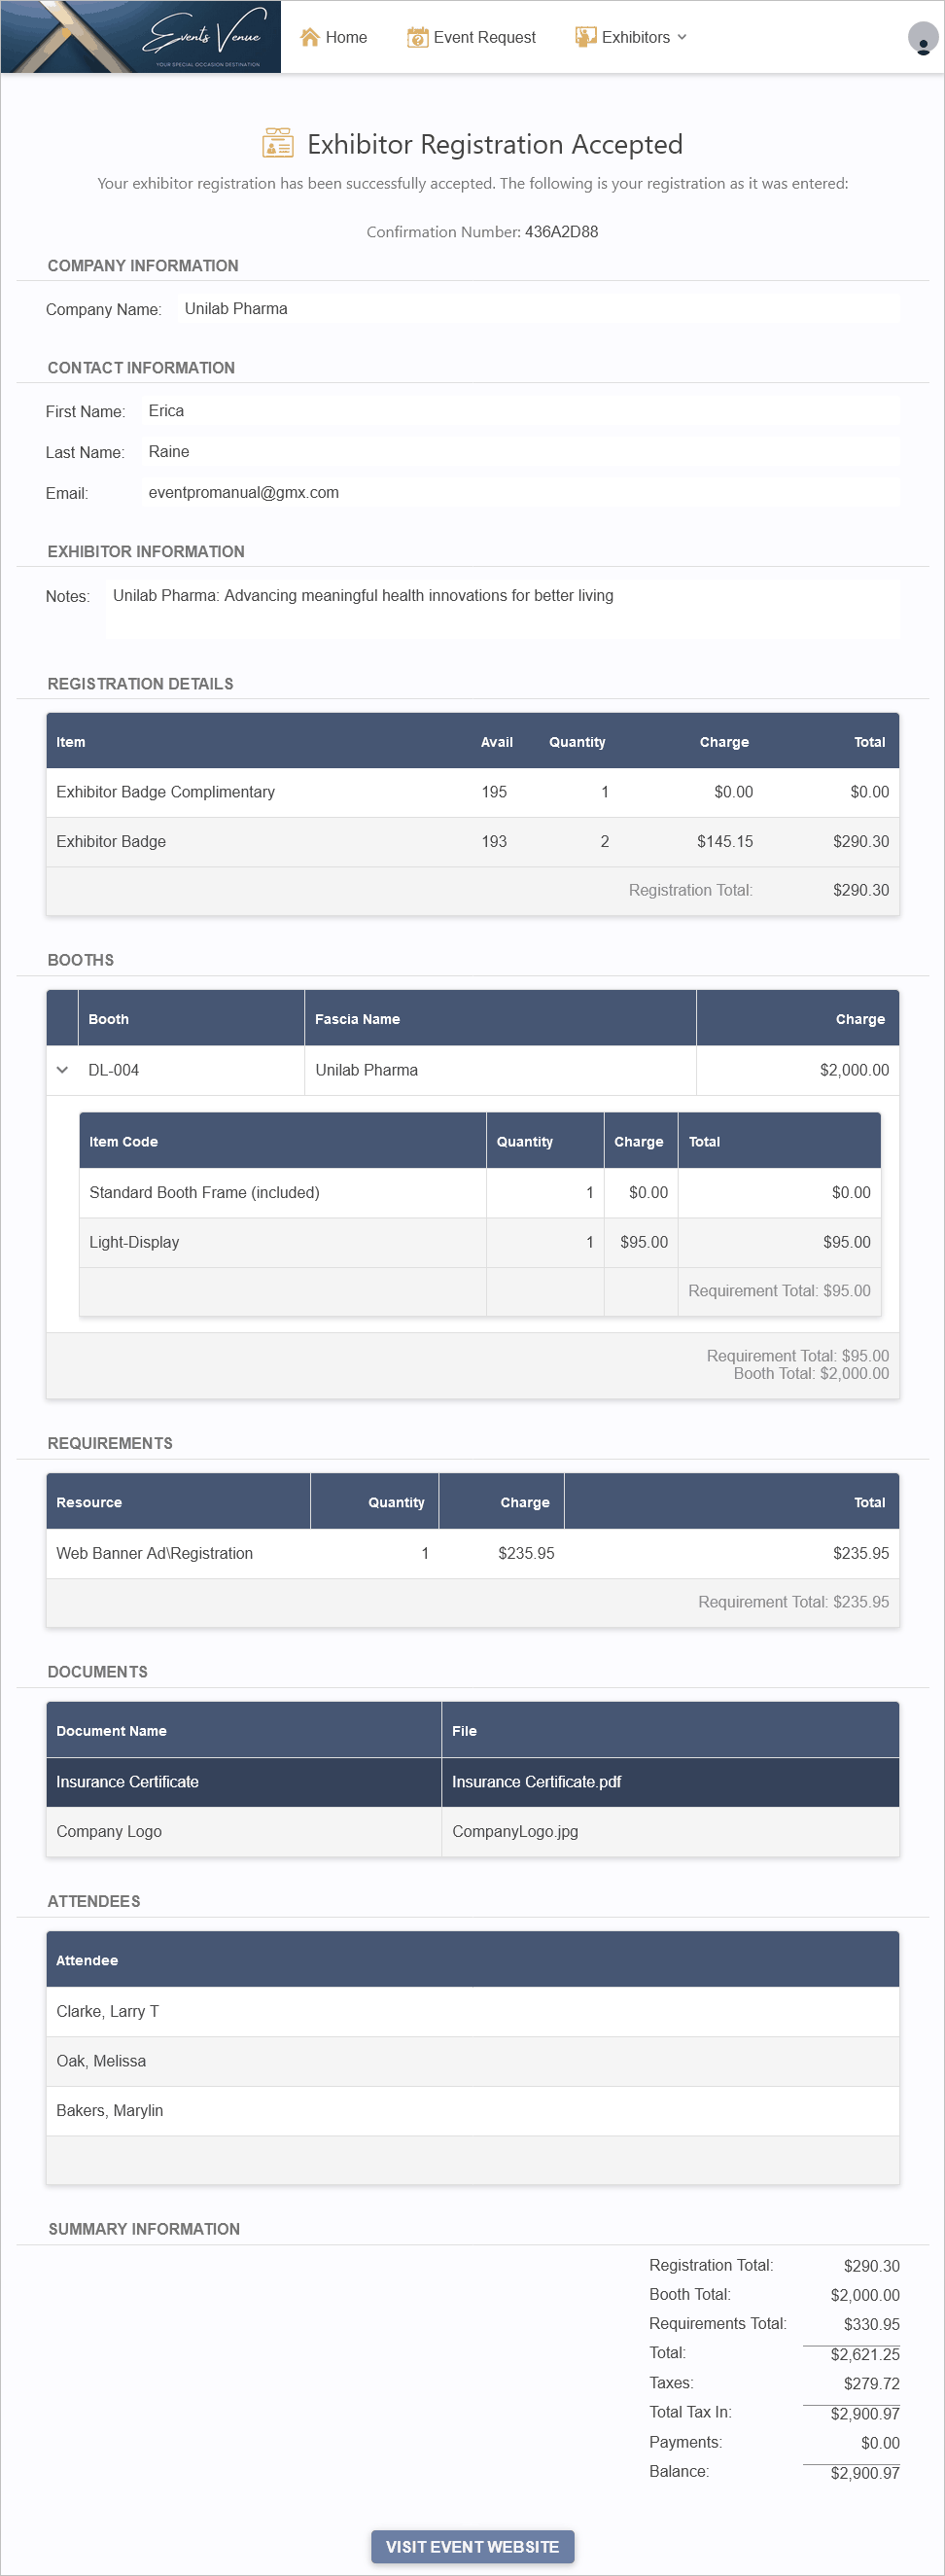
Figure 903: Exhibitor Registration Accepted Successfully
Decline Success (Exhibitor Registration Declined)
Page Definition: Exhibitor Decline Success
The Exhibitor can arrive at this Decline Success page in a few different ways:
•Using a direct EPConnect Decline Exhibitor Link.
•Clicking Decline at the bottom of the Exhibitor Information page (if the button is visible).
•Clicking Decline at the bottom of any of the Editing Exhibitor wizard pages (if the button is visible).
•Clicking Decline at the bottom of the Edit Success page (if the button is visible).
When the Exhibitor arrives at this page, their registration details have been deleted in EventPro, and their Exhibitor Status has been set to the default "Declined" status (EPConnect Decline Exhibitor Status).
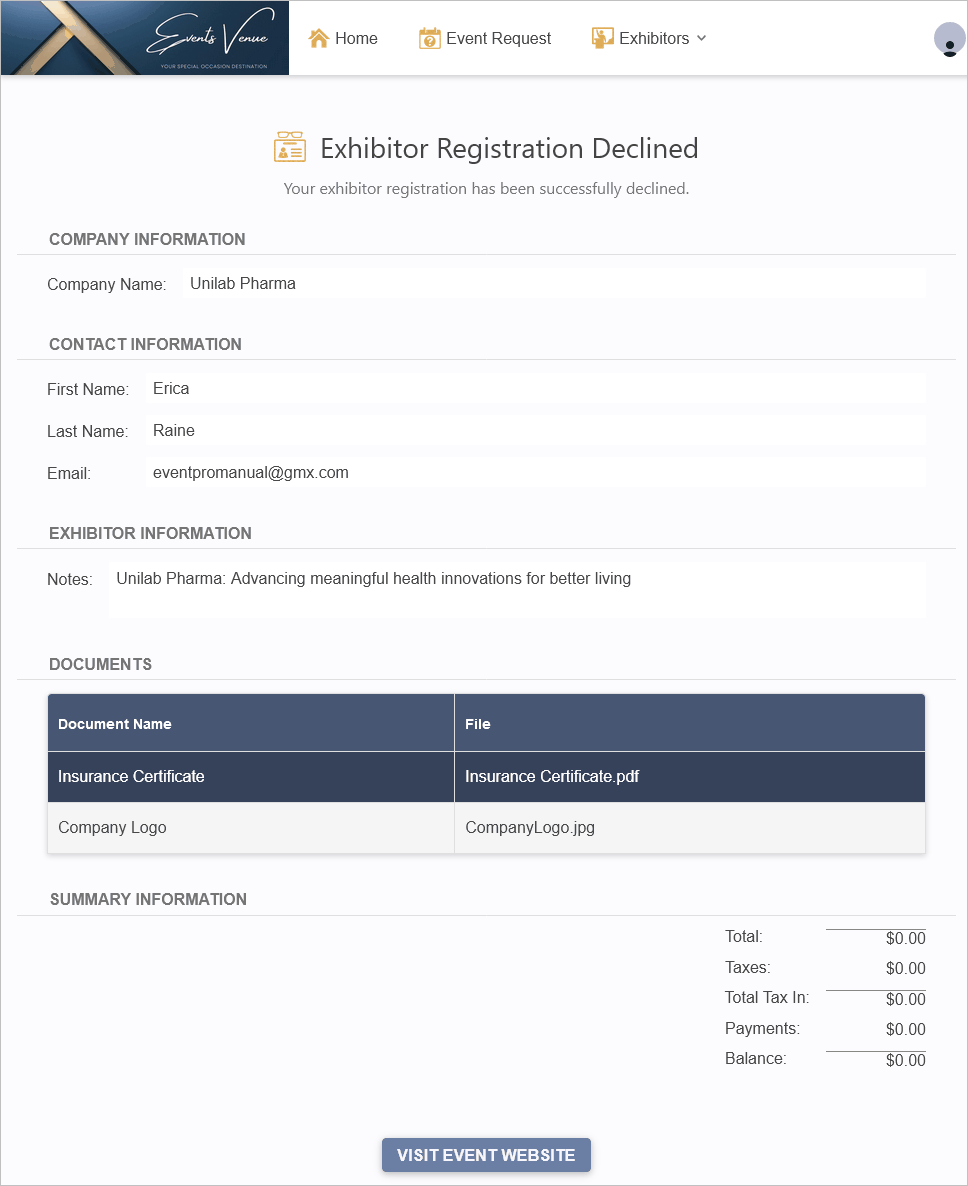
Figure 904: Exhibitor Registration Declined Successfully
Editing Exhibitor Wizard
The Exhibitor can arrive at the Editing Exhibitor wizard in a few different ways:
•Using a direct EPConnect Edit Exhibitor Link.
•Clicking "Edit" at the bottom of the Exhibitor Information page (if the button is visible).
•Using a direct EPConnect Edit and Accept Exhibitor Link.
•Clicking "Edit and Accept" at the bottom of the Exhibitor Information page (if the button is visible).
(Remember the difference between "Edit and "Edit and Accept", explained above, as that will determine what happens when the Exhibitor completes the wizard.)
The Welcome page introduces the wizard. The Exhibitor clicks Next to begin the online registration wizard.
As noted earlier, the Page Definitions in the New Exhibitor Registration Area Definition define the online registration wizard used for both creating and editing Exhibitor registrations.
Whether the Exhibitor is in the "Adding Exhibitor" or "Editing Exhibitor" wizard, the pages will be almost identical, except for the page headers, and possibly some additional buttons at the bottom of Editing Exhibitor wizard pages.
Therefore, from the Welcome to Summary page, you can review how this wizard works under Exhibitor New Registration Process Overview.
Because the Exhibitor has already been added to the Event, their information will appear in the wizard. They may already have assigned registrations, booths, and items, but they can work through the wizard pages to change their selections.
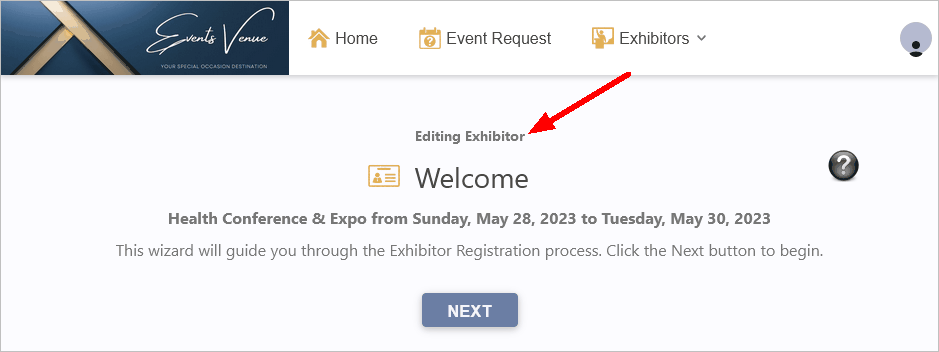
Figure 905: Begin the Editing Exhibitor Wizard
Whether the Submit and Decline buttons appear at the bottom of Editing Exhibitor wizard pages depends on the Registration Settings of the New Exhibitor Registration Area Definition.
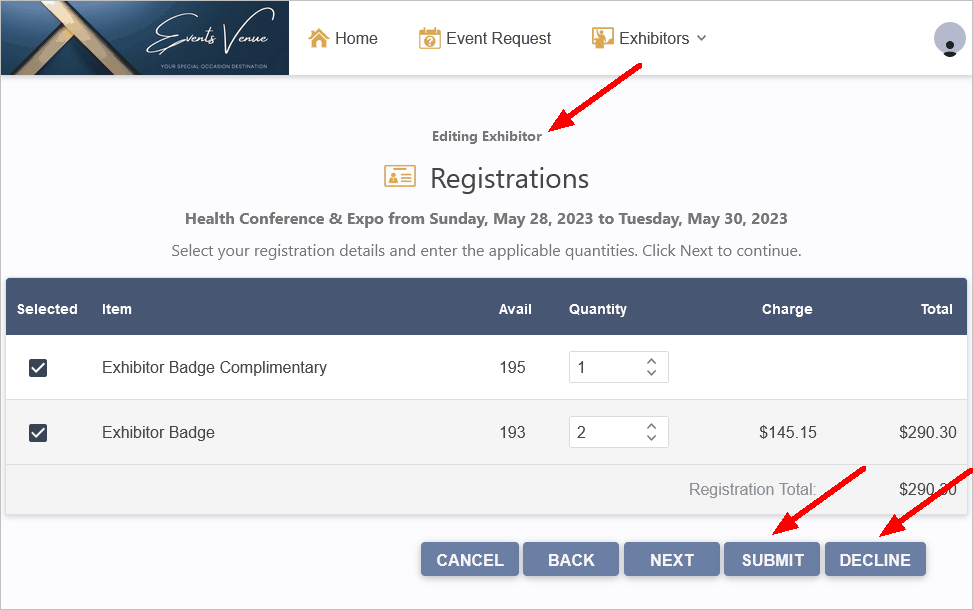
Figure 906: Submit and Decline Buttons
When the Exhibitor clicks the Submit button, whether during the wizard or at the Summary page, the Exhibitor will end up at one of two pages.
•If the Exhibitor started the wizard from an "Edit" button or link, they will go to the Edit Success (Exhibitor Registration Edited) page.
•If the Exhibitor started the wizard from an "Edit and Accept" button or link, they will go to the Accept Success (Exhibitor Registration Accepted) page.
if the Exhibitor clicks the Decline button at any point in the wizard, they will go to the Decline Success (Exhibitor Registration Declined) page.
Edit Success (Exhibitor Registration Edited)
Page Definition: Exhibitor Edit Success
The Exhibitor arrives at this Edit Success page after clicking the Submit button in the Editing Exhibitor wizard, if they started the wizard from an Edit button or a direct EPConnect Edit Exhibitor Link.
Whether the Accept, Edit and Accept, Edit, and/or Decline buttons appear at the bottom of the page is determined by the Exhibitor Information page's Review Settings.
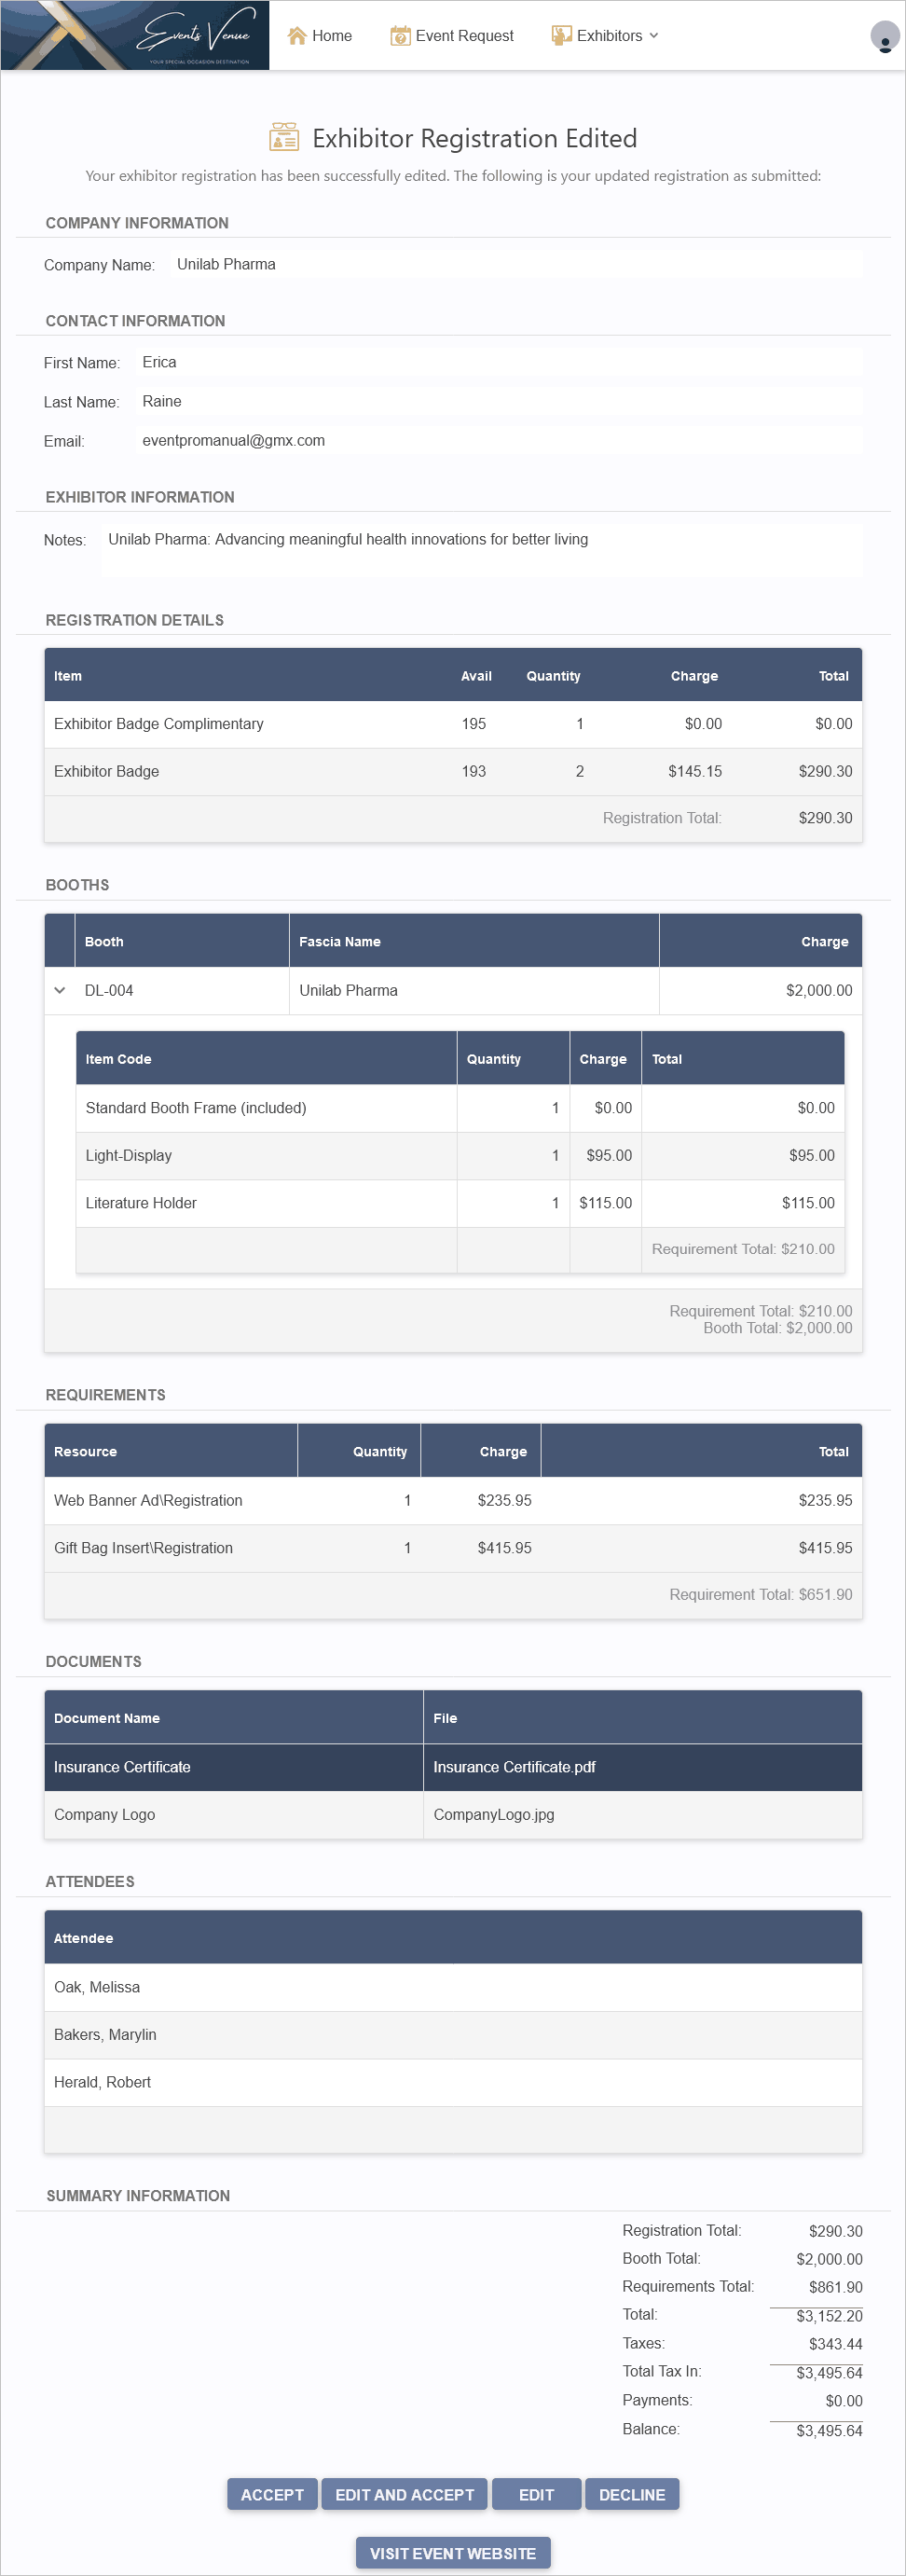
Figure 907: Exhibitor Registration Edited Successfully