1.The VirtualAssistant User is the EventPro User account from which the automated notification emails will be sent. If you have not yet created the VirtualAssistant User, go Setup > Security > Users and start a New Security User record. The Security User edit form appears in a new tab or window.
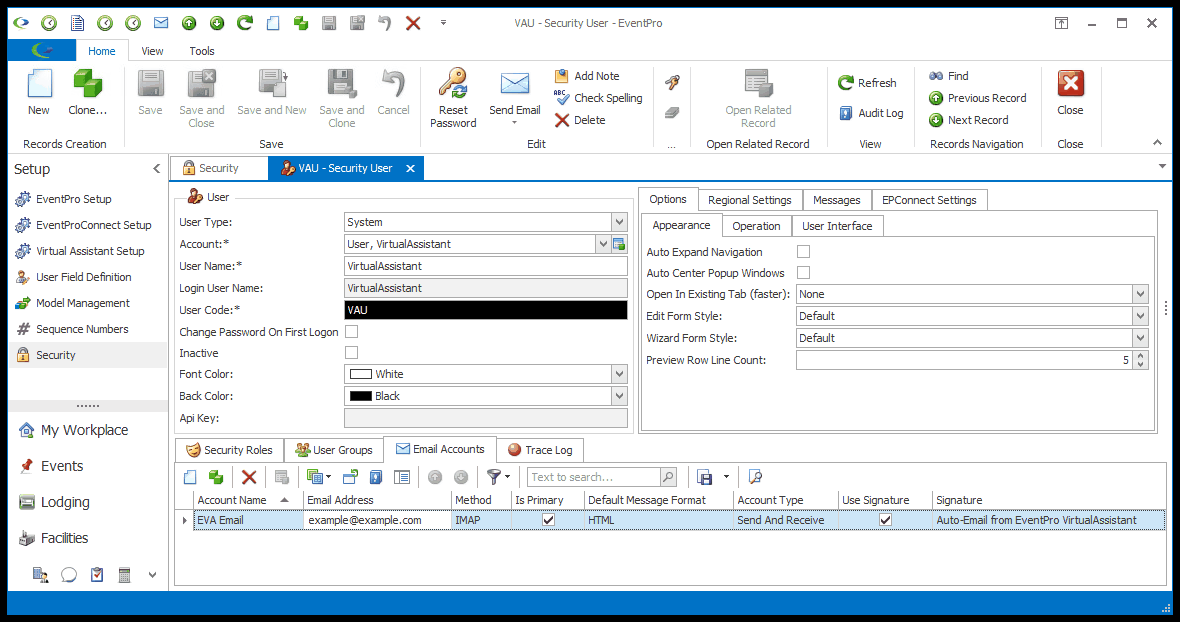
2.You can view the full instructions for setting up a User under Security Setup > Users > Create New User. These instructions will highlights the settings that are particularly important for the VirtualAssistant User.
3.User Type: You must select the User Type "System" for the VirtualAssistant User. This is important, as you otherwise won't see the User in the selection list when setting up VirtualAssistant.
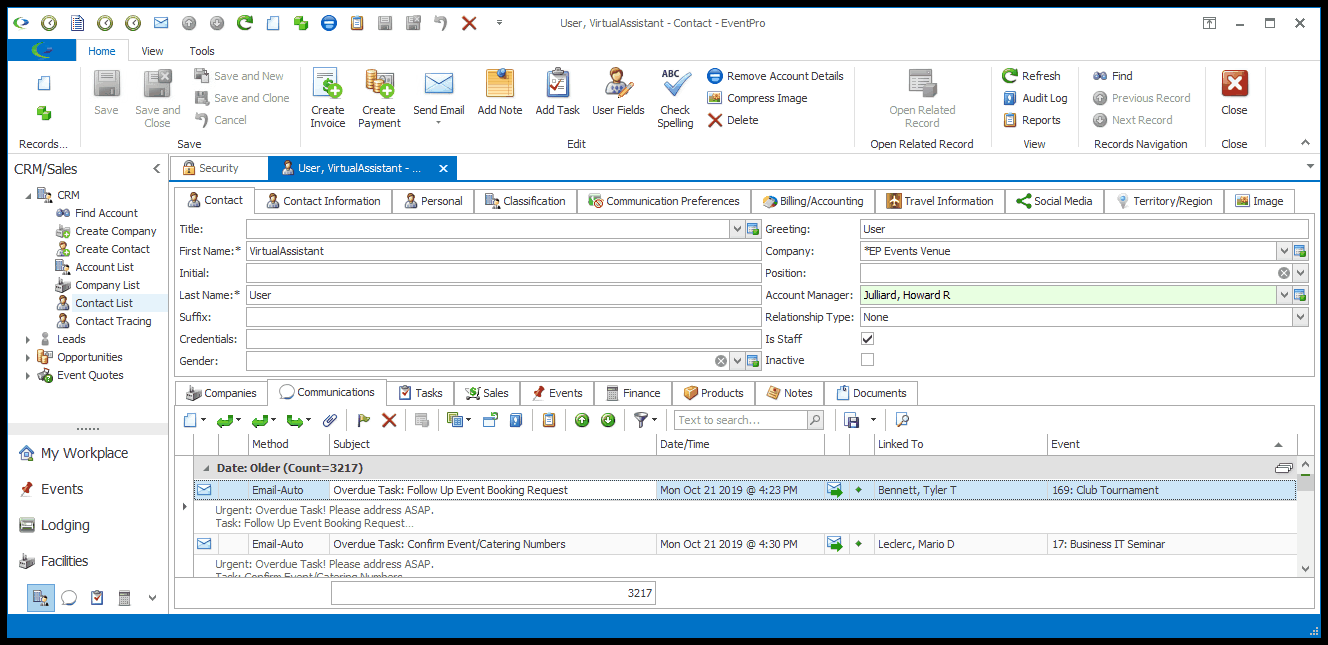
4.Account:
a.If you want to link the VirtualAssistant User to an Account (i.e. a Contact or Company created in your CRM), start typing in the Account field or click the drop-down arrow to Find the relevant Account.
b.If the Account has not yet been created, you can click the New button to start a new Company or Contact on the fly.
c.When later setting up Virtual Assistants, you will have the option to log the automated emails as Communications (with the Communication Reference set per Assistant, and the default Communication Method determined by VirtualAssistant Settings). If you choose to do so, the emails will be logged under the Communications tab of the CRM Account connected to the VirtualAssistant User.
5.Change Password on First Logon: Unselect this checkbox.
6.Security Roles: An active User must have at least one assigned Security Role.
7.Email Accounts: It is very important to have the correct email address set up on the Virtual Assistant User account because the Virtual Assistant will be sending out automated emails. Review how to set up a User's email account under Security Setup > Users > Create New User > Email Accounts.
8.To review any other settings in the User edit form, see Security Setup > Users > Create New User.
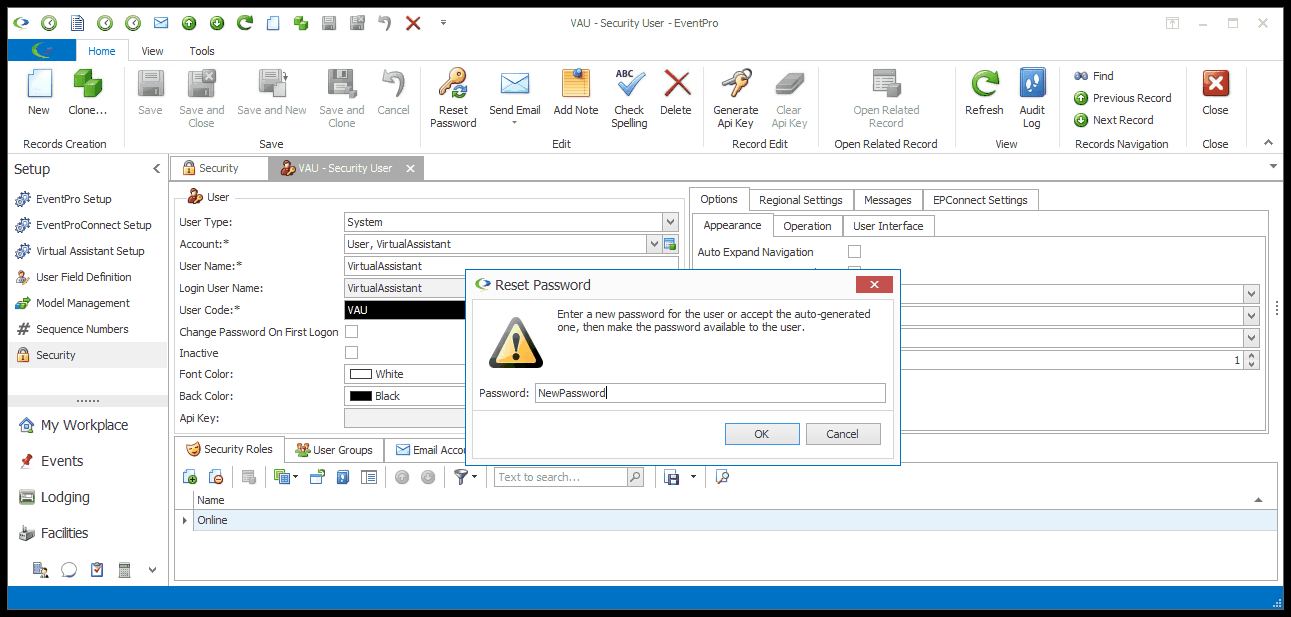
9.When you have entered all the information you need for the VirtualAssistant User, click Save... but do not close the Security User edit form yet!
10.Now, click the Reset Password button at the top of the edit form.
a.In the Reset Password dialog, enter the password for the VirtualAssistant User, and click Reset Password.
b.Remember this Password for the next step!
11.You can now exit the Security User edit form.