•There are three sub-tabs under the Contact's Billing/Accounting tab: Billing, Credit Cards, and Cost Centers.
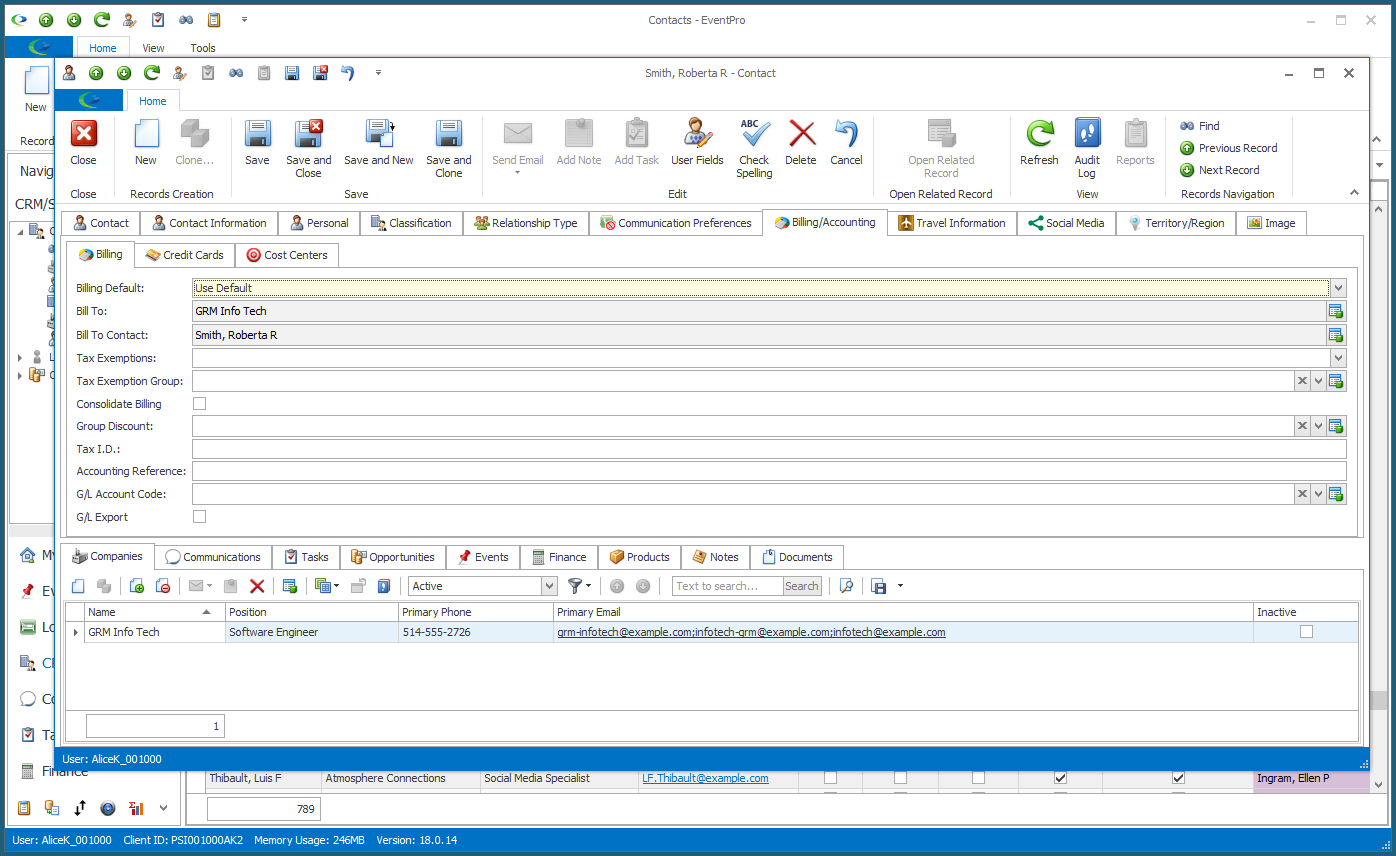
a.Billing Default: From the Billing Default drop-down list, choose how you want to bill this Contact by default.
The options will be slightly different depending on whether this Contact is an independent entity, or if this Contact belongs to a Company.
b.If the Contact is an independent entity, there are three choices:
i.Use Default: This option sets the Bill To and Bill To Contact fields to the current Contact.
ii.Use Self: This option also sets the Bill To and Bill To Contact fields to the current Contact.
iii.Use Other Account: Select this option to bill a completely different CRM Account. You will be able to select the Bill To Account and Bill To Contact below.
c.If the Contact belongs to a Company, there are five options:
i.Use Default: This option sets the Bill To field to the Contact's Company, and Bill To Contact field to the current Contact.
ii.Use Parent: This option sets the Bill To field to the Contact's Company, and the Bill To Contact field to the default Bill To Contact of the Company.
iii.Use Parent Address Only: This option sets the Bill To field to the Contact's Company, and the Bill To Contact field to the current Contact.
iv.Use Self: This option sets both the Bill To and Bill to Contact fields to the current Contact.
v.Use Other Account: Select this option to bill a completely different Account. You will be able to select the Bill To Account and Bill To Contact below.
d.Bill To and Bill To Contact: As noted above, depending on the Billing Default you select, these fields may be set to certain defaults and cannot be edited. However, if you choose an option that allows you to select different options (e.g. "Use Other Account"), you can use the drop-down lists to Find and select the applicable Bill To account and Bill To Contact from your CRM database.
e.Tax Exemption: If this Contact is exempt from a certain tax or taxes, select those taxes from the drop-down list and click OK. This drop-down list is populated by the taxes set up in EventPro Setup > Financial > Setup Tax Items and Setup Tax Configurations.
f.Tax Exemption Group: If a certain Tax Exemption Group applies to this Contact, select the group from the drop-down list. This drop-down list is populated by the Tax Exemption Groups set up in EventPro Setup > Financial > Setup Tax Exemption Groups.
g.Consolidate Billing: Select this checkbox if you want to allow consolidate billing for this Contact, i.e. you want to be able to put multiple events on one invoice. A Contact flagged for Consolidated Billing can be billed with one invoice containing charges for all events in a selected period.
h.Group Discount: If you want to apply a discount to this Contact, you can select a Group Discount from this drop-down. The discounts in this drop-down list are defined in EventPro Setup > CRM > Group Discounts.
i.Tax I.D.: Enter a Tax ID for this Contact, if applicable.
j.Accounting Reference: Enter an Accounting Reference for this Contact, if applicable.
k.G/L Account Code and G/L Export: These fields are determined by the manner in which you intend to export accounting information. If required, select the G/L Export checkbox and select a G/L Accounting Code from the drop-down list. The Account Codes in the G/L Account Code drop-down are created in EventPro Setup > Financial > Account Groups and Codes.
IMPORTANT! While the EventPro program has the ability to store sensitive personal information, such as Credit Card Numbers, it is your responsibility to check the laws of your jurisdiction in order to determine whether you are legally allowed to, and what requirements you must meet if doing so.
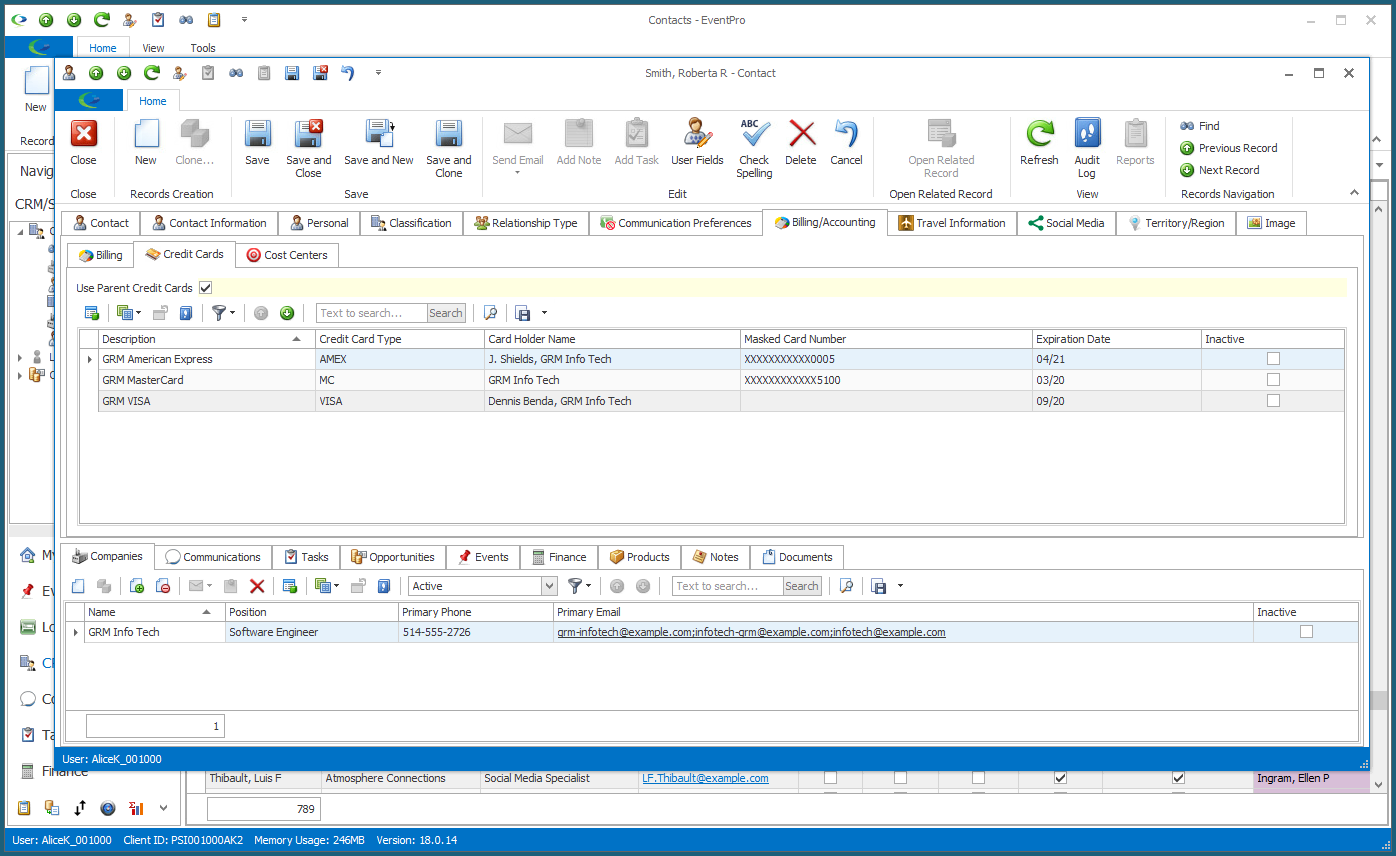
a.Use Parent Credit Cards: Select this checkbox if the Contact belongs to a Company, and you want to use that Company's credit cards for this Contact. If you select this checkbox, you will not be able to manually enter new credit cards, as the fields will be pulling the information from the Contact's Company.
b.Add Credit Card: If you do not select the Use Parent Credit Cards checkbox, you can add credit cards manually for this Contact.
i.Start a new Credit Card record.
ii.The Account Credit Card edit form appears.
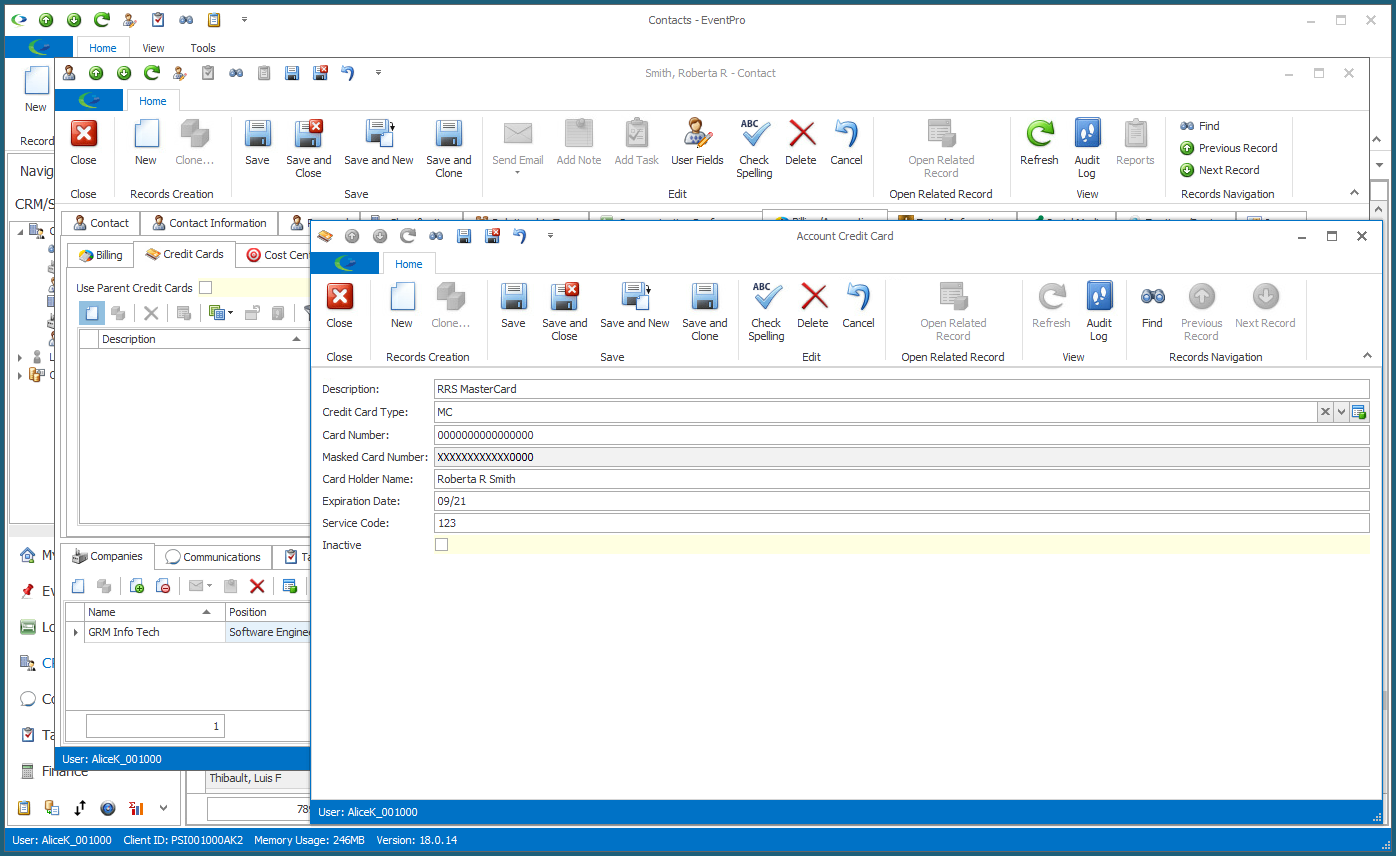
iii.Enter the credit card information and click Save and Close to return to the Contact edit form.
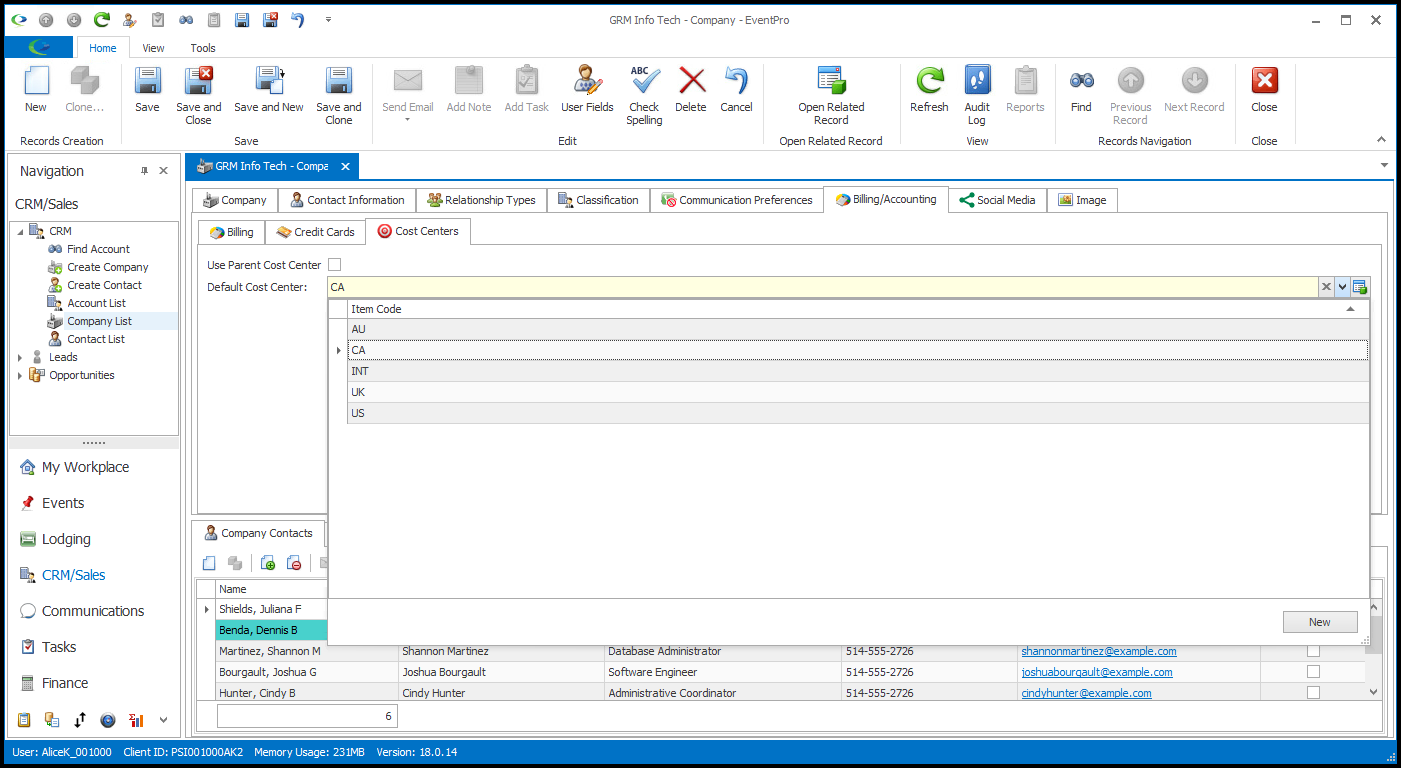
3.Cost Centers: The Cost Centers sub-tab will look slightly different, depending on whether you are using Account-Specific Cost Centers or Non-Account-Specific Cost Centers. This is determined by the "Use Account Specific Cost Centers" setting in EventPro Setup Financial System Settings.
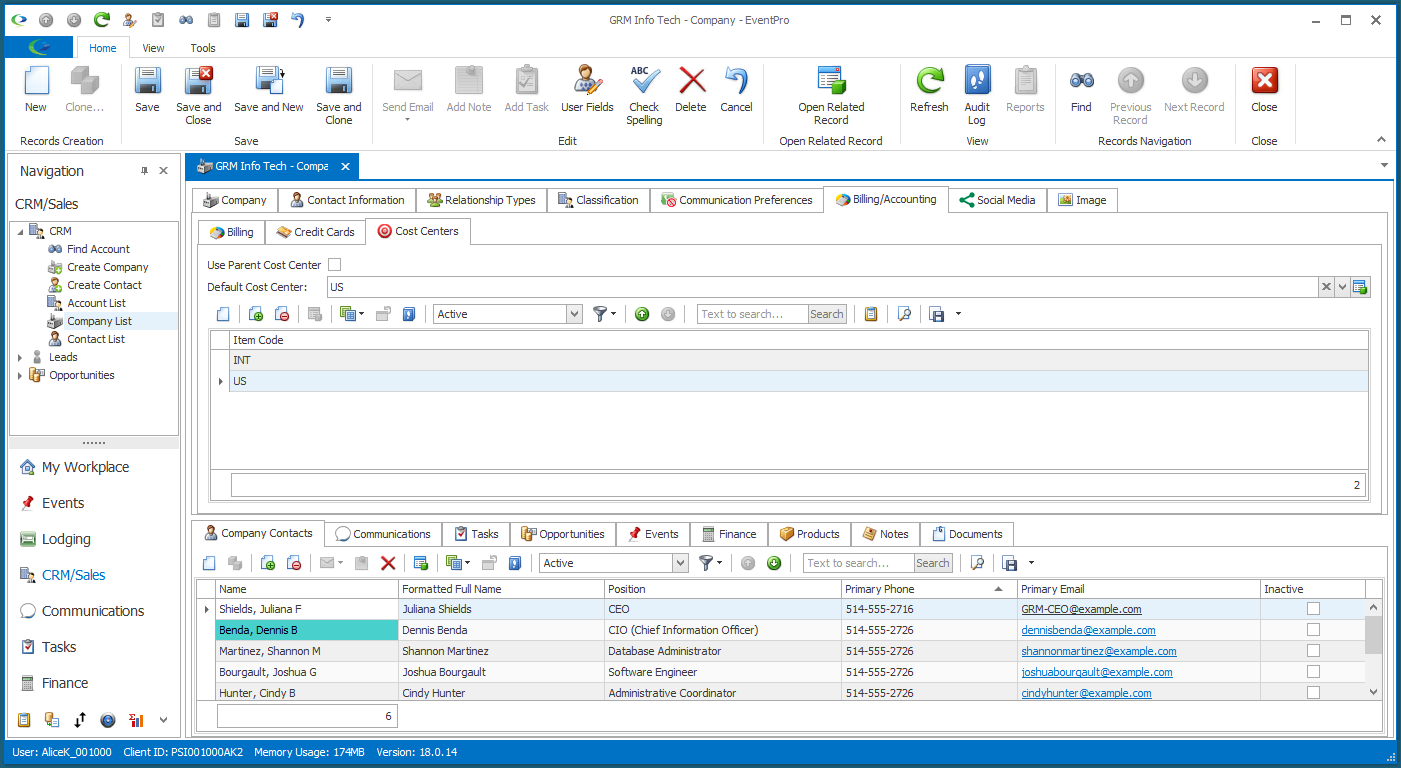
a.Use Parent Cost Center: Regardless of whether you are using Account-Specific Cost Centers or not, you will see the Use Parent Cost Center checkbox. Select this checkbox if the Contact belongs to a Company, and you want to use that Company's Cost Center for this Contact. If you select this checkbox, you will not be able to manually enter Cost Center information below, as the fields will be pulling the information from the Contact's Company.
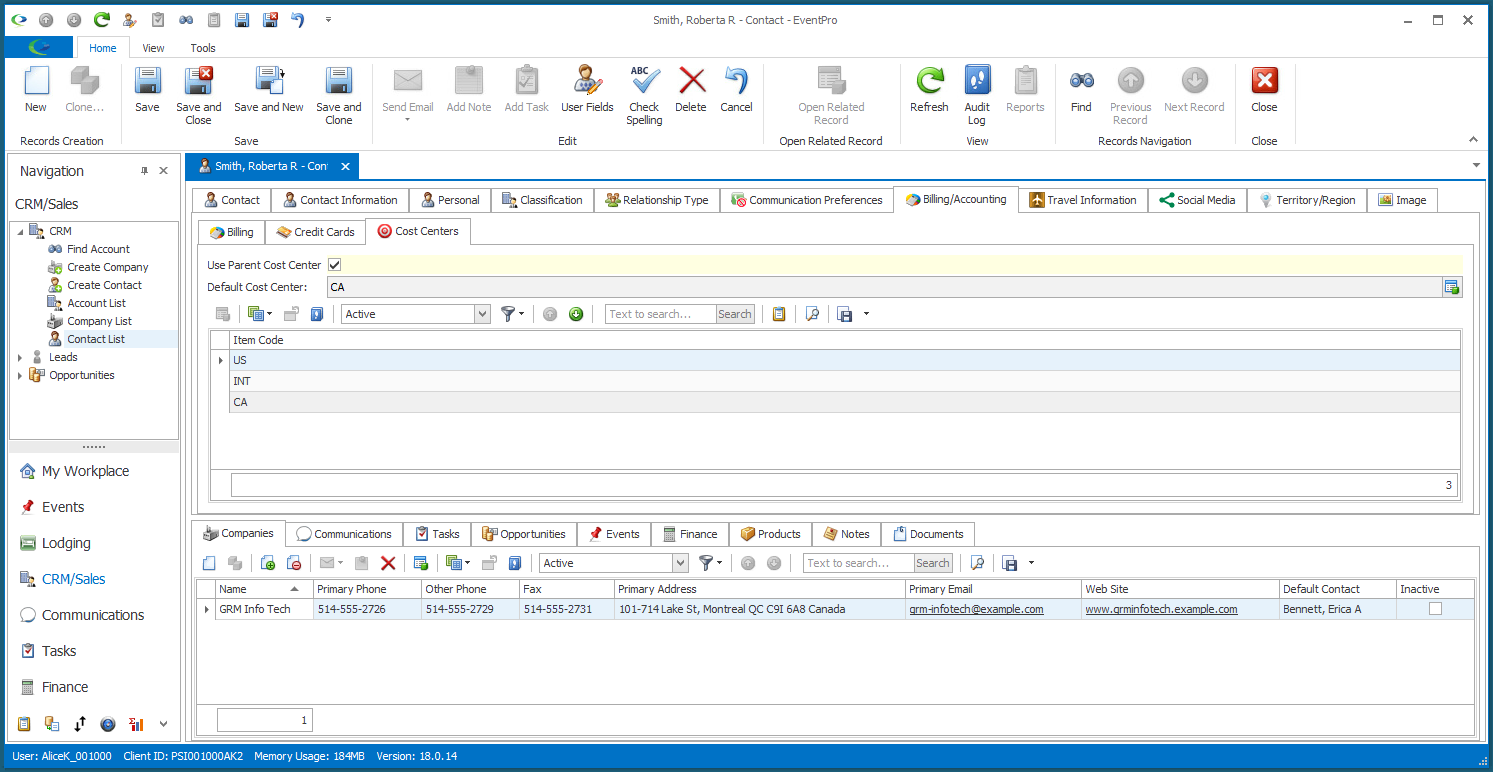
b.Account-Specific Cost Centers: If the "Use Account Specific Cost Centers" setting is selected, you will link the Contact to the cost centers you want, choosing one of them as the default cost center. Later, when you book an event for this Contact, the default cost center will appear in the New Event wizard. You will be able to choose an alternate Cost Center at that time, but you will only be able to choose from those you have linked to the Contact here.
i.Click the Link icon above the Cost Center selection grid.
ii.The Setup Cost Center window appears.
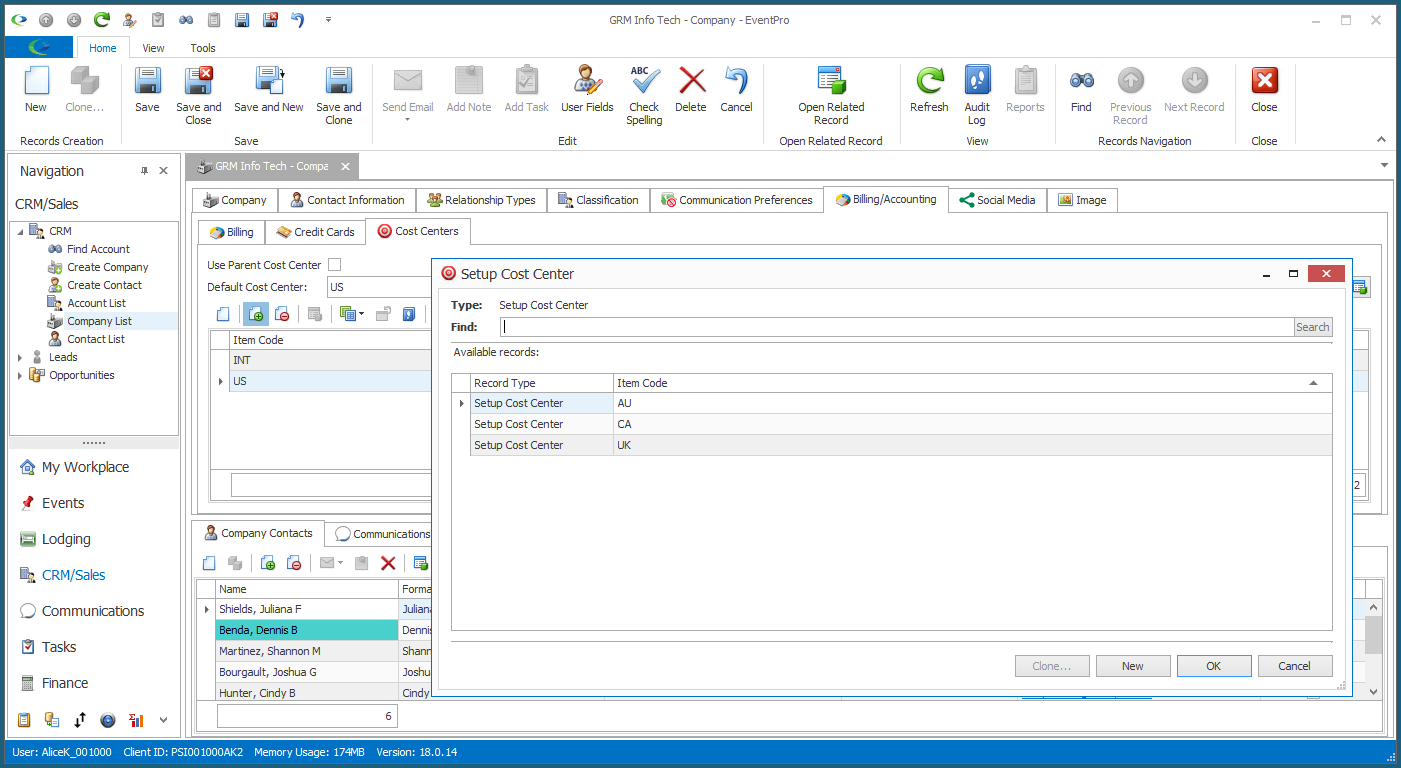
iii.Select the Cost Center code you want to use from those set up in EventPro Setup > Financial > Cost Centers.
iv.Click OK.
v.Continue linking other Cost Centers as required.
vi.After linking all the applicable Cost Centers, select the Default Cost Center from the drop-down.
c.Non-Account-Specific Cost Centers: If the "Use Account Specific Cost Centers" setting is not selected, you will be able to choose any cost center when booking an event for this Contact, although the default cost center you set here will be selected initially.
Choose the Default Cost Center from the drop-down list, which is populated by those set up in EventPro Setup > Financial > Cost Centers.