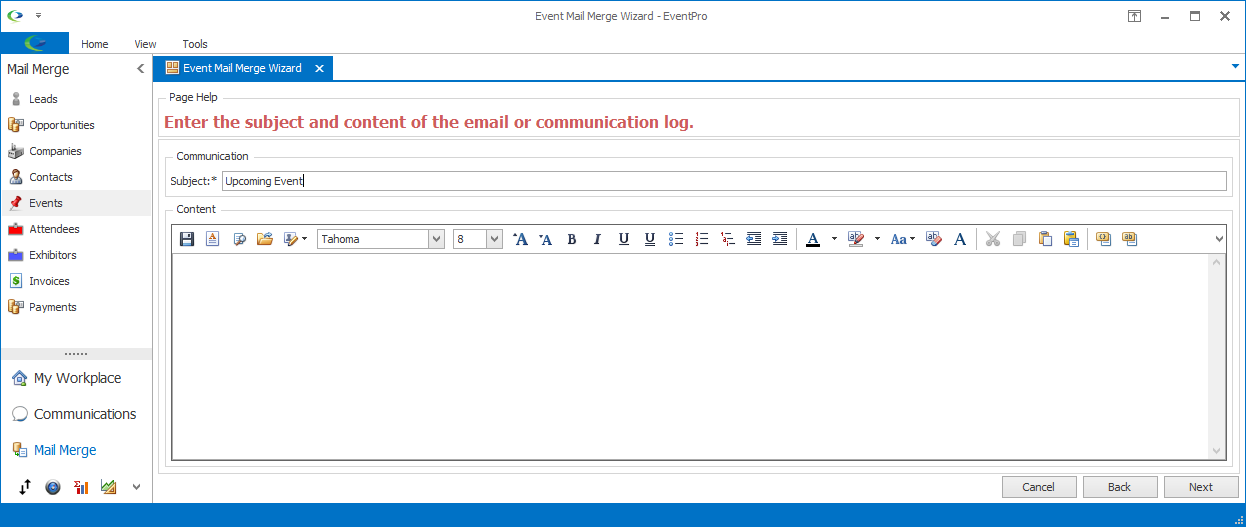
On this page of the wizard, you will enter the Subject and Content of the Communication Email/Note for the mail merge.
•If the mail merge Destination is Email or Alternate Email, the Subject and Content you enter here will form the subject and body content of the Emails (or single email, if grouped) sent to the recipients.
•If the mail merge Destination is Printer or Document, and you chose to create a Communication record for this mail merge, the Subject and Content you enter here will form the subject and body content of the Communication Note saved for this mail merge.
oThe printed or saved document that results from the mail merge will only contain the Attachments you added earlier.
oThe Subject and Content from this wizard page will not be included in the printed or saved merged document.
oIf you did not create a Communication for this printer/document mail merge, you will skip this wizard page and go directly to the Summary.
Subject
Enter a subject for this Email or Note Communication log entry.
Content
As with any Communication Email or Note, you can:
•type the text in the Content area,
•load an existing Letter Template into the body content of the email/note,
and/or
•access additional formatting options in the Word Processor.
Load a Letter Template
Click the Load Template button under the Content tab.
The Setup Letter Template window opens, displaying the Letter Templates created under Document Management / Letter Templates.
Select the Letter Template you want to use and click OK.

Figure 309: Selecting Letter Template
Note that you will only be able to select from Setup Letter Templates for the applicable Merge Table.
•If the mail merge Destination is Email or Alternate Email, you can select templates from the Email Merge Table.

Figure 310: Email Merge Table
•If the mail merge Destination is Printer or Document, you can select templates from the Note Merge Table.

Figure 311: Note Merge Table
•You can review more information about Merge Tables under Document Management / Letter Templates / Selecting Correct Merge Table.
After selecting a Letter Template, the content of the template will appear in the Content area.

Figure 312: Loaded Letter Template
You can edit the text as required.
Remember that you can open the Word Processor for more sophisticated formatting options.
Auto Attach Documents
Note that if the Letter Template has been setup with Auto Attach Documents, those documents will be automatically attached to this mail merge.
The attached documents will not be visible here on the content page, but you will see the attachments listed in the final Summary page of the Mail Merge Wizard.
Word Processor
Click the Word Processor button to open the word processor.
To review the various functions of the Word Processor, see Common Procedures / Word Processor.

Figure 313: Editing Content in Word Processor
Merge Fields
If you intend to add Merge Fields to the content, note that the Merge Table will vary, depending on the mail merge Destination:
•If the mail merge Destination is Email or Alternate Email, the document uses the Email Merge Table.
•If the mail merge Destination is Printer or Document, the document uses the Note Merge Table.
Merge Fields: Non-Grouped vs Grouped Emails:
As noted earlier regarding Letter Attachments, the "Group Emails as One" setting affects how Merge Fields work in the mail merge Content.
If you send a non-grouped email, each recipient will receive a separate email, so each email's merge fields can pull in the information specific to the recipient, e.g. names, email addresses, etc.
However, if you send a grouped email, the recipients all get the same email. If a merge field in that email is intended to pull in information specific to each recipient, the mail merge will not know which of the multiple recipients/results to pick, and will simply leave the fields blank.
Therefore, when sending a grouped email, the Content should not contain merge fields that are intended to pull in multiple unique results.
The one situation in which merge fields work in a grouped email is when the recipients all have a shared, linked record, e.g. a linked Event. Merge fields related to that common Event would work for a grouped email, because those merge fields are pulling results from the same record despite the different recipients.
Example 1: Event Mail Merge, Un-Grouped vs Grouped Emails
In this example, we are sending an Event Mail Merge to three different events.
In the email content, we have included the merge fields From.SystemCurrentUser.FormattedFullName (the user sending the emails), CommunicationDate, Event.EventName, and Event.DateFrom.

Figure 314: Event Mail Merge Content
If we send the mail merge emails un-grouped, there will be three separate emails, each pulling in the information for one of the events.

Figure 315: Un-grouped Event Merge Emails
However, if we group the emails, resulting in only one email, the Event.EventName and Event.DateFrom fields will be blank because there are multiple events in the mail merge, and the merge field doesn't know which of the three event names or dates to use.
The From.SystemCurrentUser.FormattedFullName and CommunicationDate fields still work because that information is the same for all records in this mail merge.

Figure 316: Grouped Event Merge Email
Example 2: Attendee Mail Merge, Un-Grouped vs Grouped Emails
In another example, we are sending an Attendee Mail Merge to three different attendees within an event.
In the email content, we have included the merge fields From.SystemCurrentUser.FormattedFullName, LinkedToAttendee.FirstName, LinkedToAttendee.LastName, Event.EventName, Event.DateFrom, and Event.DateTo.

Figure 317: Attendee Mail Merge Content
If we send the mail merge emails un-grouped, there will be three separate emails, each pulling in the information for one of the Attendees.

Figure 318: Un-grouped Attendee Merge Emails
If we group the emails, resulting in only one email, the LinkedToAttendee.FirstName and LinkedToAttendee.LastName fields will be blank because there are multiple attendees in the mail merge, and the merge field doesn't know which of the three attendee names to use.
However, the Event.EventName, Event.DateFrom, and Event.DateTo fields work, despite the email grouping, because all of the Attendees are linked to the same Event. As you may recall, you had to choose the linked Event for the mail merge before selecting any attendee recipients.
As before, the From.SystemCurrentUser.FormattedFullName field still works because that information is the same for all records in this mail merge.

Figure 319: Grouped Attendee Merge Email
When you are done working in the Word Processor, click Save to return to the Subject & Content page of the mail merge wizard.
Signature
If a signature has not already been added automatically, you can quickly add a pre-defined email signature to the Content by clicking the Insert Signature icon and selecting the email account containing the signature you want to use.

Figure 320: Adding Signature
Next
When you are done adding the Subject and Content for the mail merge record, click Next to proceed to the Summary page.