Start a new record or edit an existing record in the Miscellaneous tab.
The Setup Resource Misc Item edit form appears.
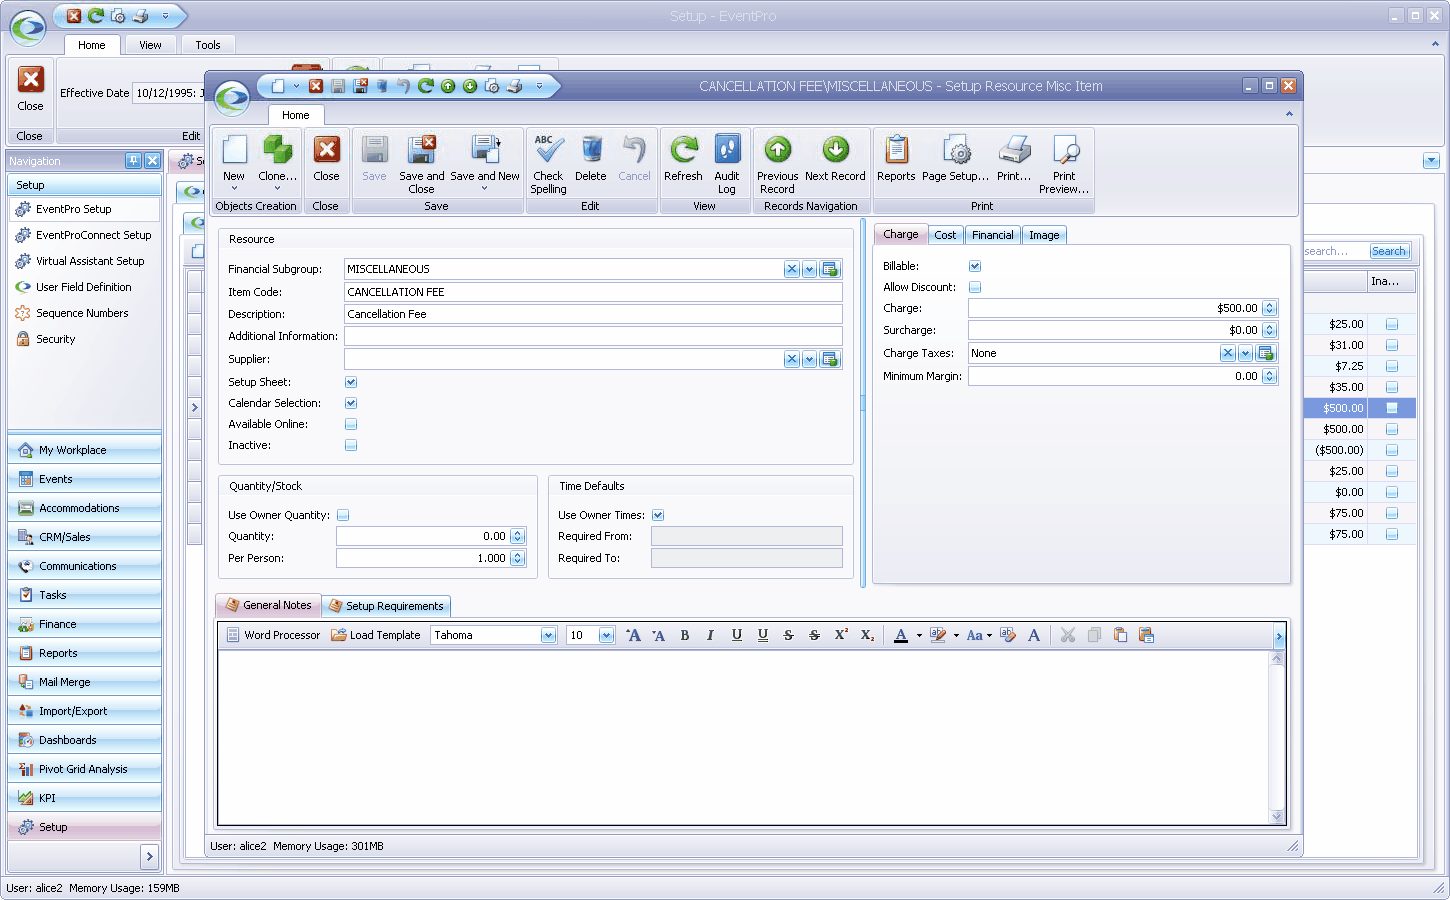
There are several different tabs and areas in the Setup Resource Misc Item edit form:
A.Resource:
1.Financial Subgroup: As noted above, Miscellaneous Items are grouped under Financial Subgroups, so the first thing you need to do is select a Financial Subgroup from the drop-down list.
You created Financial Subgroups under EventPro Setup > Financial > Financial Subgroups.
2.Item Code: Type in the name of this Miscellaneous Item.
3.Description: When you tab down, the Description will default to the same text as the Item Code, but you can type in an expanded description of the Miscellaneous Item, if you like.
4.Additional Information: If you like, you can type any brief, important additional information in this field.
5.Supplier: If this Miscellaneous Item is provided by a third-party supplier, you can select the Supplier from your CRM Accounts (Companies or Contacts).
Click in the Supplier field and search for the relevant account in the Find window.
6.Setup Sheet: Select this checkbox if you want this miscellaneous resource item to be printed on the Event Setup and Staffing report.
7.Calendar Selection: Check this checkbox if you want this miscellaneous item to be available in the event Itinerary Calendar.
8.Available Online: Select the Available Online checkbox if you want this miscellaneous item to be available in EPConnect Suite online.
Remember that EPConnect Suite is a collection of separately available modules, and you will not see its related tabs and screens if you have not purchased it.
B.Quantities:
1.Use Owner Quantity: If you select this checkbox, the quantity of this Miscellaneous Item added to an event will - by default - be set to match the Attendance number entered for the Function, or the Booked Location (depending on whether the item is added to a function or booked location).
2.Quantity: Enter the number of this Miscellaneous Item you have in stock.
EventPro uses this value to perform a conflict check on resource items. If you set the quantity to 0 (zero), EventPro will not track the item and will not perform a conflict check on the item.
3.Per Person: Enter the default per-person quantity for this Miscellaneous Item.
This may be a whole number - e.g. you need 1 or 2 or 5 of these items per person - or it can be a fraction indicated by a decimal number, e.g. the item is shared by 5 people, so the Per Person number is 0.2.
C.Times:
1.Use Owner Times: If you select this checkbox, the event Required Times of this Miscellaneous Item will - by default - be set to match the Function's Start Time and End Time (if added to a function), or the Booked Location's Booked From Time and Booked To Time (if added to a booked location).
2.Required From: If you do not select the Use Owner Times checkbox above, you may enter the default Event Required From Time for this Miscellaneous Item.
3.Required To: If you do not select the Use Owner Times checkbox above, you may enter the default Event Required To Time for this Miscellaneous Item.
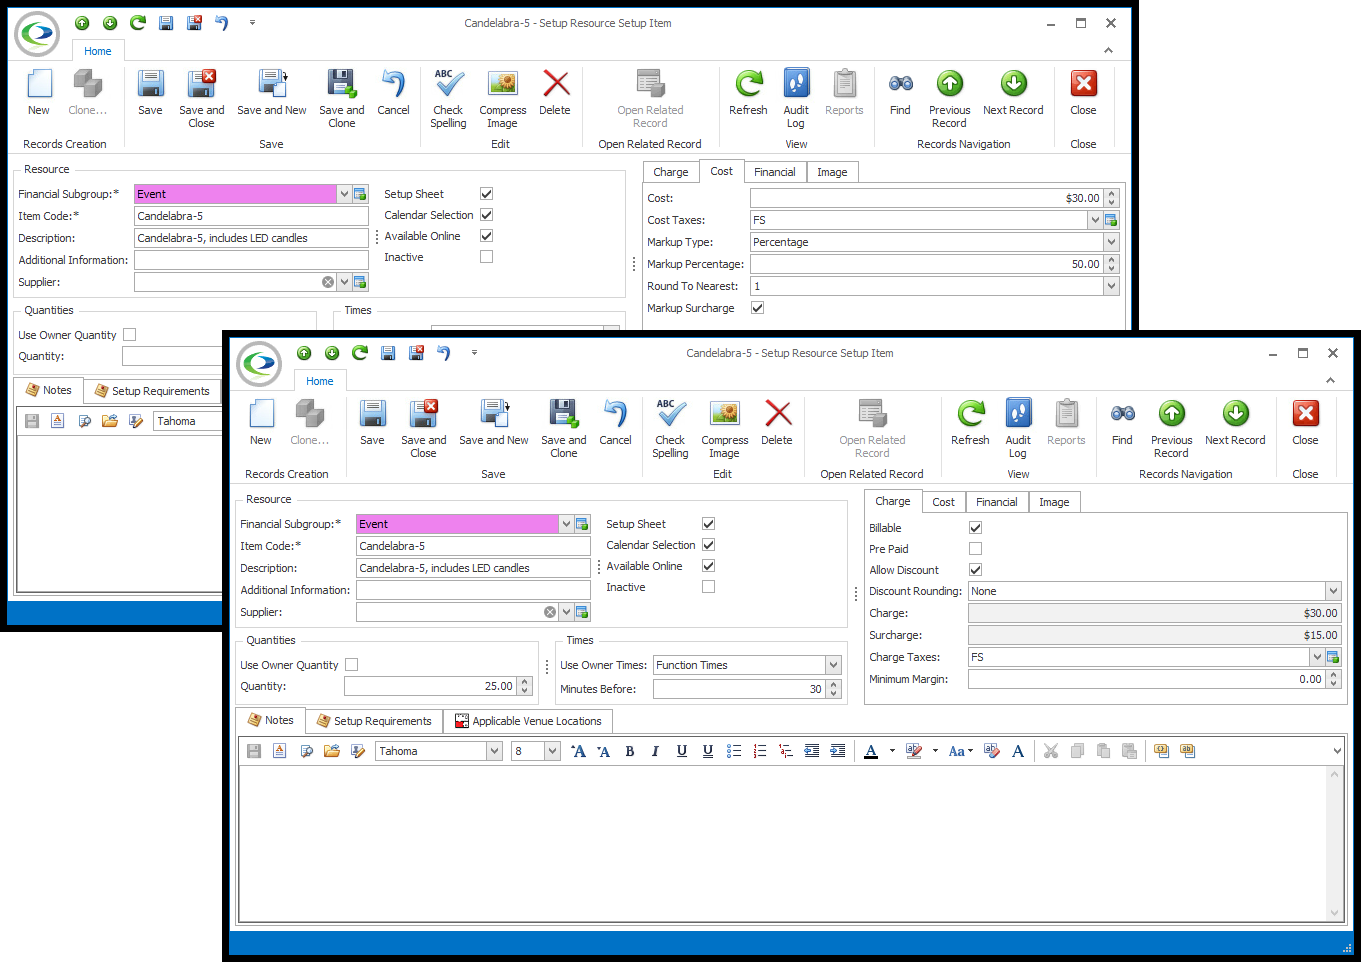
D.Charge:
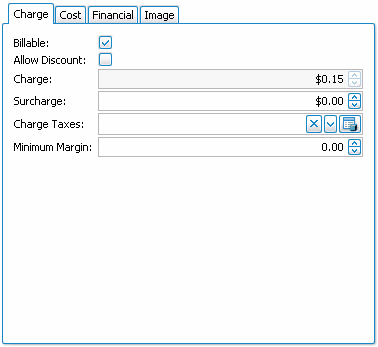
1.Billable: Check this box to indicate that the item is billable by default. Non-billable items will not show up in invoices.
2.Pre Paid: Select this checkbox if you want this item's Bill To Type to default to Pre-Paid when added to an event.
“Pre Paid” indicates that the item's charges have already been paid for and accounted for outside of EventPro. You record the pre-paid item in EventPro for informational purposes, but it doesn’t affect finances in EventPro.
3.Allow Discount: Check this box if you want to allow the item to be discounted.
4.Charge: Enter the charge for the miscellaneous item here.
However, if you want the Charge to be based on the Cost (e.g. you have obtained this item through a supplier, and want to pass the cost plus markup onto your client), leave this blank for now and go to the Cost tab, where you can enter the Cost and Markup, which will automatically calculate the resulting Charge.
5.Surcharge: Enter a surcharge for this miscellaneous item, if applicable.
Again, however, if you want the Surcharge to be based on the Cost Markup, leave this blank for now and enter the Markup and Surcharge information in the Cost tab first.
6.Charge Taxes: Select the default applicable taxes for the item Charge. You set up taxes earlier in EventPro Setup > Financial > Taxes.
7.Minimum Margin: You can enter a Minimum Margin percentage here, which will prevent users from discounting the item below the set margin when adding it to events.
E.Cost:
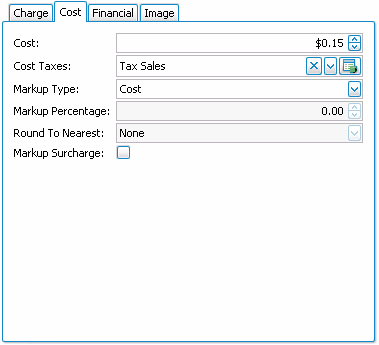
1.Cost: If applicable, enter the Cost of the miscellaneous item.
2.Cost Taxes: Select the default applicable taxes for the item Cost. You set up taxes earlier in EventPro Setup > Financial > Taxes.
3.Markup Type: If you want to apply a markup to this cost, which will calculate the resulting Charge, select the Markup Type from the drop-down: Percentage, Cost, or None.
a.If you choose Percentage, the Charge will be set to the Cost plus the Markup amount determined by the percentage number you enter below.
b.If you choose Cost, the Charge will be set to the same as the Cost.
c.If you choose None, you can manually set the Charge to anything you want.
4.Markup Percentage: If you selected Percentage as the Markup Type, enter the Percentage number here.
5.Round To Nearest: Also, if you selected Percentage as the Markup Type, you can choose to Round the resulting Charge to an option in this drop-down.
6.Markup Surcharge: Select this checkbox if you want the Markup amount to be separated out as a Surcharge, which you will see in the Surcharge field of the Charge tab.
If you want the Markup and Cost combined together into one amount for the Charge, leave this checkbox unselected.
1.Financial Category: If you selected a default Financial Category for the applicable Financial Subgroup (back in EventPro Setup > Financial > Financial Subgroups or Financial Categories), that Financial Category will appear here.
If not, or if you want to use a different one, you can select a Financial Category.
2.Department Code: If applicable, choose a Department Code from the drop-down.
You created department codes under EventPro Setup > Financial > Department Codes.
3.Income Budget Item and Expense Budget Item: If you intend to track budgets for events, select the default Income Budget Item and/or Expense Budget Item for this Miscellaneous Item.
You set up your budget items under EventPro Setup > Financial > Budget Configuration.
G.Image: Review the instructions under Add Images to Resources.
H.Notes and Setup Requirements:
1.You can add any additional information you need for this Miscellaneous Item under General Notes and Setup Requirements.
2.You can simply type directly into the memo field in the tab, or if you want to add more sophisticated formatting, you can open the Word Processor and work on your document there.
3.These General Notes and Setup Requirements can later be pulled into certain Reports.
For example, the miscellaneous item's General Notes are pulled into the Event Confirmation report.
When you're done creating or editing the Setup Resource Miscellaneous Item record, click Save and Close.
Continue adding as many Miscellaneous Items as you need to the Setup area.