•The A/R Event Payment Plan Assistant processes Event Payment Plan Items.
oDepending on how the Event Payment Plan Items were configured, the Assistant may need to automatically generate invoices, automatically send email notifications, or both.
oAn Event's Payment Plan and its scheduled Payment Plan Items appears in the Edit Event window.
•This current section is mainly intended to explain the settings that are unique to the A/R Event Payment Plan Assistant, but will refer back to the general instructions from Assistant Creation Overview when relevant.
1.Begin: Create a Virtual Assistant, ensuring that you select the A/R Event Payment Plan Assistant Item.
2.Schedule: Set the Assistant's schedule under the Assistant Schedule Tab.
3.Settings: Adjust the settings under the Assistant Settings Tab. Remember that these settings are specific to the A/R Event Payment Plan Assistant.
a.Past Start: When you first set up this Assistant, the Past Start Date will default to the current date, meaning that the A/R Event Payment Plan Assistant will send email notifications/generate invoices for Payment Plan Items scheduled for the current date and forward. Each time the Assistant runs, the Past Start field will update to the last run date/time. This is intentional, as it prevents the Assistant from processing Payment Plan Items it has already processed.
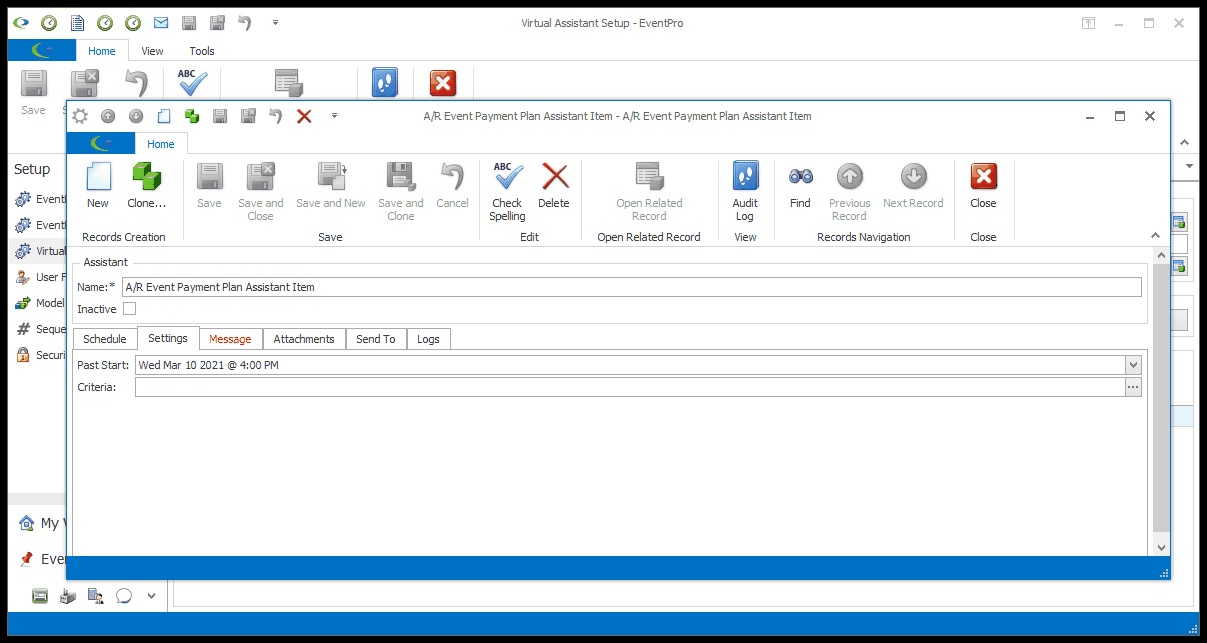
b.Criteria:
i.If you want to set other Criteria to further narrow down the specific circumstances in which the A/R Event Payment Plan Assistant will send email notifications/generate invoices, click the ellipsis to the right of the Criteria field.
ii.The Advanced Filtering window opens. To review how to define Filter Criteria in a Filter Editor, see Common Procedures | Construct Filters.
iii.If you are not happy with your selections, and want to start over, click Clear.
iv.When you have the filters set to your specifications, click OK.
4.Message: Define the email notification message under the Assistant Message Tab.
5.Attachments: Add attachments, if required, under the Assistant Attachments Tab.
a.Note that the A/R Event Payment Plan Assistant processes Event Payment Plan Items, which can be optionally configured to automatically generate and email Invoices. The presence of an Invoice is determined by the Item Type of the Payment Plan Item, so you will not be able to attach the Invoice here.
b.The Attachments tab is provided in case you want to include another report or other document with the notification. You can add File, Report, or Letter attachments for this Assistant.
6.Send To: Make your recipient selections under the Send To tab.
a.The common Send To recipient options are described under Assistant Send To Tab.
b.Billing Contact: Select this checkbox if you want the email notification sent to the Bill To Contact of the Event.
7.Logs: You can later review the Assistant Logs Tab to see if the Assistant has been running successfully.
8.Finish: When you are done with the Assistant edit form, Save and Close the Assistant.