1.At the bottom of the Event Location edit form, select the Catering tab.
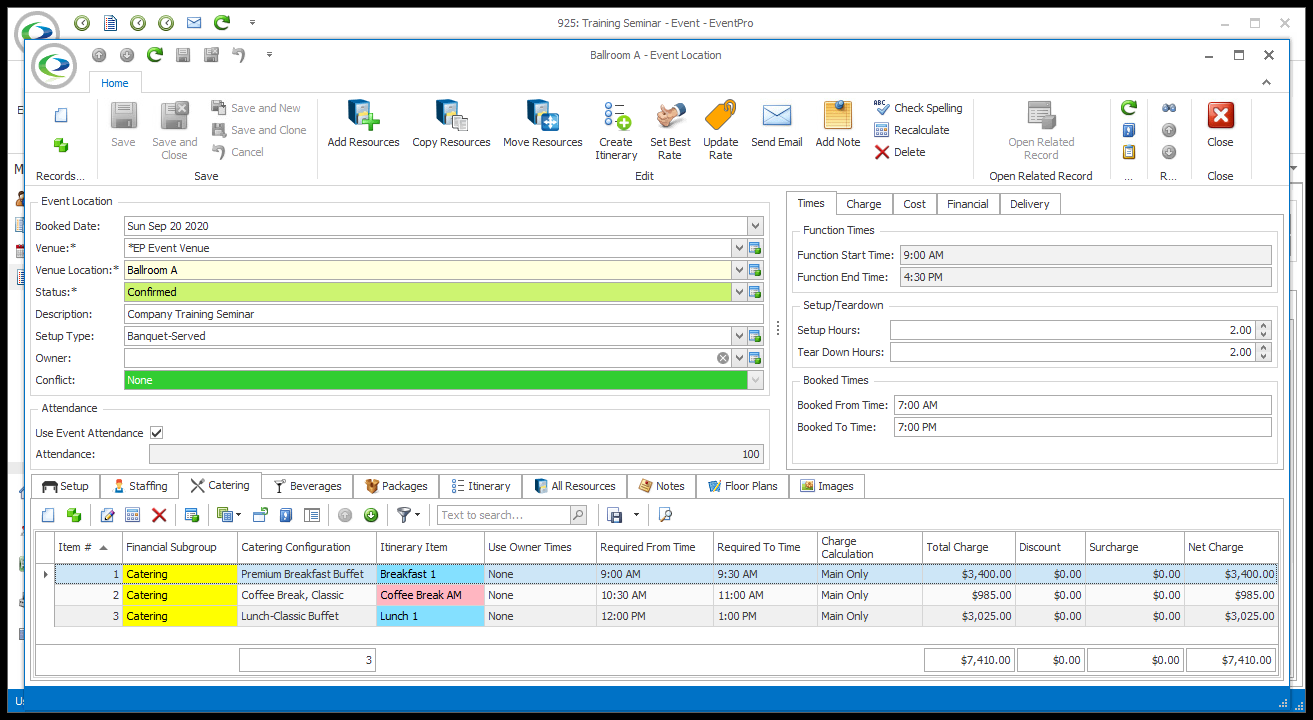
2.Start a New record under the Catering tab.
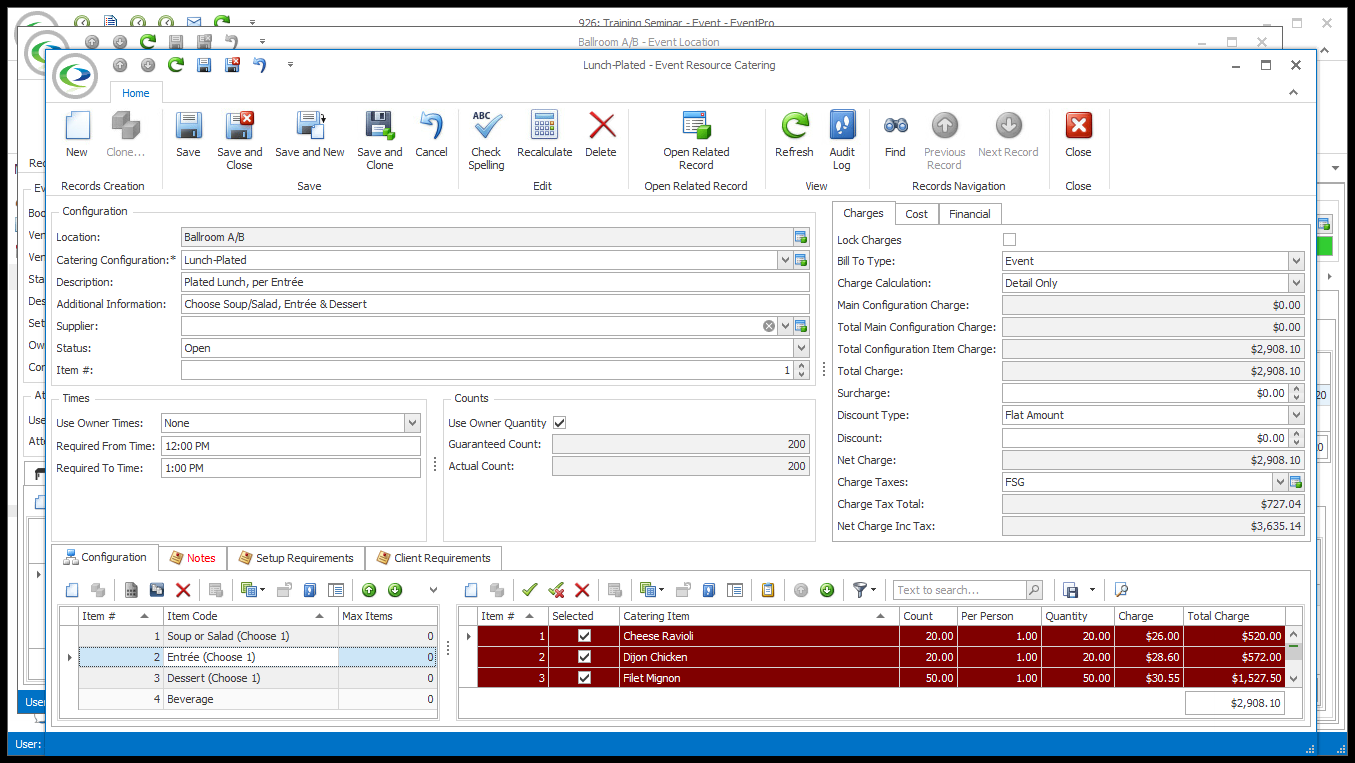
3.The Event Resource Catering edit form opens.
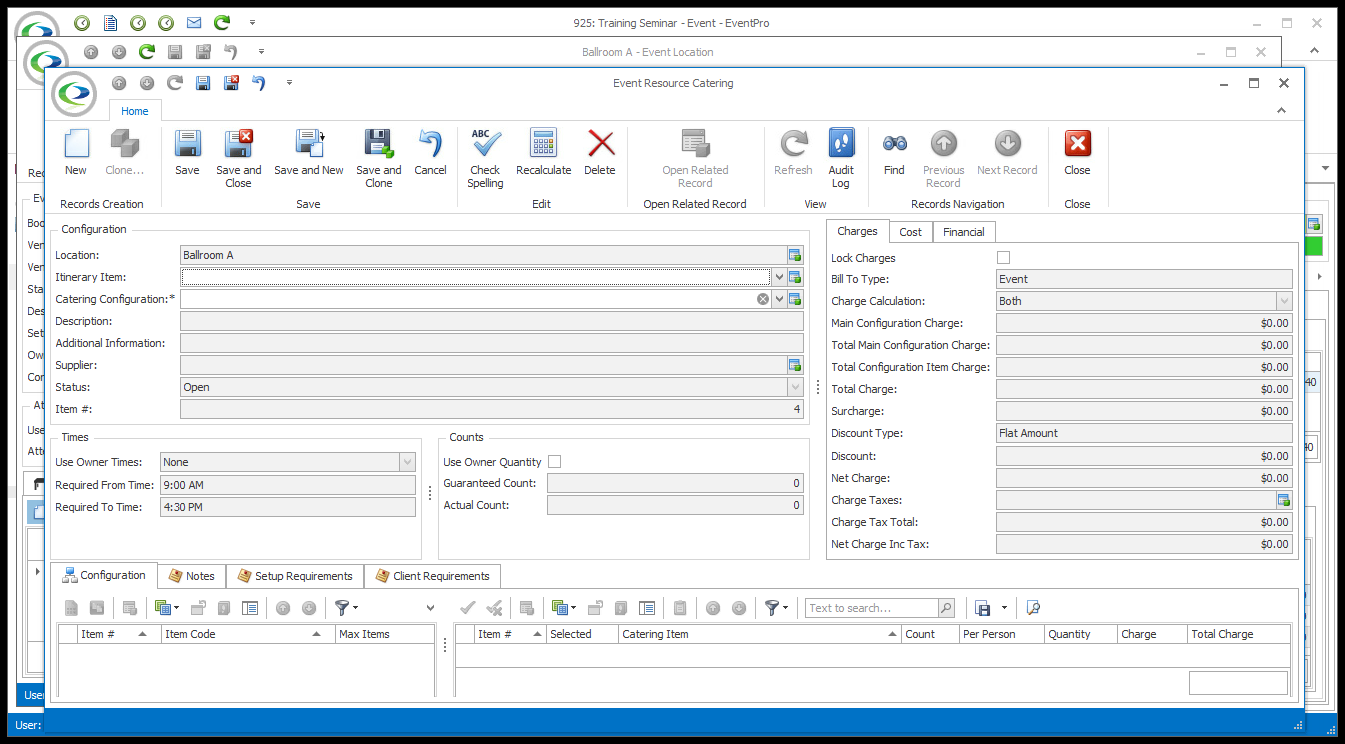
4.The Location will already be set to the Event Location.
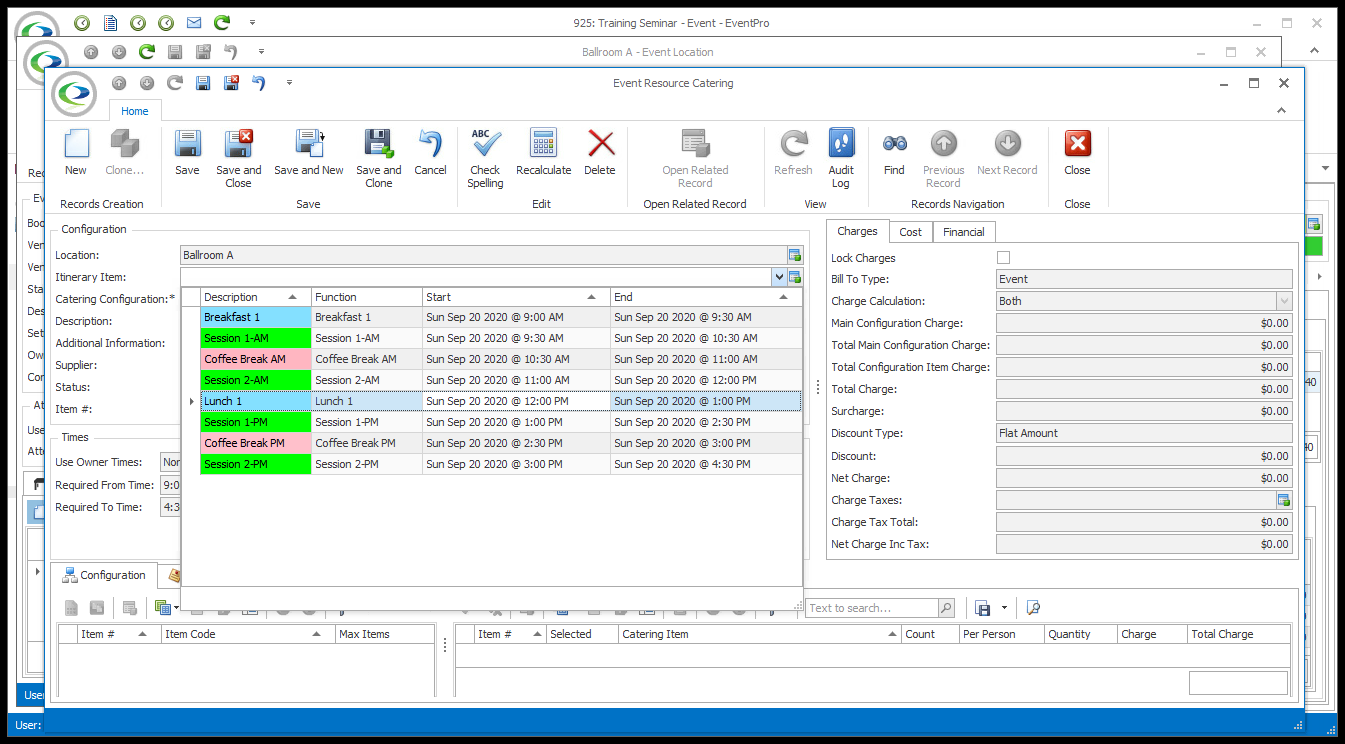
5.The Itinerary Item field will only appear if there is an Itinerary set up for the Event Location. If there are no Itinerary Items set up on the Event Location, you won't see this field.
If you want to assign the Catering Configuration to a specific Itinerary Item within the Event Location, select that Itinerary Item from the drop-down. See also Organize Event Itinerary > Add Custom Itinerary > Itinerary Resources.
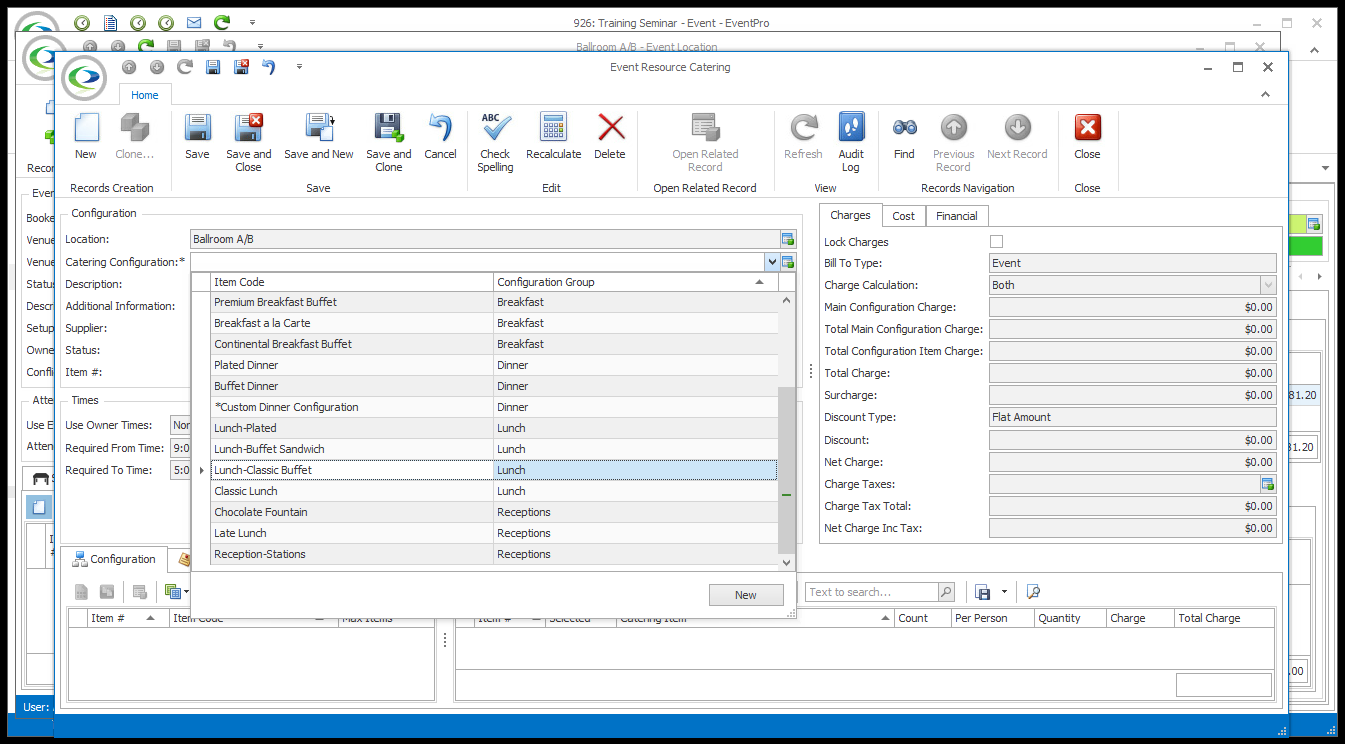
6.Select the configuration you want to add from the Catering Configuration drop-down. The Catering Configuration drop-down is populated by the configurations created under EventPro Setup > Resources > Catering.
7.The fields in the Event Resource Catering edit form will default to the information defined for the Catering Configuration under EventPro Setup > Resources > Catering.
8.If you want to customize the Catering Configuration for this event booked location, you can do so here in the Event Resource Catering edit form. The changes you make to the Configuration here, in the Event Location, will not affect the Configuration back in Resource Setup.
9.You can review how to edit a Catering Configuration under EventPro Setup > Resources > Catering.
These are some examples of common adjustments made when adding a Catering Configuration to a booked location:
a.Status: There are three statuses you can choose for the Event Catering Configuration - Open, Finalized, and Completed.
i.While you are still working on catering details, the Catering Configuration's status will remain Open.
ii.Once catering has been defined and approved by the client, and catering sheets printed, the status should be set to Finalized.
iii.Once the catering has been provided, and the correct quantities and costs have been updated, the status should be set to Completed, preventing users from making any further changes. There is also a system setting in Catering Setup that will prompt the user if attempting to invoice the catering configuration before it has been marked as “Completed”. See EventPro Setup > Resources > System Settings.
b.Item #: The Item # represents the item’s position in the list of items on selection grids and on printed reports. Whether the Item # defaults to 0 (zero) or the next number in the sequence depends on the "Auto-Increment Resource Item Sort Orders" system setting under EventPro Setup > Resources > Resources System Settings. If there are multiple items in the grid, and you want this item to appear higher or lower, you can enter a new Item #.
c.Times: Depending on the Default Times of the Setup Catering Configuration, and the Use Setup Resource Times for Event Resources System Setting, the Times may default to certain options. When adding the catering configuration to a booked location, you can change the time selections and/or manually enter the required times, if you wish.
i.The times may default to one of the "Use Owner Times" options, Function Times or Booked Times, possibly with a certain number of Minutes Before.
ii.The times could also default to the Required From Time and Required To Time manually set in Setup.
iii.Even if there are default times set for this Catering Configuration, the Use Setup Resource Times for Event Resources system setting determines whether the Catering Configuration always uses the Setup Default Times, never uses them, or prompts you to choose each time.
d.Configuration Counts: If you don't default the Configuration Count (i.e. number of plates) to the Booked Location Attendance ("Use Owner Quantity"), you need to manually enter the Guaranteed Count and Actual Count.
i.NOTE: Whether EventPro uses the greater of the Guaranteed or Actual Attendance numbers to calculate catering costs depends on the "Calculate Cost on Greater of Guaranteed and Actual" system setting; see EventPro Setup > Resources > Resources System Settings.
e.Lock Charges: Selecting the Lock Charges checkbox will lock the charges at the set amounts and prevent changes to any of the Counts.
f.Discount: If discounts on this Catering Configuration are permitted (check Setup), you may want to add a Discount.
i.Discount Type: Choose the type of discount you want to apply: None, Flat Amount, Percentage, To Cost.
ii.Discount Percentage: If you chose Percentage, enter the percentage number here. The discount amount will be rounded according to the Discount Rounding setting for this Catering Configuration in Setup.
iii.Discount: If you chose Flat Amount, enter the discount amount here.
g.Financial: In Catering Configuration Setup, defaults would have been set for Budget Items and other fields under the Financial tab, but you can make changes as required.
h.Notes: There may already be notes under the Notes and Setup Requirements tabs, if notes were entered for the Setup Catering Configuration. You can add or edit notes for the purposes of this event. You can also now add notes specific to the Event Client under the Client Requirements tab.
10.Selecting Items and Entering Item Counts: Depending on how the Catering Configuration was set up, Catering Items may already be Selected, and Counts may be entered under the Configuration tab. However, if you need to select more/any of the catering items and set the counts, you can do so under the Configuration tab of the Event Resource Catering edit form.
a.Select a Category from the left selection grid.
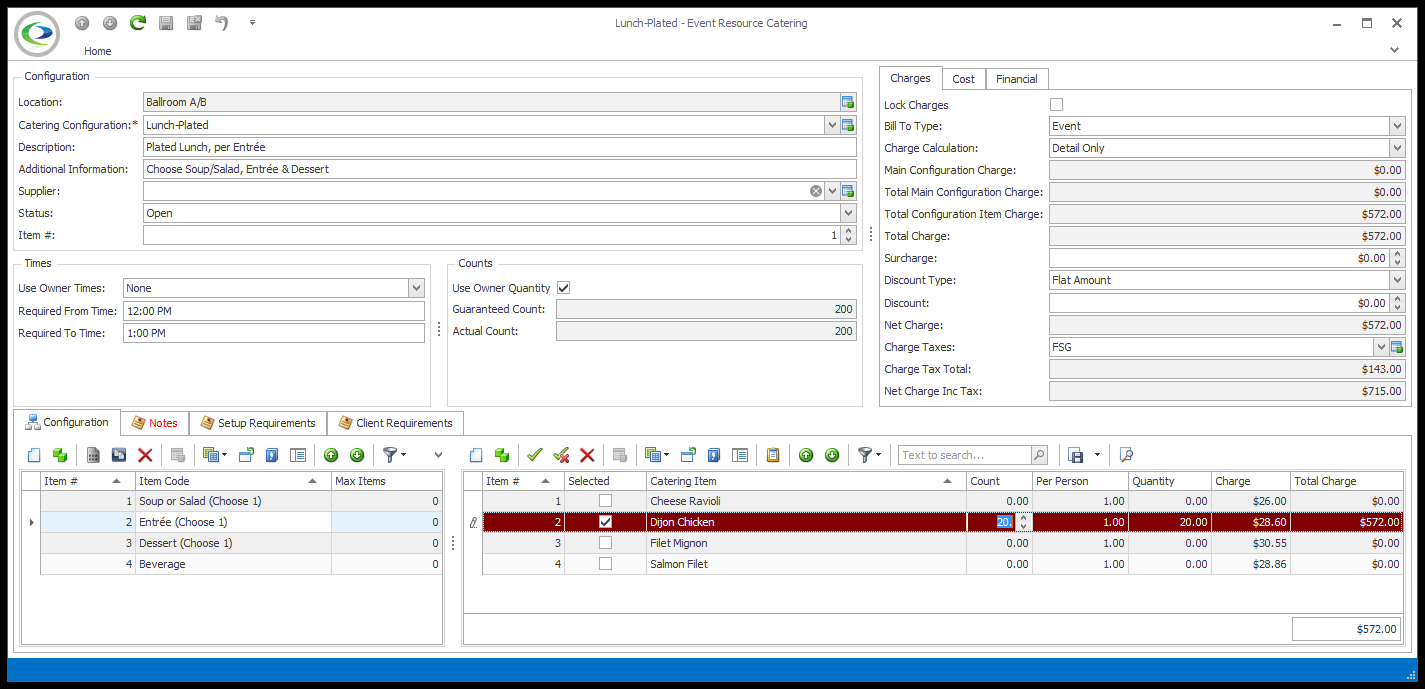
b.In the Item selection grid to the right, check the Selected checkboxes next to the items you want to add.
i.You need to click once on the record and click a second time on the Selected checkbox, or select the record and click the green Select checkmark icon above the grid.
ii.Remember that you may be limited to selecting only a certain number of items per category if you set a Max Items number when setting up Categories in your Catering Configurations.
c.If you need to enter a Count for a selected Catering Item, click the Item record and click again in the Count field.
i.Enter the Count for the item.
ii.The Quantity of the item will calculate from the Per Person and Count amounts.
iii.You will note that the selected Item Count defaults to 1 (one) if you have activated the "Catering Beverage Default Item Count" System Setting under EventPro Setup > Resources > Resources System Settings.
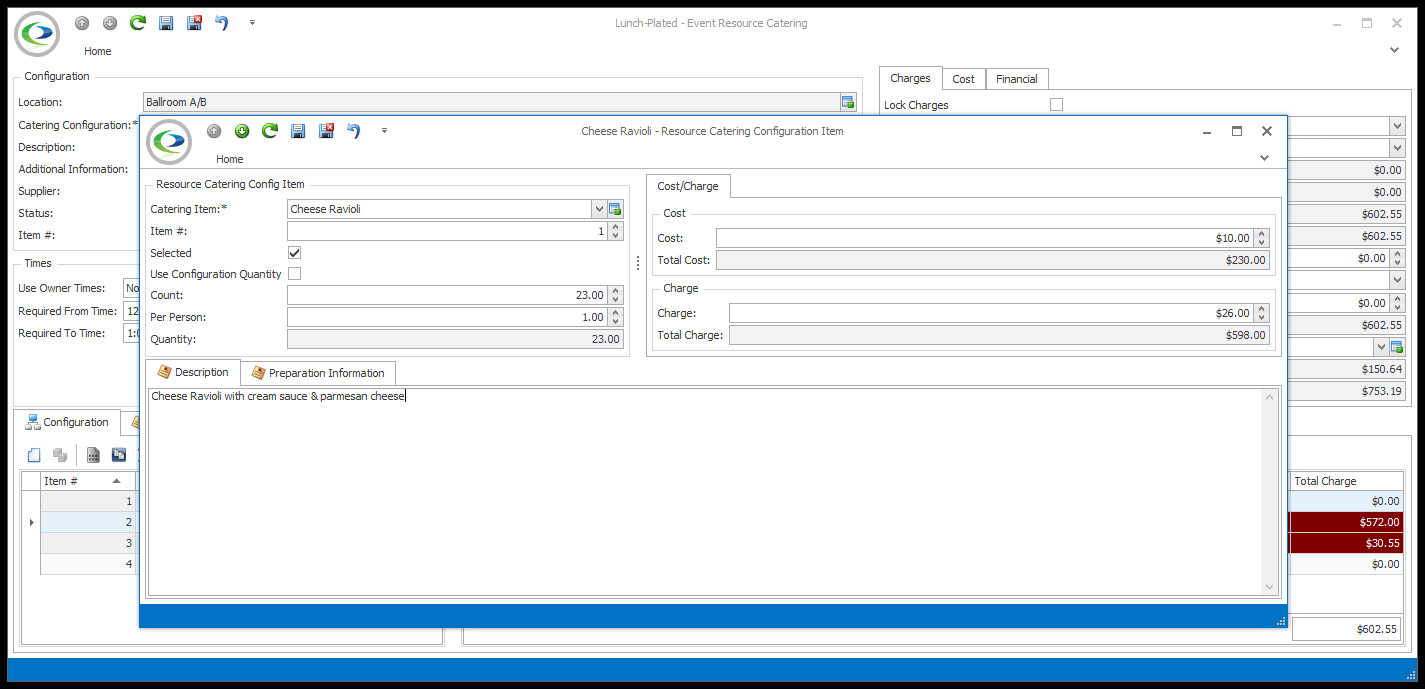
d.To make changes to the Catering Items - including to the Selected and Count fields - you can also double-click on the item in the selection grid to open the Resource Catering Configuration Item edit form.
i.When you are done making changes in the Resource Catering Configuration Item edit form, click Save and Close. You will return to the Catering Configuration in the Event Resource Catering edit form.
e.Add Categories and Items: To review how to add Catering Items and Categories to a Configuration, see EventPro Setup > Resources > Catering.
11.To review how to edit any other fields in a Catering Configuration, see the instructions under EventPro Setup > Resources > Catering.
12.When the Event Catering Configuration is adjusted to your satisfaction, click Save and Close in the Event Resource Catering edit form.
13.You will return to the Event Location edit form.
14.In the Event Location edit form, the Catering Configuration will be added under the Catering tab.