•Once your Client has approved a Quote, you can create an Event Booking directly from the Quote.
1.Find and view the Quote that has been approved by the Client.
If there are multiple Quote Revisions, it's very important that you have the correct Quote #.
2.Set the Event Quote Status to a "Quote Approved"-type Status. (Remember that you created these Quote Statuses in EventPro Setup > Events > Event Statuses.)
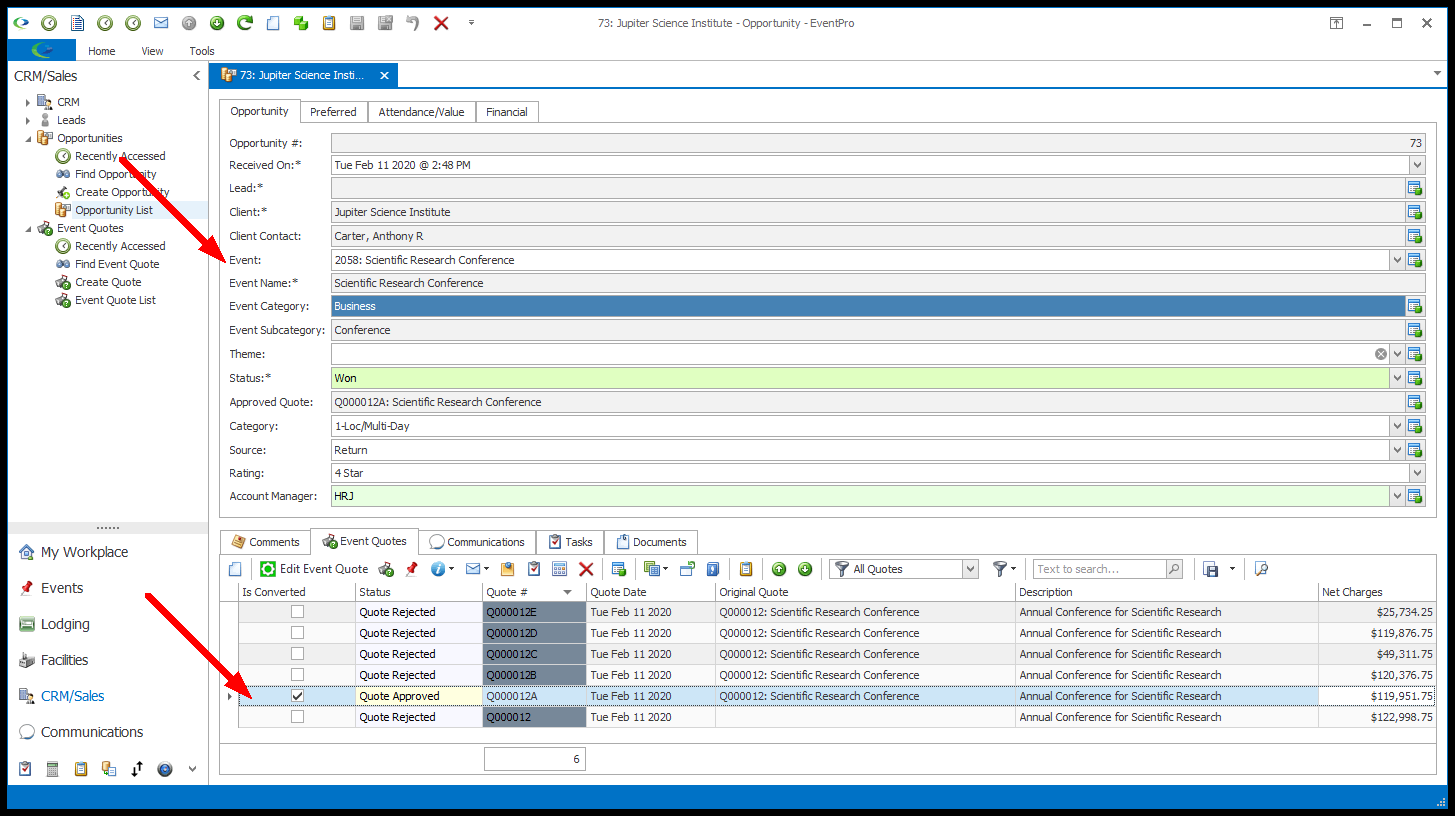
NOTE: You can only approve one revision of a Quote. If there are multiple revisions of a Quote, and you set one of those revisions or the original to Quote Approved, all of the other quotes in that series will be automatically set to Quote Rejected. Using our Q000012 example, if we set Q000012A to "Approved", all the other revisions, Q000012B, Q000012C, etc., and the Original Q000012, are automatically set to Quote Rejected.
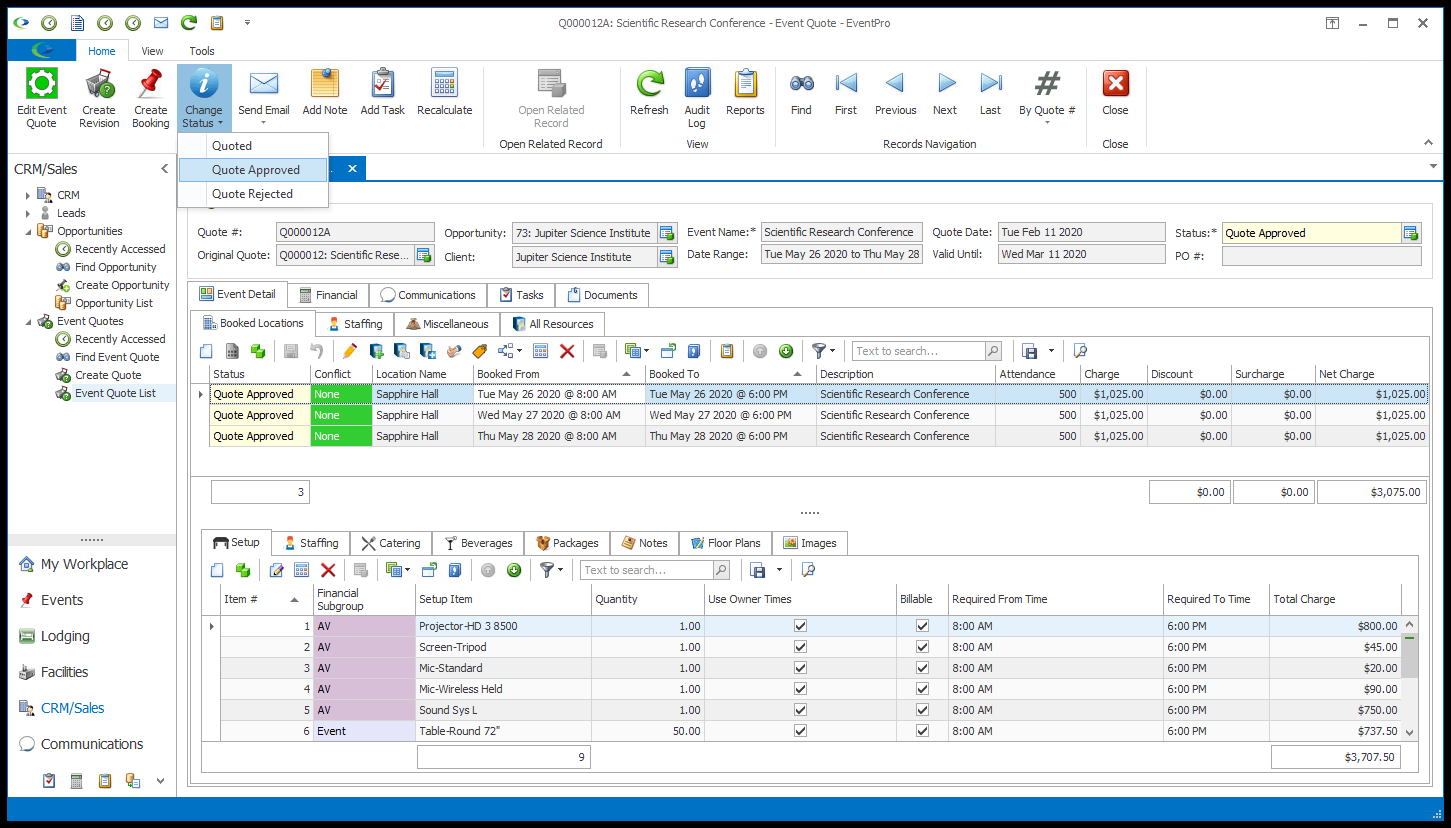
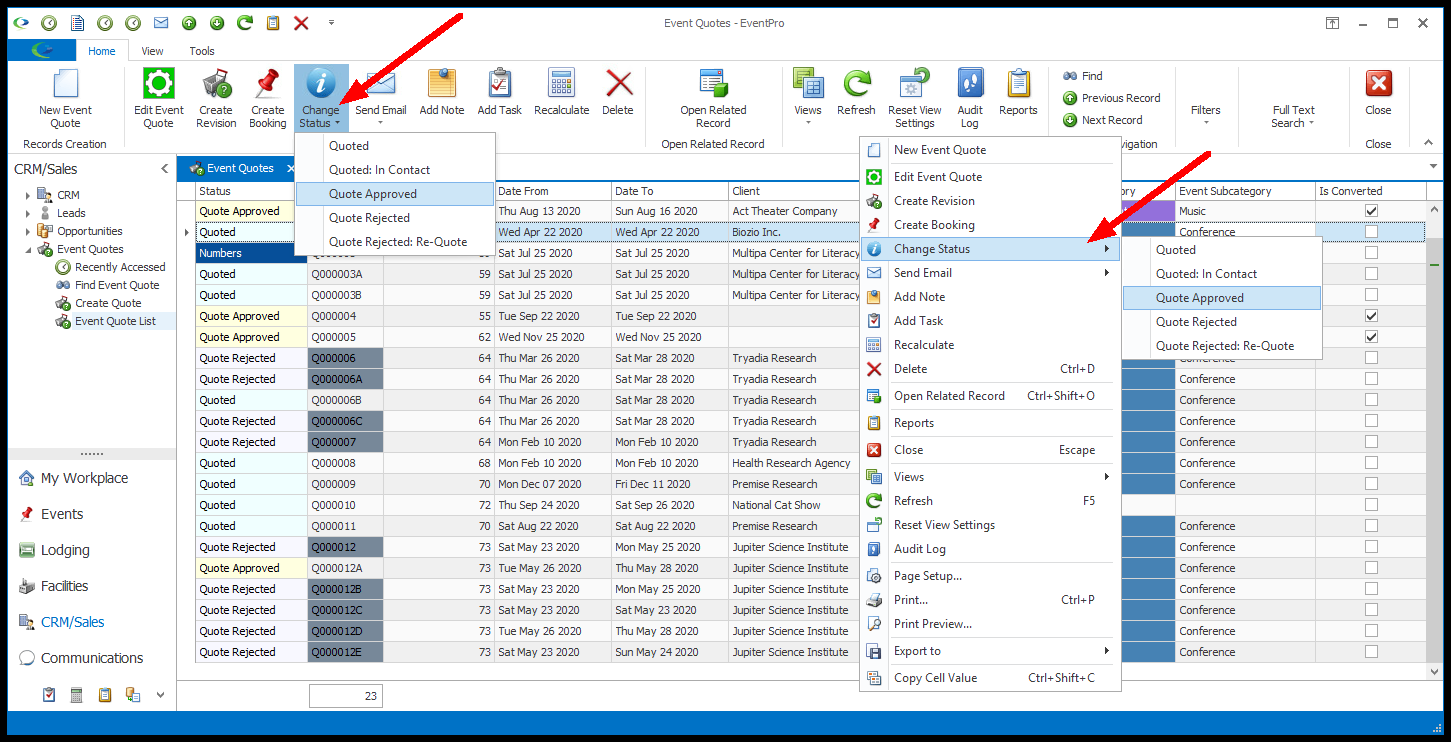
a.There are a few different ways of changing an Event Quote's Status. For example, in the Quote Screen, you can click the Change Status button in the top ribbon and select an Approved Status.
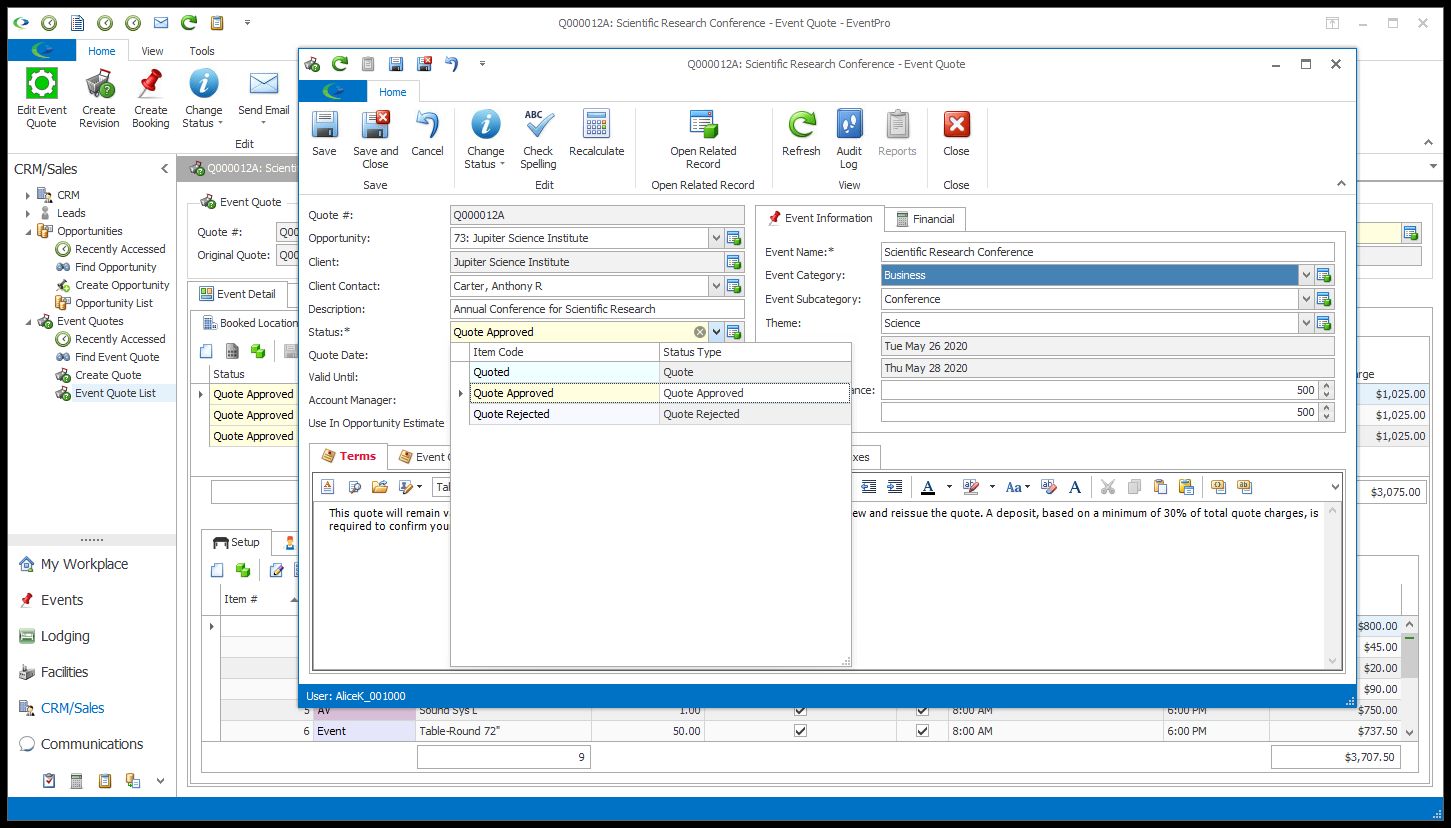
b.You can open the Edit Event Quote Window, and change the Status there.
c.In the Event Quotes List, you can select the relevant Quote and click the Change Status button in the ribbon above the selection grid, or right-click the Quote and select Change Status from the speed menu.
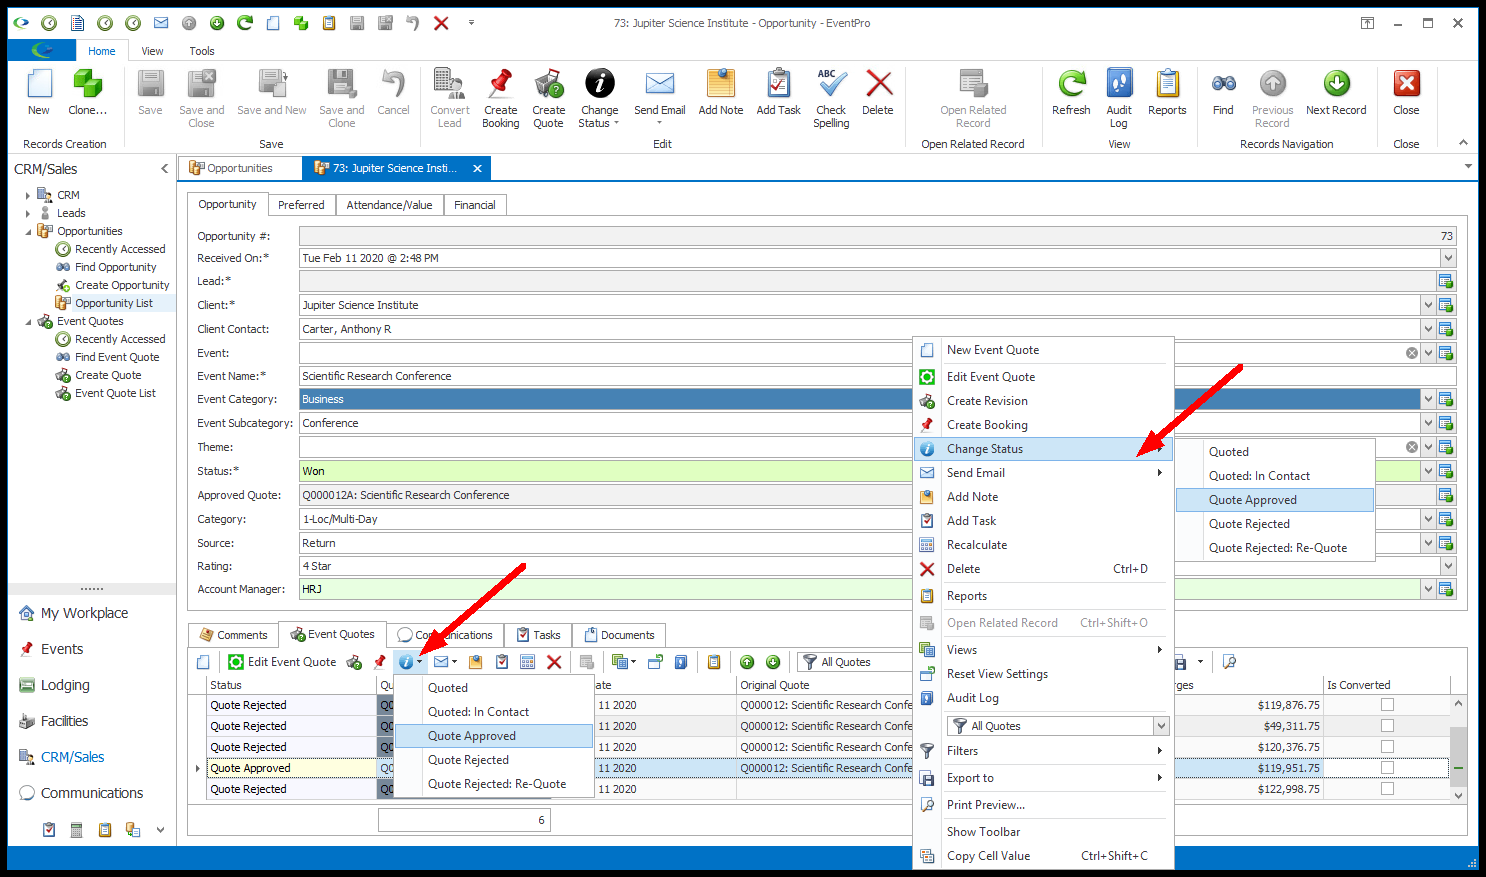
d.In an Opportunity record, under the Event Quotes tab, you can select the relevant Quote and click the Change Status button in the Event Quotes tab ribbon (not the ribbon at the top of the window; that is the Opportunity's Change Status button), or right-click the Quote and select Change Status from the speed menu.
3.Once the Quote has been set to Approved, you can begin the booking creation process. There are a few different ways of starting the booking.
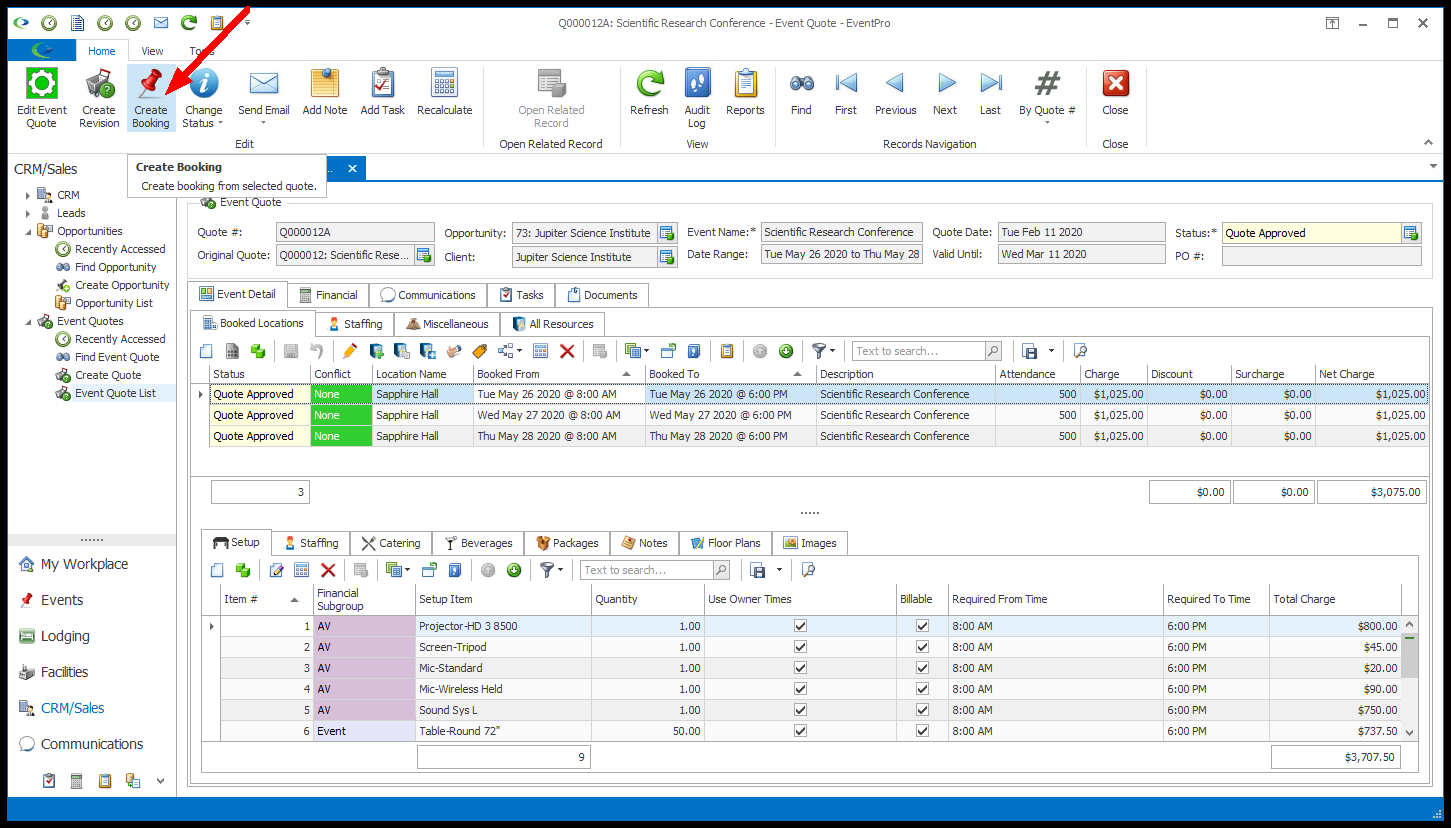
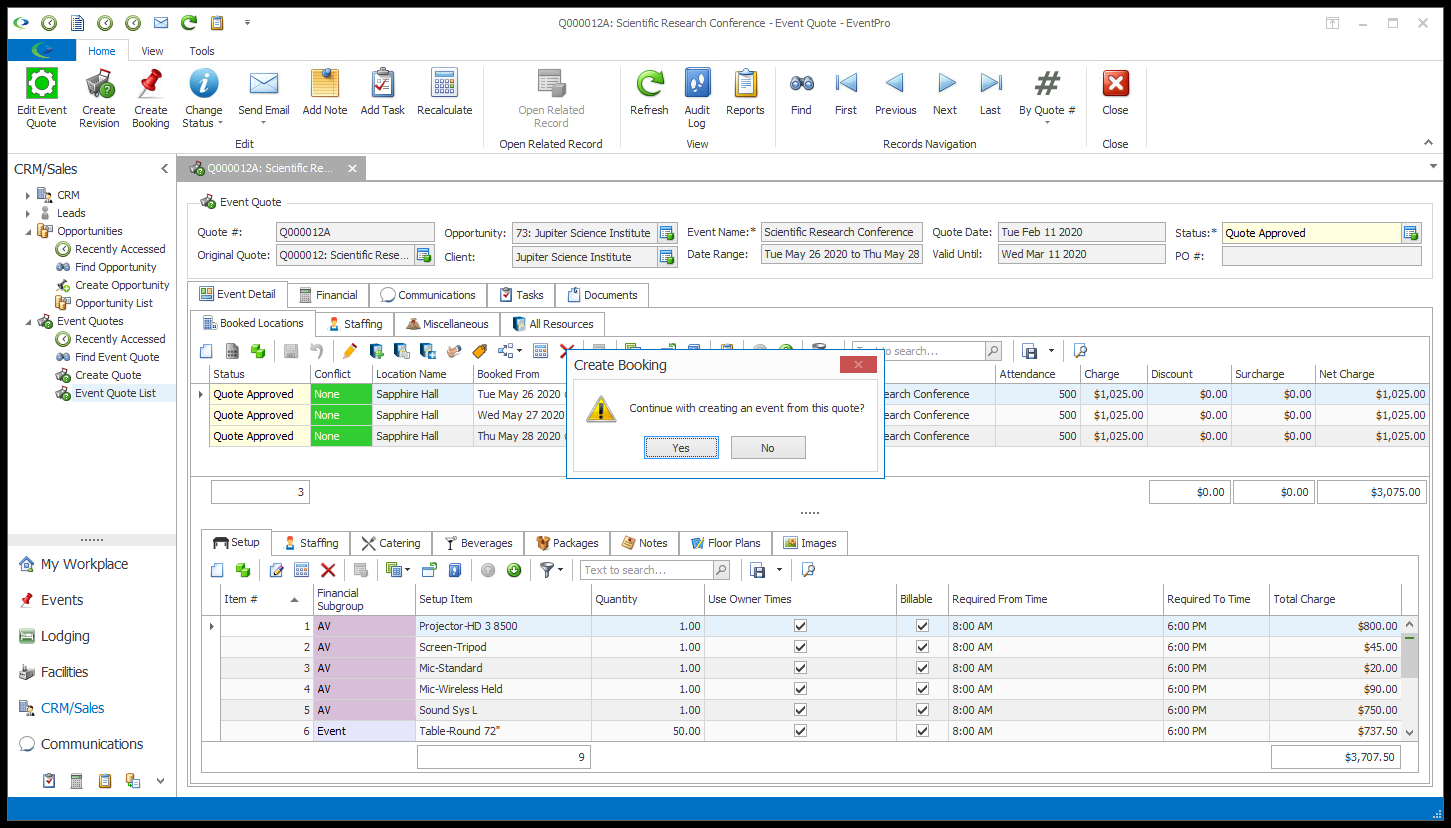
a.In the Quote Screen, while viewing the relevant Event Quote, click the Create Booking button in the top ribbon.
b.In the Event Quote List, select the relevant Quote in the selection grid and click the Create Booking button in the ribbon above, or you can right-click the relevant Quote and select Create Booking from the speed menu.

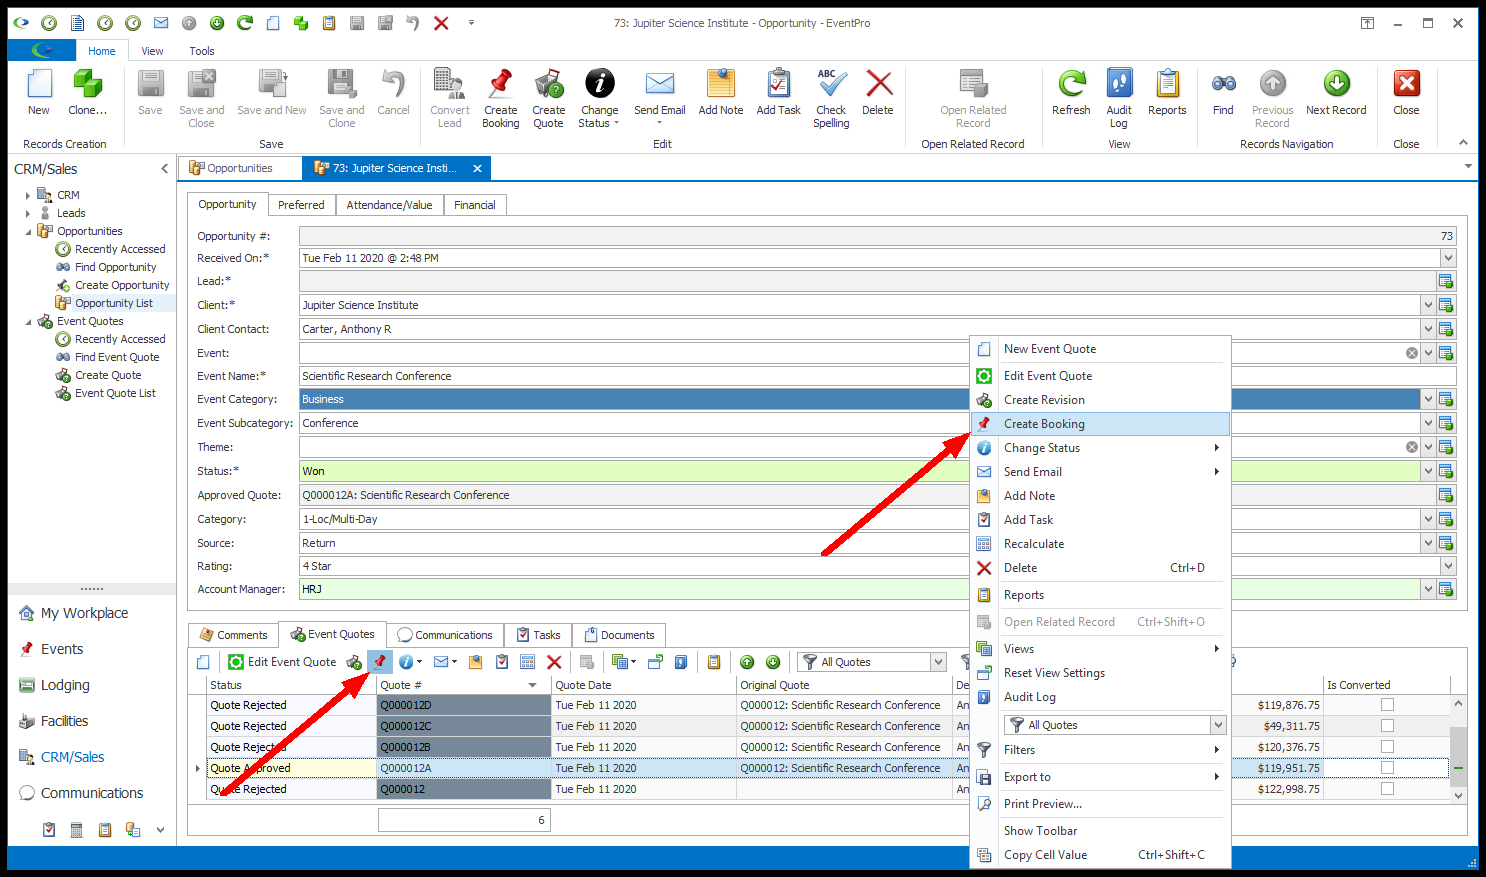
c.In an Opportunity record, under the Event Quotes tab, you can select the relevant Quote and click the Create Booking button in the Event Quotes tab ribbon (not the ribbon at the top of the window; that is the Opportunity's Create Booking button), or right-click the Quote and select Create Booking from the speed menu.
4.After you click the Create Booking button, the confirmation dialog will appear, asking if you want to continue creating an event from the quote. Click Yes to continue.
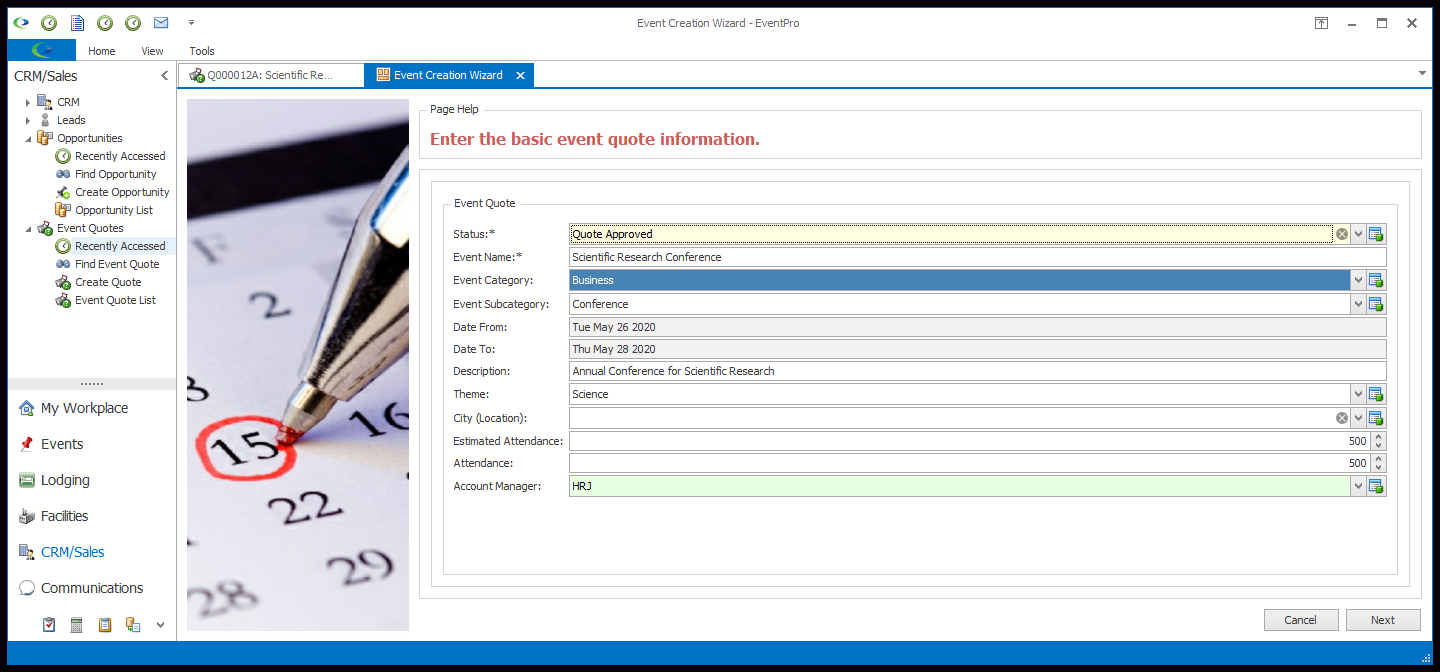
5.The Event Creation Wizard will begin, starting with the Event Quote page ("Enter the basic event quote information").
Add or edit any further information you require for the Event Quote, if applicable, and click Next.
6.On the next page ("Enter/update information for the opportunity"), you can add or edit any further information you require for the linked Opportunity, if applicable.
In particular, under Options, select the checkbox if you want to Link Opportunity Communications to Event. If you select this checkbox, the Event will pull in all Communications from the Opportunity, which includes all Communications for the Quote/Revisions linked to that Opportunity (as explained earlier). If you do not select this checkbox, the Event will only pull in the Communications from the Quote/Revision you selected to convert to a Booking.
You may also want to change the Opportunity Status to a "Won"-type status.
| Click Next. |

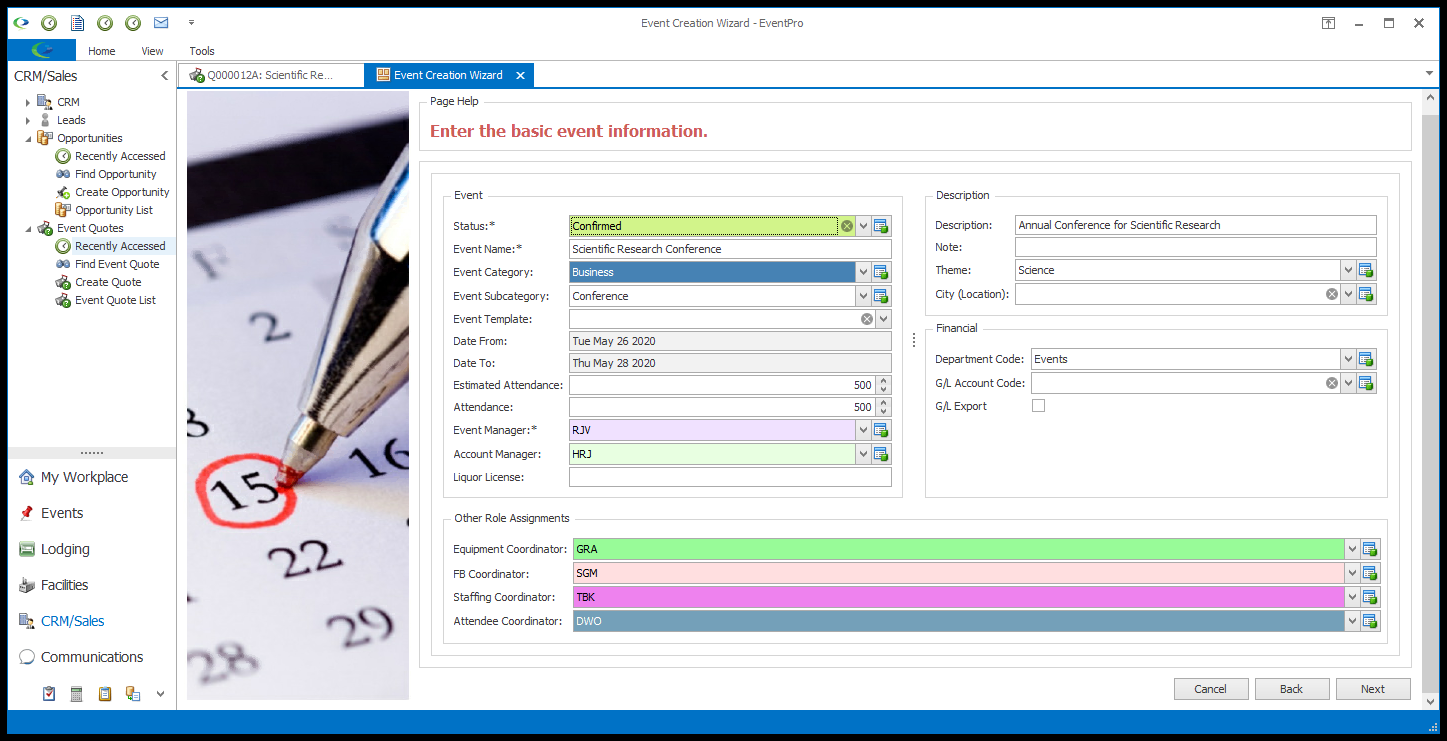
7.On the next page ("Enter the basic event information"), you can enter basic information about the event you are creating.
Some of this information may have already been pulled in from the Opportunity, but you can make changes and additions, as required.
In particular, you will need to select an Event Manager, as that is a required field.
When you are done with this page, click Next.
8.The Event Creation Wizard will go through several more pages, unless your Event System Settings have been set to skip these pages.
You can review these wizard pages as described above:
b.Notes
9.In the final page of the Event Creation Wizard ("Review and/or edit the booked locations"), you can make any final adjustments to the Booked Locations. You can review the instructions under Review & Edit Booked Locations above.
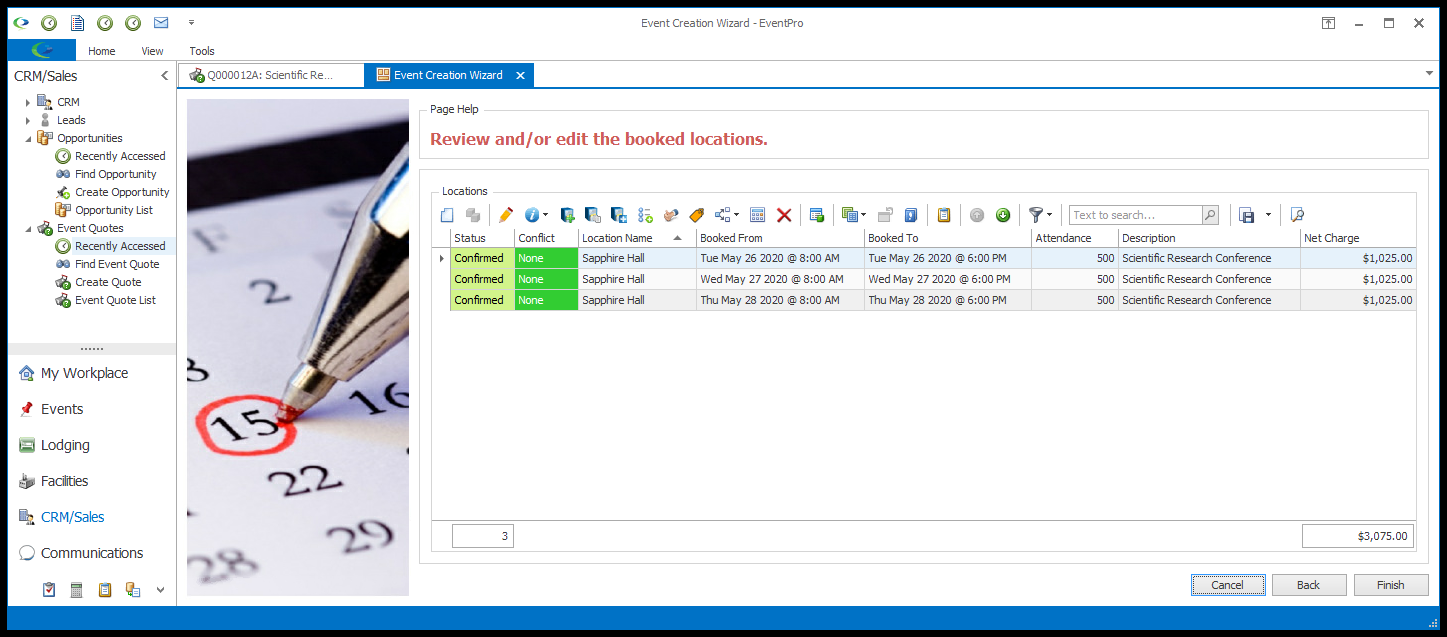
10.Click Finish. The Event will be created, and will open in the Event Screen.
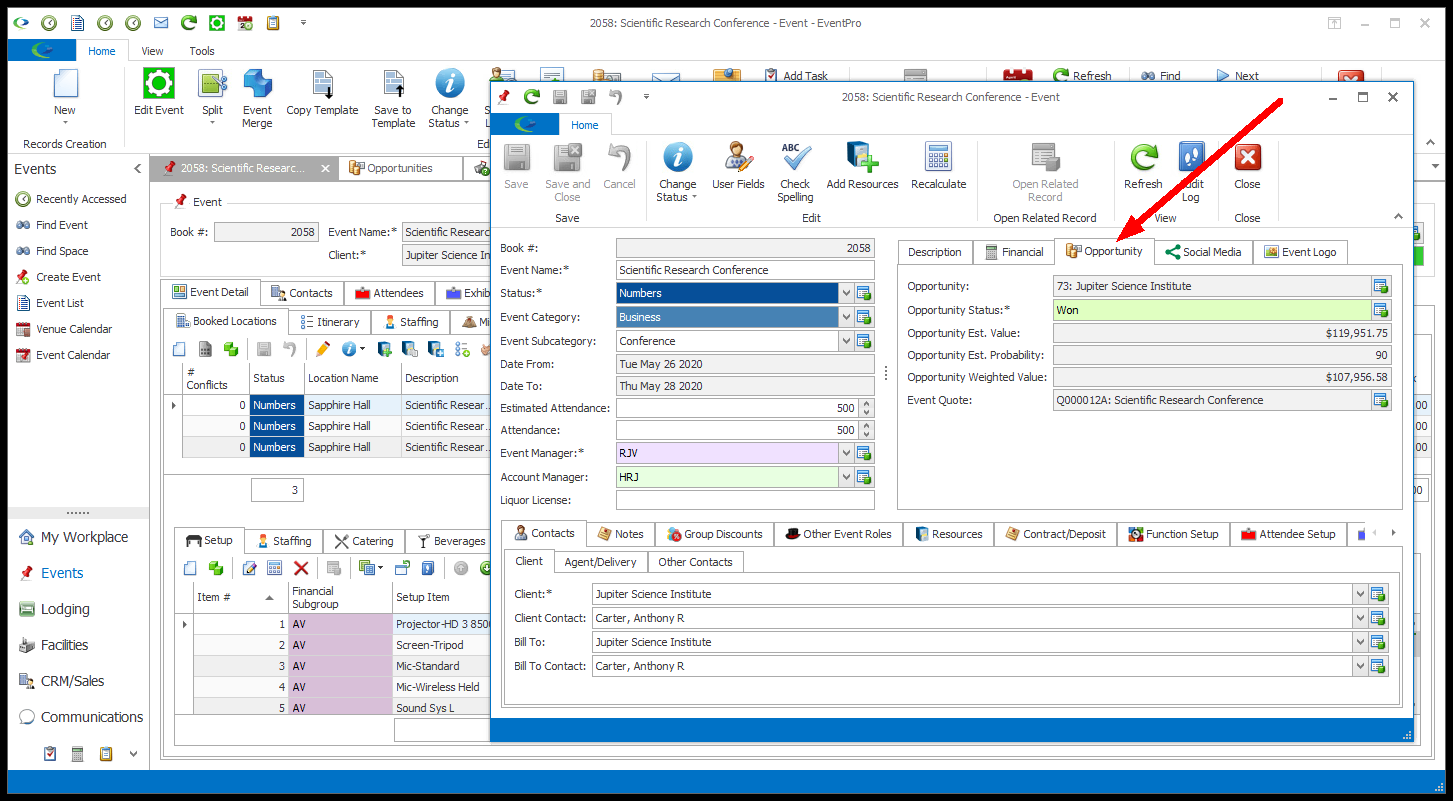
11.In the Event Screen, if you open the Edit Event Window and view the Opportunity tab, you will see the linked Opportunity and Event Quote.
12.In addition to the Event Detail (Booked Locations and Resources), the Event will pull in the Tasks from the Opportunity, which includes the Tasks from the linked Quote/Revisions, as noted above.
13.If you selected the Link Opportunity Communications to Event checkbox during the Event Creation Wizard, the Event will pull in all Communications from the Opportunity, which includes all Communications for the Quote/Revisions linked to that Opportunity (as explained earlier). If you do not select this checkbox, the Event will only pull in the Communications from the Quote/Revision you selected to convert to a Booking.
14.Back in the Opportunity record, you will see that the linked Event has been automatically pulled in, and the Event Quote has been marked as "Is Converted".
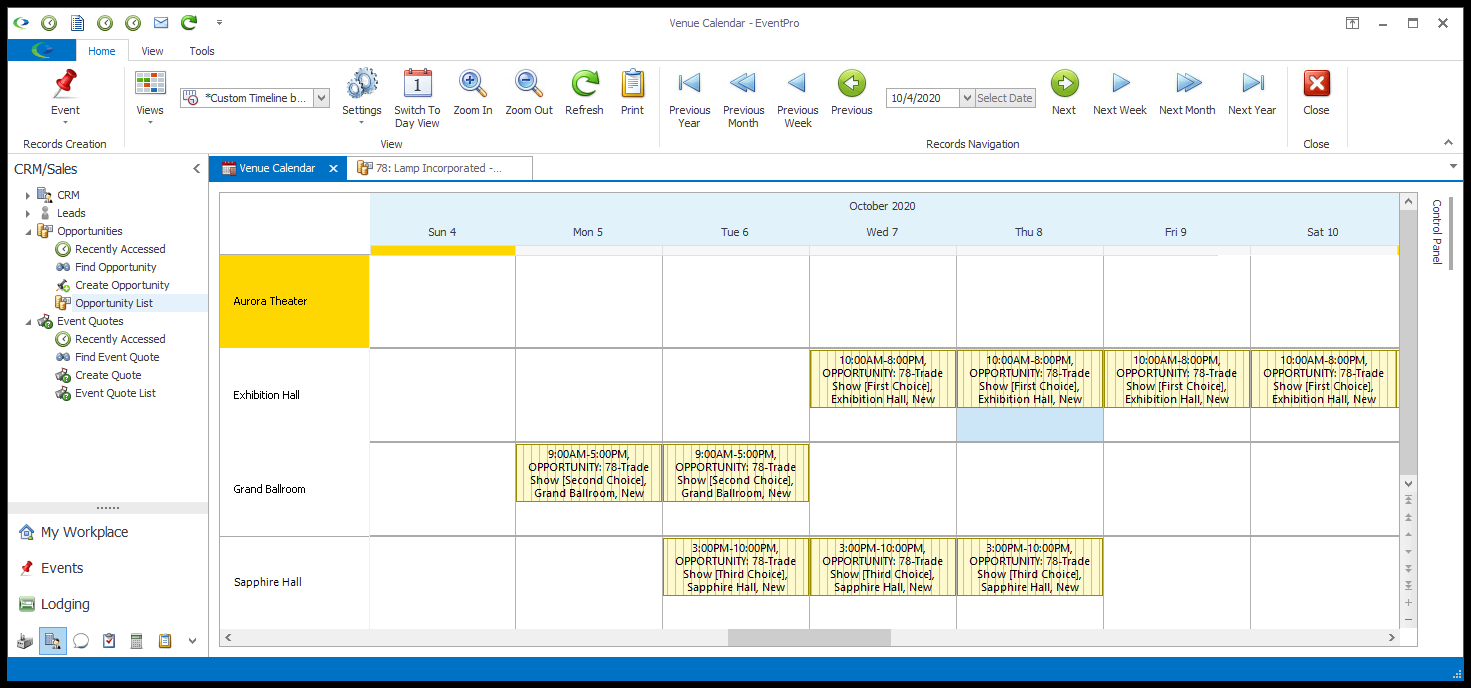
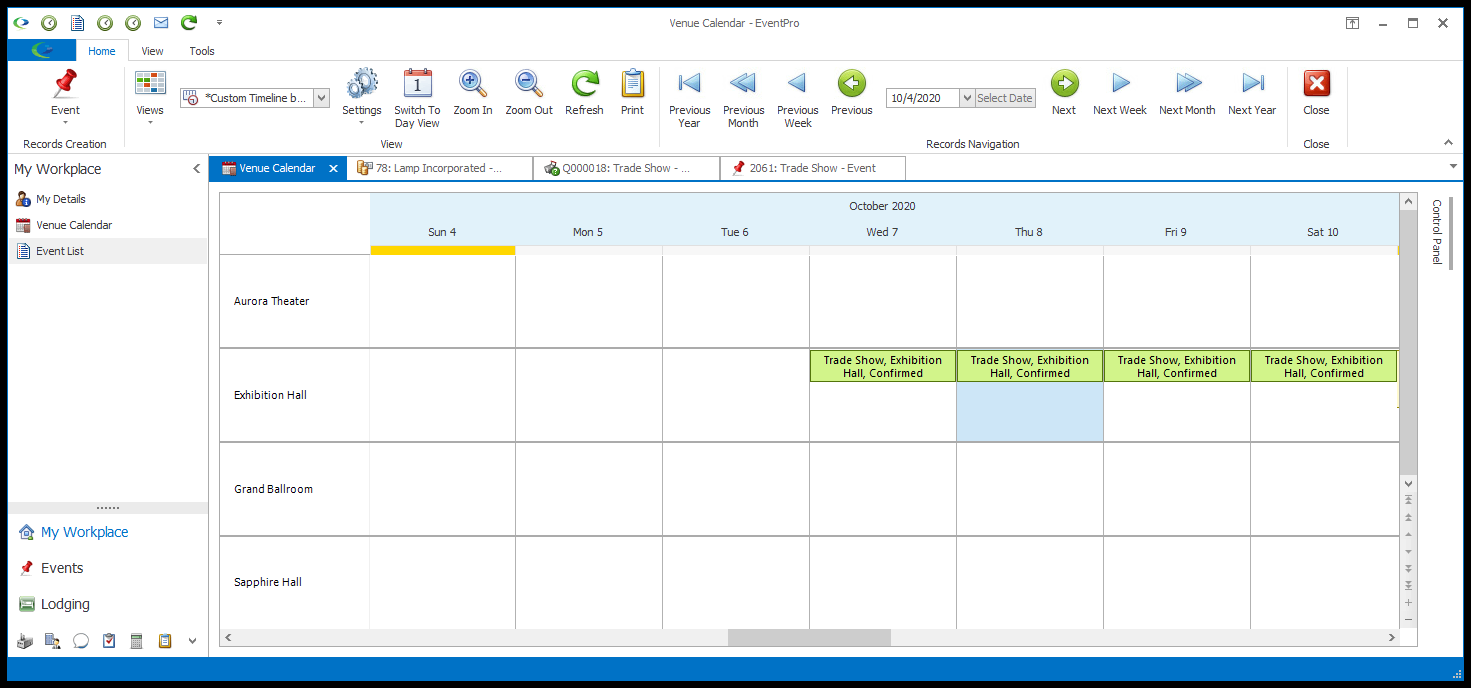
15.If you have Opportunities visible in a Calendar View, you will note that after you convert the Quote to an Event Booking, the linked Opportunity will no longer appear in the Calendar.