1.Type: Select a scheduling option from the Type drop-down list.
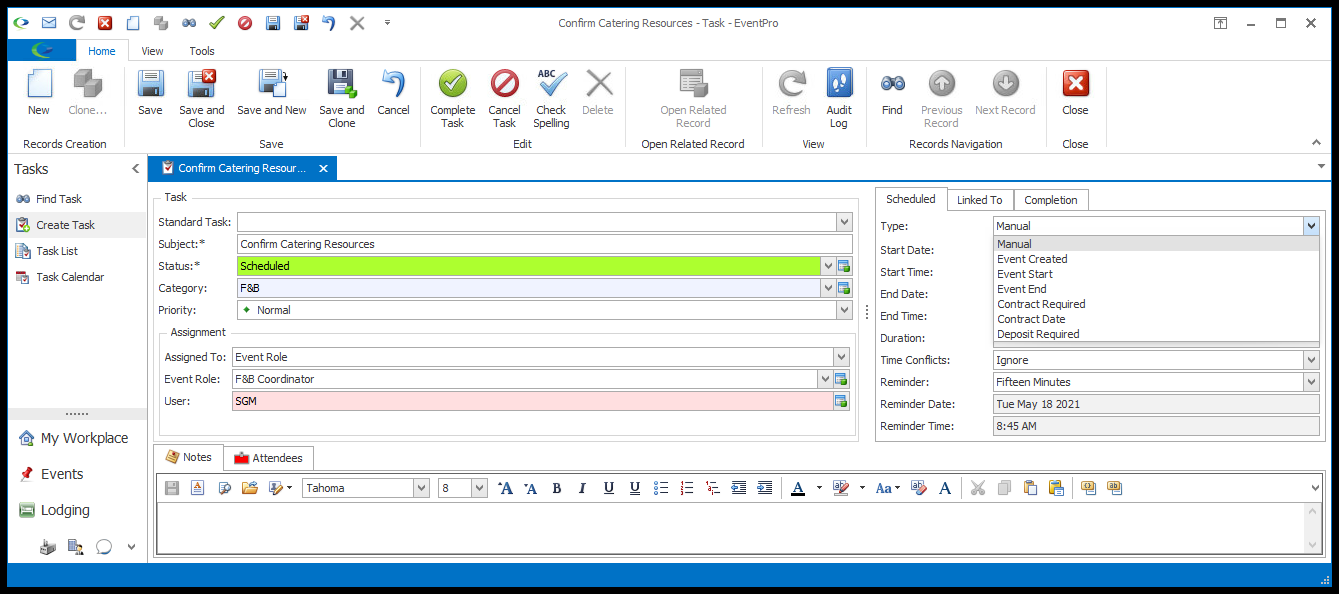
a.To manually set the dates and times of the Task, select the type "Manual". You can choose "Manual" as the scheduling type regardless of what kind of object the Task is Linked To.
(Note, however, that you will not be able to schedule Dates and/or Times if the Task is set to an "Unscheduled"-type Status.)
b.The other scheduling Types allow you to schedule the Task relative to the dates of certain occurrences. Note, however, that the available Scheduling Types will depend on what this Task is Linked To.
i.Linked to an Event: Event Created, Event Start, Event End, Contract Required, Contract Date, Deposit Required
ii.Opportunities: Opportunity Created, Opportunity Received
iii.Invoices: Invoice Date, Invoice Due Date
iv.Accommodation Booking: Accom Booking Created, Accom Booking Check In, Accom Booking Check Out
v.Accommodation Group Booking: Accom Group Booking Created, Accom Group Booking Check In, Accom Group Booking Check Out
In order to schedule the Task relative to a certain occurrence, you need to link the Task to an occurrence of that type. For example, if you want to schedule the Task according to the Event Start date, you need to have an Event selected in the Linked To tab. If you want to schedule the Task relative to the Invoice Due Date, you must have a linked Invoice selected under the Linked To tab.
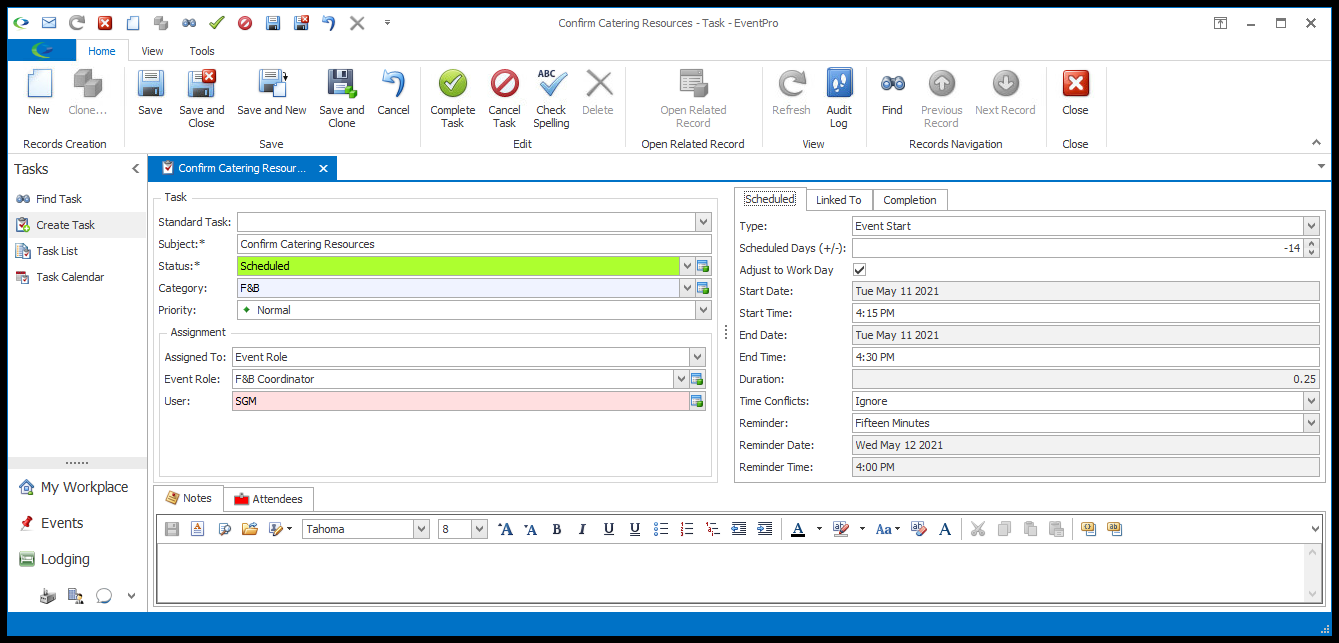
2.Scheduled Days (+/-): If you selected one of the Types above - other than Manual - you can now define the number of days before or after that defining occurrence that the Task should be due.
EventPro will automatically calculate the due date of the Task against the relevant date of the occurrence.
a.Negative (-) numbers indicate days before the triggering occurrence.
For example, if you want the Task due 3 days before the event starts, you would select "Event Start" as the Type, and enter -3 in the Scheduled Days field.
b.Positive (+) numbers indicate days after the triggering occurrence.
For example, if you want the Task due 10 days after the contract date, select the Type "Contract Date", and enter 10 in the Scheduled Days field.
c.Zero (0) means on the day of the triggering occurrence.
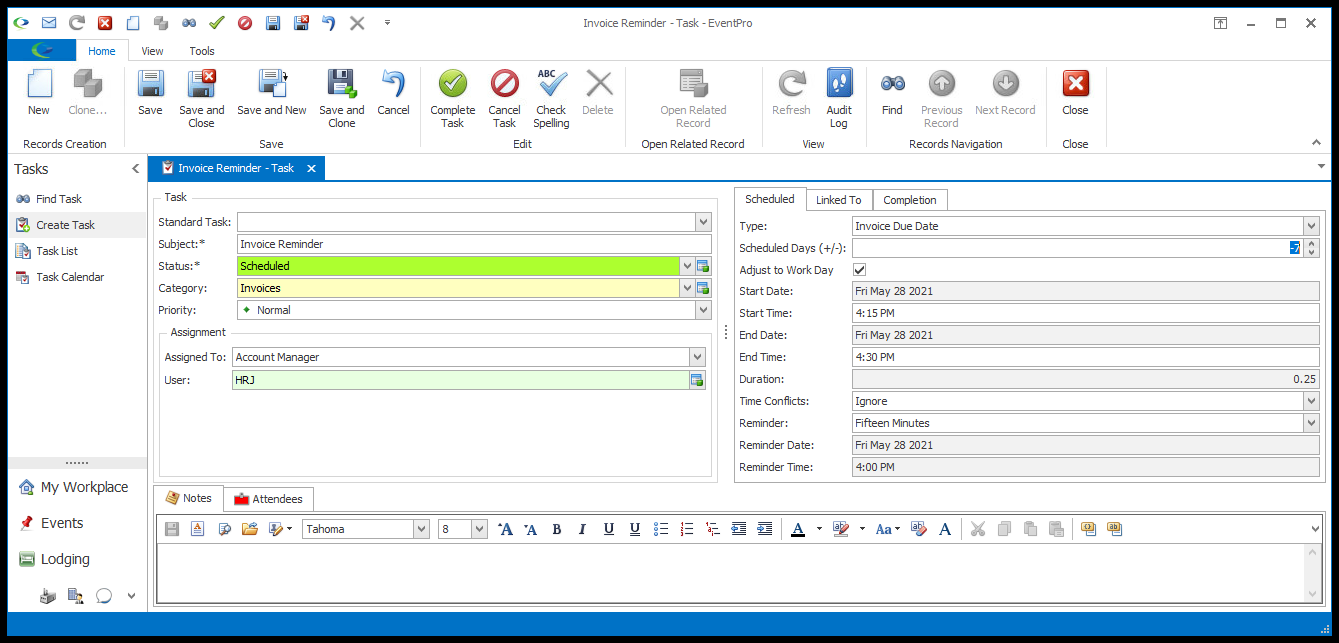
3.Adjust to Work Day: This option is only available for Tasks that are scheduled in relation to other occurrences, i.e. any Task Type except Manual.
a.If you select the Adjust to Work Day checkbox, the Start Date of the Task will be moved to the nearest Work Day before or after the actual scheduled date, depending on whether the number of Scheduled Days is positive or negative.
b.If the Task is scheduled to occur x days before an occurrence (-x Scheduled Days) or on the occurrence day (zero Scheduled Days), the Task Start will be moved to the nearest Work Day before the actual scheduled date.
c.If the Task is scheduled to occur x days after an occurrence (+x Scheduled Days), the Task Start will be moved to the nearest Work Day after the actual scheduled date.
i.For example, assuming that Work Days are Monday through Friday, if the Task is scheduled to occur 3 days before the Event Start, and the actual scheduled date lands on a Sunday, the Task would be moved to the preceding Friday.
ii.If the Task is scheduled to occur 3 days after the Event End, and the actual scheduled date lands on a Sunday, the Task would be moved to the Monday after.
d."Work Days" are defined in your General System Settings, with the "Work Days of Week" setting.
e.You may find that the Adjust to Work Day checkbox is selected by default for new Tasks. This is determined by the "Default Calculated Date to Work Day" setting in Tasks System Settings.
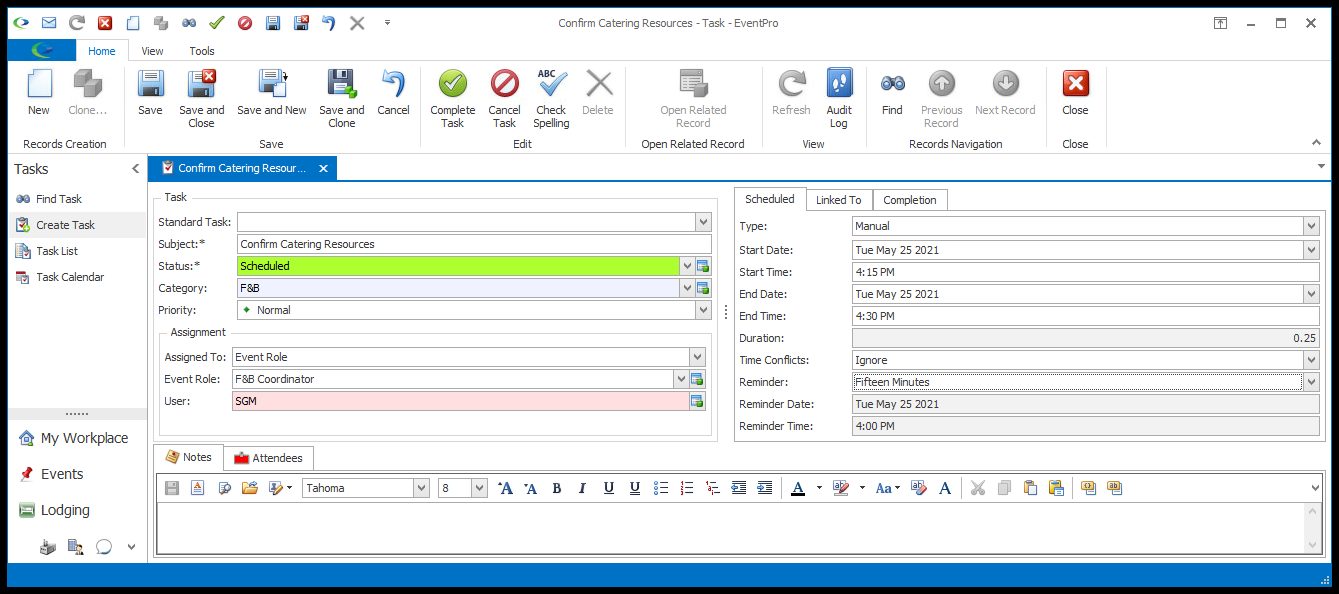
4.Start Date and End Date: If you selected "Manual" as the Scheduled Type, you can manually select the Start and End Dates.
5.Start Time and End Time: Enter the Start Time and End Time for the Task. You may have default Start and End Times set up on your Security User account.
Note that you will not be able to schedule Dates and/or Times if the Task is set to an "Unscheduled"-type Status.
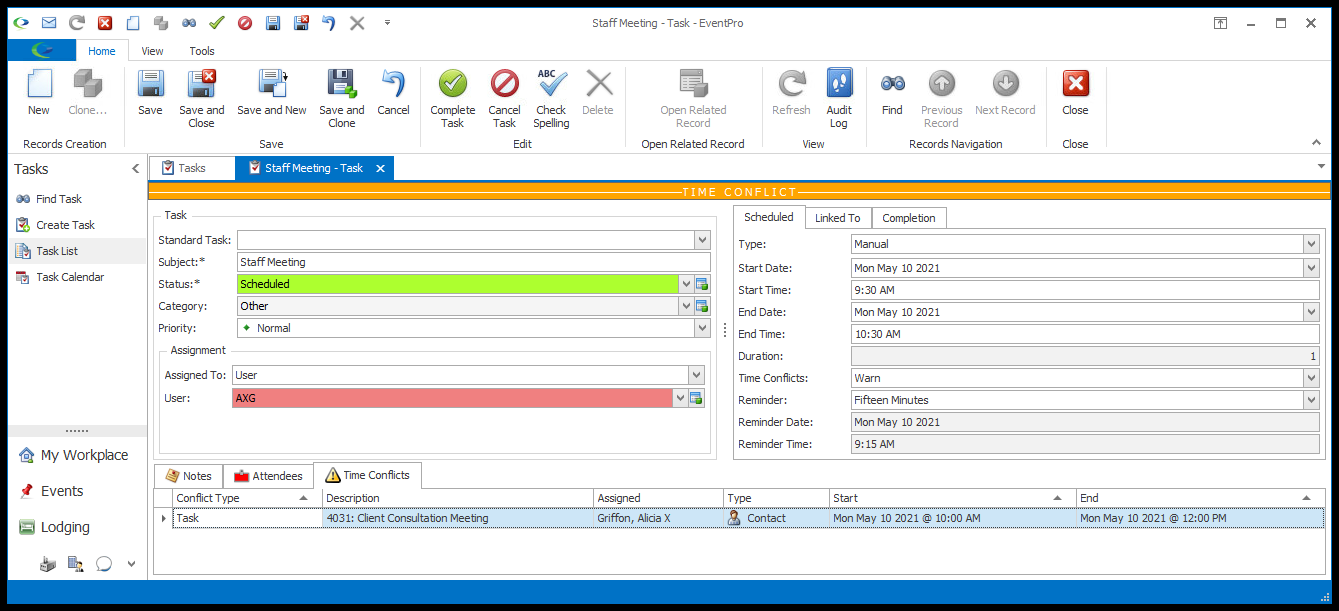
6.Time Conflicts: Choose whether you want EventPro to Warn you that the Task conflicts with another Task scheduled for the assigned User, or Ignore the conflict.
If you select "Warn", and a conflicting Task exists, a warning will appear across the top of the edit form, and the Time Conflicts tab will appear, displaying the conflicting Task(s) for the User.
NOTE: If you selected a Task Category for this Task, the Time Conflict option will already be set to the Time Conflict Default set on the Category in Setup (EventPro Setup > Tasks > Task Categories).
7.Reminder: If you want EventPro to notify the Assigned User(s) and User Attendees of the upcoming Task, use the drop-down list to select the time in advance at which you want the notification to begin. There are numerous times available, ranging from 0 minutes to 1 year in advance, but if you want to specify an exact Reminder Date and Reminder Time, you can select the Custom option at the bottom of the drop-down.
In order to receive the Task Reminder Notifications, the User's Messages settings must be set to Show Alerts for Tasks, and the Message Check Interval has to be set to something other than 0 (zero). Review Security Setup > Users > Create New User > Messages.
When the Reminder Date/Time of the Task occurs, the User(s) will begin receiving the Task Reminder Notification Message. The Task Reminder Message will continue to appear in the Users' alert messages according to each User's Message Check Interval until the Task is Completed or the Task's Reminder is turned off. If the User wants to defer the Reminder without shutting it off, the User needs to edit the Task and move the Reminder to a later date/time.