1.After you Finish the Payment Wizard, the Report Store window appears.
You can begin the process of printing, emailing or exporting the Receipt right from this dialog.
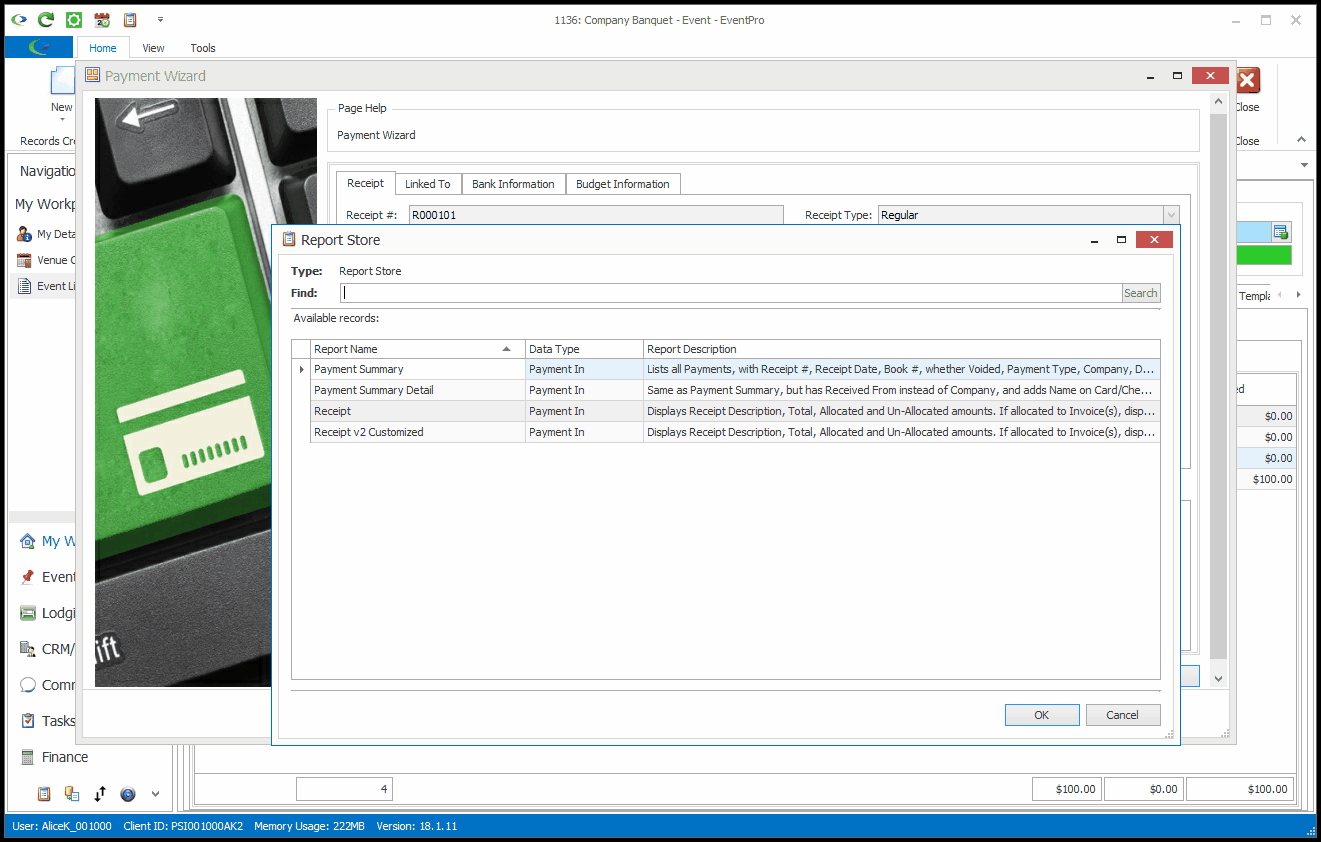
2.From the Report Store dialog, select the Payment Report you want to print, and click OK.
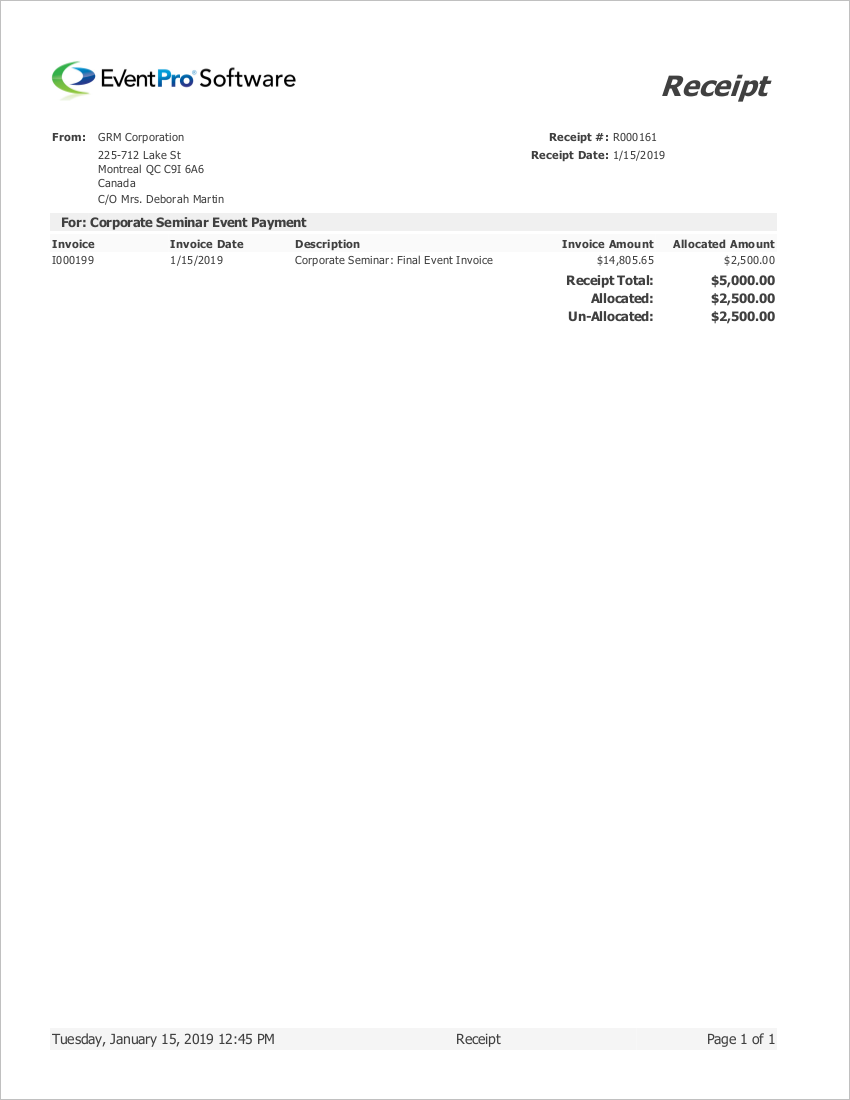
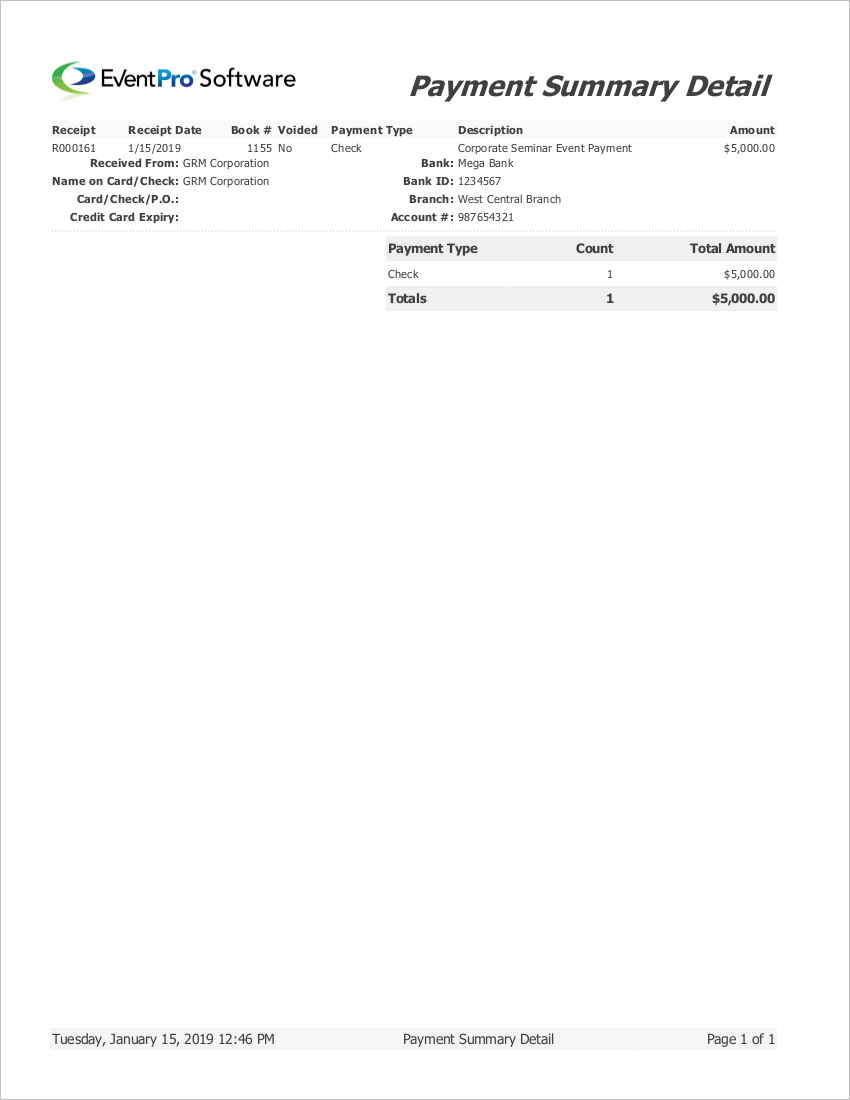
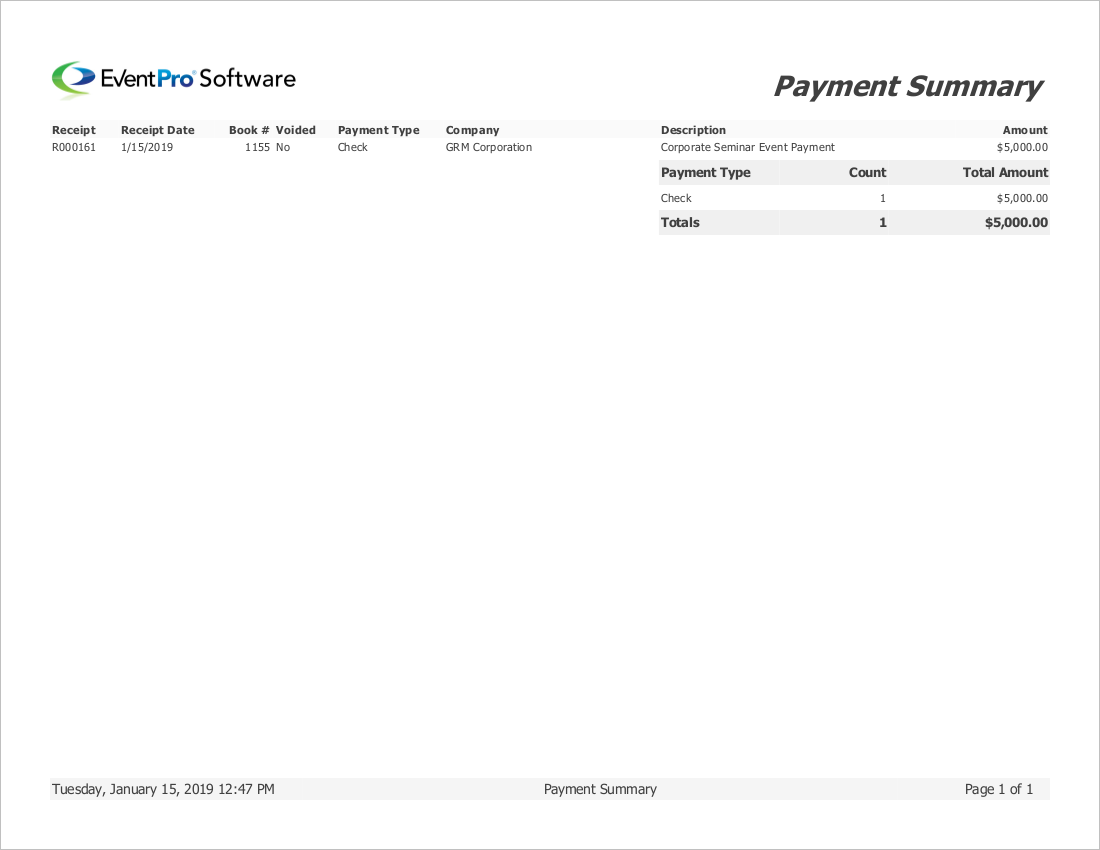
The three standard receipt templates included with EventPro are Receipt, Payment Summary Detail, and Payment Summary. You may have other customized receipt templates in your application.
There are different printing options for the included Receipt templates, but these samples demonstrate the general appearance of each:

3.The corresponding printing options dialog will appear, in which you can specify the date range and other criteria/options.
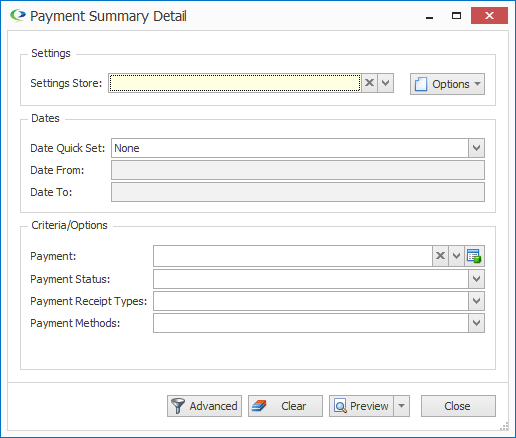
To review how to set report filters, see Reports > Run Reports and Create Report Filters.
If you are just printing one payment, selecting a date range is not really relevant. The Date From/Date To range is more important when printing a report for a batch of payments (see Print Invoices & Payments below).
4.From here, using the drop-down arrow next to the Preview/Print/Email button, choose whether you want to Preview, Print, or Email the payment report.
a.Reports > Run Reports > Preview
b.Reports > Run Reports > Print (Dialog & Default)
c.Reports > Run Reports > Send Email
d.If you choose to Preview the report, you will also be able to email, print, export, or save the report from the Preview window.
See Reports > Run Reports > Preview > Export To, Save to Documents, Email As, and Print.
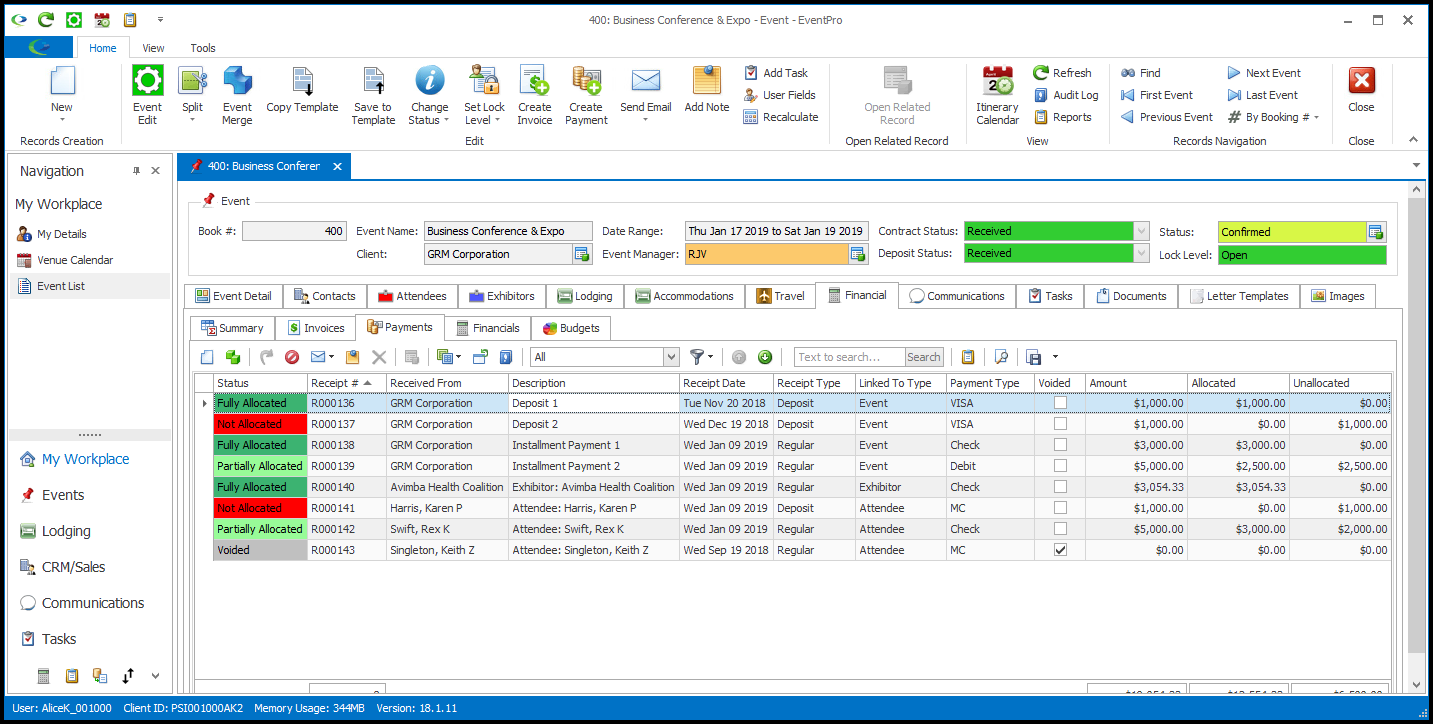
5.After you finish printing or sending the report, you will end up back where you started the Payment Wizard
The finished Payment record will appear in the Financial > Payments tab of the Event screen, as well as the Payment List in the Finance area, and the Finance > Payments tab of the CRM records for the Linked To entity and the Received From entity.