•The Creation & Filtering Options page of the Invoice Wizard allows you to limit the item charges included in the invoice total by date range, percentage, or other item groupings.
•Remember, you will only see this page if you are creating one of these Invoices: Final Invoice, Manual Single Invoice, Manual Detailed Invoice, Deposit Single Invoice, Deposit Detailed Invoice, Credit Single Invoice, or Credit Detailed Invoice. (If you are creating a Manual Invoice, Deposit Manual Invoice, or Credit Manual Invoice, you would have gone directly to the Final Adjustments page.)
•This Creation & Filtering Options page will be slightly different, depending on the Invoice Type, although there are some fields common to all Invoice Types.

•The instructions will describe all of the potential fields in the Creation & Filtering Options page, although remember that not all fields will apply for all Invoice Types.
1.Date From and Date To: The Date From and Date To (Cutoff Date) are two VERY IMPORTANT fields, as the invoice amount will be calculated on chargeable items that fall within this date range.
These fields are applicable to all Invoice Types with a Creation & Filtering Options page: Final Invoice, Manual Single Invoice, Manual Detailed Invoice, Deposit Single Invoice, Deposit Detailed Invoice, Credit Single Invoice, and Credit Detailed Invoice.
a.Some considerations when setting the Date From and Date To range for an invoice:
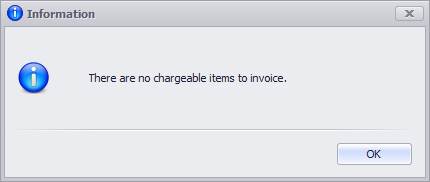
i.If, for example, you have an event occurring on March 1 with chargeable items for that date, but you create an invoice with a Date To (Cutoff Date) of January 31, you will get a notification that there are no chargeable items to invoice. There are, in fact, chargeable items in the event, but because they occur after the Date To of the invoice, they are prevented from appearing in the invoice.
ii.In another example, let's say you have a 4-day event, March 1-4, with chargeable items on every day. If you create an invoice with Date From: March 2 and Date To: March 3, the invoice will only pull in the chargeable items for March 2 and 3. Event Items from March 1 and 4 will not be pulled into the invoice.
iii.Even if you set the Invoice's Date From and Date To to match the Event Start and End dates, there could be some Event Items that won't be pulled into the Invoice because their required dates fall outside the Event Dates. For example, you can have Event Miscellaneous Items that are assigned to date before or after the actual Event Dates.
b.The Date From will default blank, assuming that you don't want to limit the start date on event items to be invoiced. However, you can select a date from the drop-down calendar, if relevant for your invoice.
c.The Date To default will depend on your Financial System Settings.
i.If the Default Event Invoice Cutoff Date to Event End Date system setting is turned on, the Date To will default to the Event End Date.
ii.If the No Invoice Cutoff Date system setting is turned on, the Date To will be blank by default, meaning there is no end date limit for event items pulled into the invoice.
iii.If neither of those options were selected in Financial System Settings, the Date To will default to the current date. Note that if you are invoicing the event before the event has occurred, having the Date To set for the current date will very likely exclude event items required on event dates.
iv.Regardless of the default date, you can also manually set the Date To to any date you require in order to include the chargeable items you want in the invoice. Use the drop-down calendar to select a date, or click Clear to leave the date blank.
2.Invoice Outstanding Charges: If you select this checkbox, all of the outstanding charges will be included in the invoice, and you will not be able to select an Invoice % below.
This checkbox is only applicable to the Final Invoice.
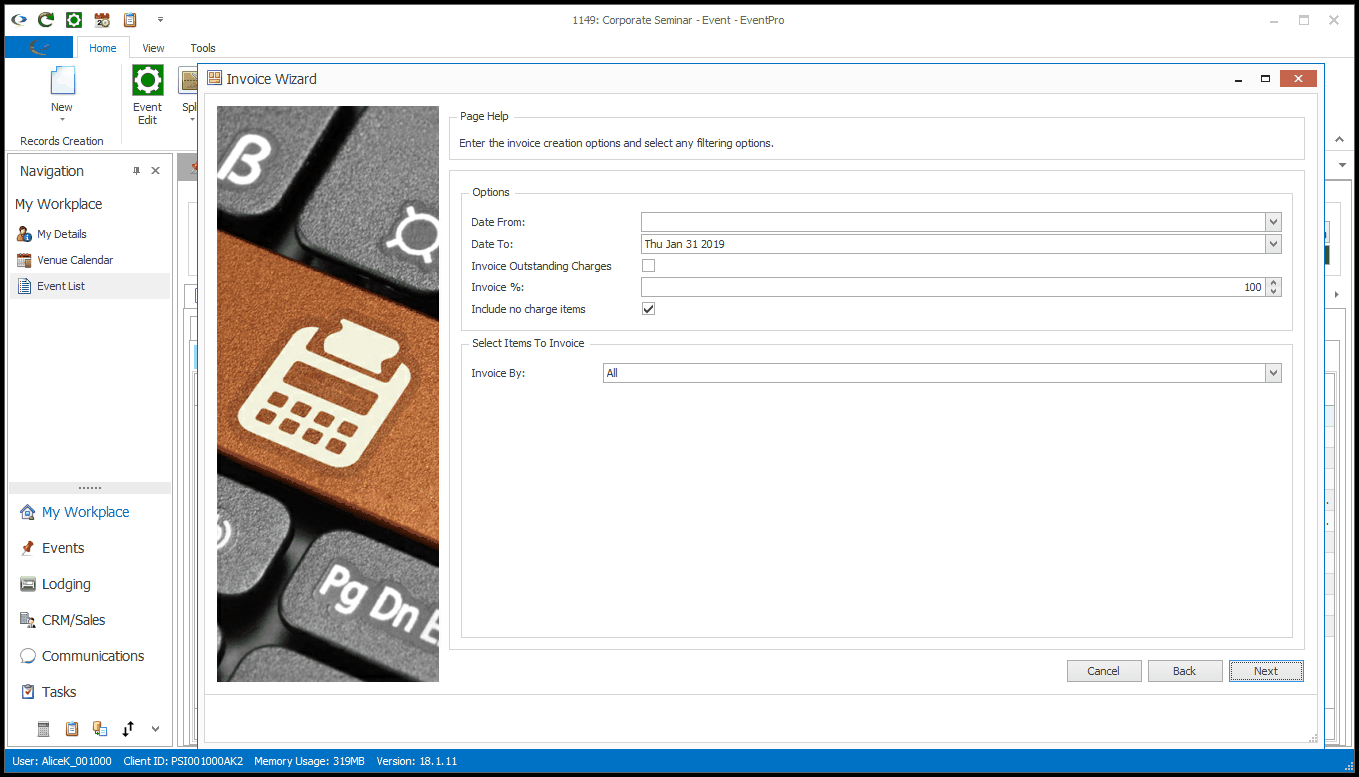
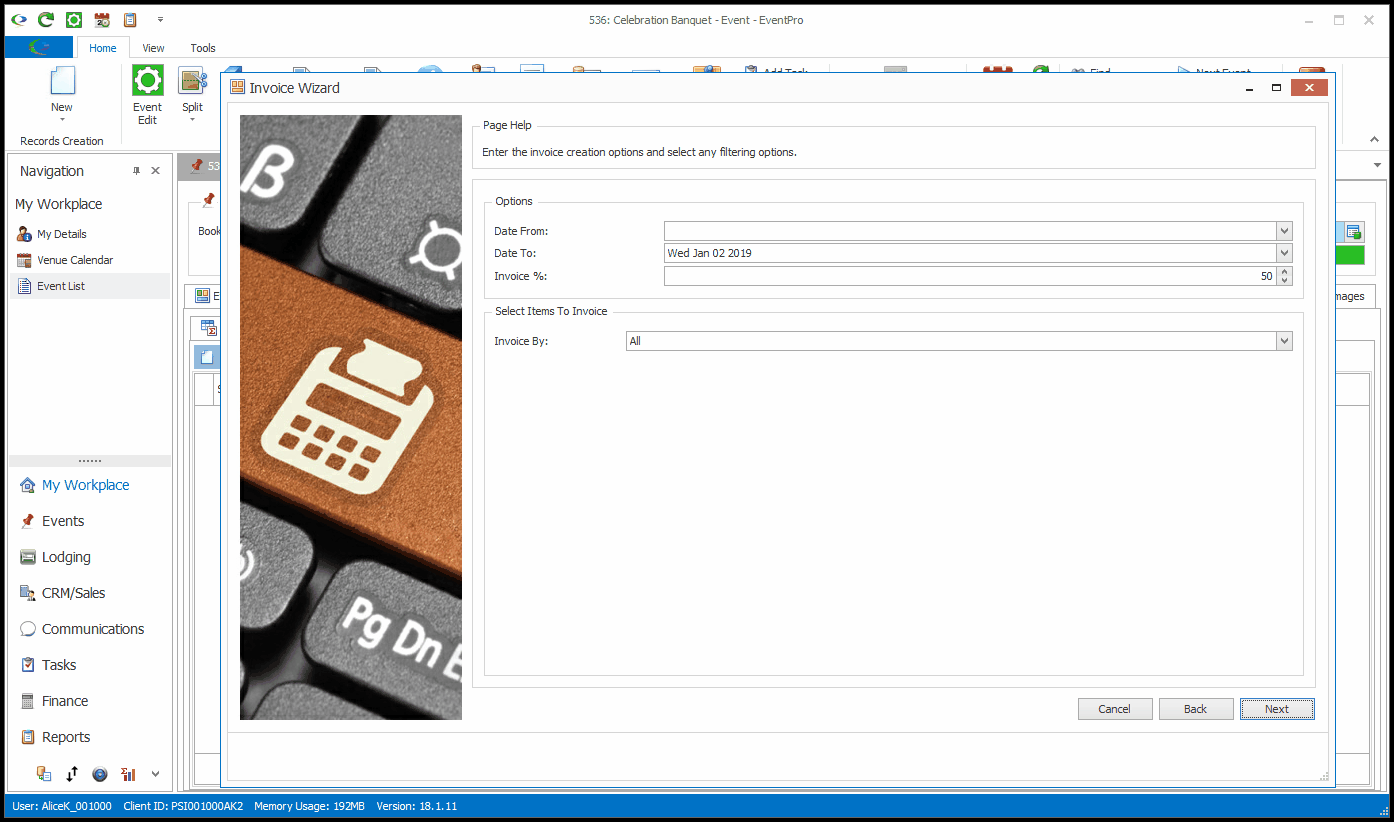
3.Invoice %: The Invoice % field allows you to determine the percentage of total event charges included in this invoice.
The Invoice % field appears for all Invoice Types with a Creation & Filtering Options page.
a.If applicable, enter the percentage of the current event total you want included in this invoice.
b.The Final Invoice and Detailed-type Invoices (Manual Detailed Invoice, Deposit Detailed Invoice, and Credit Detailed Invoice) pull in the chargeable event items as individual invoice line items. If you entered 50% as the Invoice % here, each line item will be reduced to 50%.
c.The Single-type Invoices (Manual Single Invoice, Deposit Single Invoice, or Credit Single Invoice) pull in all event item charges to create one single line item. If you entered 50% for the Invoice % here, that one line item will be reduced to 50%.
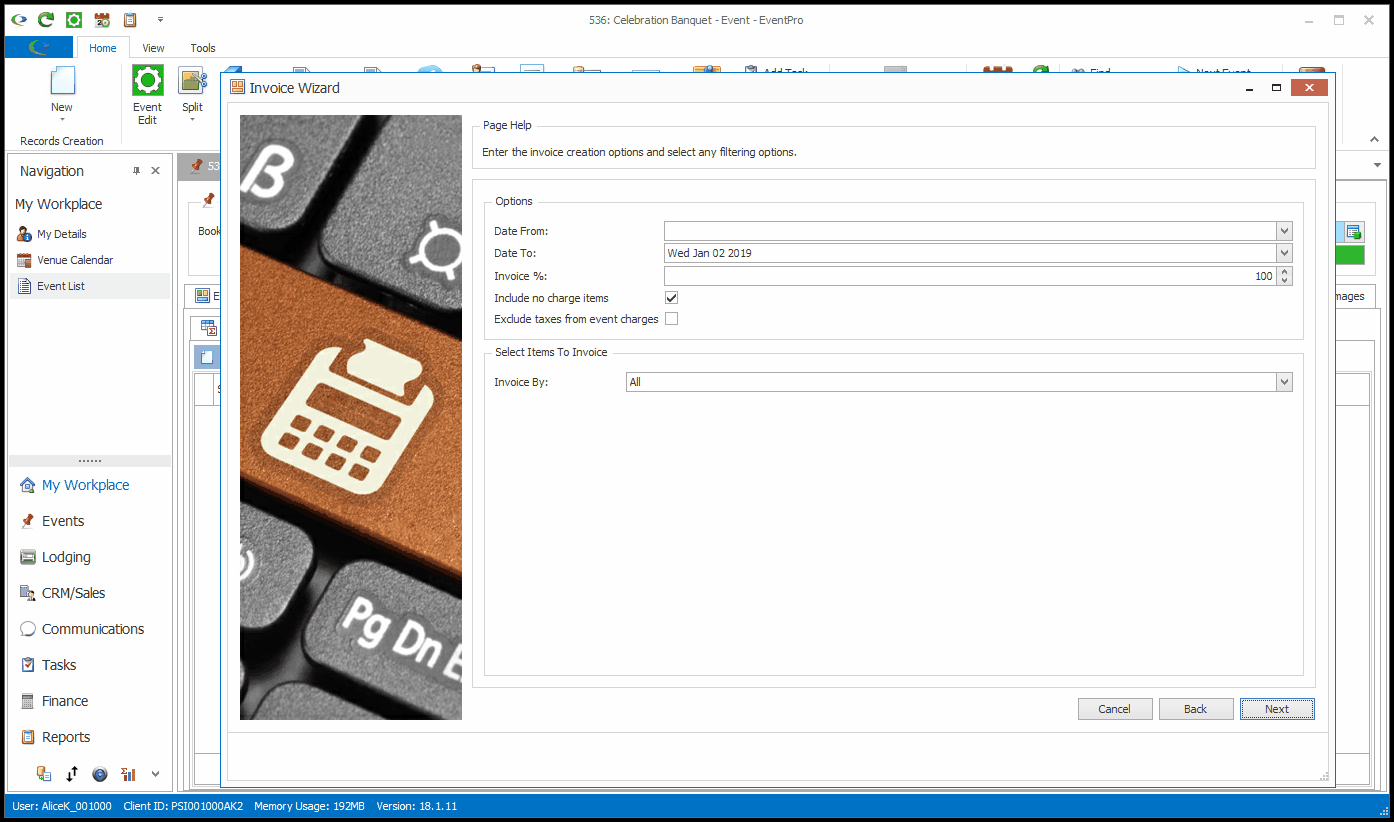
4.Include No Charge Items: Select this checkbox if you want no-charge items (billable items with a charge of zero) to appear on the invoice.
This Include No Charge Items field is applicable to the Final Invoice, Manual Detailed Invoice, Deposit Detailed Invoice, and Credit Detailed Invoice, but not the "Single" invoices, i.e. the Manual Single Invoice, Deposit Single Invoice, or Credit Single Invoice.

a.This checkbox will already be selected by default if the Include No Charge Items system setting is turned on in Financial Setup, although you can uncheck it here.
b.Note that non-billable items (event resource items with the Billable checkbox unselected) will not appear in the invoice at all.
5.Exclude Taxes from Event Charges: If you select this checkbox, the invoice will ignore any taxes applied to the event charges.
This field is only applicable to the "Detailed" Invoice types: Manual Detailed Invoice, Deposit Detailed Invoice, and Credit Detailed Invoice.
6.Use Detail Item Accounts: This setting determines to which account(s) the income from this invoice will be directed. This checkbox may already be selected by default, depending on the "Use Detail Item Accounts for Deposit Detailed Invoices" setting under Setup Financial System Settings.
This Use Detail Item Accounts field is only applicable to the Deposit Detailed Invoice and Credit Detailed Invoice.
a.Unselect the checkbox if you want the entire amount directed to the default Deposit Account and Department Code, which are set under Financial System Settings / General.
b.Select the checkbox if you want the amount for each individual item to be directed to the item's assigned Account and Department Code.
c.When you reach the end of the Invoice Wizard, and view the Invoice Details tab, you will be able to see which Accounts are used.
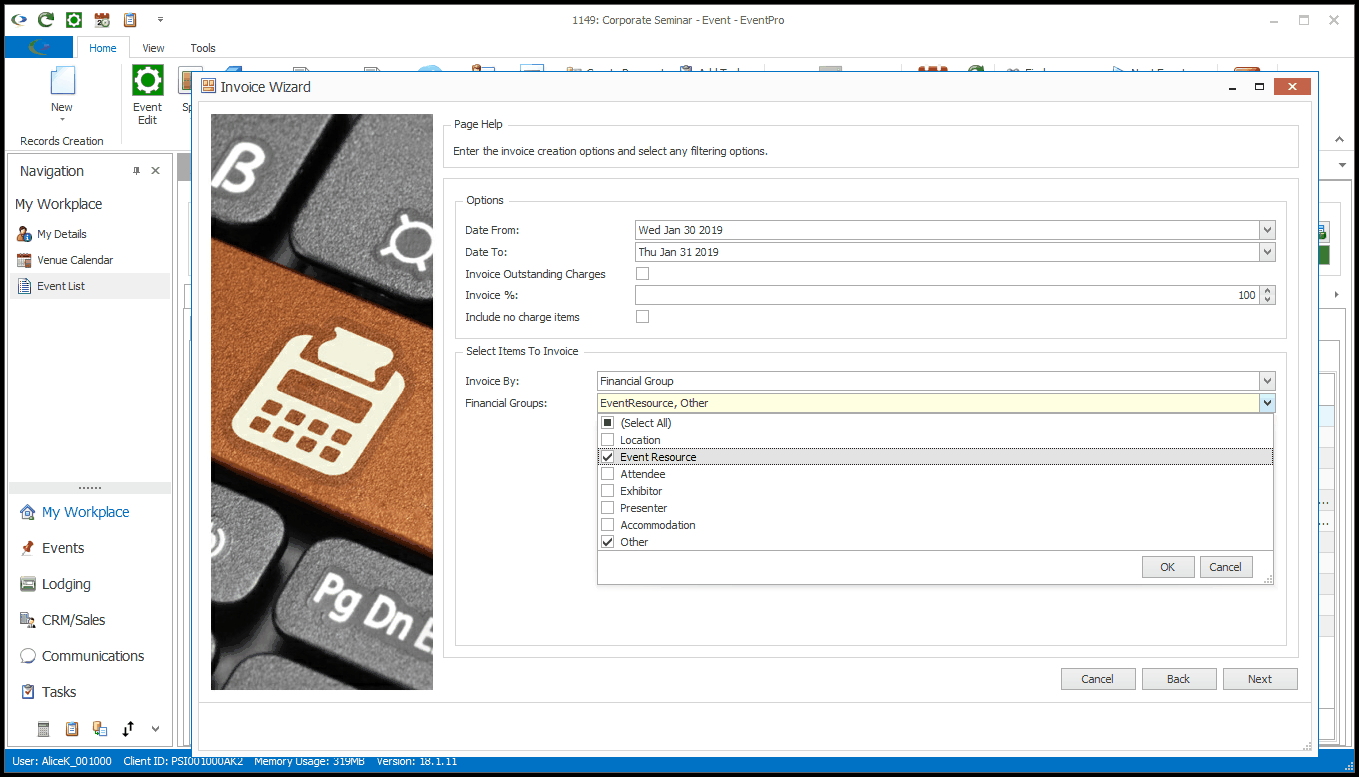
7.Select Items to Invoice: In this area, you can limit the Invoice total to charges from selected Financial Groups, Financial Subgroup Types, Financial Subgroups, or Financial Categories.
Note that this limit applies in addition to the Invoice % limitation you set above, if any. So, if you set the Invoice % to 50%, and you limit the Invoice Items to the Financial Subgroup Type "Location", the Invoice will only include 50% of item charges from the "Location" Financial Subgroup Type.
These options are applicable to all Invoice Types with a Creation & Filtering Options page.
From the Invoice By drop-down, choose the option by which you want to invoice.
a.All: All event charges are included in the calculation.

b.Financial Group: Select the checkboxes next to the Financial Groups you want included in the invoice total calculation.
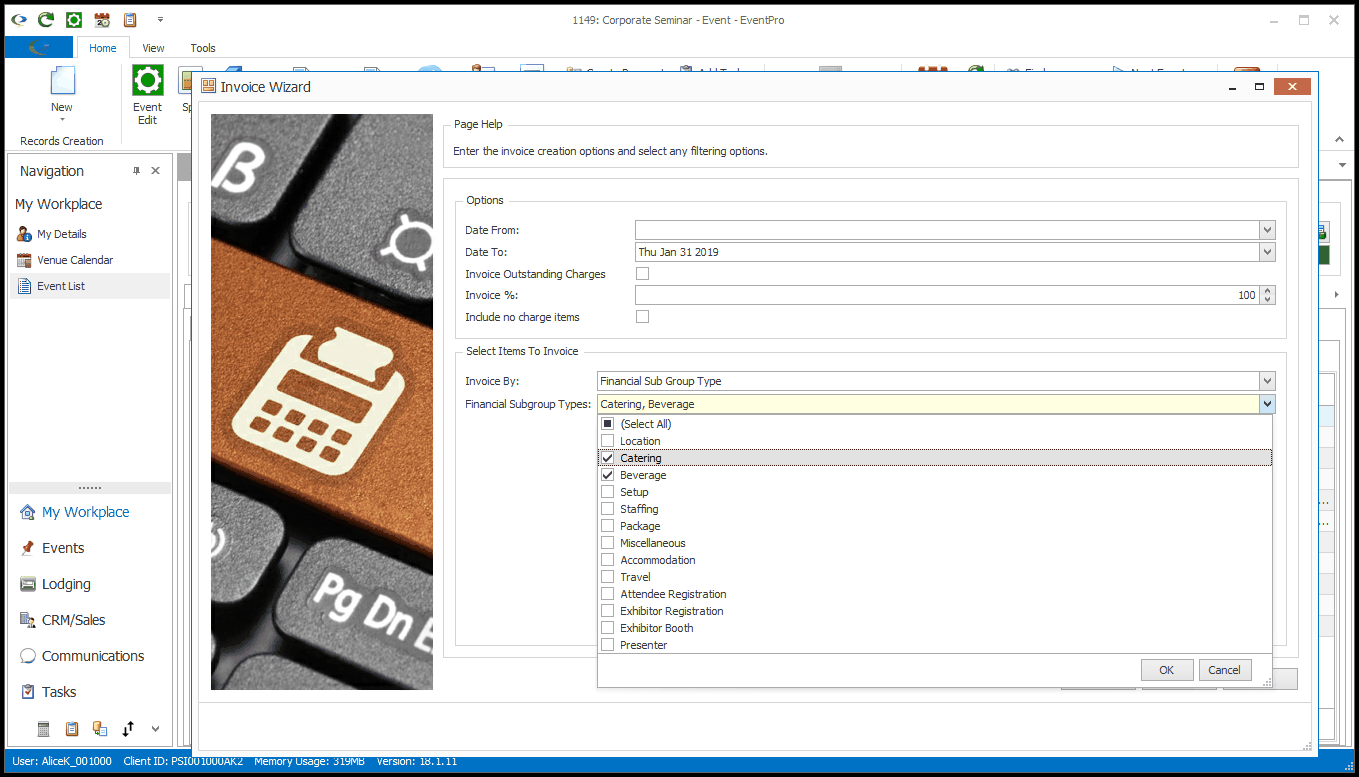
c.Financial Sub Group Type: Select the checkboxes next to the Financial Sub Group Types you want included in the invoice total calculation.
Financial Subgroup Types are hard-coded in EventPro, as you see under EventPro Setup > Financial > Financial Subgroups.
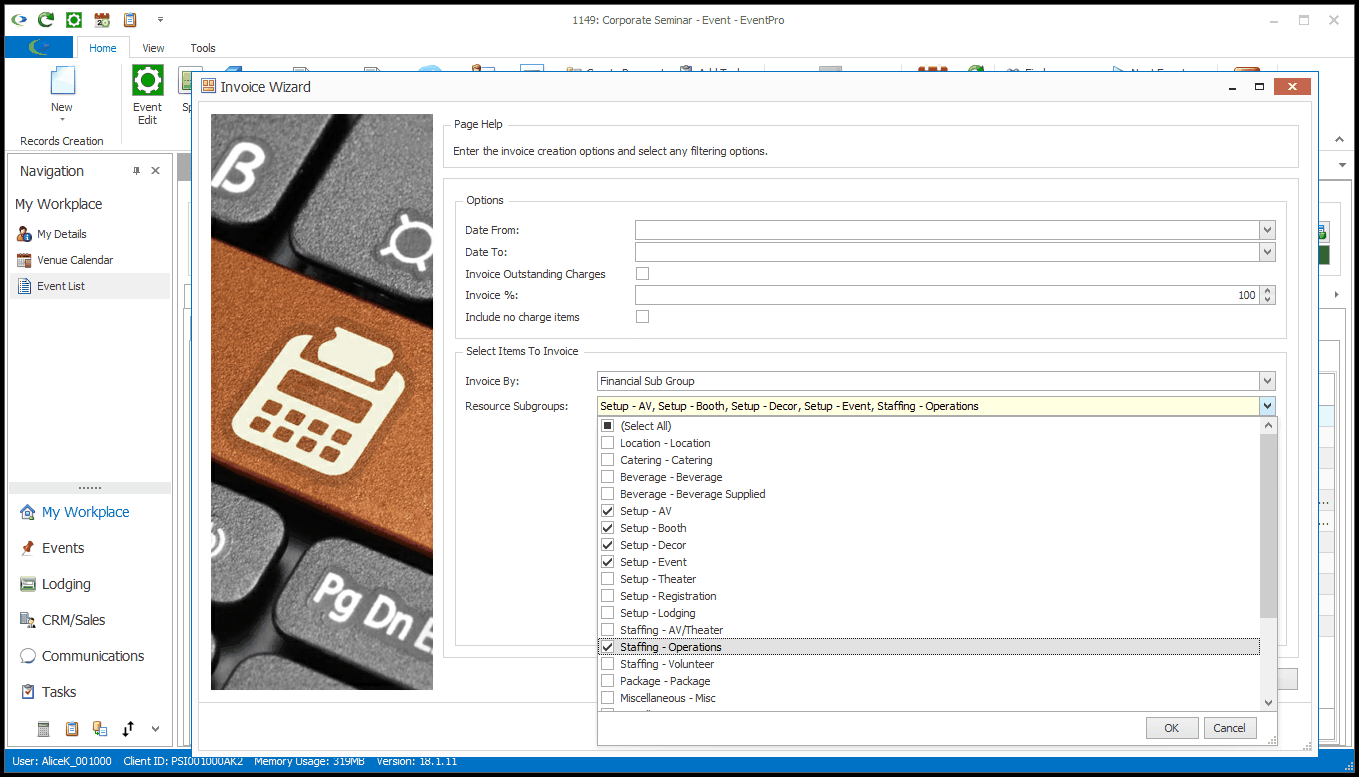
d.Financial Sub Group: Select the checkboxes next to the Financial Sub Groups you want included in the invoice total calculation.
Financial Sub-Groups are defined in EventPro Setup > Financial > Financial Subgroups.
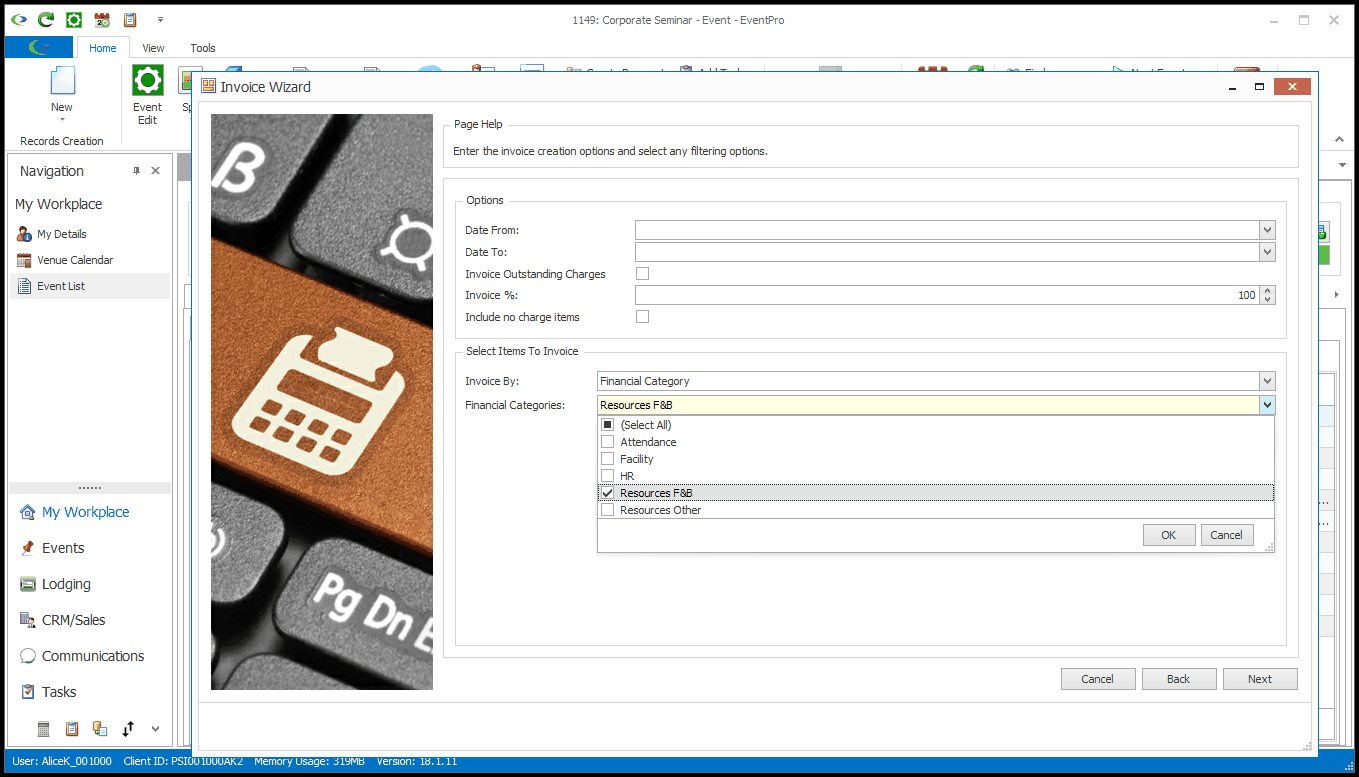
e.Financial Category: Select the checkboxes next to the Financial Categories you want included in the invoice total calculation.
Financial Categories are defined in EventPro Setup > Financial > Financial Categories.
8.When you are done with the Creation & Filtering Options page of the Invoice Wizard, click Next.
The next Invoice Wizard page will depend on the Invoice Type, and whether there are Unapplied Payments, Deposit Invoices, or Credit Invoices on the Event.
a.Final Invoice:
i.If there are unapplied Payments on the Event, you will go to the Existing Payments to Apply page.
ii.If there are no existing payments, but there are unapplied Deposit Invoices on the Event, you will go to the Existing Deposit Invoices to Apply page.
iii.If there are no existing payment or deposit invoices, but there are unapplied Credit Invoices, you will go to the Existing Credit Invoices to Apply page.
iv.If none of the above apply, you will proceed to the Final Adjustments page.
b.Manual Single Invoice, Manual Detailed Invoice, Deposit Single Invoice, or Deposit Detailed Invoice:
i.If there are unapplied Payments on the Event, you will go to the Existing Payments to Apply page.
ii.If there are no existing payments, you will proceed to the Final Adjustments page.
c.Credit Single Invoice or Credit Detailed Invoice:
i.You will proceed to the Final Adjustments page.