1.Invoice #: The Invoice number will be blank until you finish the invoice. Invoice Numbers are automatically assigned in sequence, which begins at the number set under Sequence Numbers Setup > Invoices.
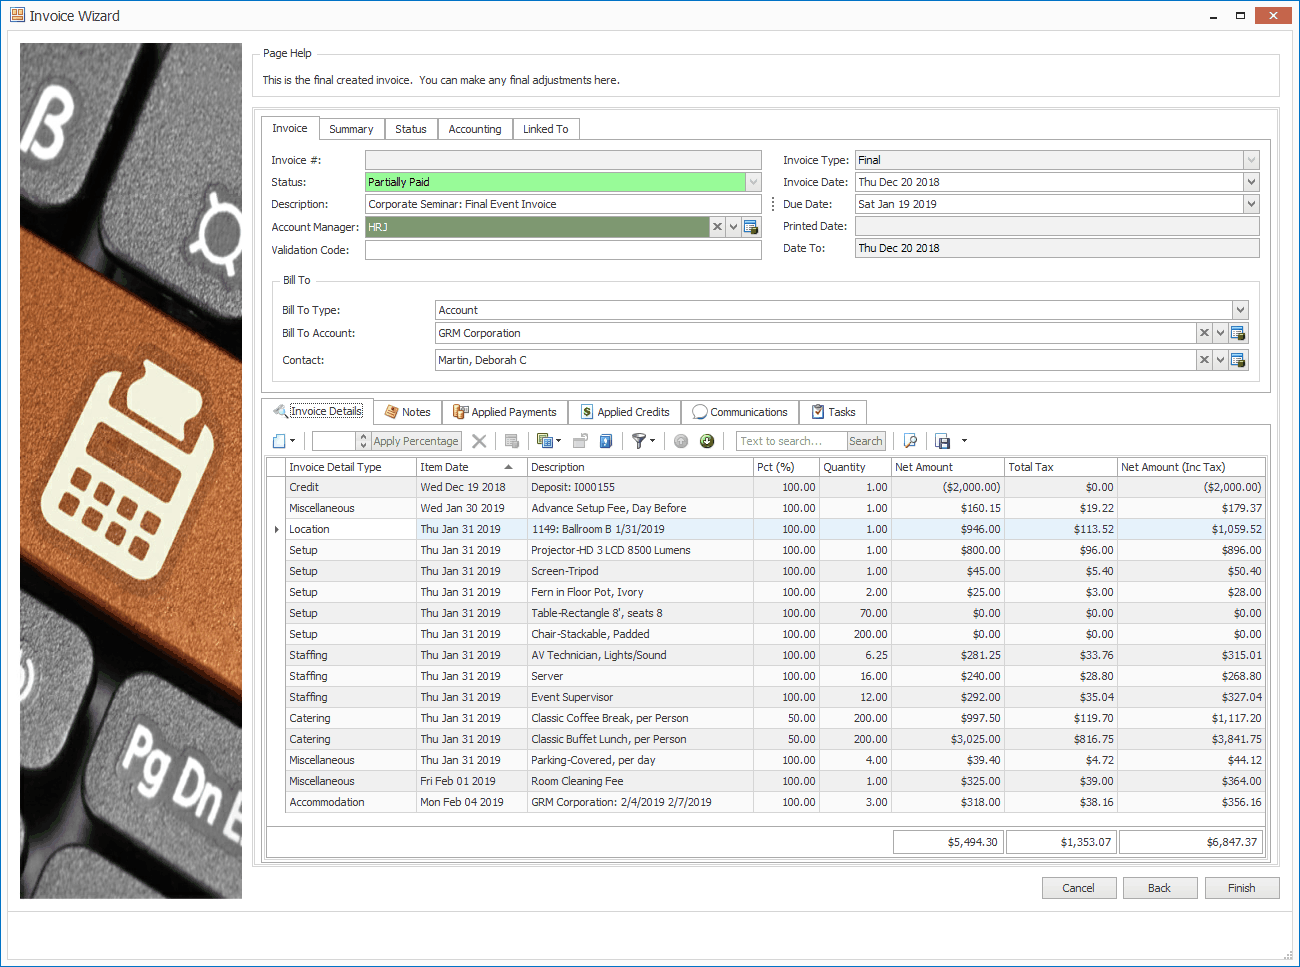
2.Status: This view-only field displays the Invoice's Status. When you first create the Invoice, the Status will typically be Current, but it could be Partially Paid or even Paid in Full, depending on the type of invoice and whether you applied payments earlier in the Invoice Wizard. The Invoice Status will update automatically as payments are applied.
3.Description: The Description you entered earlier on the Invoice Type & Description page will appear, but you can edit it again.
4.Account Manager: This will default to the Event's Account Manager (see Edit Event Window > Event Information), but you can select a different User from the drop-down, if you prefer.
5.Validation Code: You can manually type in your own 4-character Validation Code (used for reference in online payments), or if you leave this field blank, the Invoice will be assigned a randomly generated Validation Code when the Invoice Wizard is finished.
6.Invoice Type: This view-only field will be set to one of the four basic types of Invoice (Final, Manual, Deposit, or Credit), depending on what you selected in Invoice Type & Description.
7.Invoice Date: This will default to the current date, but you can select a different Invoice Date from the drop-down calendar.
8.Due Date: This will default to a set number of days after the Invoice Date, determined by the "Invoice Due in Days" setting under Setup > Financial > Financial System Settings.
You can, however, manually select a different Due Date from the drop-down calendar.
9.Printed Date: This will be blank, and will be filled in later when the invoice is printed.
10.Date To: If applicable to the Invoice Type, this field displays the Date To (i.e. Cutoff Date) you selected earlier on the Creation & Filtering Options page of the Invoice Wizard.
11.Bill To (for Final, Manual or Deposit Invoices) or Credited To (for Credit Invoices):
a.Bill To:
i.The Bill To Type will default to "Account".
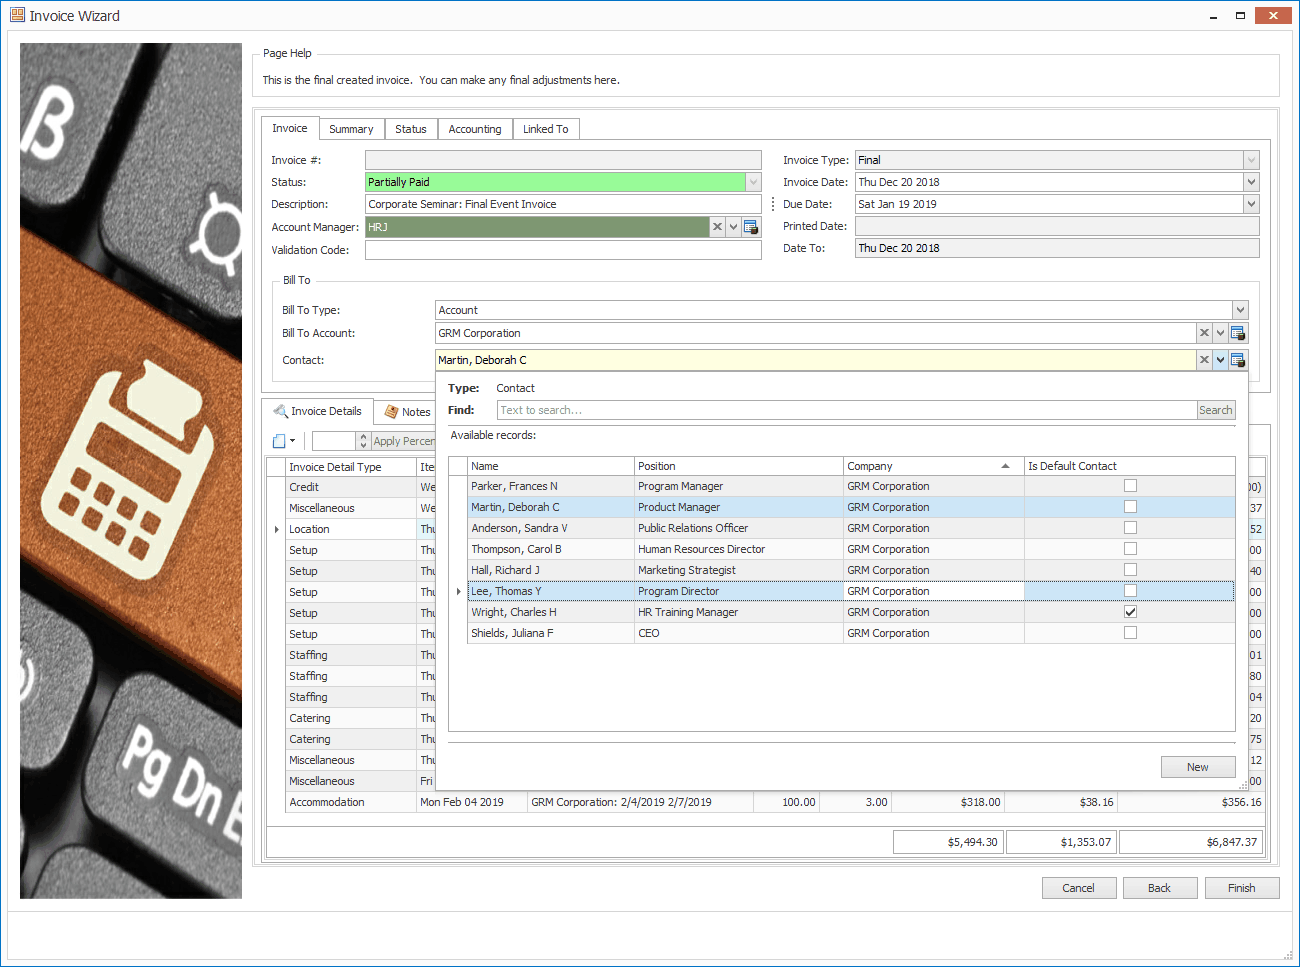
ii.The Bill To Account and Contact will default to the Bill To Account and Bill To Contact set for the Event, which can be viewed in the Edit Event window and Event Contacts tab.
iii.However, if the Invoice should be directed to an entity other than the Event default, you can choose a different Bill To Type, and/or set the other Bill To fields accordingly.
b.Credited To:
i.Credit Applied To: If there is an existing Invoice to which you want to apply this credit, select the Invoice from the Credit Applied To drop-down. You can also leave this field blank, and apply the credit later, under Manage Invoices & Payments > Apply Credits to Invoices.
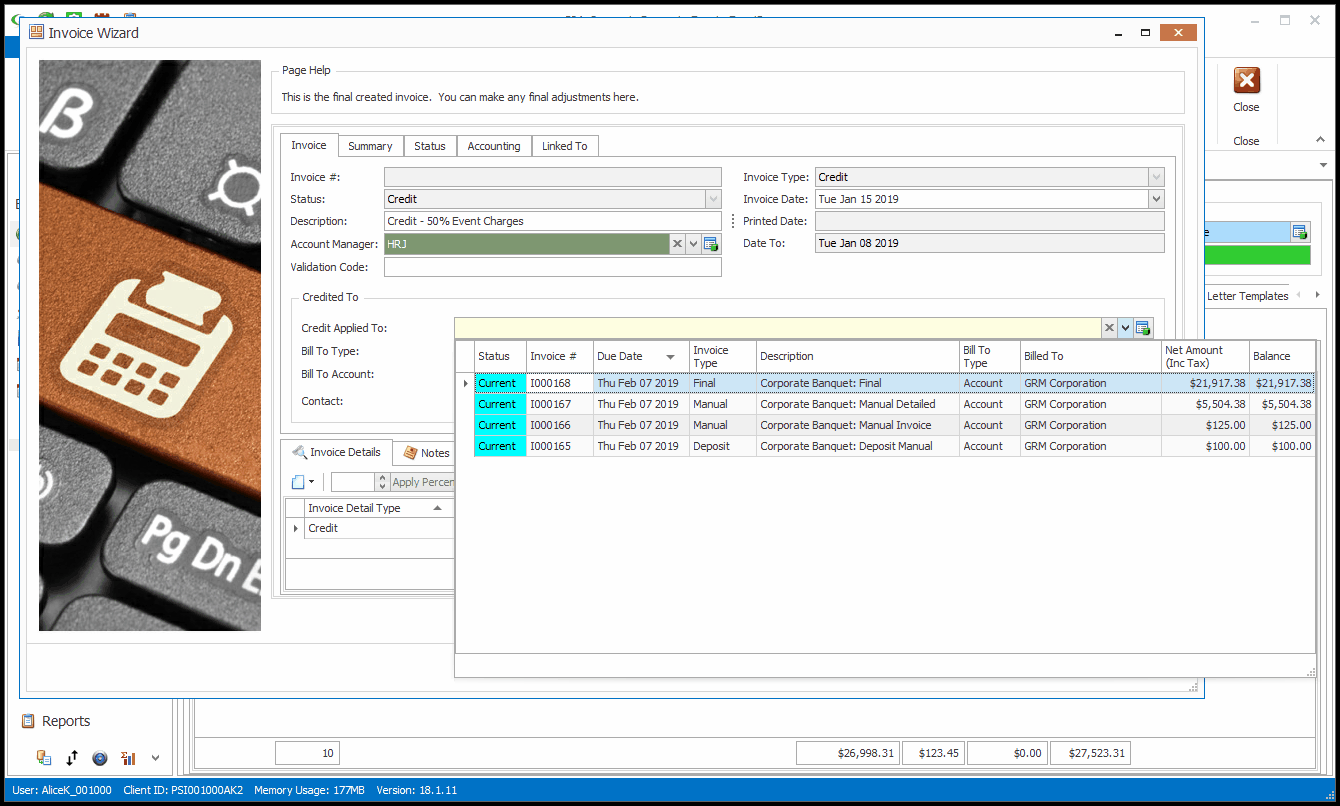
ii.The Bill To Type will default to "Account".
iii.The Bill To Account and Contact will default to the Bill To Account and Bill To Contact set for the Event, which can be viewed in the Edit Event window and Event Contacts tab.
iv.However, if the Invoice should be directed to an entity other than the Event default, you can choose a different Bill To Type, and/or set the other Bill To fields accordingly.